English
 Hotori is one of the most unique support characters in Neverness to Everness, offering powerful time manipulation, burst amplification, and the ability to turn team skills into massive damage windows. This makes Hotori a high-impact unit for both advanced players and those looking to optimize burst-focused teams, especially in content where timing and synergy matter most.
Table of Contents

In this Neverness to Everness Hotori build guide, we’ll cover her full kit, best builds, arcs, modules, teams, and pull advice to help you maximize her value in your team.
To get the most out of Hotori, understanding her rotation and recording mechanics is essential, as her performance heavily depends on how well you time her abilities and team interactions. With OSLink, you can play your Neverness to Everness PC session remotely from your phone, making it easier to test rotations, optimize builds, and improve your Hotori gameplay anytime.
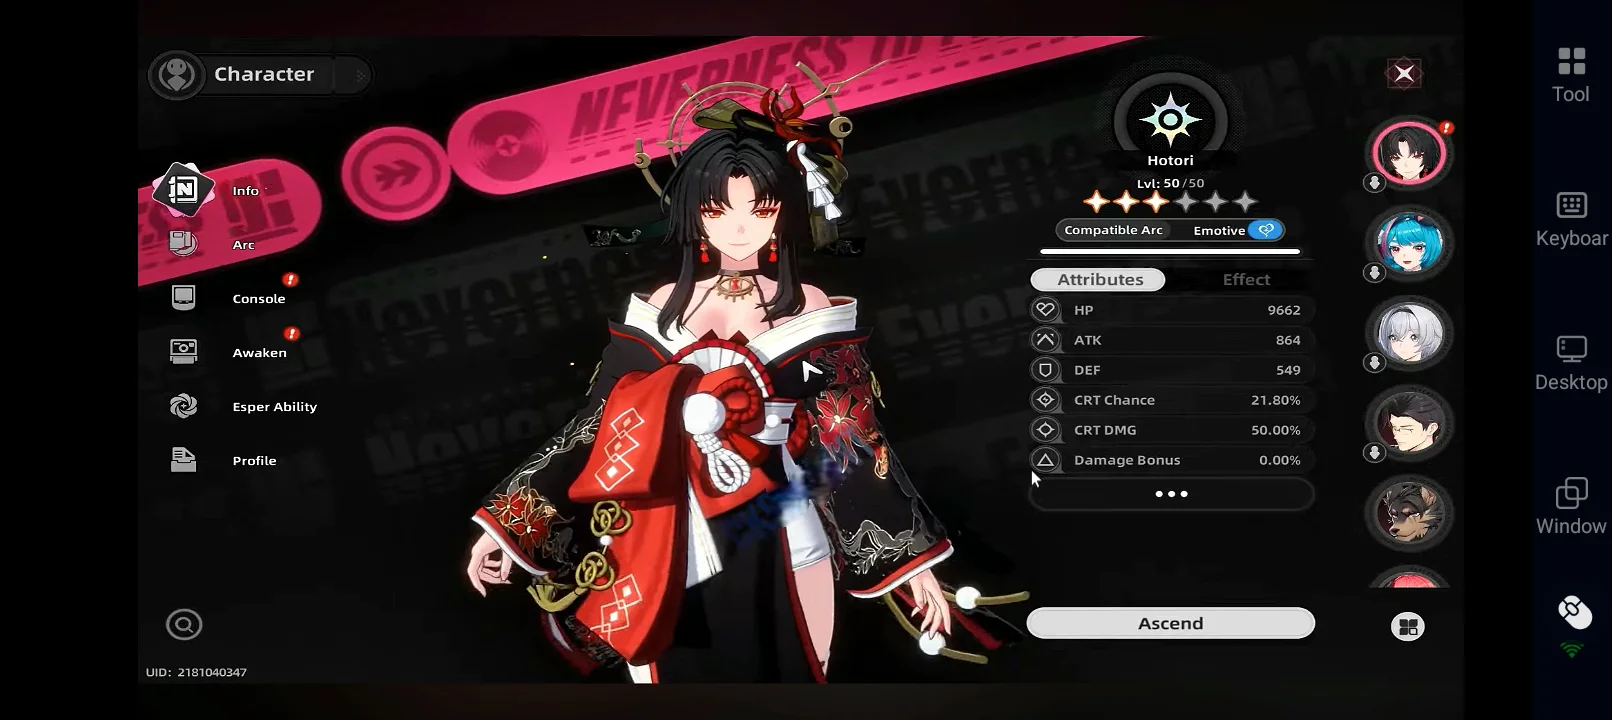
Hotori Overview
Hotori is an S-Rank Cosmos Solid support in Neverness to Everness who specializes in time manipulation and burst damage amplification.
-
Role: Sub DPS / Burst Support / Time Controller
-
Element: Cosmos
-
Specialty: Time manipulation, skill recording, burst amplification
-
Strength: Enables massive burst windows and amplifies team damage through replay mechanics
Hotori’s gameplay is more technical compared to traditional supports but is extremely rewarding when mastered. Instead of dealing consistent damage on her own, she builds energy through her Non-Closed Timepiece, records key support or redirect skills from allies, and then unleashes them during her Ultimate to create high-damage burst windows. This makes her one of the most impactful enablers in coordinated team setups.
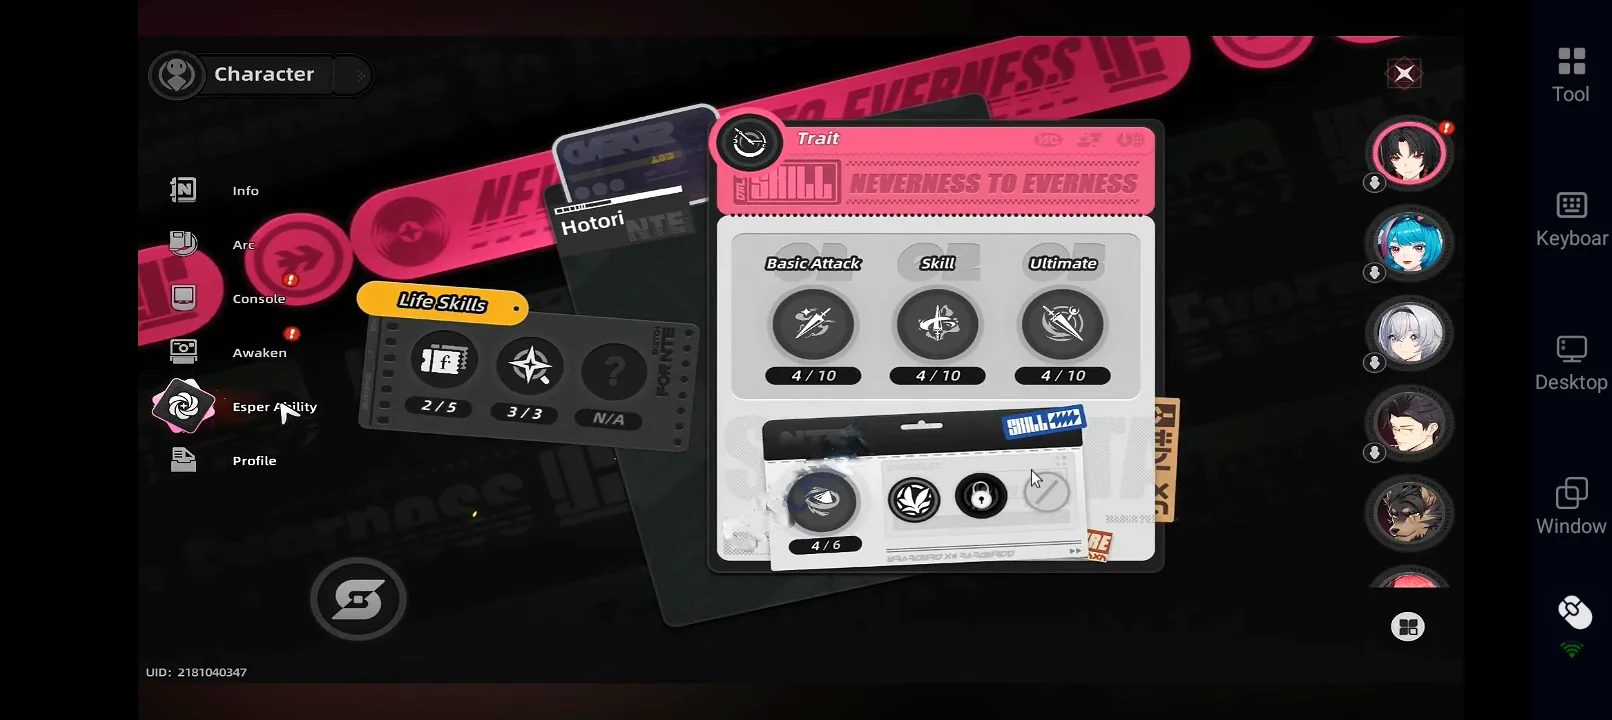
Hotori Skill Breakdown
Basic Attack – Misty Moon Style
Hotori performs up to 5 consecutive umbrella attacks, dealing Cosmos damage. While her basic attacks are not her main source of damage, they help maintain combat flow and allow you to reposition while waiting for energy to build.
Holding the Basic Attack activates Rippling Waves, one of her key utility tools:
-
Dashes forward while dealing multiple instances of AoE Cosmos damage
-
Helps close distance and reposition safely
-
Useful for hitting grouped enemies and maintaining pressure
She also has access to additional mechanics:
-
Crescent (Plunge Attack): Deals AoE damage based on fall height
-
Half Moment (Counter): Triggers after a perfect dodge, dealing damage and reducing enemy Break
These tools make her basic kit flexible, allowing her to stay active on the field while preparing for her main burst setup.
Hotori Skill – Present Replay
This is the core of Hotori’s gameplay and what makes her unique.
-
Costs 60 Non-Closed Timepiece energy
-
Deals multiple instances of AoE Cosmos damage
-
Records Support Skills and Redirect Skills used by allies for 5 seconds
-
Can record up to 3 actions (one per character)
During this recording window:
-
The Non-Closed Timepiece rewinds continuously
-
Recorded actions are stored and later replayed during her Ultimate
The key strength of Present Replay is its ability to copy high-impact support skills and convert them into additional burst damage later.
-
Proper timing = massive damage amplification
-
Poor timing = wasted potential
This skill is what allows Hotori to scale with stronger teammates and makes her extremely valuable in coordinated teams.
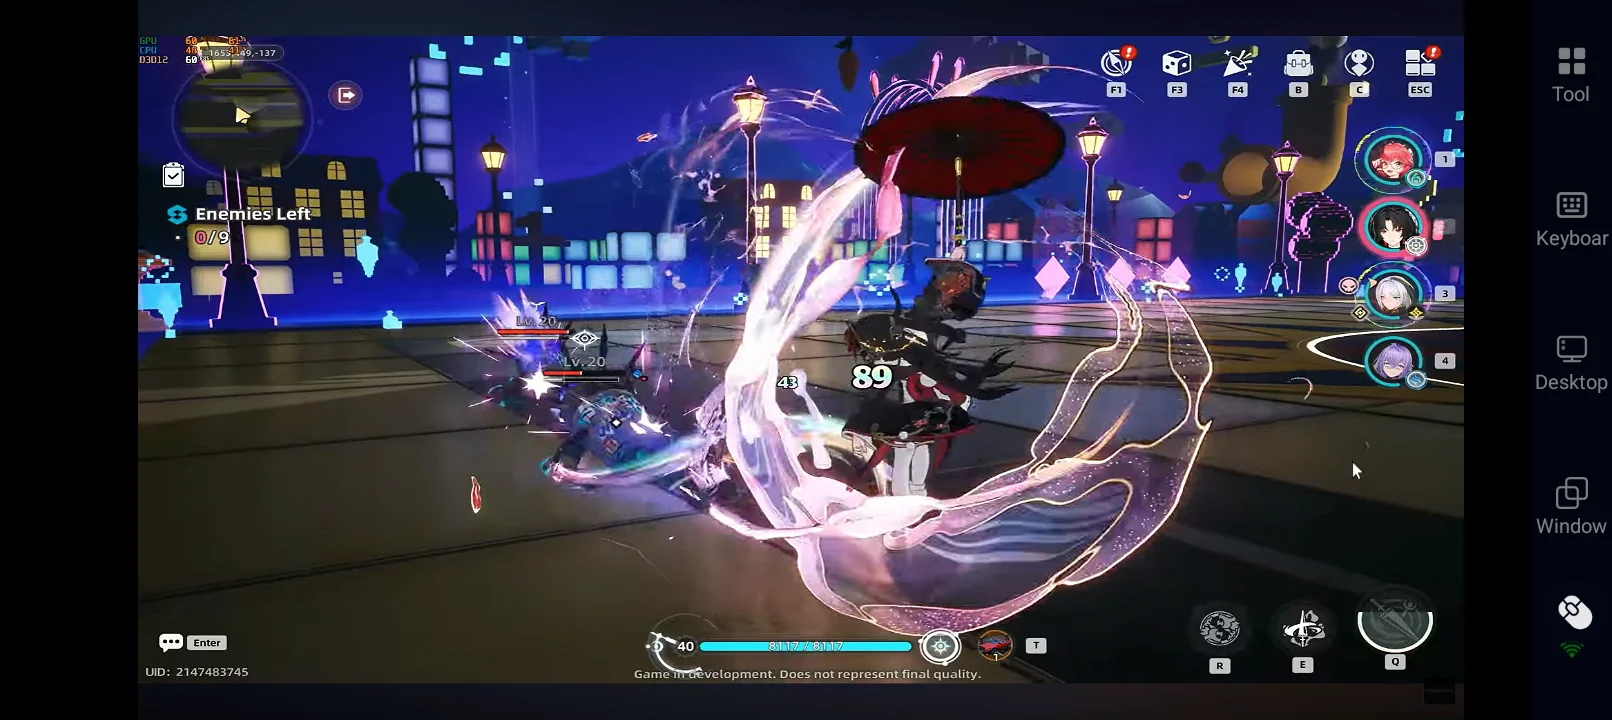
Ultimate – World’s Tide
Hotori’s Ultimate is the most important part of her kit and the main reason she is considered a top-tier support.

When activated:
-
Requires full Non-Closed Timepiece energy (120)
-
Deals multiple instances of AoE Cosmos damage
-
Triggers Time Stop, slowing enemies to a near standstill
-
Replays all recorded skills from Present Replay
-
Switches Hotori into katana combat mode
During Time Stop:
-
Hotori builds combo stacks with each attack
-
Damage increases per hit
-
At 10 stacks, she triggers a powerful Finisher attack
Additional effects:
-
Cleanses and grants immunity to time-related debuffs
-
Ends when energy fully rewinds or when the Finisher is triggered
This creates a powerful burst window where:
-
All recorded skills activate
-
Enemies are unable to react
-
Your team deals significantly increased damage
Because of this, proper Ultimate timing is essential for maximizing Hotori’s value.
Hotori Support Skills and Passives
Hotori’s additional abilities further enhance her role as a burst enabler and time controller:
-
Shopkeeper’s Authority (Support Skill): Deals AoE damage on swap-in, useful for quick damage and triggering reactions
-
Ghost Orchid Crest (Passive): Allows effects like Vita Buds to continue dealing damage during Time Stop
-
All Treasures Under Heaven (Passive): Increases World’s Tide Finisher damage significantly
These passives are especially strong because they allow damage effects to continue even while time is frozen, giving Hotori unique synergy with summon and damage-over-time mechanics.
Skill Upgrade Priority
To get the best performance from Hotori:
-
Ultimate (World’s Tide) – Main source of burst damage
-
Support Skill – Important for utility and consistent damage contribution
-
Basic Attack – Helps with flow and minor damage
-
Skill (Present Replay) – Core mechanic, but scales less with levels than Ultimate
How to Play Hotori (Simple Rotation)
Once you understand her mechanics, Hotori’s gameplay follows a clear, timing-based rotation:

-
Build energy using basic attacks and swaps
-
Use Present Replay to record key support skills
-
Continue building energy until you reach 120
-
Activate World’s Tide to trigger Time Stop and replay recorded skills
-
Perform katana attacks to build combo stacks and trigger Finisher
-
Swap to your main DPS during or after the burst window
-
Repeat the cycle
The key to maximizing Hotori’s gameplay is recording the right skills before using your Ultimate. Since her entire burst depends on what she captures, timing your team abilities correctly will greatly increase your overall damage output.
Hotori Awakenings and Resonance
Hotori’s Awakenings focus on improving her Time Stop damage, energy consistency, and burst amplification. Since her role is to enable powerful burst windows through recorded skills and Ultimate damage, the most valuable upgrades are the ones that increase her damage during Time Stop and improve her overall scaling.
|
Awakening |
Effect |
Why It Matters |
|
A1 – Flourish
|
Increases Hotori’s damage during Time Stop by 12% for each recorded Support or Redirect Skill |
Strong scaling boost. Rewards proper recording and can outperform other upgrades depending on team setup |
|
A2 – Distant Memories
|
Increases Hotori’s damage by 20% during Time Stop |
Reliable damage increase. Consistent boost that synergizes with her entire burst window |
|
A3 – Momentary Gaze
|
Restores energy spent on Present Replay after recording (60s cooldown) |
Energy efficiency boost. Helps maintain rotations but limited by cooldown |
|
A4 – Scattered Relics
|
Grants extra energy when enemies are defeated (up to 3 times) |
Situational utility. Useful in mob content for faster Ultimate uptime |
|
A5 – All-Seeing
|
Increases team damage by 15% when fighting a single target |
Strong boss buff. Excellent for single-target fights and endgame content |
|
A6 – Time Takes Away
|
Ignores 30% of enemy DEF during Time Stop |
Biggest power spike. Massive damage increase and core to her scaling |


Awakening Priority:
For most players, focus on:
👉 A6 → A2 → A1 → A5 → A3 → A4
-
A6 is the most important, massively increasing damage through DEF ignore
-
A2 provides consistent burst scaling during Time Stop
-
A1 scales with team synergy, making it very strong in optimized setups
-
A5 is excellent for boss content, boosting overall team damage
-
The rest are useful but less impactful for her core role


 AFK Anywhere, Progress Anytime

Hotori Resonances
|
Resonance |
Effect |
Why It Matters |
|
Eternity Shattered (3 Awakenings) |
+1 level to Basic Attack, Present Replay, and World’s Tide |
Small overall boost. Improves scaling across her kit but not a major spike |
|
The Ultimate Treasure of Clear Understanding (6 Awakenings) |
Grants all team members 20% ATK while Hotori is active |
Strong team buff. Increases overall team damage and fits her support role |
Hotori Best Arcs (Weapons)
When building Hotori, your Arc choice should focus on increasing her Ultimate damage and overall ATK scaling. Unlike traditional DPS characters, Hotori benefits more from burst amplification than sustained damage.
|
Arc |
Effect |
Why It Matters |
|
Marching Beyond Time (Signature Arc)
|
Increases Ultimate damage and provides DEF ignore when conditions are met |
Best-in-slot. Maximizes her burst damage and synergizes perfectly with her Time Stop playstyle |
|
Fluff of Fearlessness (Alternative Arc)
|
Grants ATK and CRIT Rate after using Ultimate |
Strong alternative. Improves consistency and boosts damage during her burst window |
|
The Forgotten (Budget Option)
|
Provides ATK increase when above certain HP thresholds |
Beginner-friendly. Solid early option, but lacks the scaling of higher-tier Arcs |


Recommended Hotori Cartridge / Modules
For Hotori, your gear setup should focus on maximizing her Ultimate damage and overall ATK scaling rather than sustained damage. So building the right stats is essential for increasing her burst potential and making full use of her DEF ignore mechanics.
Best Cartridge Setup
|
Cartridge |
Effect |
Why It Matters |
|
Lost Radiance
|
Increases Cosmos DMG and allows Hotori to ignore enemy DEF after using Ultimate |
Best choice. Strong synergy with her Ultimate-focused kit and significantly boosts burst damage |

2-Piece Bonus: Cosmos DMG +10%
4-Piece Bonus: Ignores 25% of enemy DEF for 20s after using Ultimate
Combined with A6:
-
Up to 55% DEF ignore, making her scale extremely well with ATK
Recommended Stats for Module Setup
To optimize Hotori’s performance:
-
Main Stats: ATK% → Cosmos DMG → CRIT Damage → HP%
-
Substats Priority: ATK% → Universal DMG → CRIT Damage → ATK+ → HP+
Recommended Teams for Hotori
Hotori is a high-impact support character who amplifies team damage through time manipulation and skill replay mechanics, so the best Hotori teams are built around strong support skills, burst DPS units, and reactions that benefit from her Time Stop windows.
So, below are the best teams you can build around Hotori:
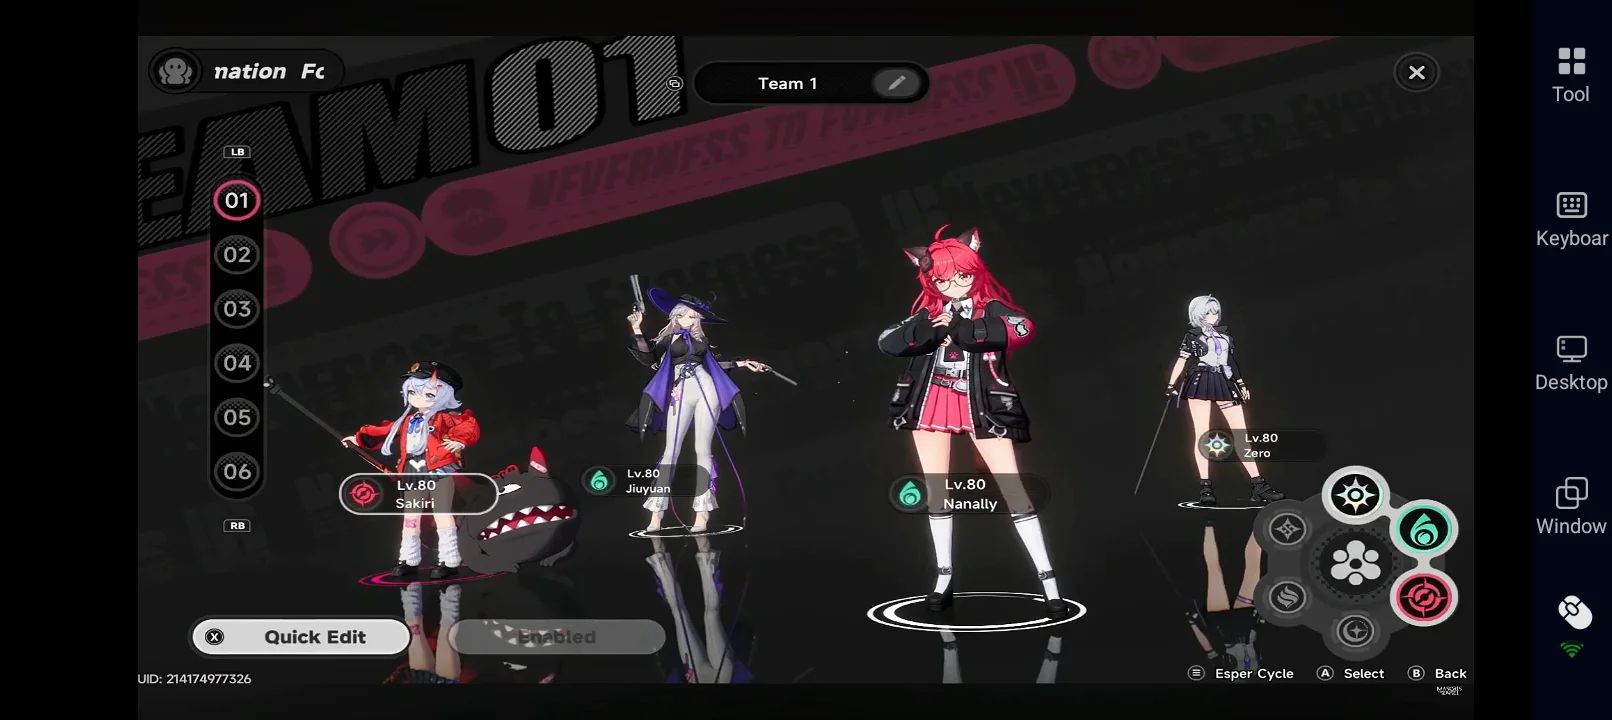
Burst Replay Team
This is Hotori’s strongest team for boss fights and high-end content. It focuses on recording powerful support skills and replaying them during Time Stop to create massive burst damage windows.
|
Character |
Role |
Why They Work Well |
|
Hotori
|
Sub DPS / Burst Support |
Records and replays key support skills, enabling massive burst windows during Time Stop |
|
Nanally
|
Main DPS |
Provides high burst damage and benefits heavily from replayed buffs and Time Stop windows |
|
Sakiri
|
Support / Buffer |
Provides strong ATK buffs and grouping, which can be recorded and replayed for extra value |
|
Jiuyuan
|
Utility / Support |
Groups enemies and stabilizes rotations, making it easier to set up burst windows |


Why this team works:
-
Multiple high-impact support skills for recording
-
Strong burst scaling during Time Stop
-
Excellent synergy with buff stacking and replay mechanics
-
Ideal for boss fights and endgame content
Blossom Reaction Team
This team focuses on triggering Cosmos + Anima (Blossom) reactions while using Hotori to amplify damage through replayed support skills and Time Stop burst windows.
|
Character |
Role |
Why They Work Well |
|
Hotori
|
Sub DPS / Burst Support |
Enhances reaction damage by replaying support skills during Time Stop |
|
Nanally
|
Main DPS |
Strong AoE damage and works well with Blossom reactions |
|
Zero
|
Sub DPS / Enabler |
Quickly triggers Blossom reactions and enables fast rotations |
|
Haniel
|
Buffer |
Provides consistent ATK and damage buffs that Hotori can record and replay |


Why this team works:
-
Consistent Blossom reaction uptime
-
Strong synergy with Cosmos-based teams
-
Hotori amplifies both buffs and reaction damage
-
Works well for mixed content (AoE + bosses)
Should You Pull Hotori?
Hotori is one of the most unique support characters in Neverness to Everness, especially if you’re looking for a high-impact unit that amplifies team damage through burst windows and time manipulation. As a time-control support, she significantly increases your team’s damage by recording and replaying key abilities, creating powerful burst opportunities that can outperform traditional setups when used correctly.
She is a limited banner character, which means her availability is restricted, making her a valuable pull if you want long-term support that scales well with stronger teammates. Because of her unique mechanics and strong synergy potential, Hotori is especially valuable in endgame content where burst timing and optimization matter the most.
Conclusion
Hotori is a high-impact support in Neverness to Everness who rewards smart gameplay, proper timing, and strong team synergy, making her one of the most powerful burst enablers when used correctly. If you invest in her build, understand her rotation, and pair her with the right teammates, Hotori can significantly elevate your overall gameplay and team performance, and with OSLink, you can easily practice rotations, test team setups, and manage your progression remotely from your phone without being tied to your PC.
 Download