English

Getting started in Azeroth is easier when you know how to make the most of your early levels. Whether you're a new adventurer or a Classic WoW veteran, this World of Warcraft: Forever early leveling guide will help you find efficient questing routes, unlock useful profession buffs, tackle rewarding dungeons, and earn XP more quickly. Prepare your gear, choose your faction, and get ready to level up!
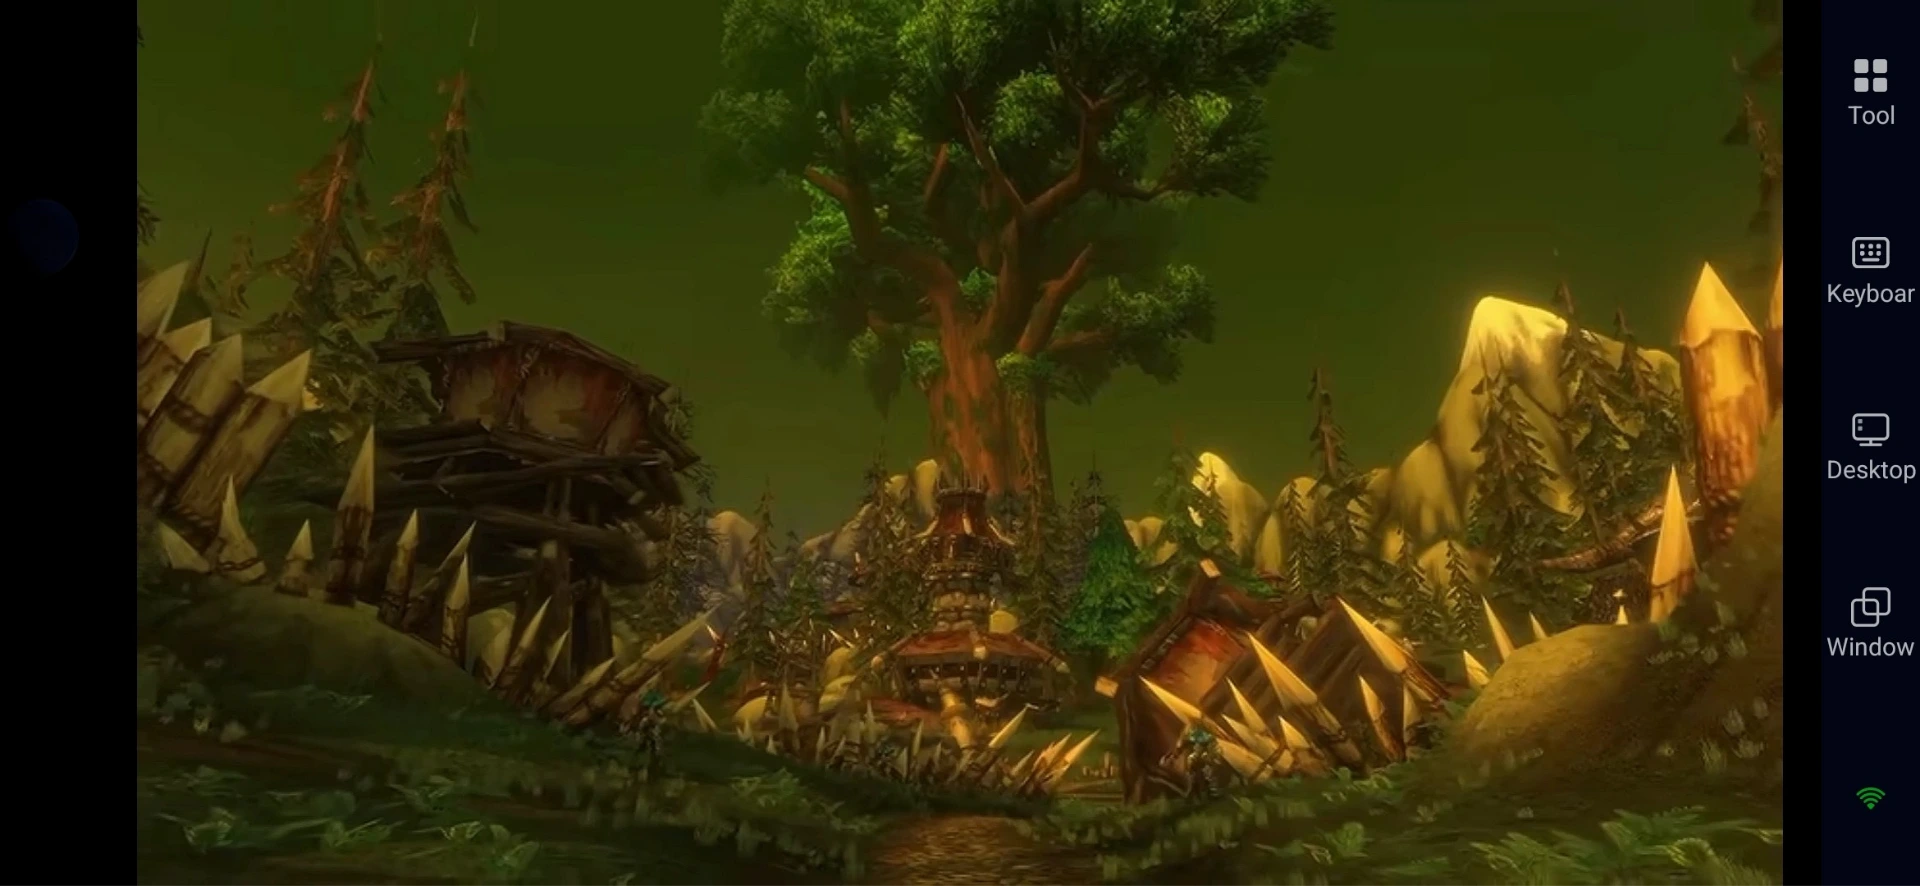
Making steady leveling progress means getting the most out of every quest, XP bonus, and dungeon run. If you want to keep playing while away from your PC, OSLink lets you remotely play World of Warcraft: Forever on your phone. This way, you can continue questing, manage your character, and work toward your leveling goals even when you're away from your usual setup.
What's New in World of Warcraft: Forever Leveling?
Make the most of the new campfire system, profession bonuses, and early crafting recipes! These features can improve your combat stats, increase your experience gains, and help you survive tougher enemies. Here are the systems you should prioritize to make your early leveling journey smoother.
1. Use the New Campfire System
The new campfire system lets you place profession-specific items around a campfire to receive different buffs for 60 minutes. Depending on the item you use, these bonuses can improve your Attack Power, Strength, Stamina, Spirit, and other stats.
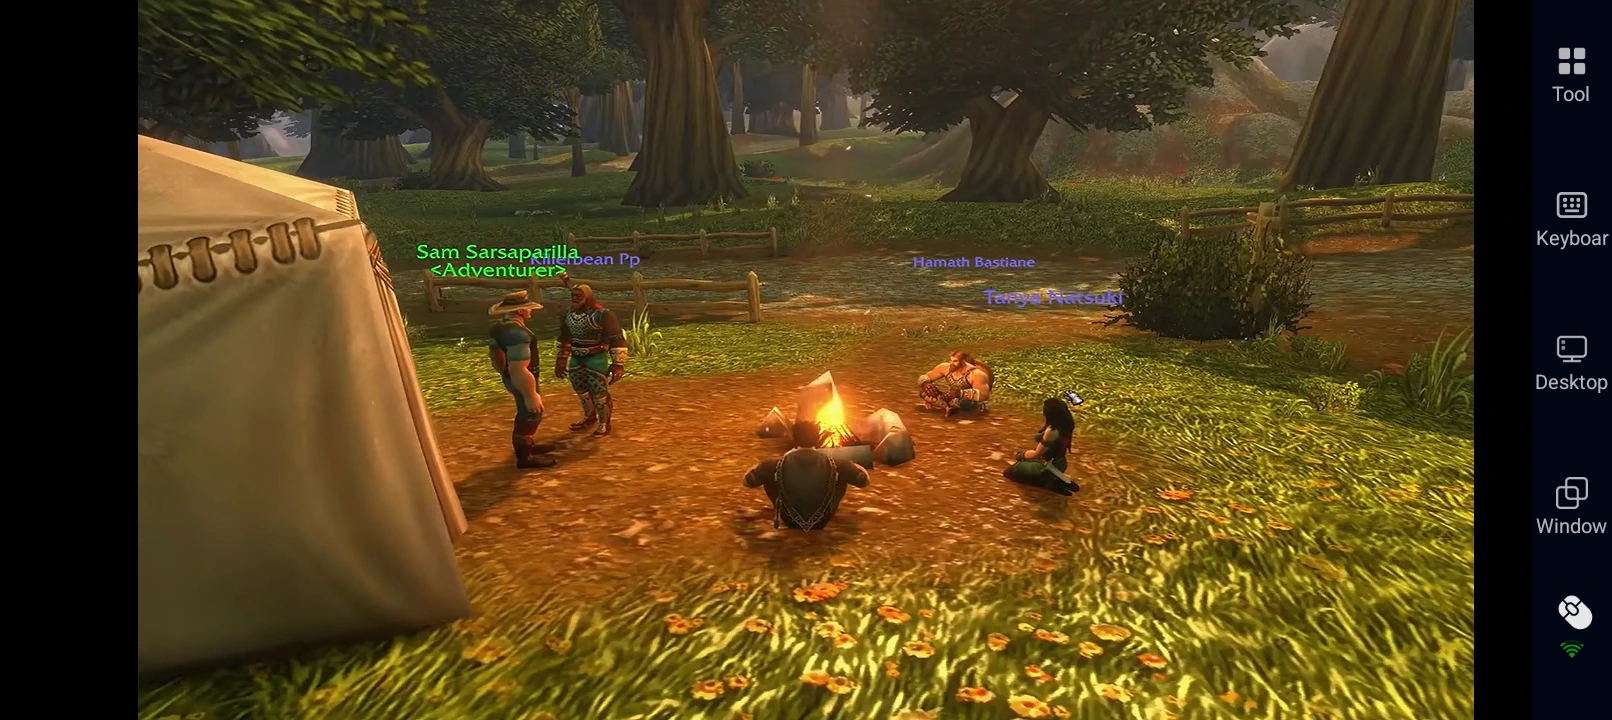
However, the Camp Tent is the item you should pay special attention to. You can make the most of this feature by following these steps:
- Craft a Camp Tent: Leatherworkers can learn to craft this item at approximately skill level 20.
- Gain Rested XP: Using the tent grants 5% of a level's worth of rested experience.
- Use it hourly: You can receive this bonus once every hour.
- Watch your Rested XP: During beta testing, the tent appeared to provide no additional rested experience if you already had some accumulated. This may change with the official release.
Tip: Don't spend too much time setting up camp during levels 1–10. Killing mobs can be more efficient at this stage. The Camp Tent becomes more valuable as you progress and spend longer leveling.
2. Prioritize Cooking and First Aid
Cooking and First Aid are two professions worth investing in early. Both have received significant changes in World of Warcraft: Forever, giving you more ways to improve your leveling experience, deal with enemies, and stay alive.

Cooking: Get More XP From Food Buffs
Cooking is especially useful because some new recipes provide stat bonuses alongside a flat 5% increase in XP gained from kills for 15 minutes. This makes them great when you're farming mobs or clearing enemies while questing.
You should also consider unlocking the Gourmet legacy talent under the Resourcefulness talent tree.
- Spend three talent points to max out Gourmet.
- Increase the duration of the new food buffs from 15 to 30 minutes.
- Spend less time refreshing buffs and more time questing or farming mobs.
- Get more value from food buffs when leveling multiple characters.
First Aid: Improve Your Survival
First Aid has also received a major overhaul, with several new items that give you extra ways to handle dangerous situations. You can now craft:
- Antivenom: Helps you deal with poison.
- Anti-disease items: Give you additional options against diseases.
- Tourniquets: Help deal with bleeds.
- Healing potions: Provide different healing options to support your survival.
3. Craft Your Own Early Gear
Don't overlook your primary professions when looking for the best way to level. World of Warcraft: Forever introduces hundreds of new crafting recipes, making professions much more rewarding during the early game.
Unlike traditional Vanilla WoW, where early crafting mostly produced white-quality equipment, Forever lets you craft green-tier gear as early as level 2 after learning a profession. Some professions can even provide blue-tier equipment with useful stat bonuses that you can equip from level 10.
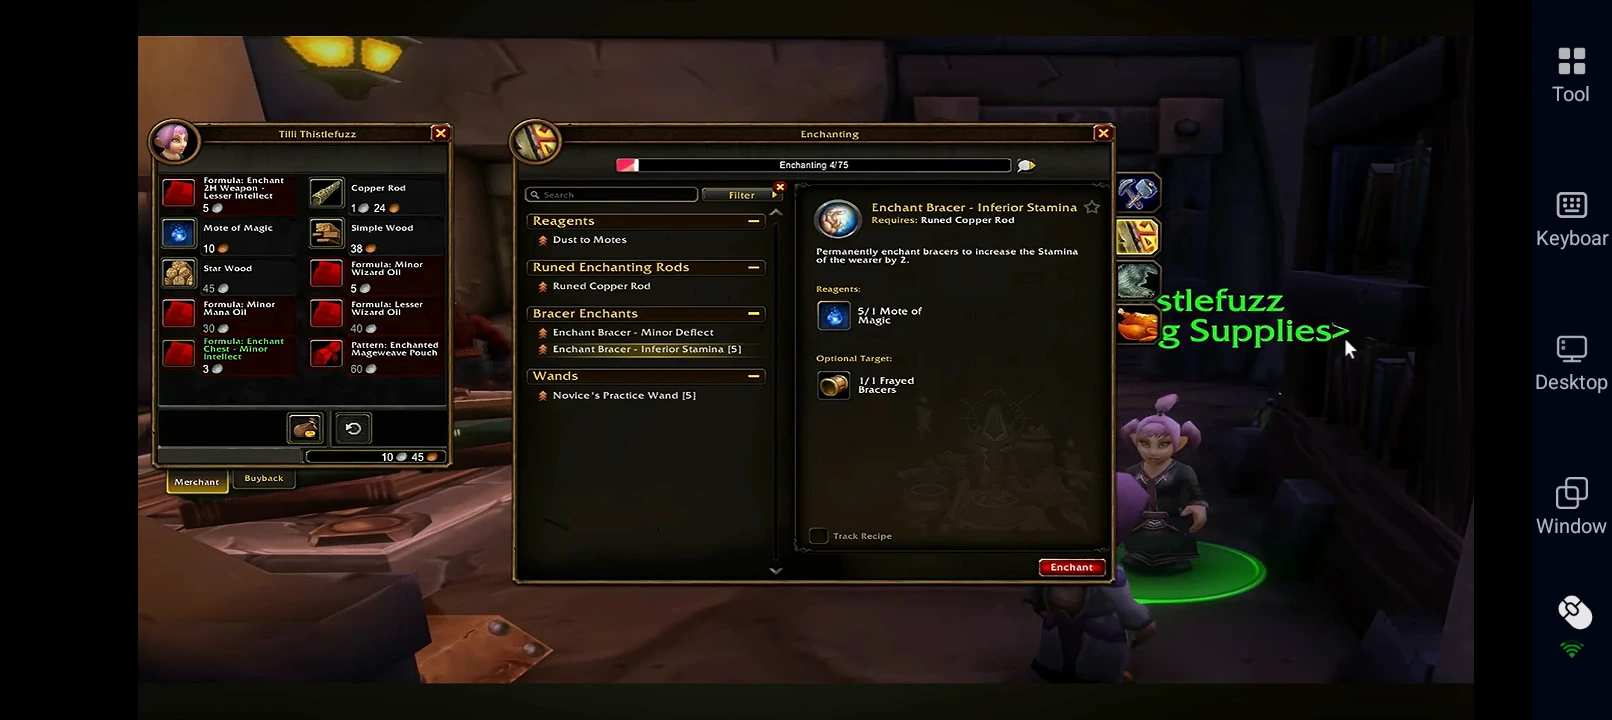
Getting into crafting early can save time, gold, and effort as you level:
- Get better equipment sooner: Craft green-tier gear from level 2 and improve your early combat performance.
- Unlock stronger upgrades: Some professions offer blue-tier equipment with significant stat bonuses from level 10.
- Save your gold: Crafting your own upgrades can reduce your need to buy equipment from other players.
- Make leveling easier: Better gear can help you deal with enemies more comfortably as you complete quests and explore new areas.
Best Leveling Tips to Gain XP Faster in World of Warcraft: Forever
Before following the leveling routes, there are a few additional tricks that can help you get more experience throughout your journey.
| Leveling Tip | Why It Matters |
| Max out Well-Rested | Accumulate rested experience 20% faster and increase your rested XP cap by 20%. |
| Complete the Cozy Sleeping Bag quest | Unlock a sleeping bag that provides up to 3% bonus experience gain from all sources. |
| Level Cooking | Use food buffs that provide 5% additional XP from kills. |
| Invest in Gourmet | Extend your food buff duration from 15 to 30 minutes. |
| Learn professions early | Unlock useful buffs, crafting quests, and better equipment. |
| Complete new dungeon quests | Earn substantial XP and useful gear upgrades. |
| Collect flight paths | Reduce unnecessary travel time between questing areas. |
| Keep your quests organized | Complete multiple objectives in the same area before returning to turn them in. |


 AFK Anywhere, Progress Anytime


Complete the Cozy Sleeping Bag Questline
One of the most useful early-game bonuses comes from the Cozy Sleeping Bag questline, originally introduced in Season of Discovery. Completing this questline rewards you with a sleeping bag that you can place approximately once per hour. Using it provides up to a 3% flat experience bonus from all sources. You'll also receive consumables that provide around 30% rested XP each. You can complete this questline at approximately level 14, making it a great addition to your early leveling plans.
Invest in the Well-Rested Legacy Talent
Another useful upgrade is the Well-Rested talent in the legacy talent tree. This talent increases your rested experience accumulation rate by 20% and raises your rested XP cap by another 20%.
It's particularly useful if you don't play every day. Simply leave your character in a rested area when logging out, and you'll accumulate rested experience more efficiently for your next session.
World of Warcraft: Forever Alliance Leveling Guide
Elwynn Forest is a great area to prioritize, with approximately 25 new quests compared to around 12 in Teldrassil. Night Elf players can also travel to Elwynn Forest after completing their starting-zone quests.
Levels 1–6: Complete Your Starting Zone
Complete the available quests in your starting area before moving on. Each race has new questlines, so don't skip them. Human players should look for a book dropped by Kobolds in Northshire. It starts a questline that eventually rewards several green-tier weapons.
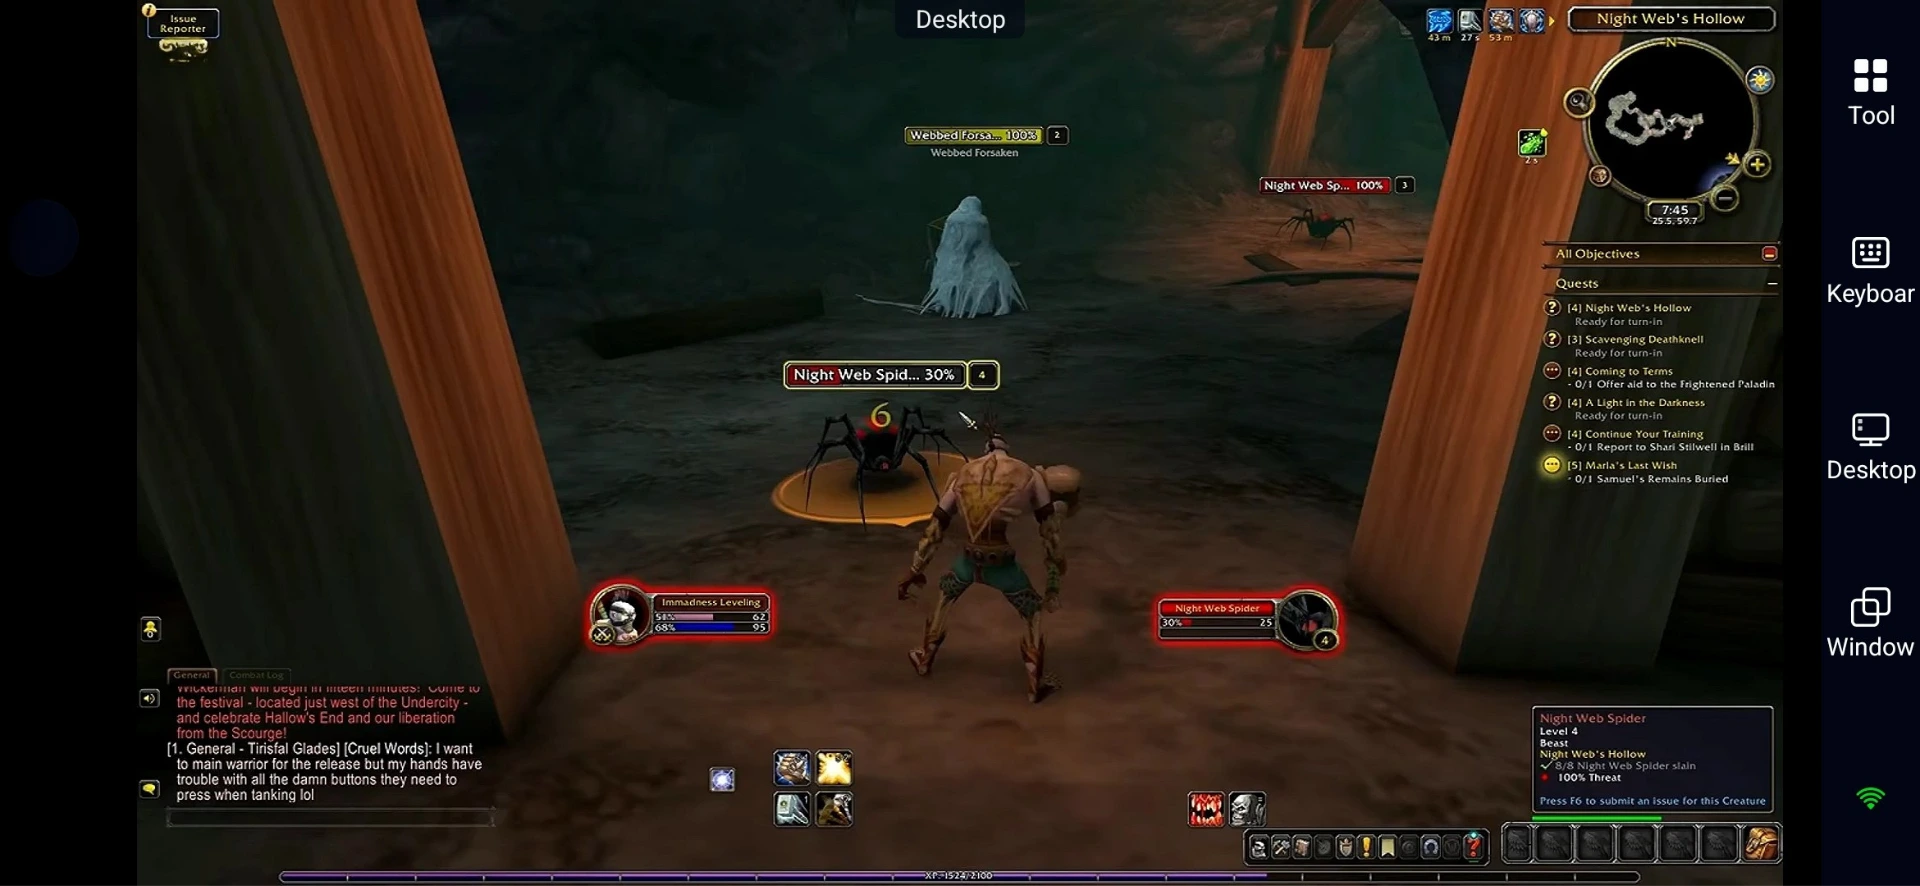
Levels 6–9: Explore Elwynn Forest
After leaving your starting zone, look for the camping adventurer. This NPC introduces the campfire system and offers profession quests. Visit your profession trainers and raise your skill to around 20 before returning for the related quests.
Follow this route:
- Pick up Fishing Traps and Shiny Junk near the docks by the Leatherworking trainer.
- Complete Fishing Traps first.
- Finish the Kobold quests and available farm quests.
- Collect the Kelp quest.
- Complete all three Murloc objectives in the same area.
- Turn in your quests and pick up A Man About a Murloc.
- Return to the farms for Escape, the boar-killing quest, and the flower-collecting objective.
Levels 9–11: Head Toward Eastvale Logging Camp
Travel east and collect these quests from the Tower of Azora:
- Stolen Enchanting Supplies
- Delicate Instruments
Then visit Eastvale Logging Camp and pick up its available quests, including Downstream from Horvyn Pelphrey. Complete the quests from south to north. When collecting the final item for Downstream, approach from the water carefully to avoid nearby enemies. Next, complete all three Jasperlode Mine quests and return to Goldshire. Finish Killing Princess and both Null quests. Leave Hogger for later.
Levels 11–13: Travel to Westfall and Dun Morogh
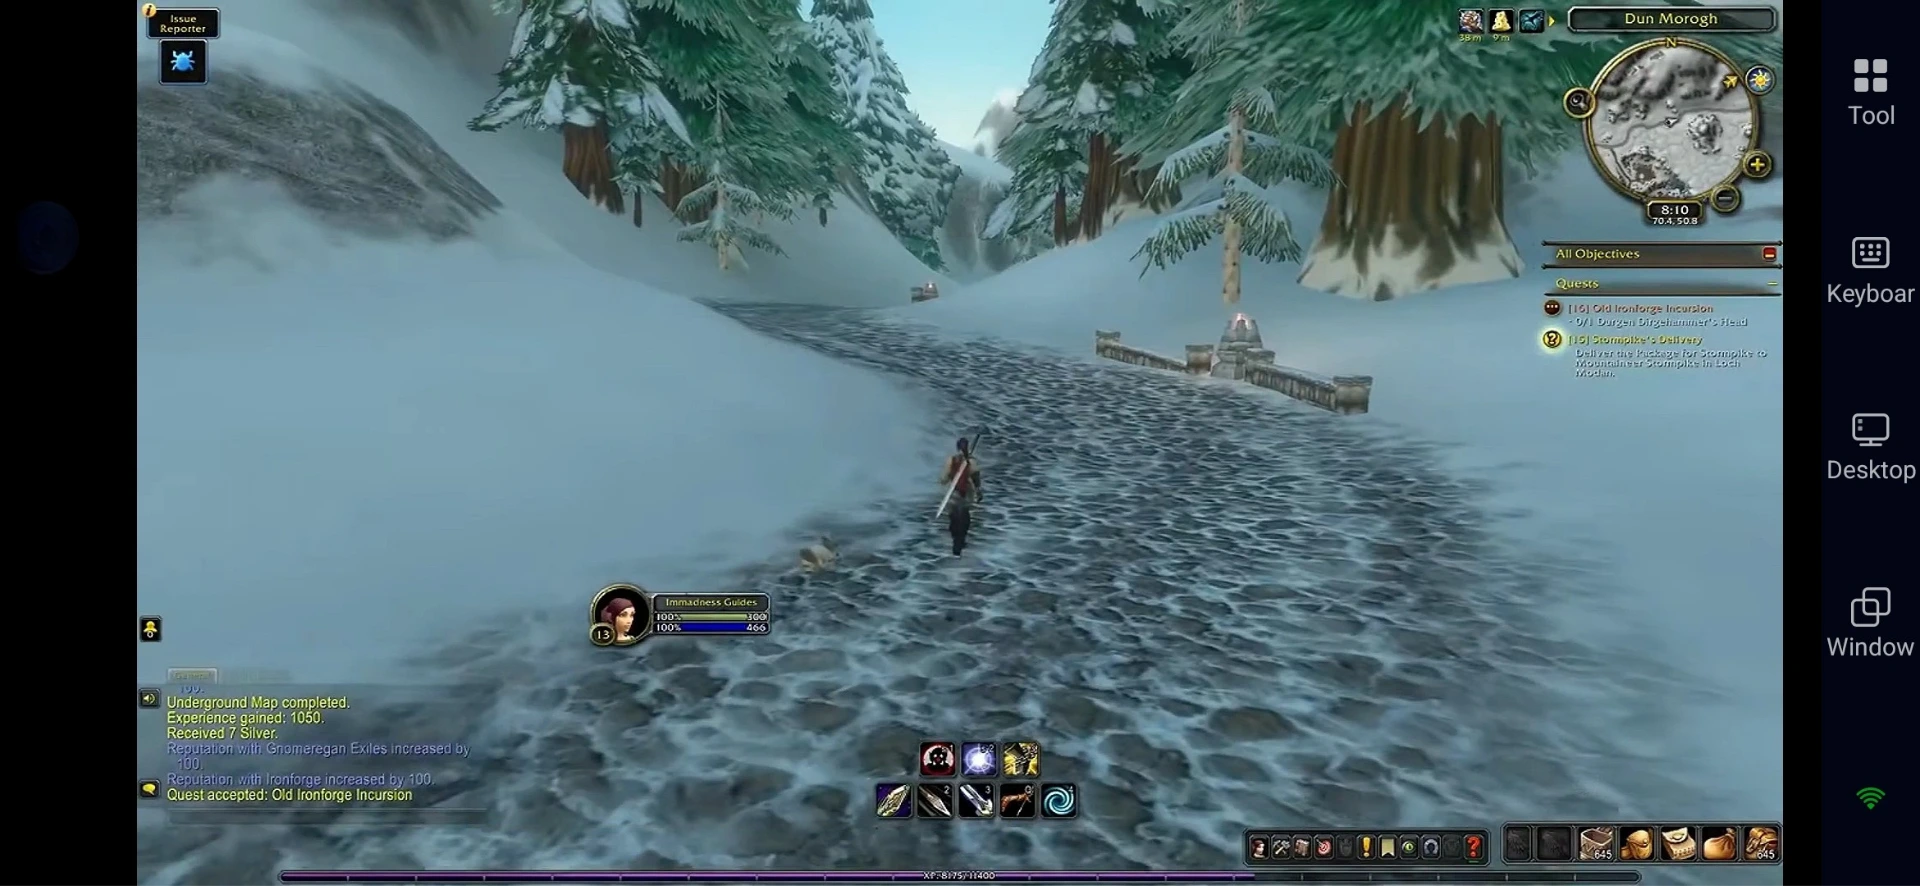
Start by collecting the available Westfall quests, but only complete Compass for now. Then visit Sentinel Hill, collect its quests, and unlock the flight path. Use your Hearthstone to return to Goldshire and turn in Hogger. Travel to Stormwind and pick up Stormpike Delivery from the Dwarven District. Take the tram to Ironforge and complete Rat Catchers. Unlock the flight path before leaving. Next, visit Beldin Steelgrill in the northeasternmost house in Kharanos to start A Visitor in Dun Morogh.

While exploring Dun Morogh:
- Complete the Vagash questline.
- Finish both quarry questlines.
- Pick up the missing-person quest and defeat the named enemy.
Finally, travel through the northern tunnel to Loch Modan and turn in Stormpike Delivery.
XP tip: Pick up the next Stormpike quest, but don't complete it yet. Travel to Thelsamar and abandon Stormpike Delivery. A guard should offer another quest worth approximately 800 XP, leading back to the same dwarf.
Levels 13–15: Complete Hall of Thanes
Return to Ironforge and find a group for Hall of Thanes. Pick up the two quests outside before entering.
Inside the dungeon:
- Complete the apparition-killing objectives.
- Clear all NPCs in the first boss room before leaving. Ghost variants stop spawning once you move on.
- Defeat the final boss and check your map for the objective in the randomized vault.
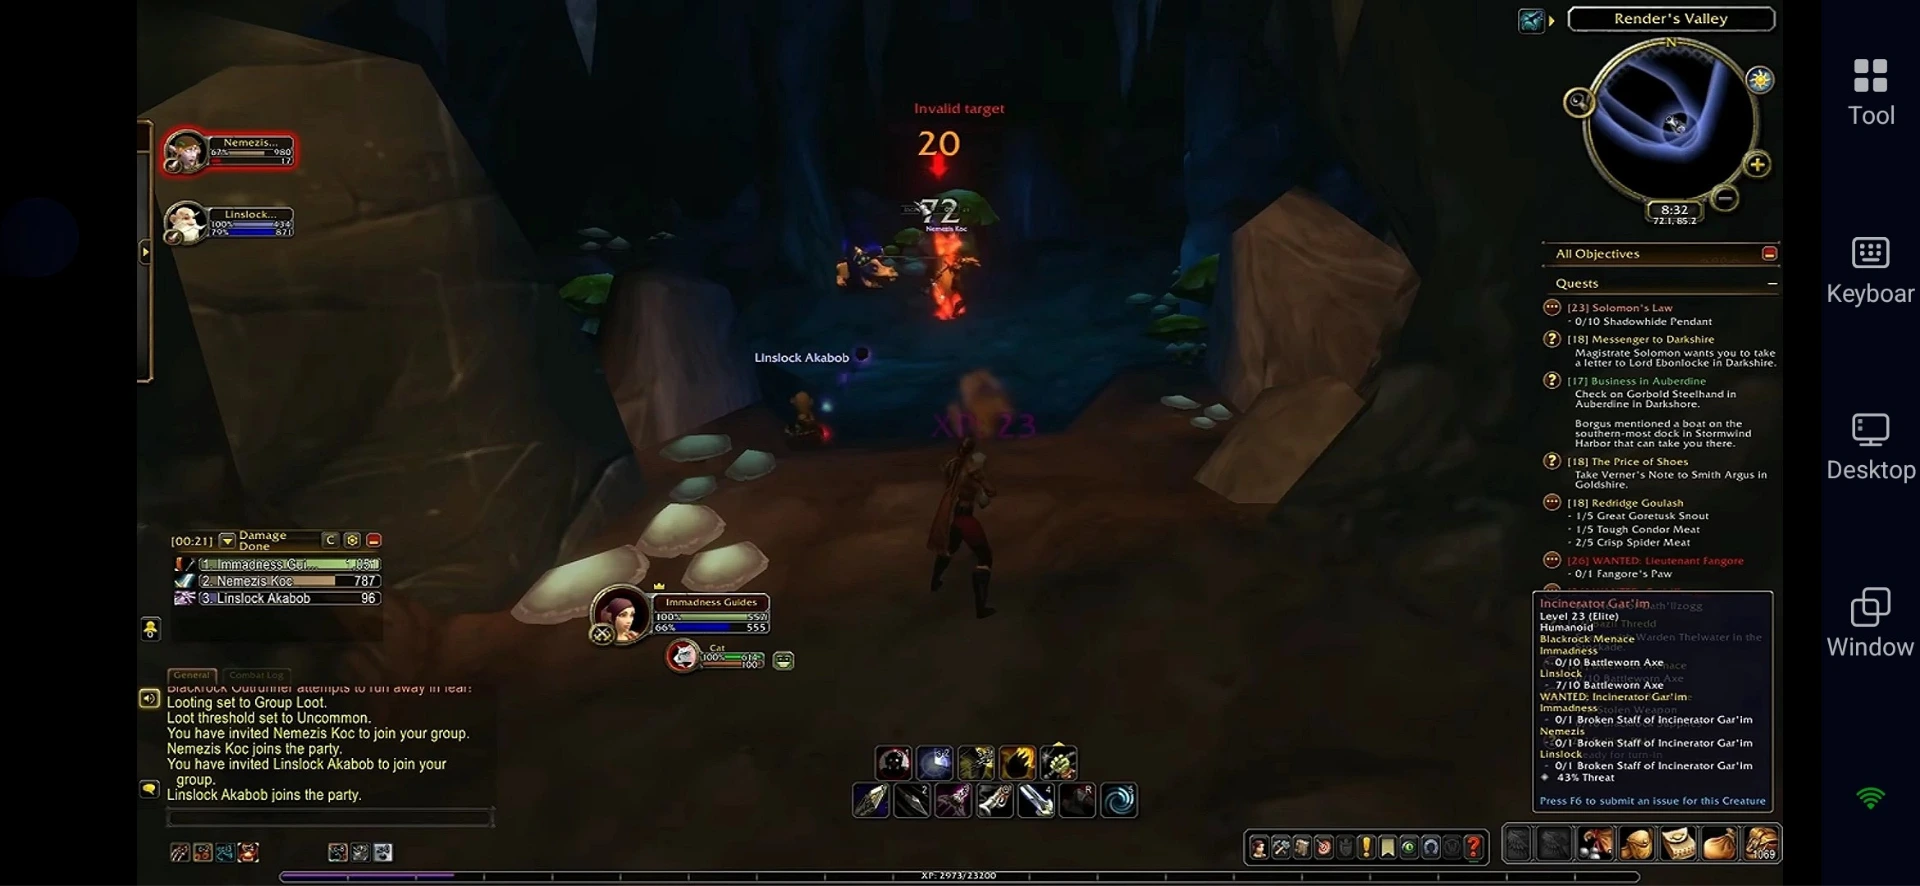
During beta, individual dungeon quests reportedly awarded around 35% of a level, making this a great XP opportunity.
Levels 15–16: Clean Up Westfall
Return to Westfall and complete the quests you skipped earlier. Look for the new Murloc quest that requires seven Murloc Fins. It eventually unlocks a Deadmines quest involving explosives. You can also check the Auction House for certain quest items to save time.
Levels 16–18: Travel to Ruins of Lordaeron
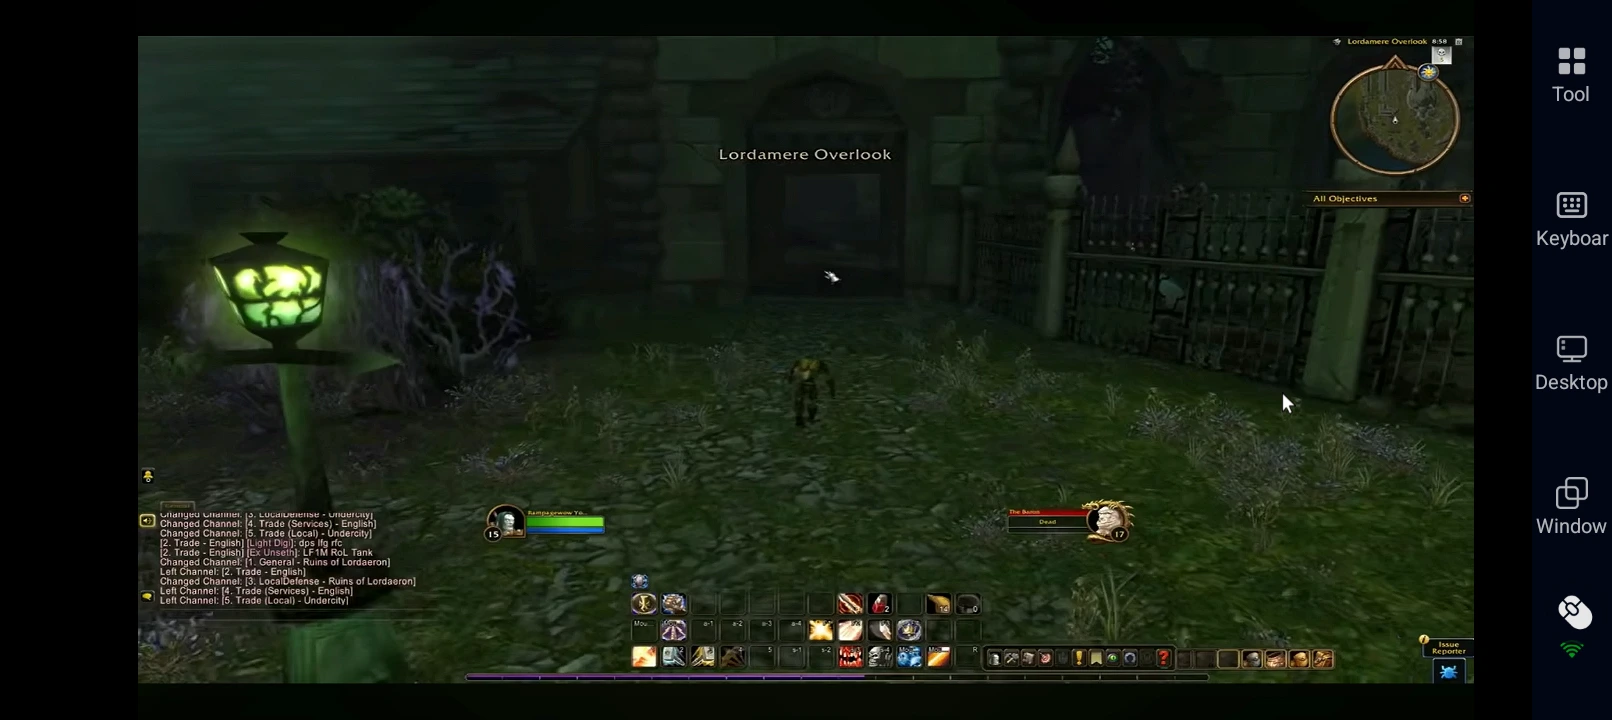
Travel to Stormwind Harbor and take the boat to Auberdine. Board the next boat toward the Wetlands, but stay aboard when it arrives. Southshore is the third destination. From Southshore, travel west through Silverpine Forest and north toward Tirisfal. Enter through the Undercity entrance and take an immediate left to reach Ruins of Lordaeron. Watch out for Horde players camping the entrance, as you may encounter PvP.
Inside the dungeon:
- Pick up all available quests.
- Look for a shield crest that randomly spawns on tower-top walls.
- Loot the crest and turn it in for additional XP.
During beta, these new dungeon quests appeared to offer more experience than older Vanilla WoW dungeon quests.
Levels 17–18: Complete Redridge Mountains
Unlock the Redridge flight path and collect the available quests. Start with the toolbox and Hillary's necklace objectives in the lake.
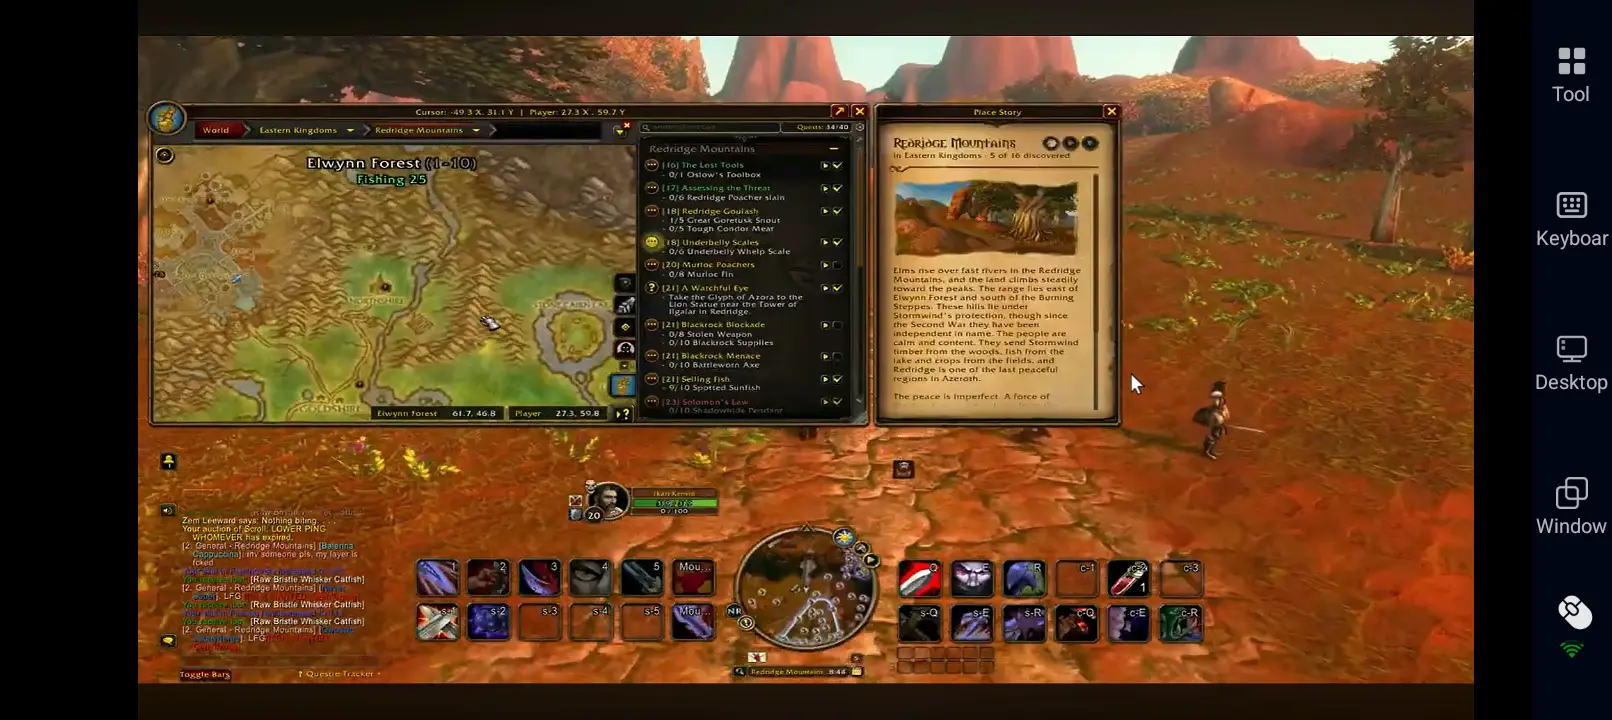
Then complete these tasks:
- Kill the giant spiders near the northeastern sawmill.
- Defeat the Murlocs south of the lake.
- Complete both Gnoll objectives.
- Kill the Orcs east of town and collect weapons from crates.
- Defeat the elite enemy inside the tunnel with a group of around three players.
Levels 18–20: Run Deadmines
At level 18, return to Stormwind and collect the Deadmines quests:
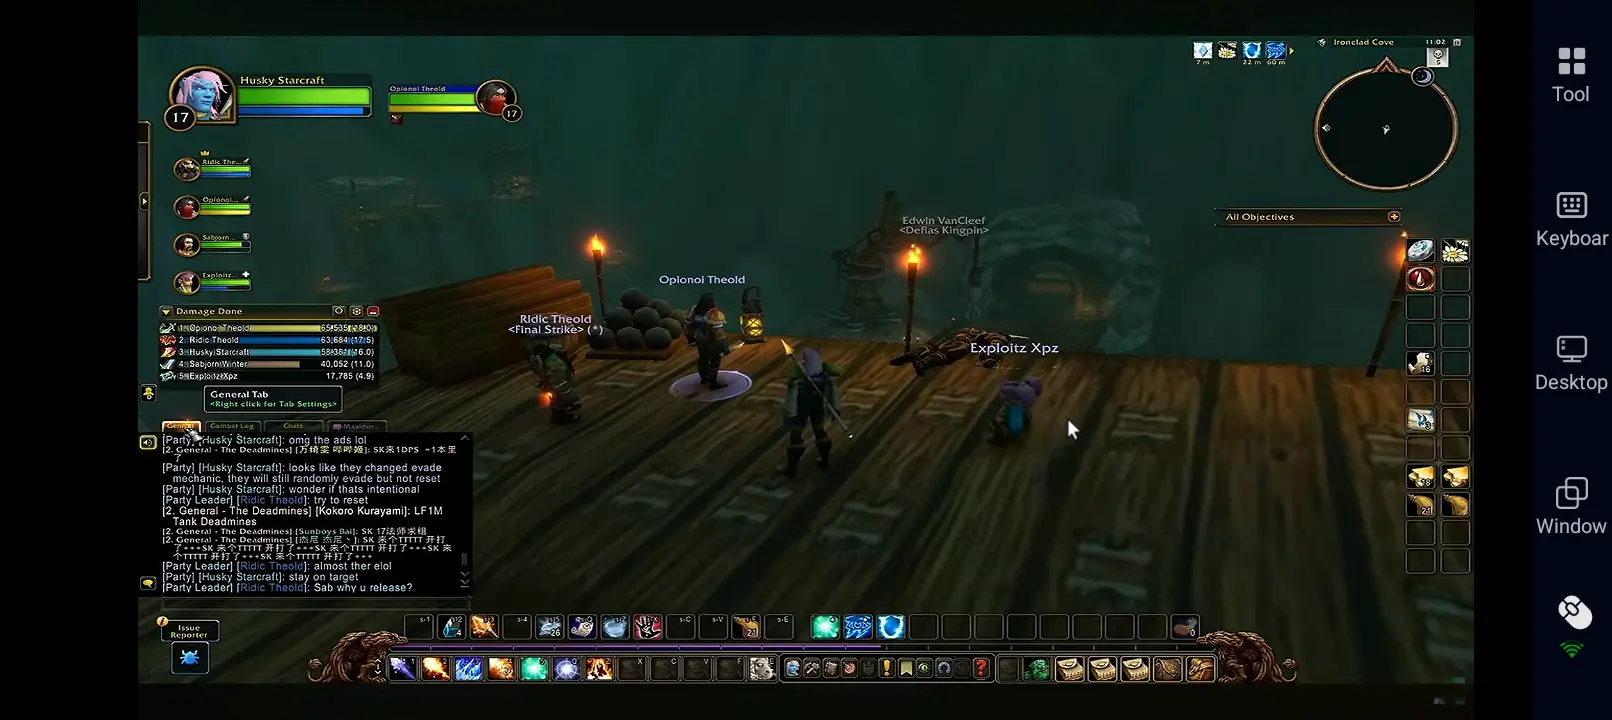
- Compass from Cathedral Square.
- Three quests from the Dwarven District.
- Gnome Sprocket.
- Two quests from the nearby inn.
- Red Bandannas from Sentinel Hill.
- Defias Messenger, progressed to the dungeon escort objective.
Find a group and enter Deadmines. Complete Prospector's Badge, but don't worry too much about the Four Miners' Card. Remember to plant the explosives in the bottom-middle section of the Heat Room, where the Goblins are located. After completing the dungeon and turning in your quests, return to Redridge Mountains and continue leveling until 21.
Levels 21–25: Continue Through Duskwood and Nearby Zones
At level 21, continue questing in Duskwood and complete the available objectives around Darkshire. Focus on quests that share nearby locations to reduce unnecessary travel. If the enemies become too difficult or you run out of quests, return to Redridge Mountains or Loch Modan to finish any remaining quest chains.
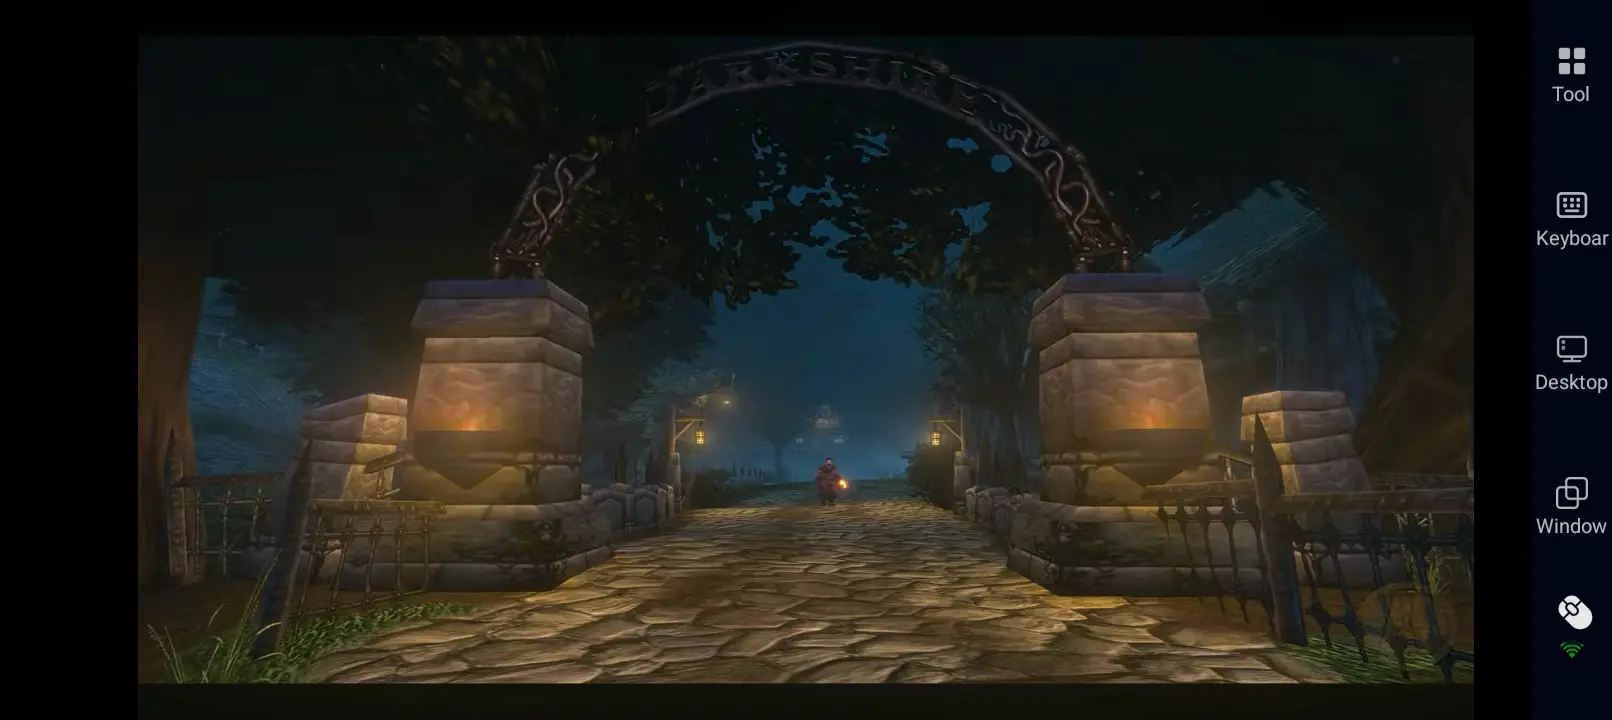
If you're looking for additional XP with a group, consider visiting the Excavation Site in Wetlands around levels 24–29. Whelgar's Excavation offers dungeon-related objectives worth checking before you travel.
Levels 25–30: Explore Wetlands and Redridge Mountains
Once you reach the mid-20s, expand your route into Wetlands and Redridge Mountains. Menethil Harbor is a useful Alliance hub in Wetlands, while Lakeshire provides access to more quests in Redridge.
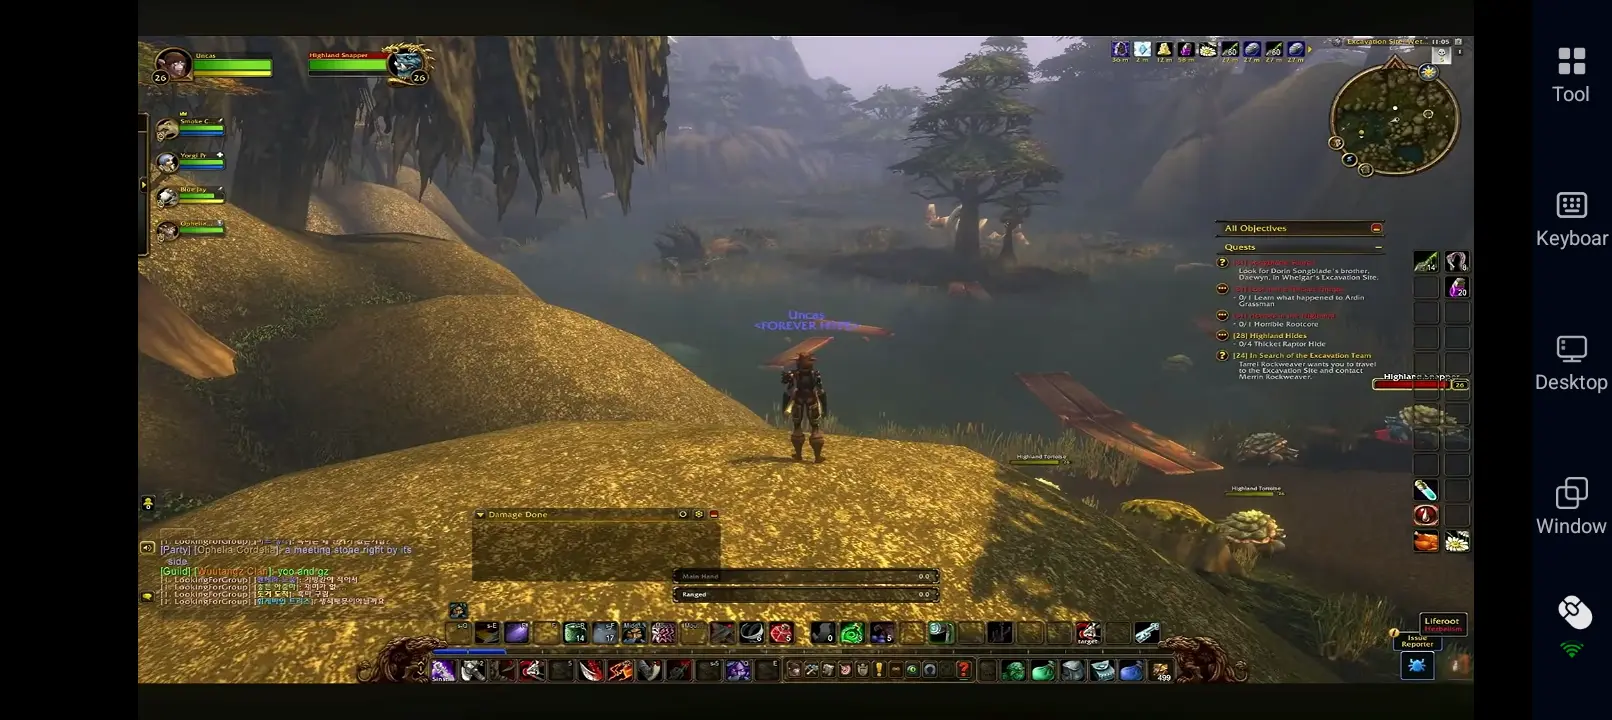
You can also continue through Darkshire if you still have unfinished quests. If you're exploring Kalimdor, travel from Auberdine toward Astranaar in Ashenvale for another set of quest opportunities.
For group leveling, City of Dalaran is another dungeon option around levels 28–33. Alliance players need to begin the attunement questline with An Alarming Request in Southshore before making the journey.
Levels 30–35: Head Toward Arathi Highlands
At level 30, start planning your next two leveling destinations. Refuge Pointe in Arathi Highlands is a useful Alliance hub, with additional quests to complete as you move through the region.
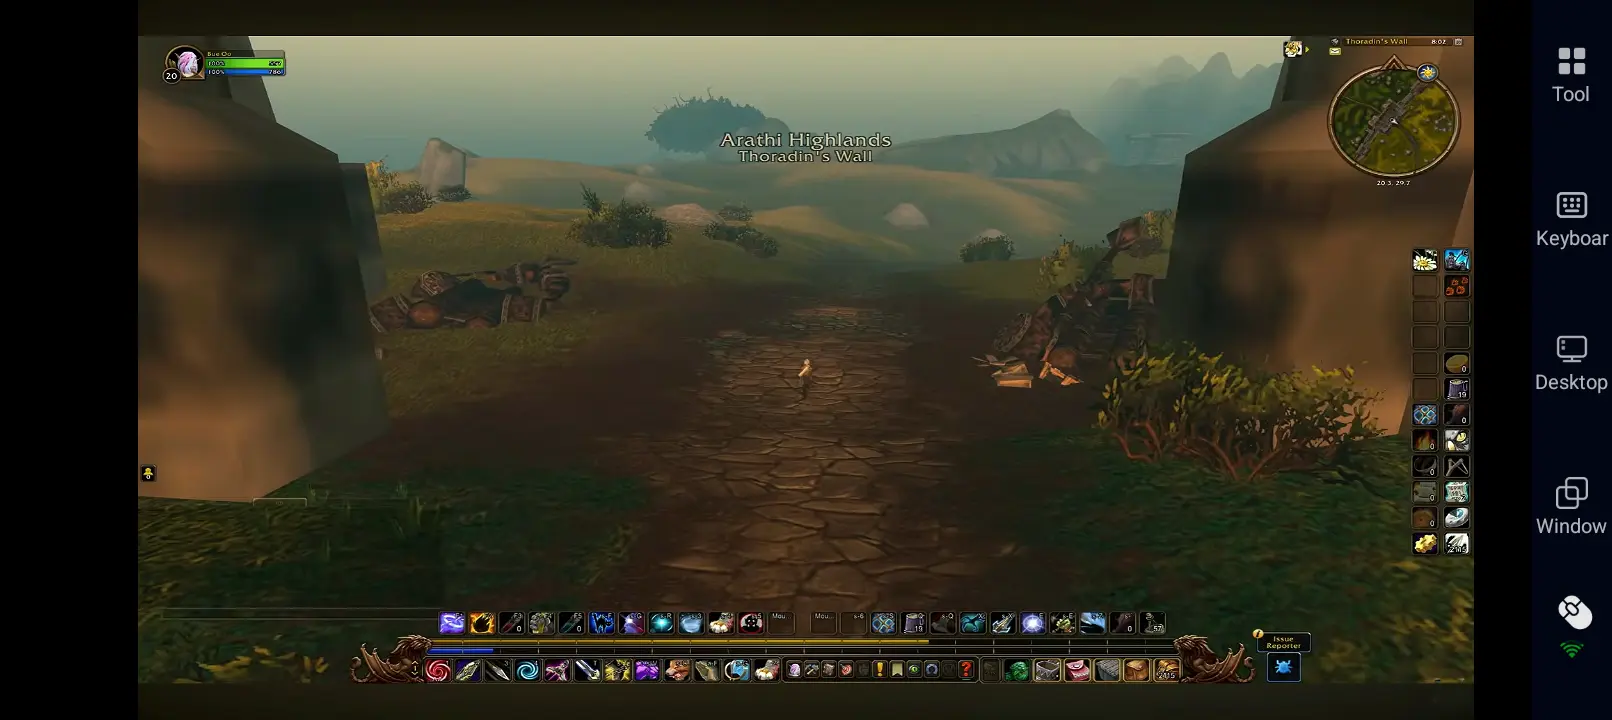
If you're already exploring the southern Eastern Kingdoms, northern Stranglethorn Vale is another option. You can finish nearby quest chains before traveling north toward Arathi Highlands.
Don't rush into higher-level areas if enemies are taking too long to defeat. With no level scaling, returning to an earlier hub and finishing available quests can be more efficient than struggling through difficult encounters.
Levels 35–45: Explore Riverglades
Riverglades becomes an important leveling destination between levels 35 and 45, with more than 150 new quests reported across much of this level range. Alliance players can use Farholde Keep as their main questing hub.
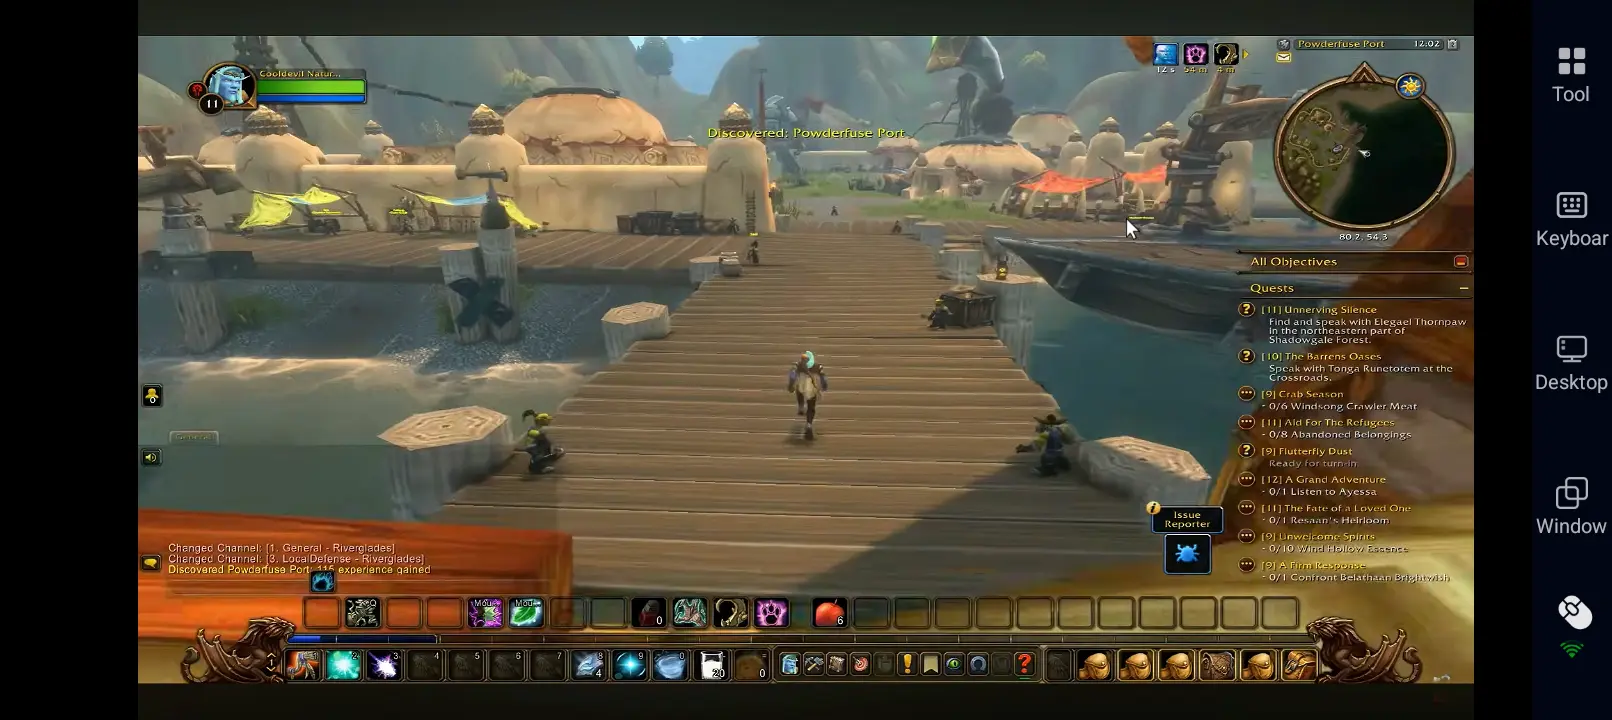
If you're already questing in Kalimdor, Desolace is a useful alternative for unfinished quest chains before traveling across the sea. Plan your travel carefully, as moving between continents can take time.
This level range also introduces additional dungeon opportunities:
- The Drowned City (35–40): A group dungeon option near Stranglethorn Vale.
- Krol'dok Stronghold (40–45): Check whether your party is ready before leaving Riverglades.
Levels 45–52: Move Toward Tanaris and Feralas
Once you reach level 45, start moving toward Tanaris. Gadgetzan is the main Alliance questing hub here, offering another collection of objectives to complete as you approach the later leveling stages.
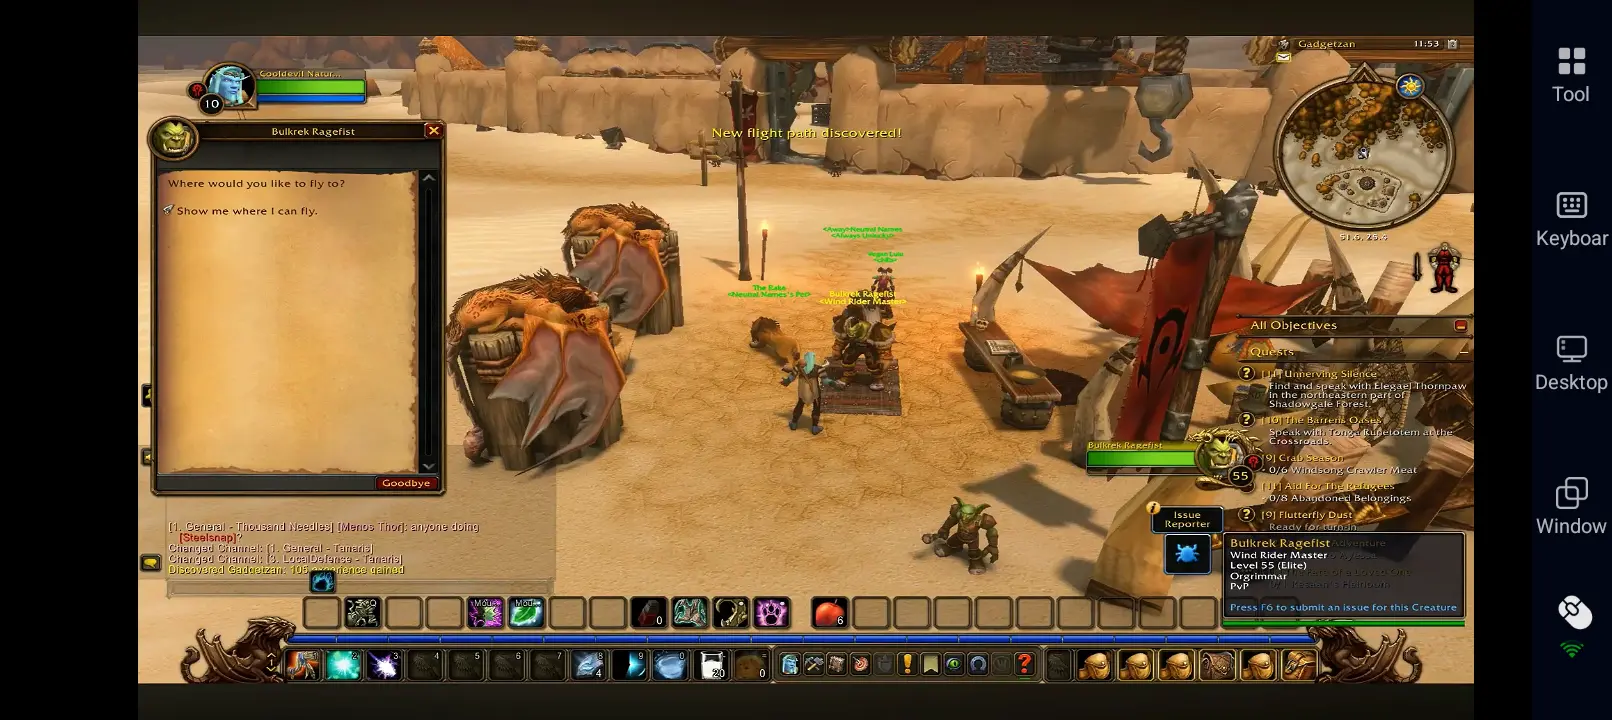
If you're already in Feralas, check the available quests around Feathermoon Stronghold before leaving. Completing nearby objectives can save you from making unnecessary trips between zones.
Around levels 48–53, groups can also consider Alcaz Prison on Alcaz Island in Dustwallow Marsh. Check the dungeon's requirements and gather your party before traveling there.
Levels 52–60: Finish Your Journey to 60
For the final stretch, begin with unfinished quests around Marshal's Refuge in Un'Goro Crater. The area provides useful opportunities to earn the remaining experience needed to reach level 60.
Once you've completed the available quest chains, consider moving toward Western Plaguelands or Winterspring. Alliance players can use Chillwind Camp in Western Plaguelands or Everlook in Winterspring, depending on which location is easier to reach.
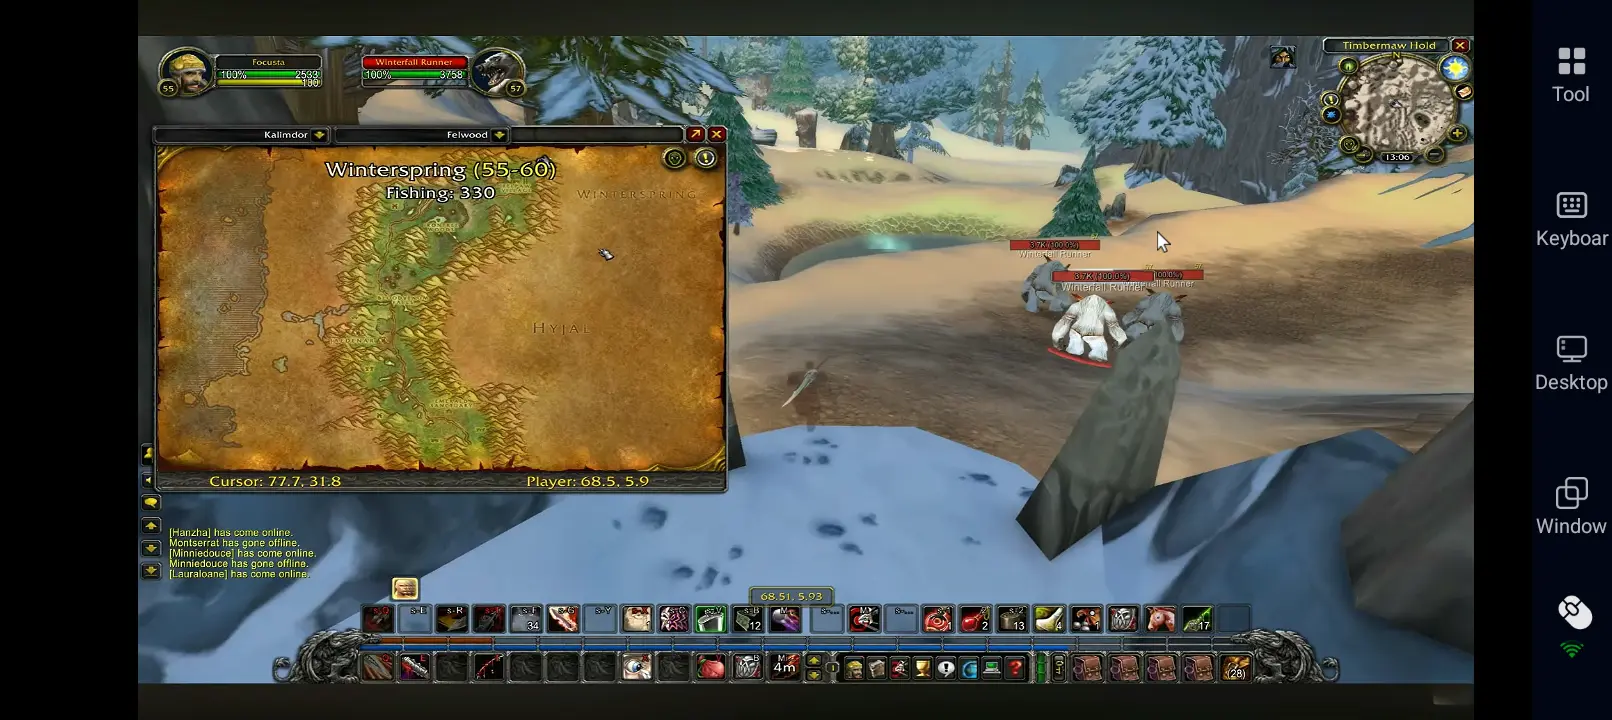
You can also take advantage of higher-level dungeon opportunities:
- Blackmaw Hold (55–60): An option for groups exploring Azshara.
- Shaper's Terrace (58–60): Another dungeon option in Un'Goro Crater.
Choose whichever dungeon is closer to your current location and suitable for your party's level.
At level 60, you've completed the main leveling journey. You can now start preparing for endgame dungeons, raid prerequisites, and other activities available at maximum level.
Important Dungeon Tips for Faster Leveling
Dungeons are a great way to earn experience and upgrade your equipment in World of Warcraft: Forever. The new dungeon quests make them even more rewarding, so try to complete them whenever they're available.
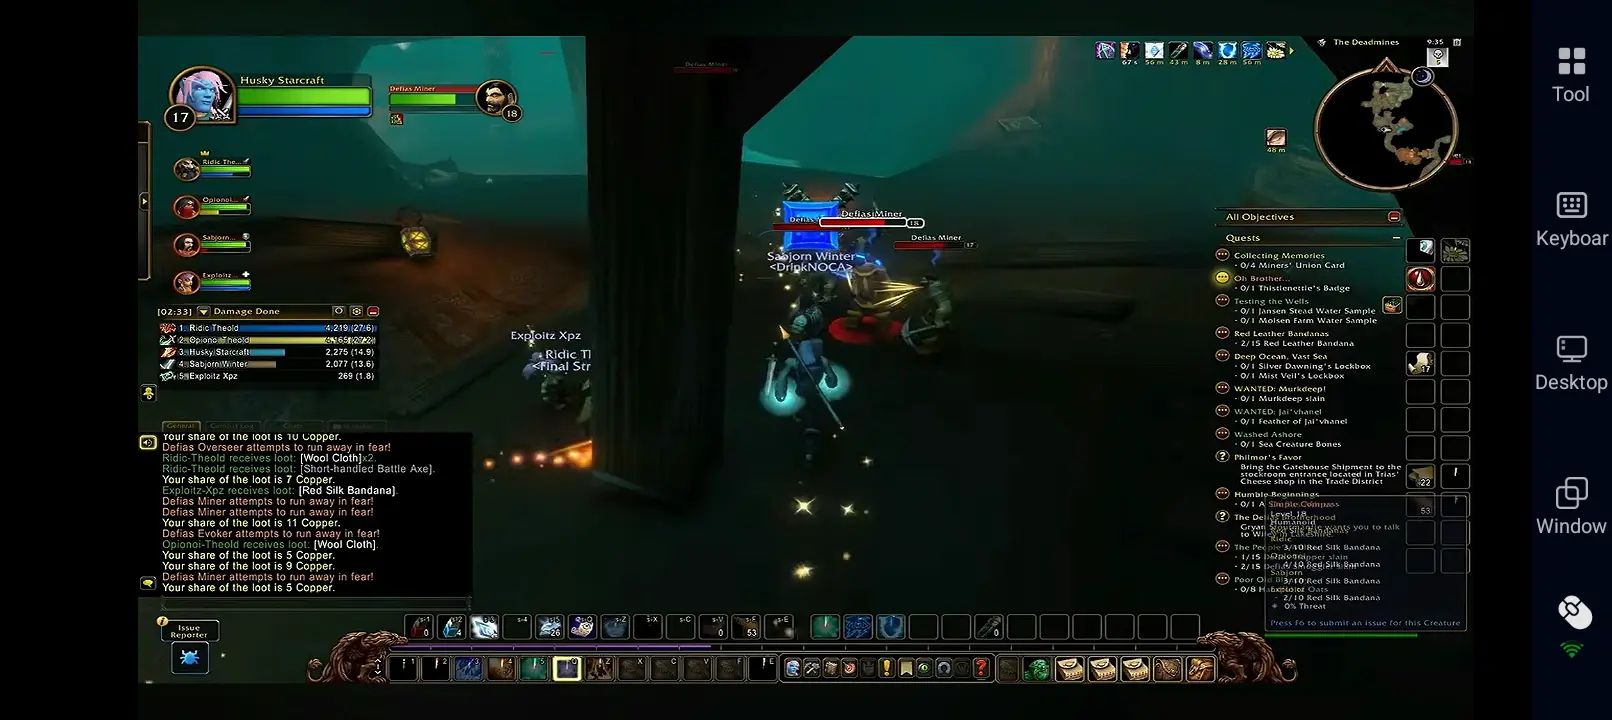
Keep these tips in mind to get the most out of each run:
- Pick up all available dungeon quests: Some quests are given outside the instance, while others can only be found inside. Check for both before starting.
- Complete multiple objectives in one run: Group quests together whenever possible to avoid repeating the same dungeon with another party.
- Look for hidden objectives: Ruins of Lordaeron, for example, has a randomly spawning shield crest quest that offers additional XP.
- Clear important rooms before moving on: Some enemies required for dungeon objectives may stop spawning once you progress beyond certain areas.
- Upgrade your gear regularly: Better equipment helps you defeat enemies more efficiently and makes dungeon runs smoother.
- Enter at a suitable level: Being at least one level above the minimum requirement can make encounters more manageable, especially if you're unfamiliar with the dungeon.
Conclusion
That's everything you need to know, players! Follow this World of Warcraft: Forever leveling guide to make the most of new quests, profession buffs, rested XP, and rewarding dungeons. Use our WoW Forever leveling speed guide to plan your route, save time, and reach higher levels faster. Most importantly, enjoy exploring Azeroth and make the most of your adventure! Want to keep leveling even when you're away from your PC? Use OSLink to remotely play World of Warcraft: Forever on your phone, allowing you to continue questing, earn XP, and work toward your next level wherever you go.
 Download