English

Looking for the best Aniimo to use in Season 1 Part 2? Our Aniimo Season 1 Part 2 Tier List ranks the new Aniimo based on their overall PvE performance, including damage potential, Break capabilities, team support, healing, Energy recovery, and versatility. Whether you're building a powerful DPS team or looking for reliable support, this ranking will help you identify which Aniimo are worth investing in.
We've ranked each Aniimo from SS to B Tier and included our top recommendations to help you choose strong alternatives for different team compositions. If you're away from your PC, OSLink lets you remotely play the PC version of Aniimo on your mobile device, so you can continue exploring, catching Aniimo, and improving your team wherever you are. Check out the full rankings below to find the best Aniimo for your PvE adventures.
Aniimo Season 1 Part 2 Tier List Overview
The Aniimo Season 1 Part 2 Tier List ranks all 32 new Aniimo based on their overall PvE performance. Rather than ranking each role separately, we use one combined list to compare DPS, Break, Support, Regen, and Heal Aniimo based on their overall contribution to a team.
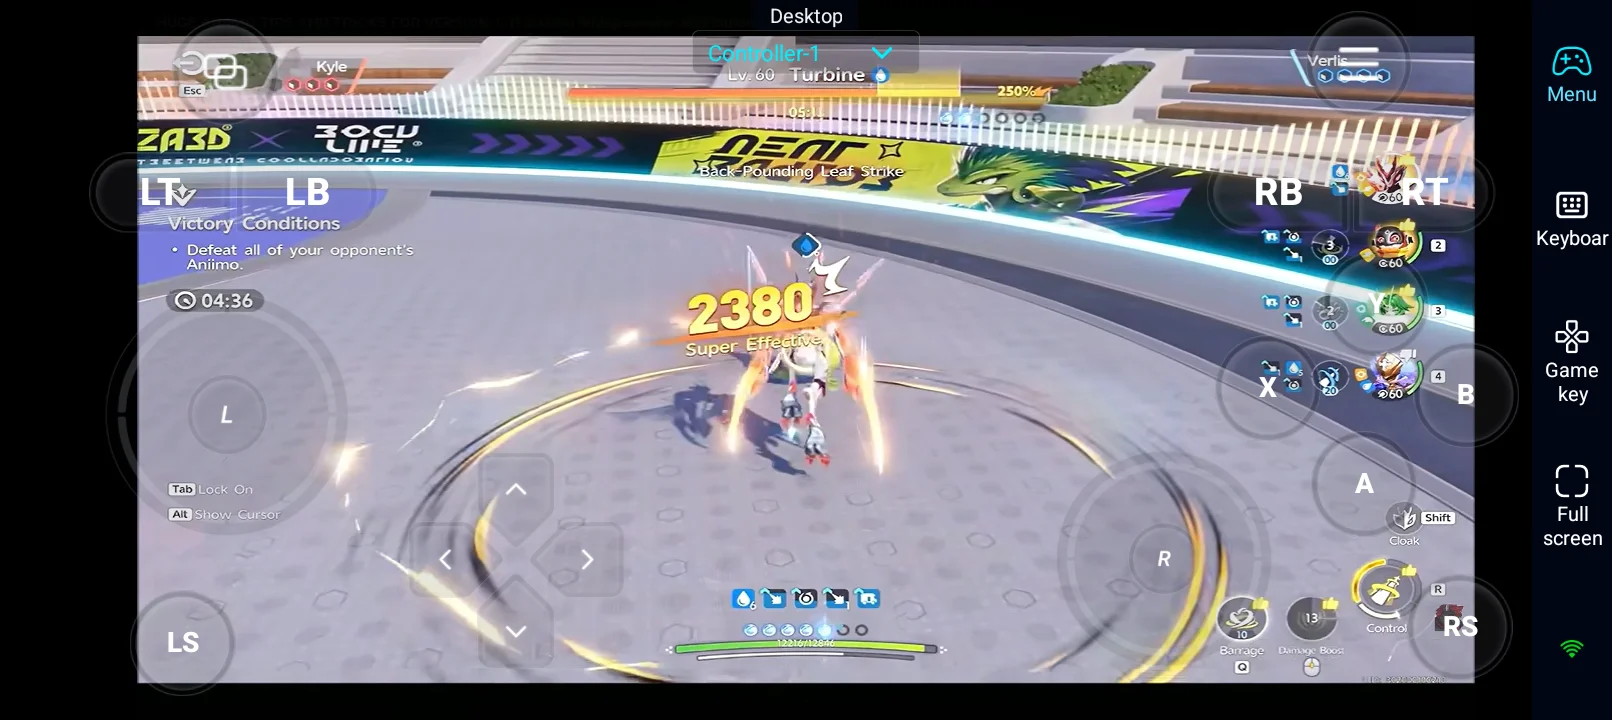
Our rankings consider damage potential, role performance, consistency, team synergy, ability uptime, and versatility across different encounters. We also consider how much value each Aniimo provides relative to the investment required to build it.
We use four tiers to represent overall PvE performance. SS Tier features exceptional Aniimo with outstanding team value, while S Tier includes highly effective choices. A Tier covers useful Aniimo with some limitations, and B Tier contains more situational choices or those with weaker overall performance.
Here is the complete ranking of the new Aniimo introduced in Season 1 Part 2:
Aniimo Season 1 Part 2 Tier List
|
Tier |
Aniimo |
|
SS Tier |
Dewple, Jaguaraun, Sugartini |
|
S Tier |
Mesmerowl, Whirlbite, Crocobask, Jeburst, Scrubbit, Pouchwisp, Royalby, Dewlop, Jabster, Ekrim, Glameep, Bubbeep, Coraliz |
|
A Tier |
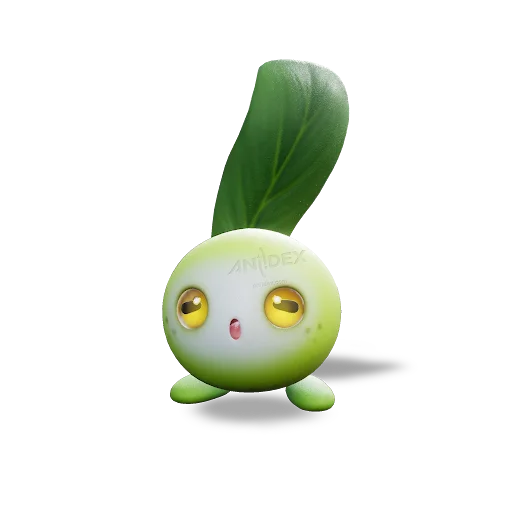
Hoptail, Hypnyto, Buffby, Salabask, Sugarslime, Sugarfish, Jeglid, Hypnowl, Reefish, Gachapus, Lilipole, Puffby, Prawnch |
|
B Tier |
Saws, Popapus |
Note: This is an overall PvE ranking. Individual performance may vary depending on team composition, enemy matchups, builds, and investment. Lumin and Nova forms are ranked separately where applicable.
SS Tier Aniimo
SS Tier Aniimo stand out because of how much they can bring to a team. Some greatly increase the damage of their allies, while others can break enemy defenses or deal impressive damage through their unique mechanics. These are among the strongest choices in the Season 1 Part 2 roster.
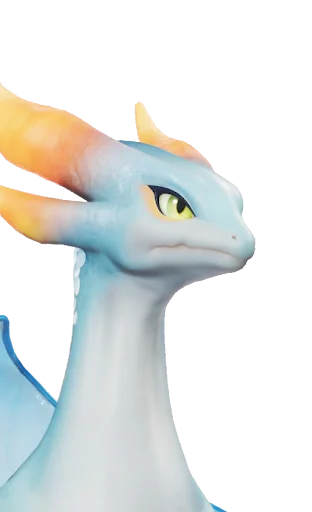
Dewple
Element: Water
Role: Support
Excels At: Water Damage Buffs • Water Debuff Stacking • Personal Damage
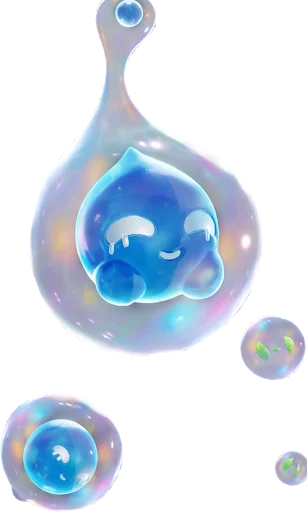
Dewple is particularly valuable in Water-focused teams, where it can turn Water Debuff stacks into a major damage advantage. Its signature trait, Dewtide Surge, increases Water Elemental Boost when Water allies attack enemies with at least 10 Water Debuff stacks. The more stacks involved, the greater the damage bonus. Dewple also gains 20 Water Debuff stacks when the trait activates.
Fortunately, Dewple has several ways to keep those stacks coming. Super Water Overload immediately applies 12 Water Debuff stacks, while Tide Resonance boosts the team's Water Damage and continuously applies more stacks to nearby enemies. Whirlpool Dewdrop takes things further by grouping enemies together and adding even more debuffs.
This combination makes Dewple more than just a team buffer. It helps Water attackers deal greater damage while contributing to the fight itself.
Jaguaraun
Element: Lightning
Role: Break
Excels At: Break Performance • Fast Basic Attacks • Overcharge Damage
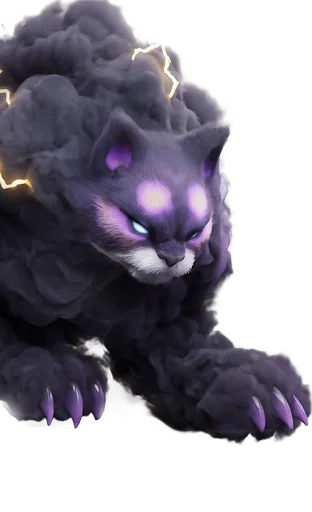
Jaguaraun gets increasingly dangerous the longer it stays in combat. With 106 Break and 110 HP, it has the stats to handle frontline encounters, but its real strength comes from building Thunderstorm stacks. Each stack increases Basic Attack Speed by 4%, up to 20 stacks, allowing Jaguaraun to attack much faster as the fight continues.
Once it reaches maximum stacks, Jaguaraun enters Overcharge for 10 seconds. Its basic attacks then consume Energy to trigger Thundercloud explosions every 0.5 seconds, dealing damage equal to 200% Might. Its Thunder Rush Call ultimate makes this setup easier by immediately granting 10 Thunderstorm stacks and providing five seconds of Super Armor.
The result is a Break Aniimo that can keep pressure on enemy defenses while turning its faster attacks into additional damage during Overcharge.
Sugartini
Element: Ice
Role: Support
Excels At: Ice Damage Buffs • Skill Damage Support • Crowd Control
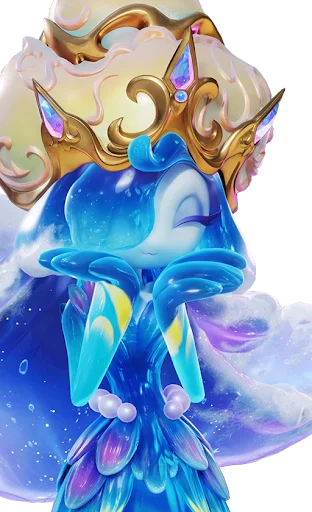
Sugartini makes Ice-focused teams much more dangerous, especially those that rely on frequent skill rotations. Its signature trait, Sugar Overload, increases Ice allies' Skill Damage by 32–56% for six seconds whenever Sugartini deals Skill Damage or Ultimate Damage. This gives Ice attackers a useful boost while Sugartini continues using its abilities.
Its ultimate, Pudding Storm, adds another layer of support, increasing all allies' Ice Elemental Boost by 32–56% for 30 seconds while dealing area damage. Sugartini isn't limited to boosting damage, either. Bouncy Pudding can stun enemies at the center of its explosion for three seconds, while Sugarfish Wave summons Sugarfish when it casts skills, adding damage and applying Ice Debuff stacks.
With damage bonuses, debuff application, and crowd control all packed into one Aniimo, Sugartini can support an Ice team in several ways without relying on a single ability.
S Tier Aniimo
S Tier Aniimo bring plenty of value to a team, whether through strong damage, Break potential, useful buffs, or support abilities. Some are especially effective in certain team compositions, while others can fit into a wider range of battles. They're excellent choices if you want to build around their strengths.
|
S Tier Aniimo |
Details |
|
Mesmerowl
|
Best For: Wind teams, Energy support, team sustain Key Strength: Fast Energy recovery with additional team healing Mesmerowl helps Wind teams keep their skills flowing instead of waiting around for Energy. Its Mesmerwave Recharge increases team Energy recovery, with an even stronger boost against Bewildered or Broken enemies. Its Ultimate also restores Energy when it hits enemies, while Wind Bomb Therapy provides healing to keep the team in the fight. This makes Mesmerowl a useful choice for teams that rely on frequent skill rotations. |
|
Whirlbite
|
Best For: Water DPS teams, sustained damage, aggressive playstyles Key Strength: High Water damage and a powerful Frenzied Assault state Whirlbite is built around keeping up the pressure. Its skills apply Water Debuff stacks, while moving a total of 40 meters activates Frenzied Assault, granting a 25% Water Elemental Boost for 10 seconds. Its Hunter's Feast skill is particularly useful here, dealing heavy area damage and immediately activating Frenzied Assault. This gives Whirlbite a strong way to enter its enhanced damage state and keep attacking. |
|
Crocobask
|
Best For: Grass teams, team support, defensive utility Key Strength: Grass Resistance reduction, team damage buffs, and damage reduction Crocobask gives Grass teams several useful advantages at once. Withered Wood Rot reduces enemy Grass Resistance when they are hit by its skills or Ultimate, helping Grass attackers deal more damage. Deepwater Croc King adds a 30-second team damage buff, while Spring Renewal makes the team harder to take down by reducing damage received by deployed allies and healing Grass-type Aniimo. It's a good option when you want both offensive and defensive support in one slot. |
|
Jeburst
|
Best For: Water Break teams, shield breaking, aggressive rotations Key Strength: High Break potential, free Ultimate access, and empowered basic attacks Jeburst can get its damage and Break rotation going almost immediately. With 106 Break, it already has strong potential against enemy defenses, and its Turbo Boost trait makes its next basic attack hit harder and deal more Break damage. The effect can stack twice, increasing the value of its enhanced attacks. Even better, Jeburst starts battles with a free Ultimate that refreshes every 120 seconds. Its Waterfall Pool skill also increases Break Efficiency by 25% for 20 seconds, making it particularly useful against enemies that rely on shields or strong defenses. |
|
Scrubbit
|
Best For: Water Break teams, sustained combat, Water Debuff setups Key Strength: Strong Break potential, bonus damage, self-healing, and debuff application Scrubbit has an interesting attack mechanic that rewards paying attention to enemy positioning. After the final hit of its basic attack, Thoughtful Service marks the enemy with Sludge. Hitting the marked side with a skill removes the mark, deals additional damage, and restores Scrubbit's HP. It can also apply Water Debuff stacks through Sludge Clearing, giving it another way to support Water-focused damage teams. This combination makes Scrubbit useful for both staying in combat and helping its teammates deal more damage. |



 AFK Anywhere, Progress Anytime


A Tier Aniimo
A Tier Aniimo can still bring plenty to a team, especially when their abilities match the right combat strategy. Some offer strong damage or Break potential, while others provide Energy recovery, crowd control, or useful elemental support. They may need more specific team setups or a little extra effort to get the most out of their abilities, but they're still worthwhile choices.
|
A Tier Aniimo |
Details |
|
Hoptail
|
Best For: Wind and Lightning teams, aggressive DPS, ability-focused combat Key Strength: High ATK and enhanced skills through Elastic Burst Hoptail has a strong offensive foundation, with 125 ATK and a kit that rewards keeping up its attacks. Its Elastic Potential trait builds Elasticity stacks whenever its tail attacks hit or it bounces. Once it reaches four stacks, Hoptail enters Elastic Burst, enhancing its skills and increasing its offensive potential. You'll need to keep building those stacks to get the most out of it, but the payoff makes Hoptail a good fit for aggressive playstyles. |
|
Hypnyto
|
Best For: Wind DPS teams, Critical Rate builds, sustained damage Key Strength: High ATK and consistent Critical Rate increases Hypnyto has one of the highest ATK stats in this tier at 130, and its signature skill packs 165 Might. Its Refracted Feather Array trait adds another advantage by dropping a feather whenever a basic attack hits. Each feather increases Critical Rate by 6%, up to three feathers for an 18% bonus. Keep landing basic attacks to maintain the full bonus, and Hypnyto becomes a reliable source of sustained damage. |
|
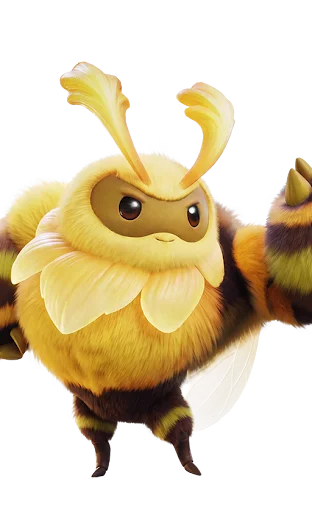
Buffby
|
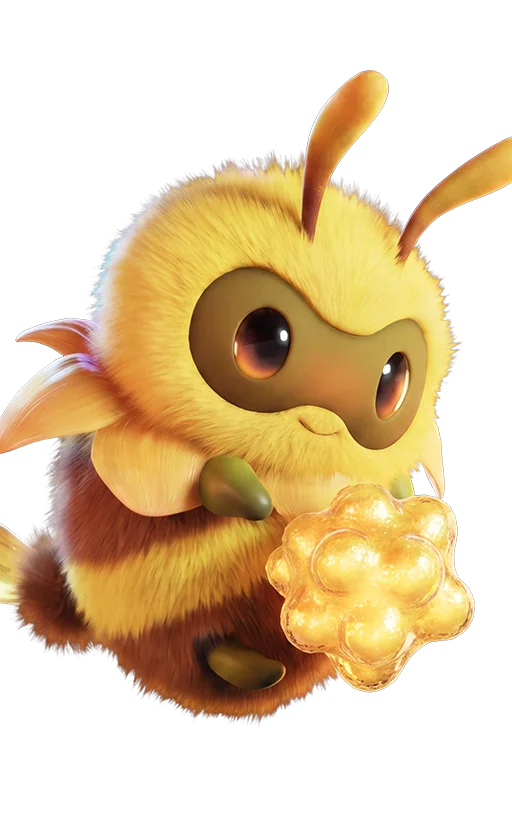
Best For: Wind Break teams, shield breaking, Break-focused encounters Key Strength: High Break stats and a temporary 70% Break Damage increase Buffby is built to put pressure on enemy defenses, starting with 103 Break and 126 HP. Its Honeydew Hauling trait generates Honeydew when its skills hit enemies. Collecting four Honeydew increases Break Damage by 70% for eight seconds, giving Buffby a powerful window to break through defenses. There's a trade-off, though: skills cost an additional 10 Energy during this period, and attacks stop generating Honeydew. Timing this boosted window well is key to getting the most from Buffby. |
|
Salabask
|
Best For: Grass teams, defensive support, Grass DPS compositions Key Strength: Grass Resistance reduction, team damage reduction, and healing Salabask brings a useful mix of offensive and defensive support to Grass teams. Its Withered Wood Rot trait reduces enemy Grass Resistance by 17–30% for 10 seconds when they are hit by its skills or Ultimate. Meanwhile, Spring Renewal creates a zone that grants deployed allies 16–28% Damage Reduction and heals deployed Grass Aniimo over time. This gives Salabask a way to help Grass attackers deal more damage while keeping the team alive. |
|
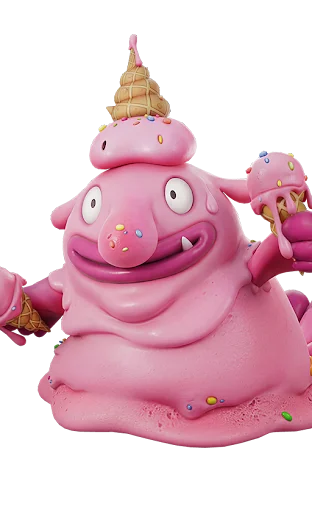
Sugarslime
|
Best For: Ice teams, Energy recovery, crowd control Key Strength: Energy-generating Sweet Blobs, Ice Debuff application, and enemy control Sugarslime does more than help Ice teams maintain their skill rotations. Sugar-Rush Tackle applies five Ice Debuff stacks and scatters Sweet Blobs that restore Energy when collected. Its Sugary Gravity creates a zone that slows enemies by 50%, prevents them from jumping, and pulls them toward its center when the effect ends. Its Ultimate, Sugary Downpour, deals area damage and generates additional Sweet Blobs, giving the team both Energy support and control over groups of enemies. |
|
Sugarfish
|
Best For: Ice teams, Energy recovery, enemy control Key Strength: Sweet Blob Energy recovery and Ice Debuff application Sugarfish offers a simpler way to bring Sweet Blob support to an Ice team. Its Sugar-Rush Tackle applies five Ice Debuff stacks and drops two Sweet Blobs that restore Energy when collected. Sugary Gravity also slows enemies and pulls them together when the effect ends. It doesn't have all the tools of its Nova form, Sugarslime, but Sugarfish can still provide useful Energy recovery and crowd control as a Lumin-stage option. |
|
Jeglid
|
Best For: Water Break teams, shield breaking, Water Resistance reduction Key Strength: Enhanced basic attacks and additional Break Efficiency Jeglid's Turbo Boost trait turns its skills into opportunities for stronger basic attacks. Casting a skill or Ultimate grants one stack, increasing the damage and Break of its next basic attack by 65%, up to two stacks. It also starts battles with a free Ultimate that refreshes every 120 seconds. For even more Break support, Waterfall Pool increases Break Efficiency by 25% for 20 seconds, while Aqua Wing Spin reduces enemy Water Resistance. |
|
Hypnowl
|
Best For: Wind teams, Energy recovery, Wind Critical builds Key Strength: Team Energy regeneration through Wind Critical hits Hypnowl works particularly well with Wind attackers that can land frequent Critical hits. Its Windveil Harvest trait restores 1.5 Energy whenever an ally deals Wind Critical Damage, with a trigger limit of once every 0.5 seconds. It also has Mesmerwave Recharge, which increases team Energy recovery by 16–24%, rising to 28–42% for 20 seconds when hitting Bewildered or Broken targets. With Wind Bomb Therapy providing team healing, Hypnowl becomes a useful support option for keeping Wind teams active throughout a fight. |
|
Reefish
|
Best For: Earth teams, Energy recovery, crowd control Key Strength: Early Energy restoration and additional stun utility Reefish gives Earth-focused teams an Energy boost right at the start of battle. Its Coral Cluster Reef trait restores 4–6 Energy for each Earth-type Aniimo on the team when entering combat, with a 15-second cooldown. This makes its value depend heavily on your team composition, but it can give Earth teams a useful head start with their skill rotations. Quicksand Trap adds some extra control by dealing damage and stunning enemies for three seconds. |
|
Gachapus
|
Best For: Water DPS teams, Basic Attack builds, area damage Key Strength: Randomized bubble effects and powerful Jackpot damage windows Gachapus brings a bit of luck into its damage rotation through its Bubble Gachapon trait. Each basic attack launches a colored bubble and gradually fills its Gacha slots. Match five bubbles of the same color or obtain a rare Gold Bubble to activate Jackpot for 10 seconds, increasing Basic Attack Damage by 80%. Its Enhanced Bubble effects also vary by color, offering area damage, additional damage, or Energy recovery. Gachapus can hit hard during Jackpot, though its randomized effects make its damage less predictable. |
|
Lilipole
|
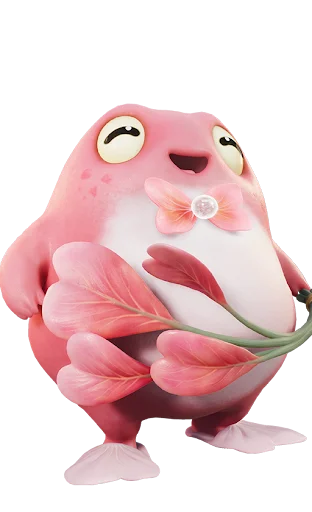
Best For: Water Break teams, Water Debuff setups, sustained combat Key Strength: Break potential, bonus damage, and self-healing Lilipole has an interesting mechanic that rewards paying attention to enemy positioning. With 91 Break, it can contribute to breaking enemy defenses, while Thoughtful Service gives it a way to deal extra damage and recover HP. After the final hit of a basic attack, it marks the enemy's side with Sludge. Hitting that marked side with a skill removes the mark, deals additional damage, and restores 3% of Lilipole's Max HP. Its Sludge Clearing effect also applies six Water Debuff stacks, while Frogs Love Baths adds a 120-Might attack. |
|
Puffby
|
Best For: Wind Break teams, shield breaking, early Break-focused progression Key Strength: Honeydew-based Break Damage increase and good HP Puffby shares Buffby's Honeydew mechanic, making it another option for Wind Break teams. Its skills generate Honeydew that restores four Energy when collected. Gathering four Honeydew increases Break Damage by 70% for eight seconds, but skills cost an additional 10 Energy and attacks stop generating Honeydew during this period. With 112 HP, Puffby also has some useful durability, while Pollen Ball Slam gives it a strong 95-Might attack. |
|
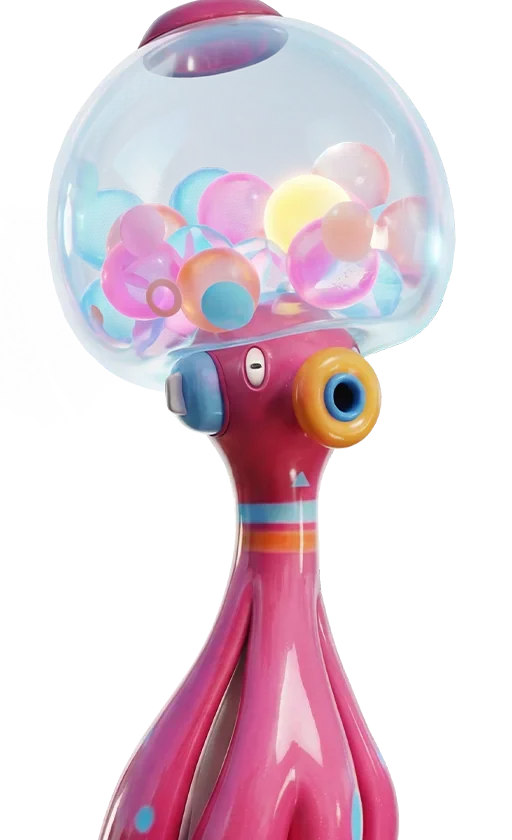
Prawnch
|
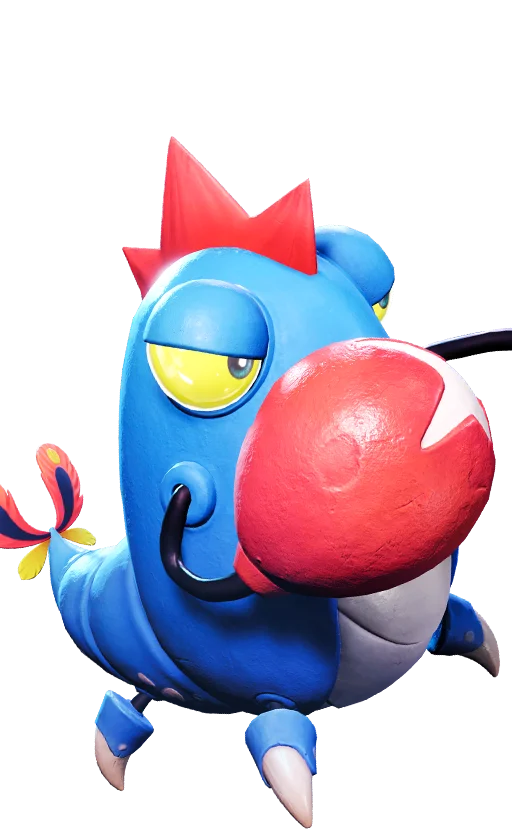
Best For: Ice Break teams, Ice Debuff setups, close-range combat Key Strength: Enhanced skills and additional Ice Debuff application Prawnch uses the same Knuckle Burst mechanic as its stronger Nova form, Jabster. Its trait builds Strike Points whenever skills hit enemies, while charged attacks generate additional points. Once it reaches six points, Prawnch enters Knuckle Burst for six seconds, allowing it to use enhanced skills without charging and apply two Ice Debuff stacks on each skill's first hit. Spring Combo adds even more value by dealing additional damage to enemies with more than five Ice Debuff stacks, making Prawnch a useful option for Ice-focused teams. |




B Tier Aniimo
B Tier Aniimo have more noticeable limitations in overall PvE performance compared with higher-ranked choices. They still offer useful damage mechanics and team synergy, but their lower stats, inconsistent damage windows, or stronger alternatives make them more situational choices.
|
B Tier Aniimo |
Details |
|
Saws
|
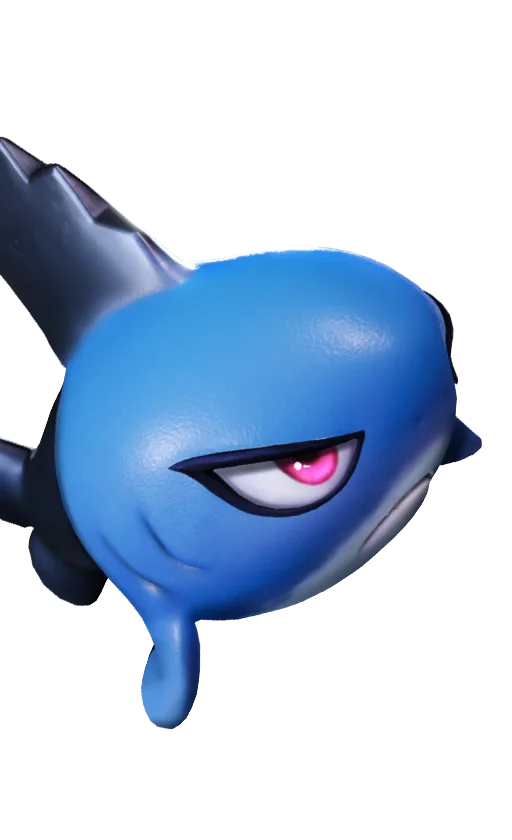
Best For: Water DPS teams, Water Debuff application, mobile combat Key Strength: Water Elemental Boost with additional Water Debuff stacks Saws is a Water DPS Aniimo that rewards active movement and skill usage. Surging Wave applies two additional Water Debuff stacks whenever a skill deals damage. After moving 40 meters, Saws enters Frenzied Assault and gains a 25% Water Elemental Boost for 10 seconds. During this state, Wavebreaker Shark Rush becomes a piercing dash that deals additional damage and extends movement progress when consuming Water Debuff stacks. Although these mechanics provide useful Water damage potential, Saws has lower overall stats than its Nova form, Whirlbite, making it less effective than stronger Water DPS options. |
|
Popapus
|
Best For: Water DPS teams, Basic Attack builds, burst damage windows Key Strength: Randomized bubble attacks with an 80% Basic Attack Damage increase during Jackpot Popapus uses Bubble Gachapon to generate randomly colored bubbles with each basic attack. Collecting five bubbles of the same color or obtaining a rare Gold Bubble activates Jackpot for 10 seconds, increasing Basic Attack Damage by 80%. Its Rigged Draw skill can consume the least common bubble color to guarantee that the next basic attack uses the most common color, increasing its damage by 200% and expanding its attack area. Bubble Barrage also fires bubbles at the target for five seconds, with all damage counting as Basic Attack Damage. However, its randomized bubble generation makes its damage less predictable, while its lower stats compared with its Nova form, Gachapus, limit its overall PvE performance. |
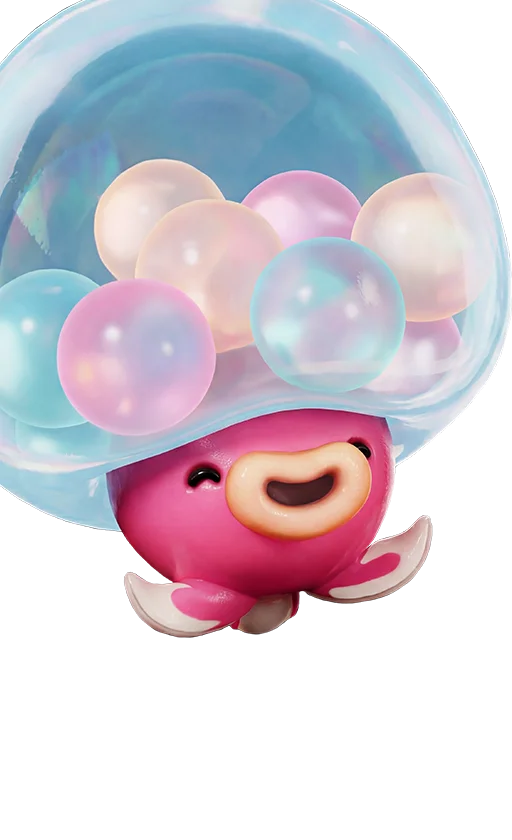
Best Aniimo to Build and Use
You don't need SS Tier Aniimo to build a strong team. Several S and A Tier choices can perform just as well in the right setup, especially when your team needs more damage, Break potential, healing, or Energy recovery.
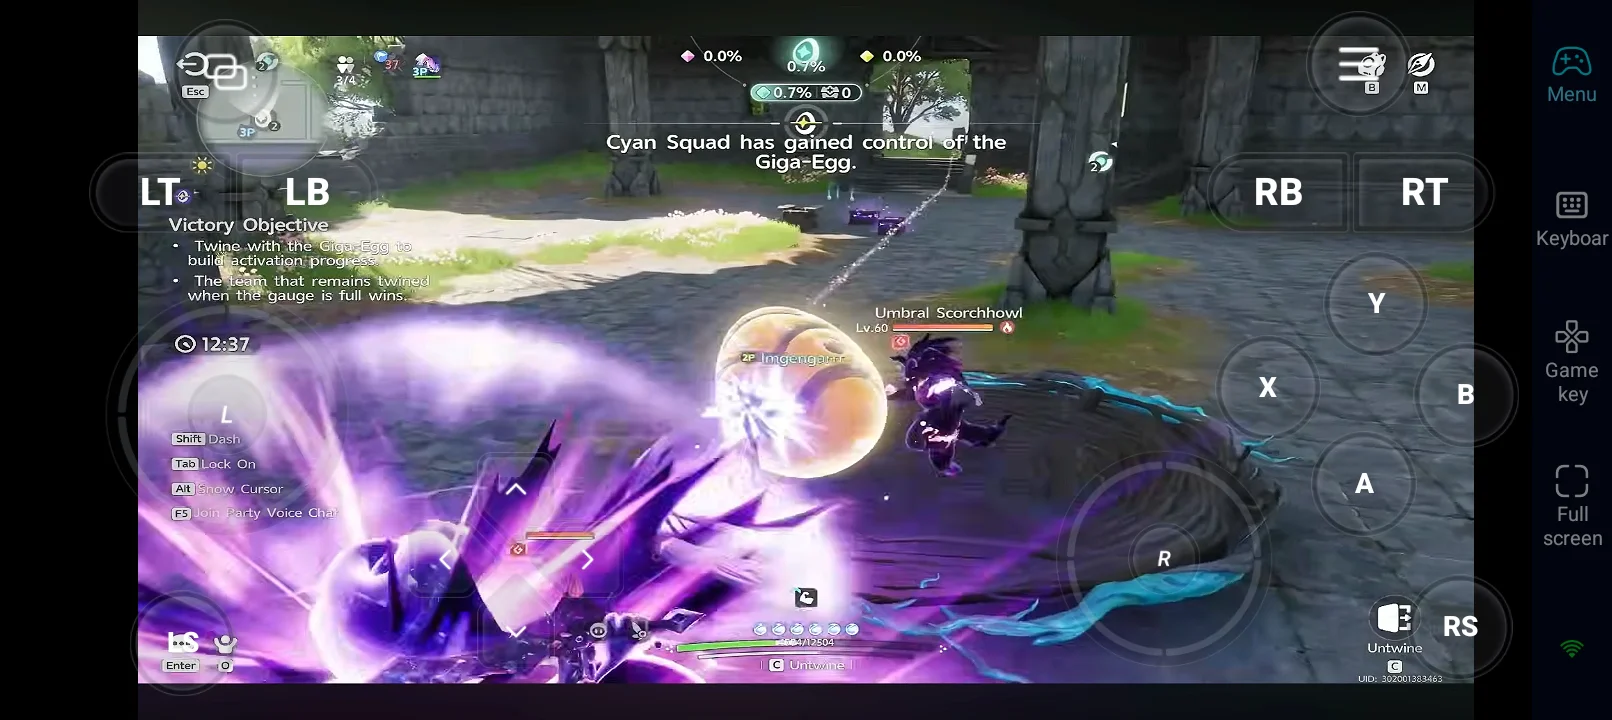
Here are four Aniimo worth considering if you don't have the top-ranked options:
|
Recommended Aniimo |
Why We Recommend It |
|
Mesmerowl
|
Best For: Energy support and team sustain Mesmerowl is a great fit for teams that rely on frequent skill rotations. Its Energy recovery helps teammates use their abilities more often, while its healing keeps everyone going during longer fights. It's particularly useful when your main damage dealers struggle to maintain their Energy. |
|
Whirlbite
|
Best For: Water DPS and sustained damage If you need a dedicated Water damage dealer, Whirlbite is worth considering. Its Frenzied Assault state provides a strong damage boost, while its Water Debuff application helps maintain pressure on enemies. |
|
Jeburst
|
Best For: Break-focused teams and shield-heavy enemies Jeburst is a useful addition when enemy shields are slowing down your progress. Its high Break potential, enhanced basic attacks, and free Ultimate at the start of battle help it put pressure on enemy defenses early. |
|
Hypnyto
|
Best For: Wind DPS and Critical Rate builds Hypnyto is another option if you need a Wind damage dealer. Its high ATK and Refracted Feather Array trait provide a useful Critical Rate bonus as it attacks, helping it maintain consistent damage. Its A Tier placement doesn't make it any less worth considering for Wind-focused teams. |

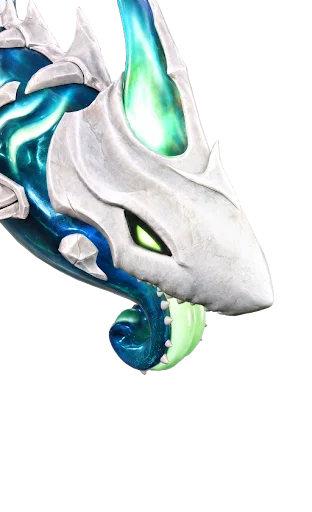
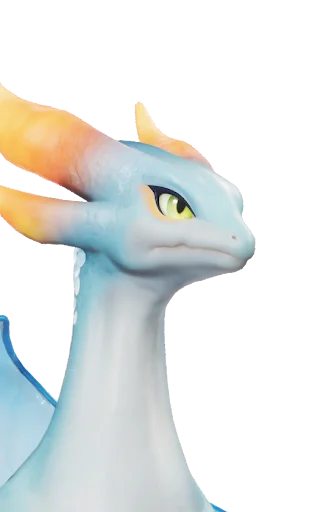

Our Recommendation: Mesmerowl, Whirlbite, and Jeburst make a good starting combination, covering Energy recovery, damage, and Break. Hypnyto is another good option when you want to add more Wind damage.
Conclusion
Choosing the right Aniimo in Season 1 Part 2 depends on more than just tier rankings. While SS Tier Aniimo offer exceptional overall value, several S and A Tier options can also perform extremely well with the right team composition. Use this tier list as a guide to prioritize your investments, build stronger PvE teams, and find the Aniimo that best suit your playstyle. Once you've decided which Aniimo to build, OSLink makes it easier to keep working toward your goals. You can remotely play the Aniimo PC version from your mobile, letting you manage your team, collect resources, and continue progressing even when you're away from your PC.
 Download