English
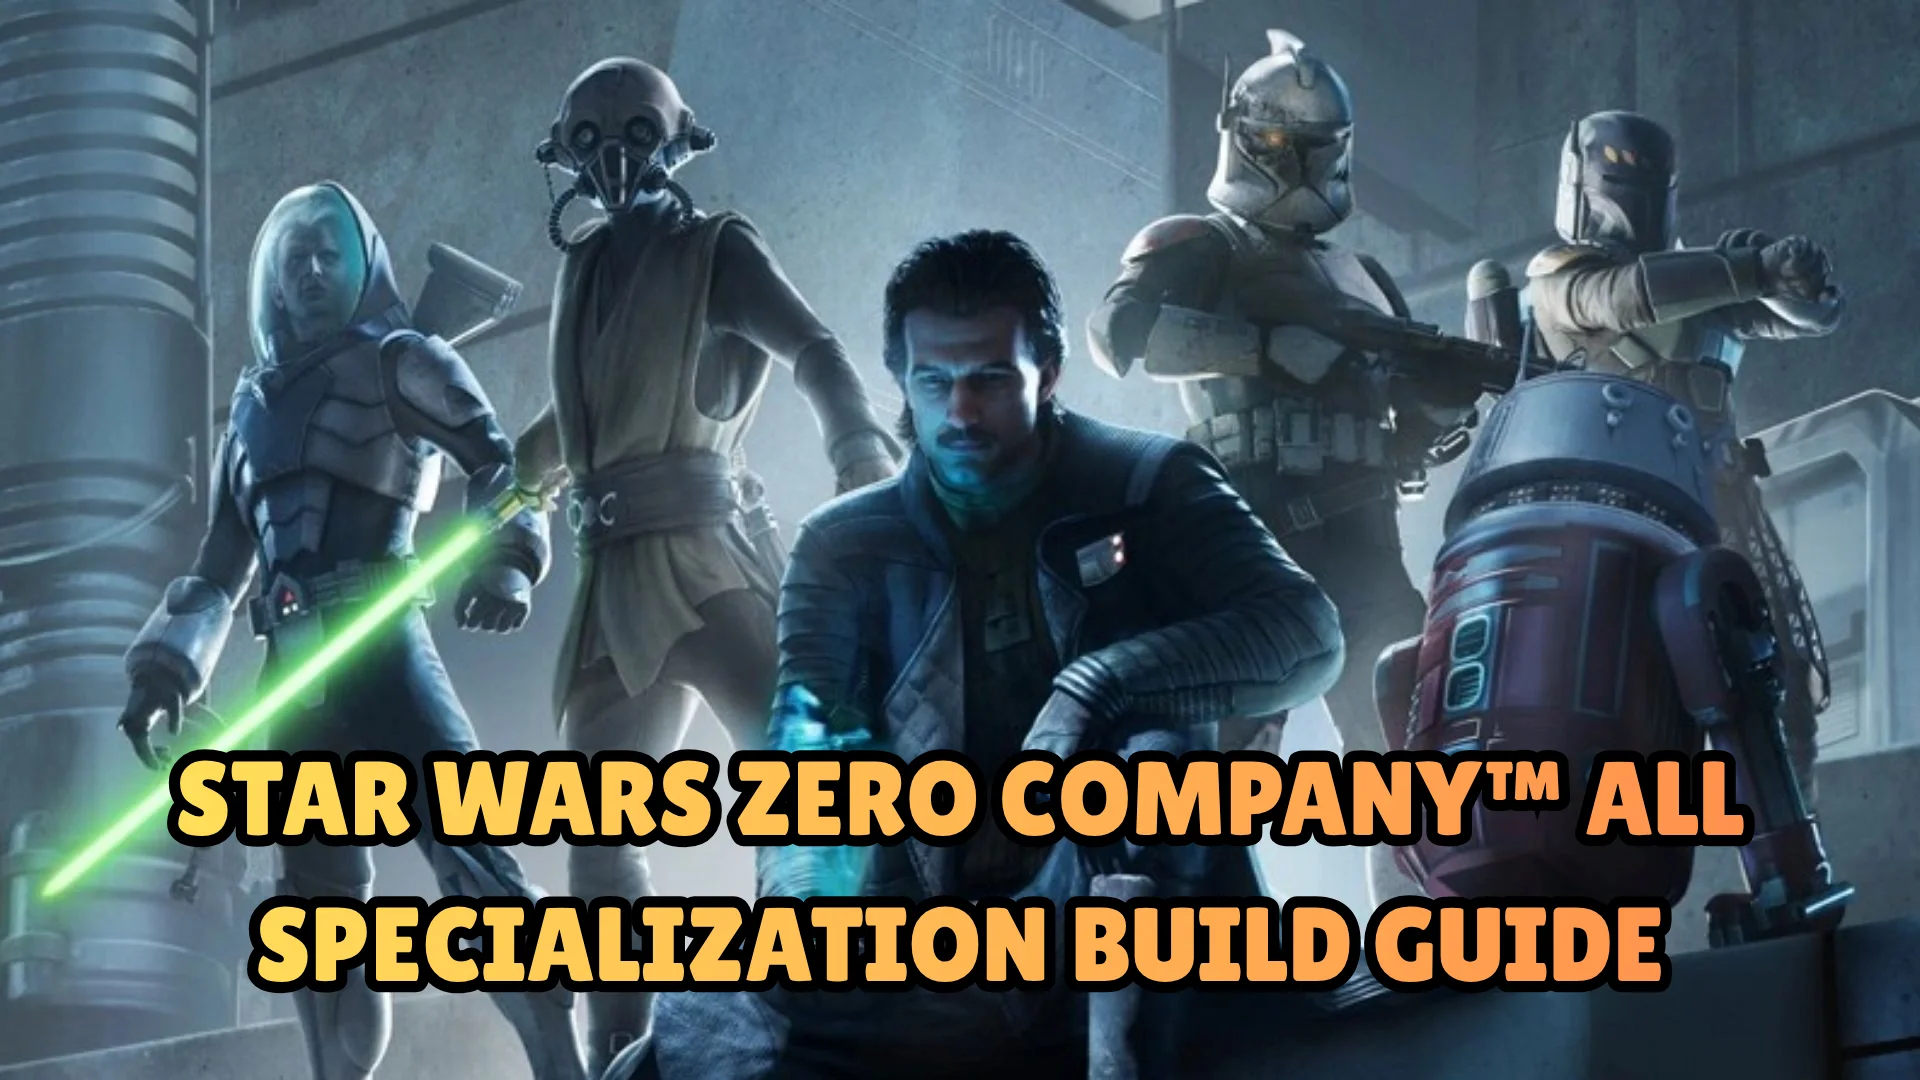
Star Wars Zero Company™ brings you a single-player, turn-based tactics game set across some of the most fan-favorite locations in the Star Wars universe. There’s a lot to learn, from tactical combat and Operators to different Specializations that you’ll want to understand before jumping in. That’s why this Star Wars Zero Company™ beginner guide is here, covering everything you need to know to make your early journey easier and build a strong squad.

Whether you’re battling enemies, exploring new locations, or building the best early-game squad, staying at your PC for long gaming sessions can be tiring. But don’t worry! With OSLink, you can remotely play Star Wars Zero Company™ on your PC from your mobile device, letting you continue your galactic adventure wherever you go.
Understand the Core Gameplay Mechanics
Before jumping into Star Wars Zero Company™, the first thing you need to understand is its core mechanics and how they affect your progression.
In this game, combat is at the heart of the gameplay, featuring a team-based turn system where you control a squad of four Operators in tactical ground battles. Your success depends on good positioning, smart resource management, and using your abilities at the right time. However, before jumping into battles, you should have a clear understanding of the core gameplay mechanics and how they work. So, here are the key gameplay mechanics you should know from our Star Wars Zero Company™ early game guide:
- Squad Size: You can deploy up to four Operators on a tactical mission. Hawks are required for story missions.
- Combat Turns: Your entire squad gets to act first in any order you choose. After your turn ends, the enemy takes its turn.
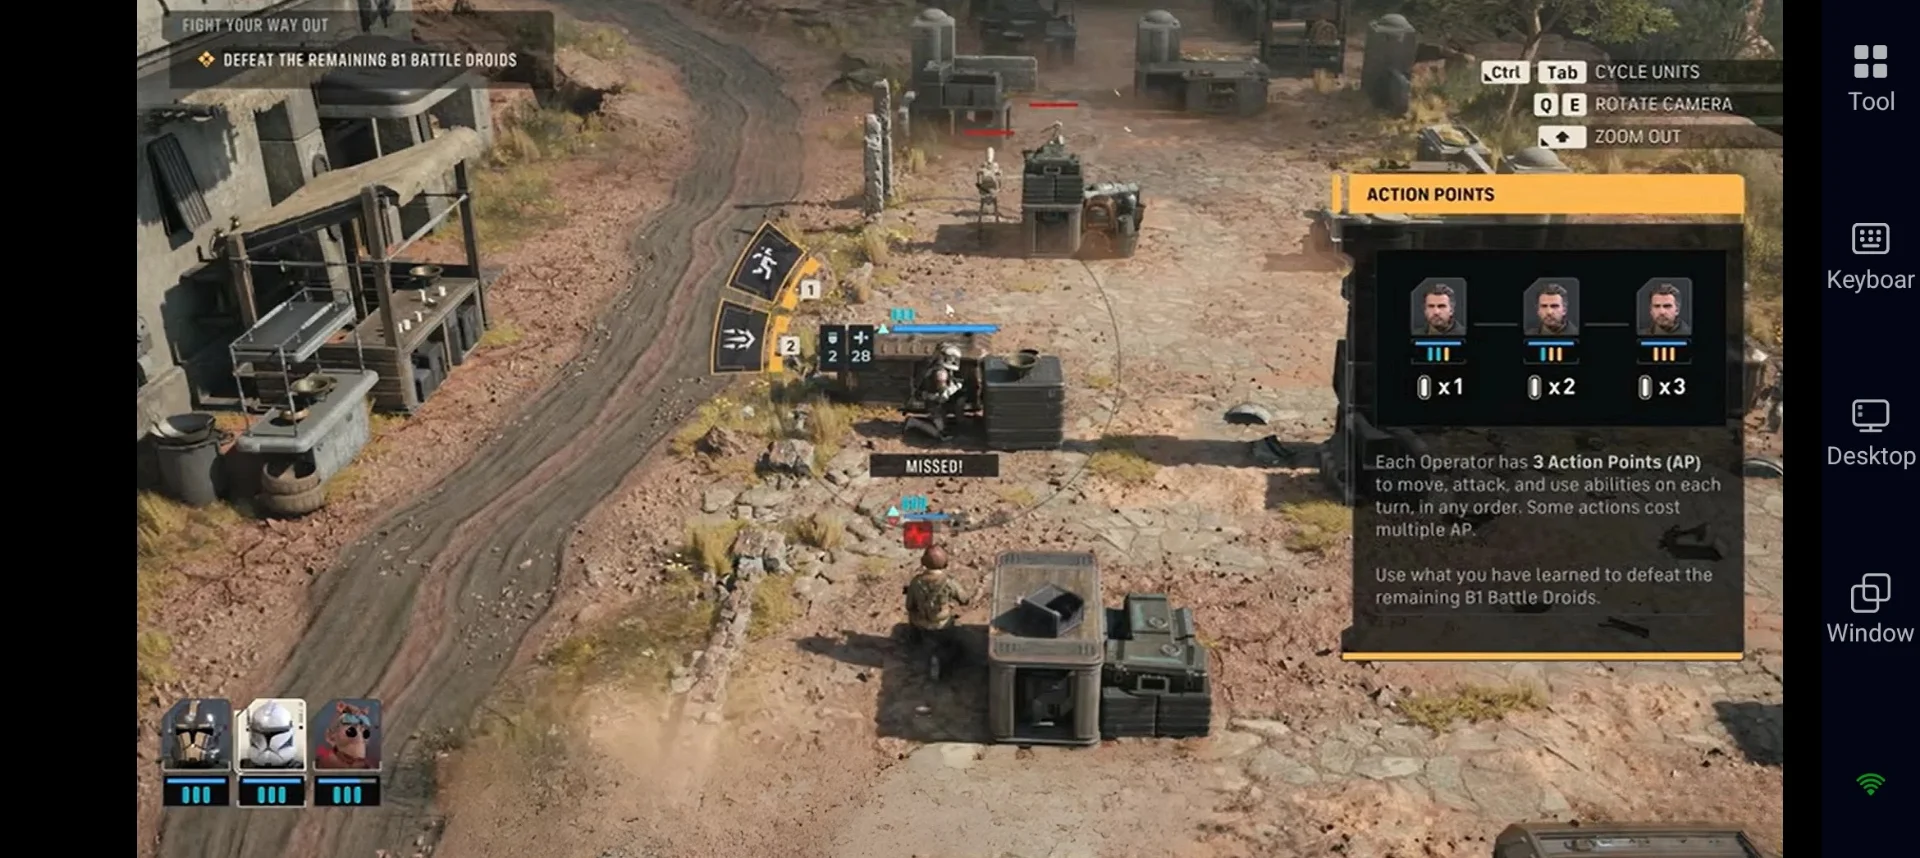
- Action Points (AP): Each Operator gets 3 AP per turn. You can spend them on moving, shooting, using abilities, setting Overwatch, or throwing utility items such as medkits and grenades.
- Advantage: This is a shared squad resource that you gain by damaging enemies, with a maximum of 10. You can spend Advantage on powerful abilities that cost no AP.
- Cover and Positioning: Partial and full cover reduce the enemy's chance to hit you. Flanking enemies or attacking from high ground improves your attacks. Some cover can also be destroyed.
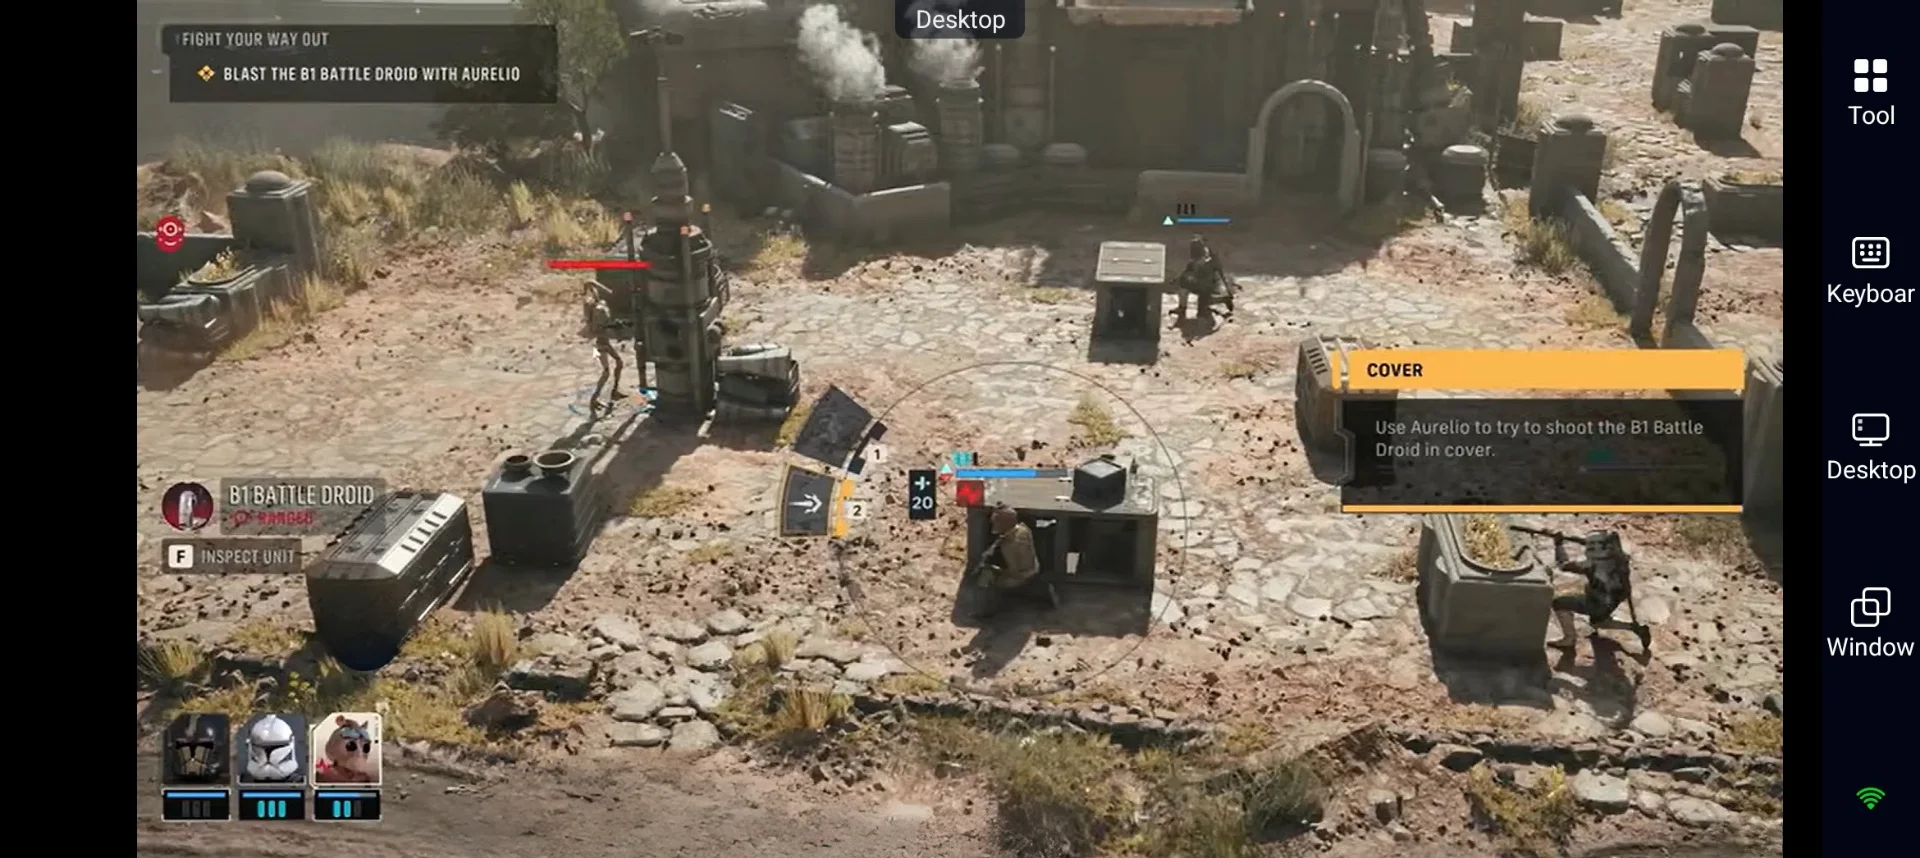
- Overwatch: You can place an Overwatch cone that automatically attacks enemies when they move or act within its range. Using Overwatch ends the Operator's turn, and the chance of hitting enemies depends on the amount of AP invested.
- Calling for Backup: This is a free action that costs 0 AP. Once per turn, an Operator can call on a randomly selected teammate to assist with their next attack. The assisting Operator must have line of sight to the target. Using this feature also helps strengthen the Bond between the two Operators.
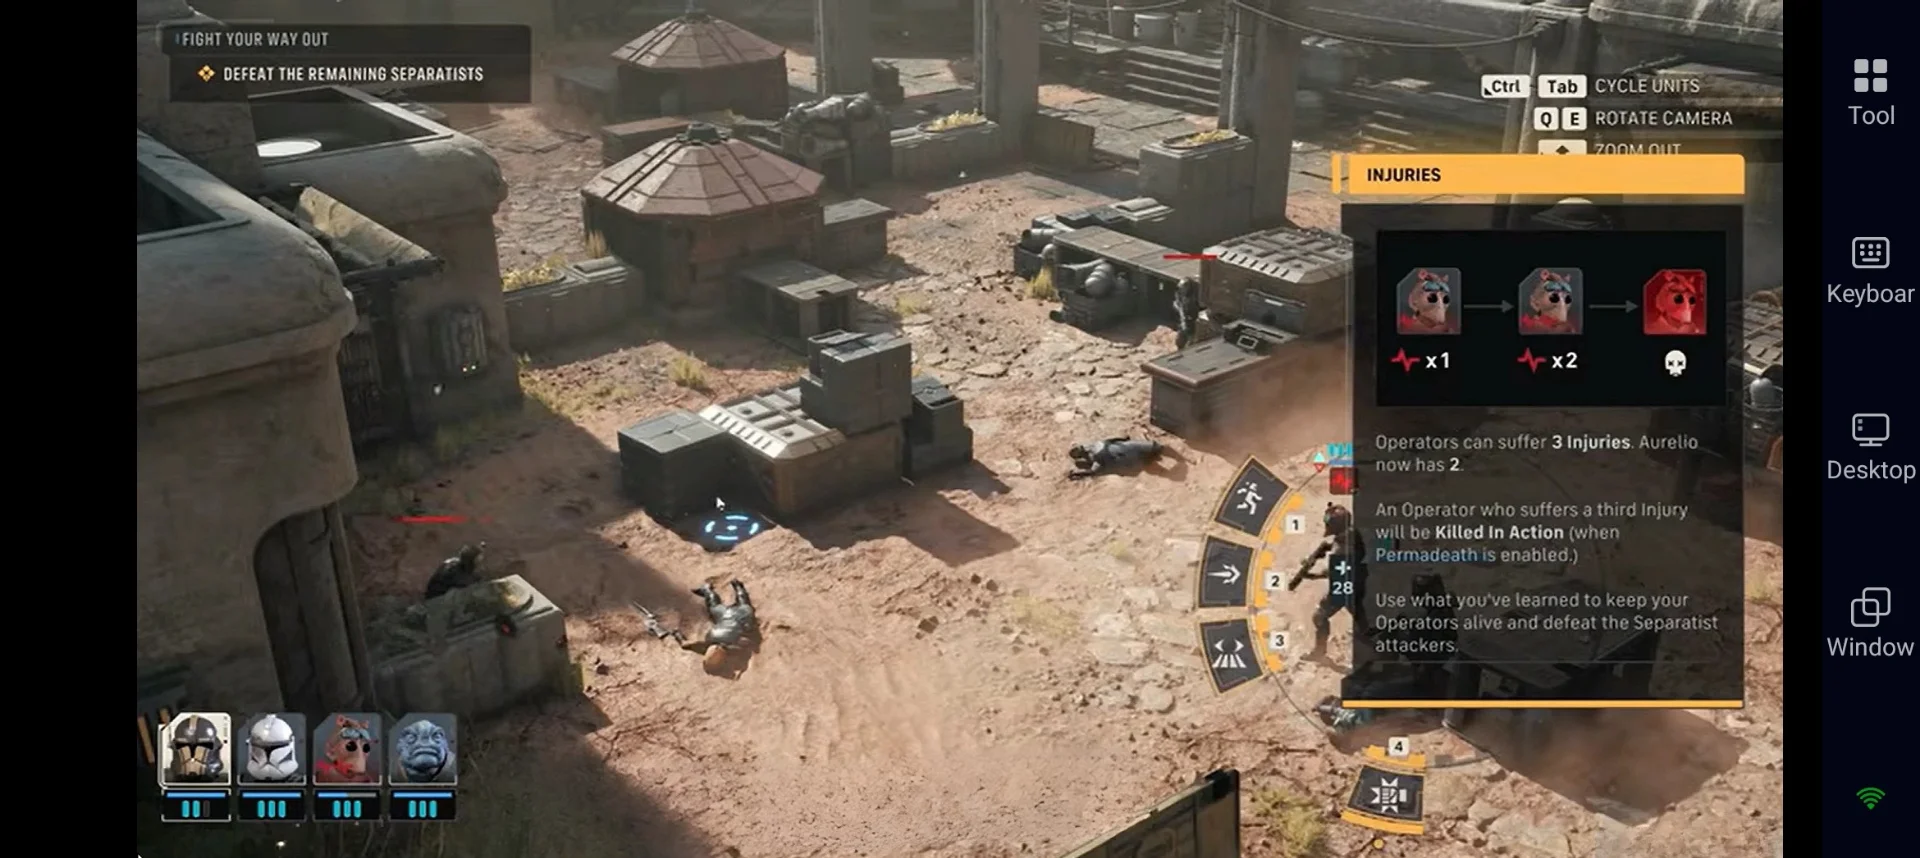
- Injuries and Permadeath: When an Operator reaches 0 HP, they become Downed and receive an Injury. Downed Operators can be Rallied, but receiving three Injuries results in permanent death, except for Hawks.
- Bonds: Fighting alongside the same Operators helps build their relationships. Stronger Bonds can unlock useful combat synergies and cross-training benefits.
Use Action Points Smartly During Your Turn
As you now know, every Operator in Star Wars Zero Company™ starts their turn with exactly 3 Action Points (AP). AP is the primary resource that controls almost everything an Operator can do on the battlefield, including movement, shooting, abilities, utilities, and Overwatch.
These actions can be performed in any order you want. However, having a proper plan for using your AP during each turn can increase your chances of winning battles. You can use the following tips to spend your AP smartly during your turns:
- Attack first, then move to better cover and finish your turn with Overwatch when possible.
- Save some AP for movement if your chance to hit is low.
- Use Hawks’ unique ability to spend a small amount of Advantage and restore 1 AP for an ally once per turn.
- Astromechs and certain abilities can also restore or transfer AP.
- Avoid wasting AP on low-chance attacks when you can flank the enemy or reach high ground instead.
- Overwatch is often the best way to use your remaining AP at the end of a turn.
Master Covering and Flanking Mechanics
Cover is one of the most important survival tools in Star Wars Zero Company™. There are two types of cover: Partial Cover, which reduces the enemy’s chance to hit you, and Full Cover, which provides even more protection. To get the most out of cover, especially when an Operator has low health, always try to end your move in a safe covered position. However, some cover can be destroyed by explosives or sustained fire, so avoid staying in the same spot for too long.
If you are looking for an easier way to take down enemies, Flanking is one of the best tactics to use. It removes the enemy’s cover bonus and can apply Exposed, which greatly increases your hit and critical chances. Fighting from high ground also improves accuracy. You can combine these tactics by moving around enemies or using knockback abilities from your Operators to push enemies out of cover, eliminate them more easily, and secure key areas.
Beginner Playable Operators
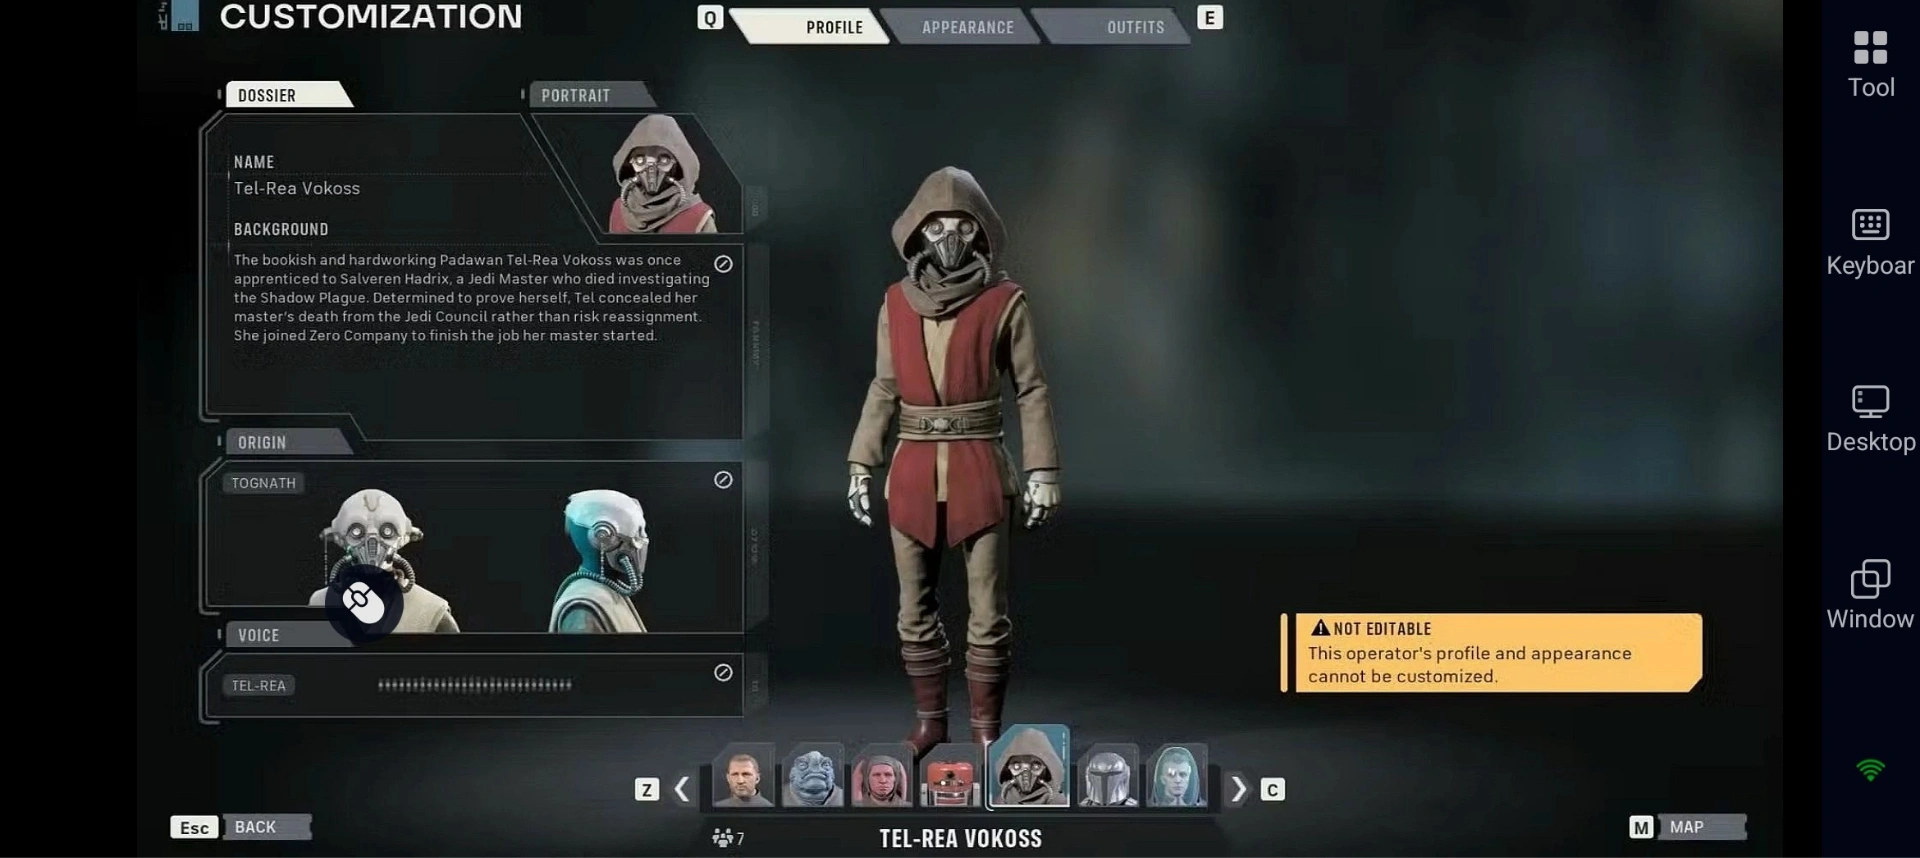
Operators are playable characters in Star Wars Zero Company™ that you can recruit to build your squad. You start with Hawks, and more Operators become available as you progress through the game. There are seven beginner Operators, each with unique roles and abilities. Choose Operators that best match your preferred combat role and squad needs.
| Operator | Role & Key Strength |
| Hawks | Squad leader. Immune to permadeath. Can refresh 1 AP for an ally once per turn. Mandatory on story missions. |
| Trick | Reliable Soldier. All-rounder and long-time companion of Hawks. |
| Tel-Rea Vokoss | Jedi Padawan (locked). Force Push/Pull and dual lightsabers. Irreplaceable if she dies. |
| Cly Kullervo | Mobile skirmisher. Comes with a Jetpack Combat Jump for excellent mobility. |
| Luco Bronc | Sharpshooter. Long-range precision specialist. |
| Jae Mordant | Flexible Operator. Strong story presence and assist potential. |
| Kabb Uppercut | Melee specialist. Powerful Uppercut can knock enemies out of cover or off cliffs. |


 Pre-set Keymaps for Easy Play
Choose Your Specialization
Most Operators can choose from eight standard Specializations (also called Operator Classes) while some are locked to one Specialization. Each Specialization provides an Ultimate ability, a Standard ability, and Passives. These Specializations come with different combat styles, so you can shape each Operator to fit the role you need on the battlefield.
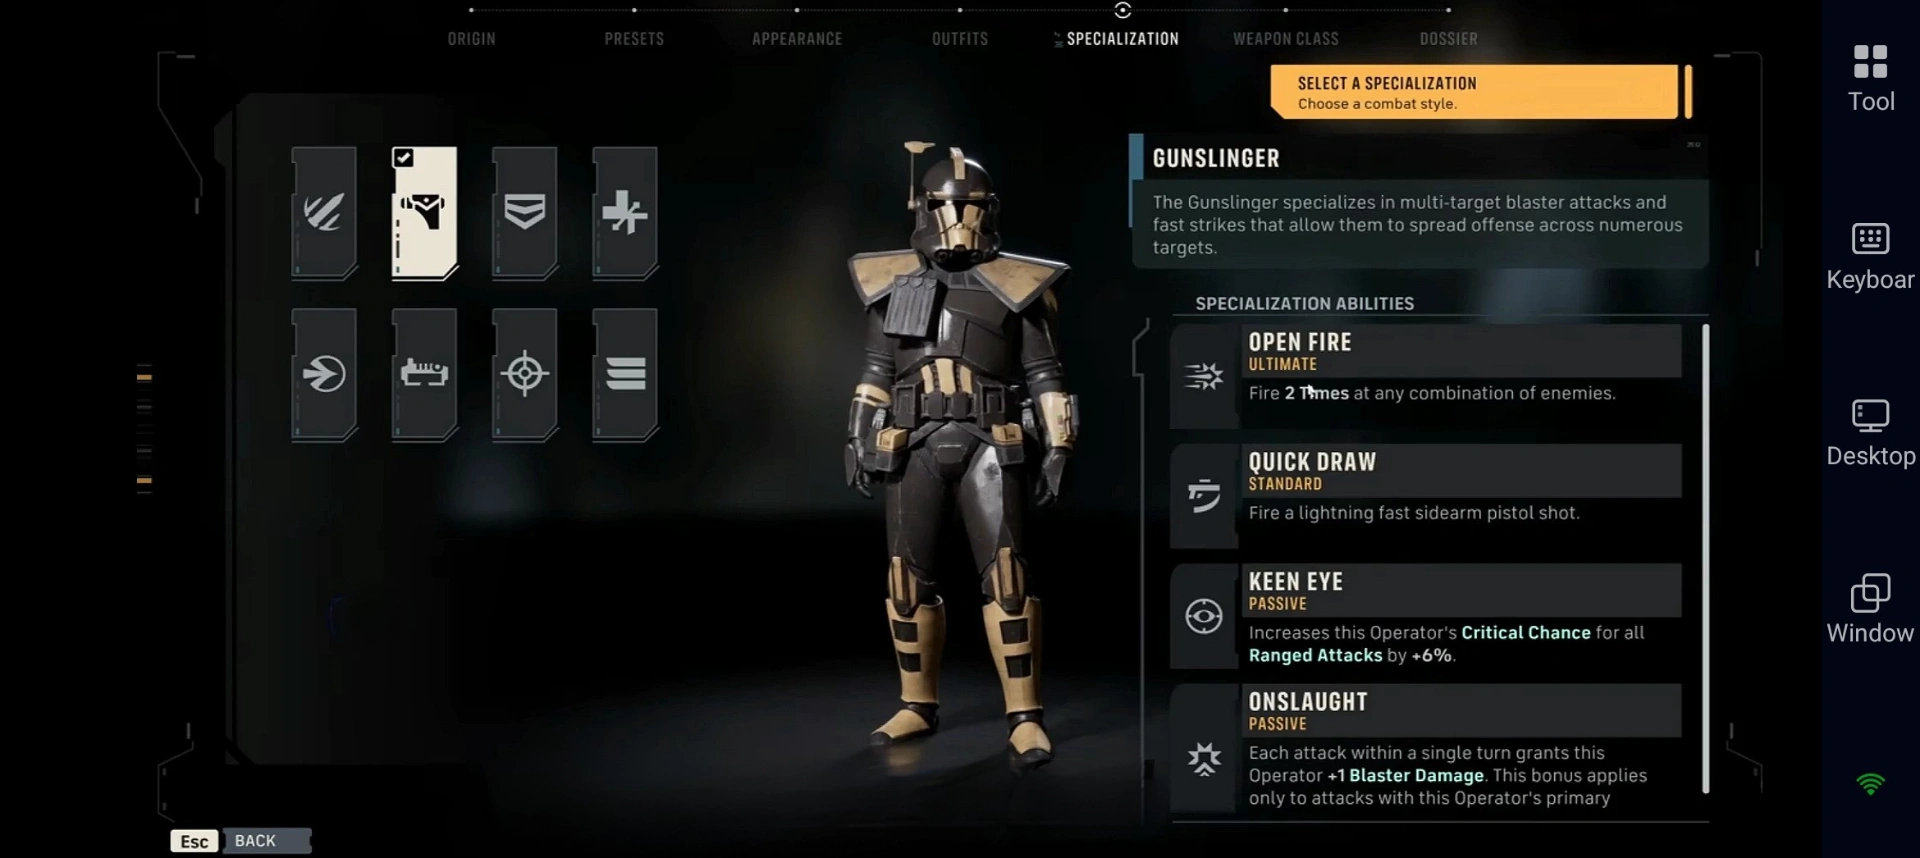
| Specialization | Playstyle |
| Soldier | Flexible all-rounder. Solid damage with grenades, rockets, and reliable mid-range combat. Best starting choice for beginners. |
| Assault | Aggressive frontline fighter. Excels at closing distance and eliminating enemies in cover. |
| Heavy | Tough tank. Stays in the open, soaks damage, and draws enemy attention. |
| Gunslinger | Fast multi-target attacker. Chains shots and spreads damage across several enemies. |
| Scoundrel | Opportunistic wildcard. Creates openings and takes advantage of the situation. |
| Scout | Tactical support. Focuses on reconnaissance, setup, and creating opportunities for the team. |
| Medic | Support specialist. Heals, prevents Injuries, and buffs teammates. |
| Sharpshooter | Long-range precision. Deletes priority targets from a safe distance. |
Build Your First Four-Operator Squad
A strong early squad should have a good balance of four key roles: a flexible leader, reliable damage, mobility or control, and long-range support or tankiness. Focus on Operators who work well together, help generate Advantage, and stay safe behind cover.
Keep in mind that Hawks is mandatory for all early story battles and takes up one of the four squad slots. With these details, the table below shows a Star Wars Zero Company™ beginner team for your early story battles.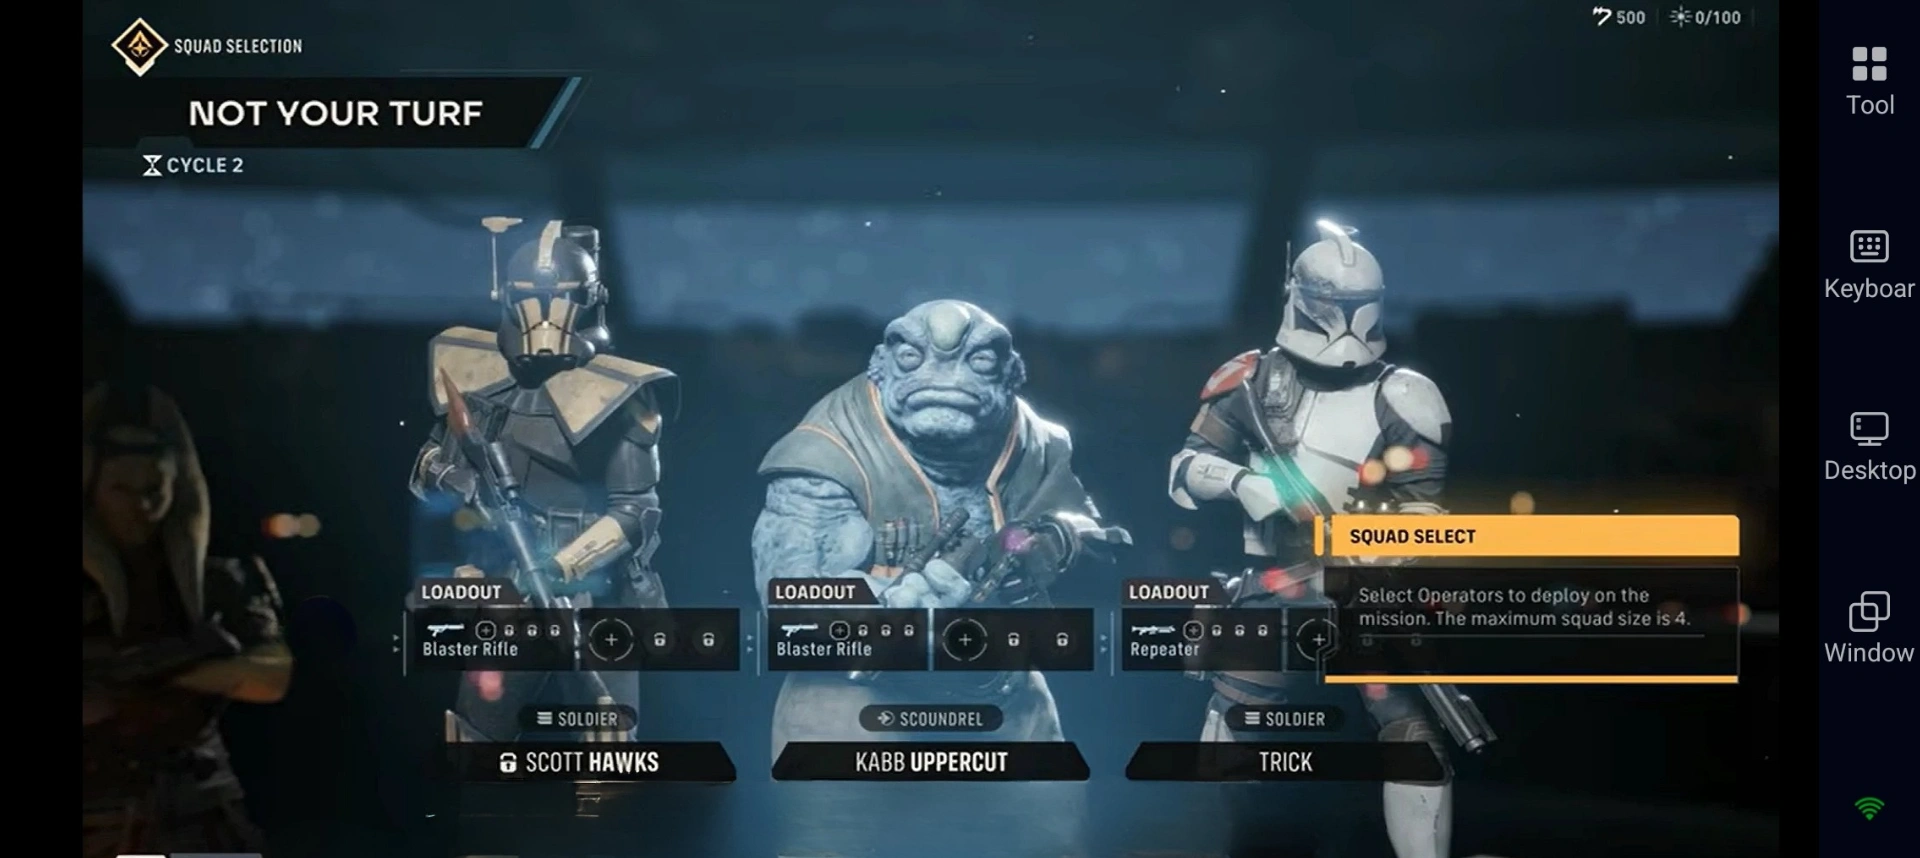
| Role | Operator | Recommended Specialization and Why They Fit |
| Leader | Hawks | Specialization: GunslingerMandatory leader with strong multi-target damage and AP flexibility for the squad. |
| Reliable Damage | Trick | Specialization: SoldierReliable all-rounder who deals steady damage and stays durable in fights. |
| Mobility / Control | Tel-Rea Vokoss | Specialization: Jedi Padawan (locked)Force Push can knock enemies out of cover and into Overwatch zones for strong attacks. |
| Precision / Support | Luco Bronc | Specialization: SharpshooterDeals strong long-range damage and takes out priority targets from the backline. |
Get Familiar with Your Den
The Den is Zero Company’s home base, where you prepare your squad between missions. You can manage your Operators, gear, missions, and recovery here. Mastering it early keeps your squad strong, well-equipped, and ready for every fight.
Below are the key facilities and activities at the Den, with details from our Star Wars Zero Company™ beginner guide:
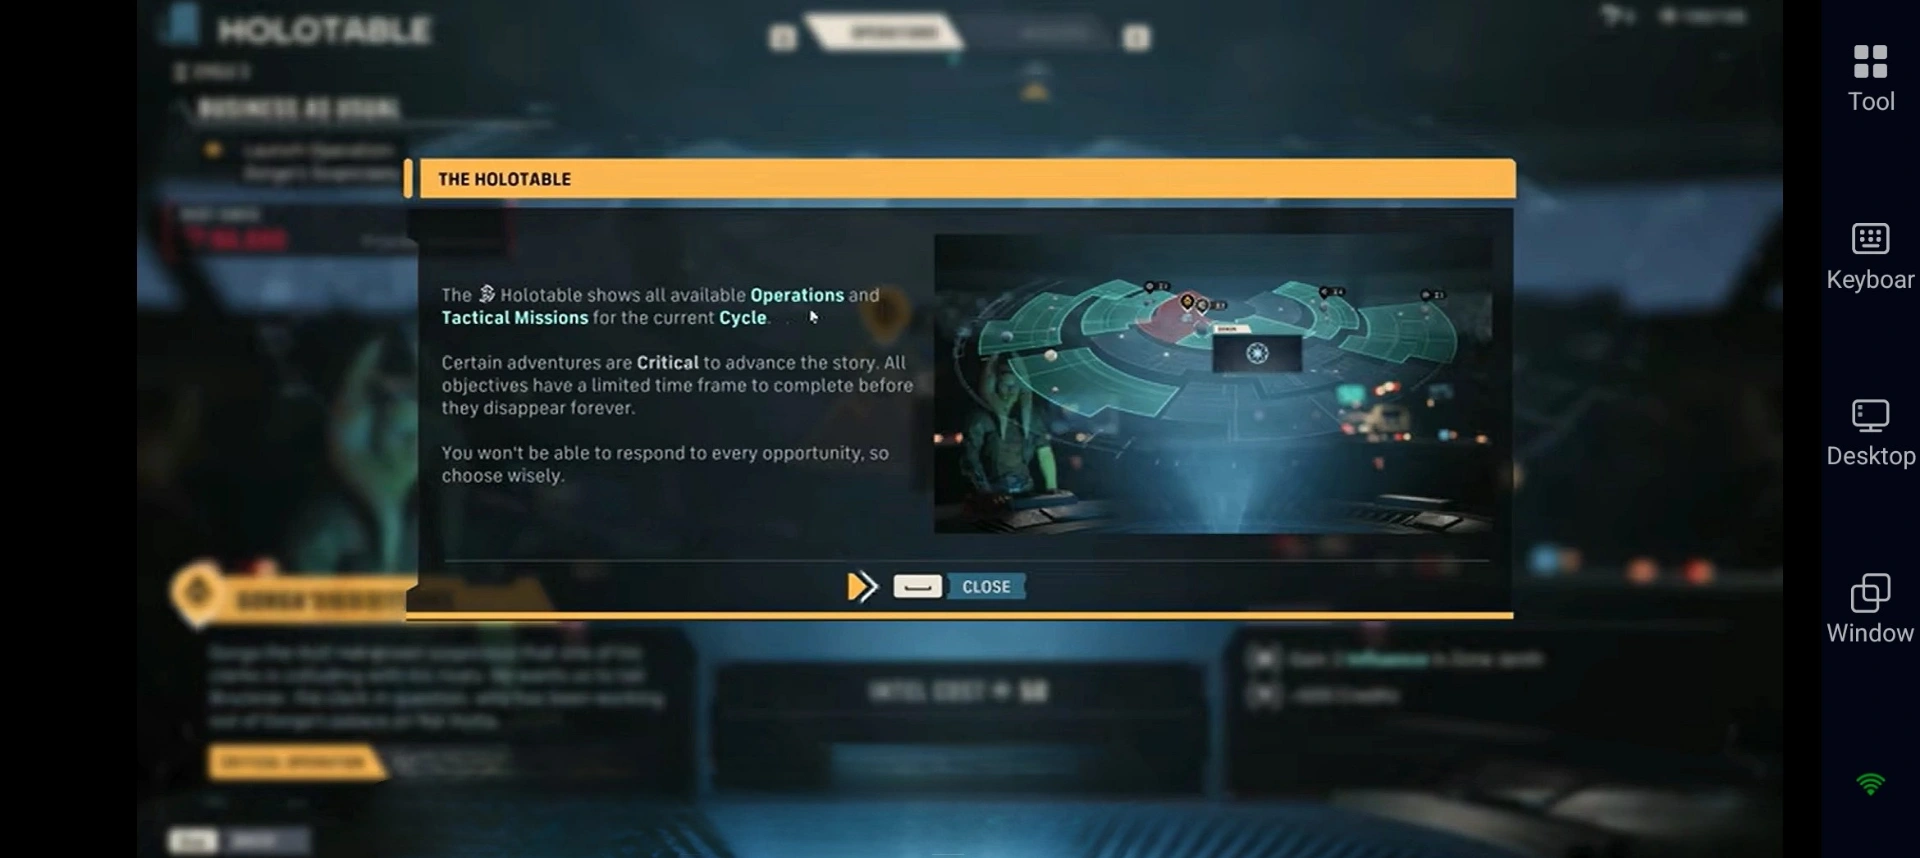
Holotable
The Holotable is your main command center. Use it to select Tactical Missions, Operations, and galaxy map activities. It shows all available options for the current Cycle, allowing you to decide where to send your squad for the best rewards and story progress.
Armory - Weapons and Utilities
This is where you set up your weapon and utility loadouts for battles. You can buy upgrades and items using the Credits you earn from missions and Operations. Here, you can choose from four main weapon types, so pick the one that best suits your playstyle and Operator’s role:
- Longarm for long-range precision
- Repeater for heavy close-range firepower
- Rifle for balanced mid-range combat
- Pistol for faster, mobile attacks
You can also add weapon modifications and equip utilities such as medkits, concussion grenades, and impact bombs.
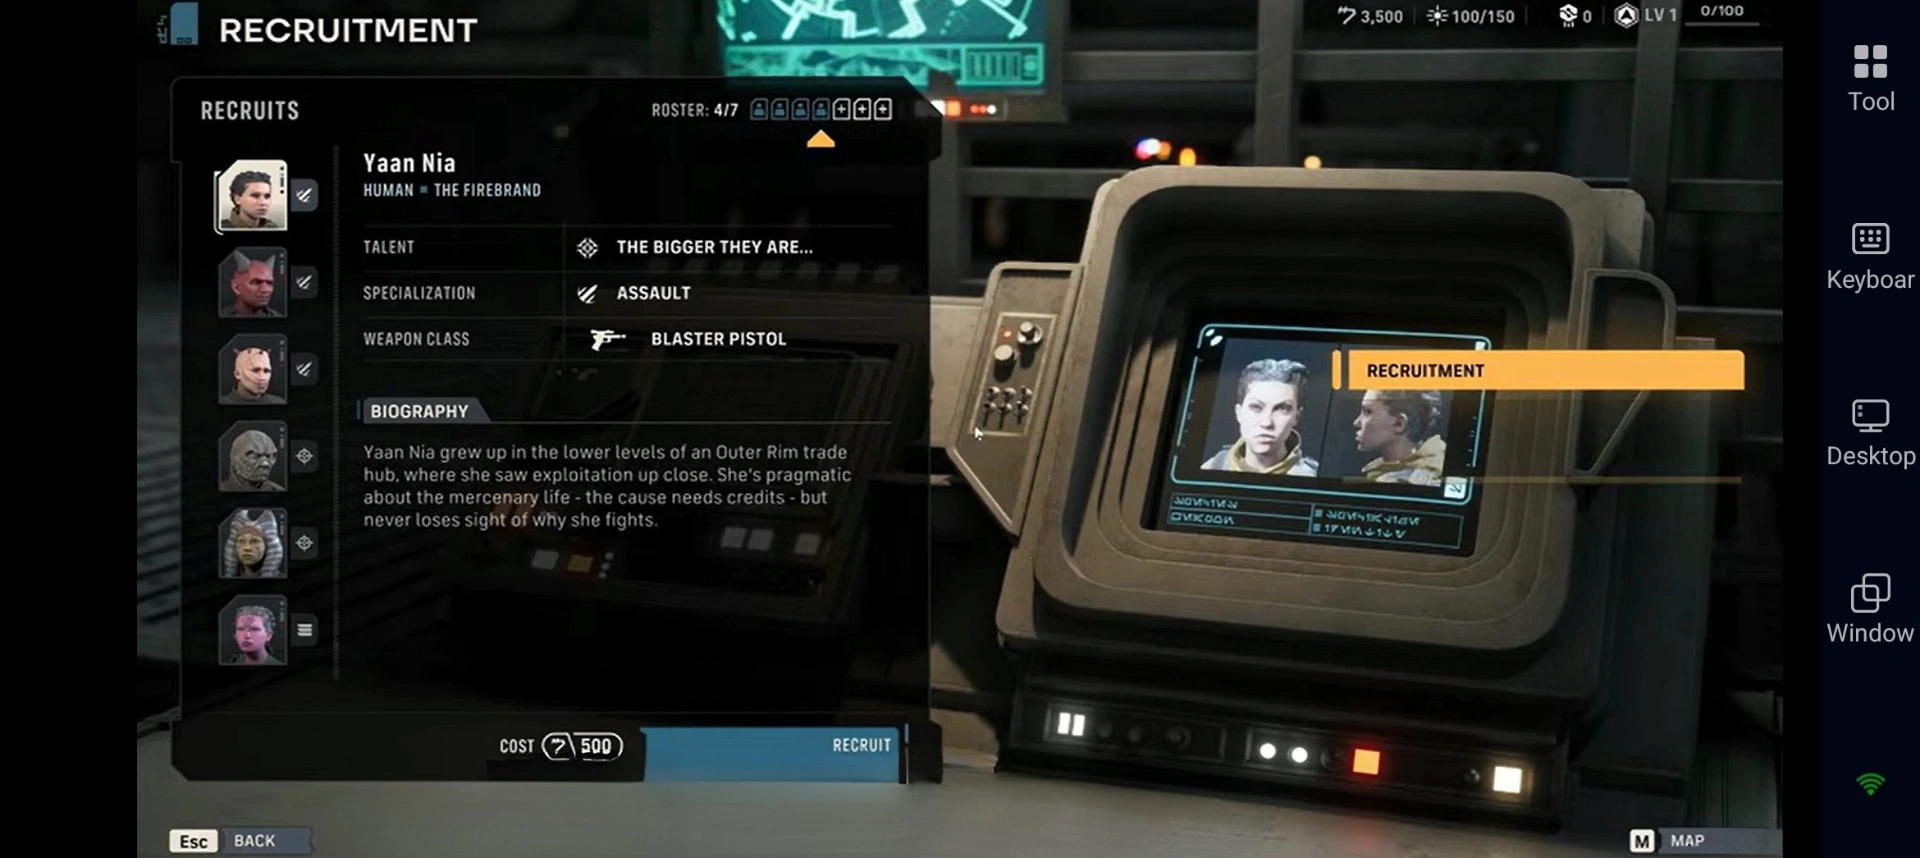
Recruitment
At the Recruitment facility, you can hire new Custom Operators using Credits. These recruits come with their own names, Talents, Specializations, preferred weapons, and backstories. You can further customize them after hiring. Building a strong roster early gives you more options for different mission types and helps cover losses if an Operator falls in battle.
Medbay and Recovery
After tough battles, head to the Medbay to treat Injuries and help Downed Operators recover. Healing takes time and resources, so manage it carefully. Regular visits will keep your roster healthy and ready for the next deployment.
Tip for Mastering The Den: Visit the Den after every mission. Smart management of the Armory, Holotable, Medbay, and Recruitment facilities turns a good squad into a truly elite company ready to face any tougher battle.  Download OSLink & Remote Play STAR WARS Zero Company™
Conclusion
This beginner guide gives you the basics you need to understand how to play Star Wars Zero Company™, manage your resources, choose the right Operators, and build a strong squad. Follow the guide to sharpen your tactics and build your best squad for every tactical mission you engage in. For an even better experience, use OSLink to remotely play Star Wars Zero Company™ from your mobile, so you can continue your galactic adventure anywhere, even if you are away from your PC.
 Download