English
Choosing the right Shell in Mortal Shell 2 can completely change how you approach combat. With eight unique Shells built around different mechanics, from time manipulation and summons to heavy stagger damage and defensive sustain, knowing which ones are worth investing in can save you a lot of trial and error. In this Mortal Shell 2 shell tier list, we rank all Shells from SS to B and break down what makes each one strong, where they struggle, and which ones are worth considering for a smoother beginning to your Mortal Shell 2 journey
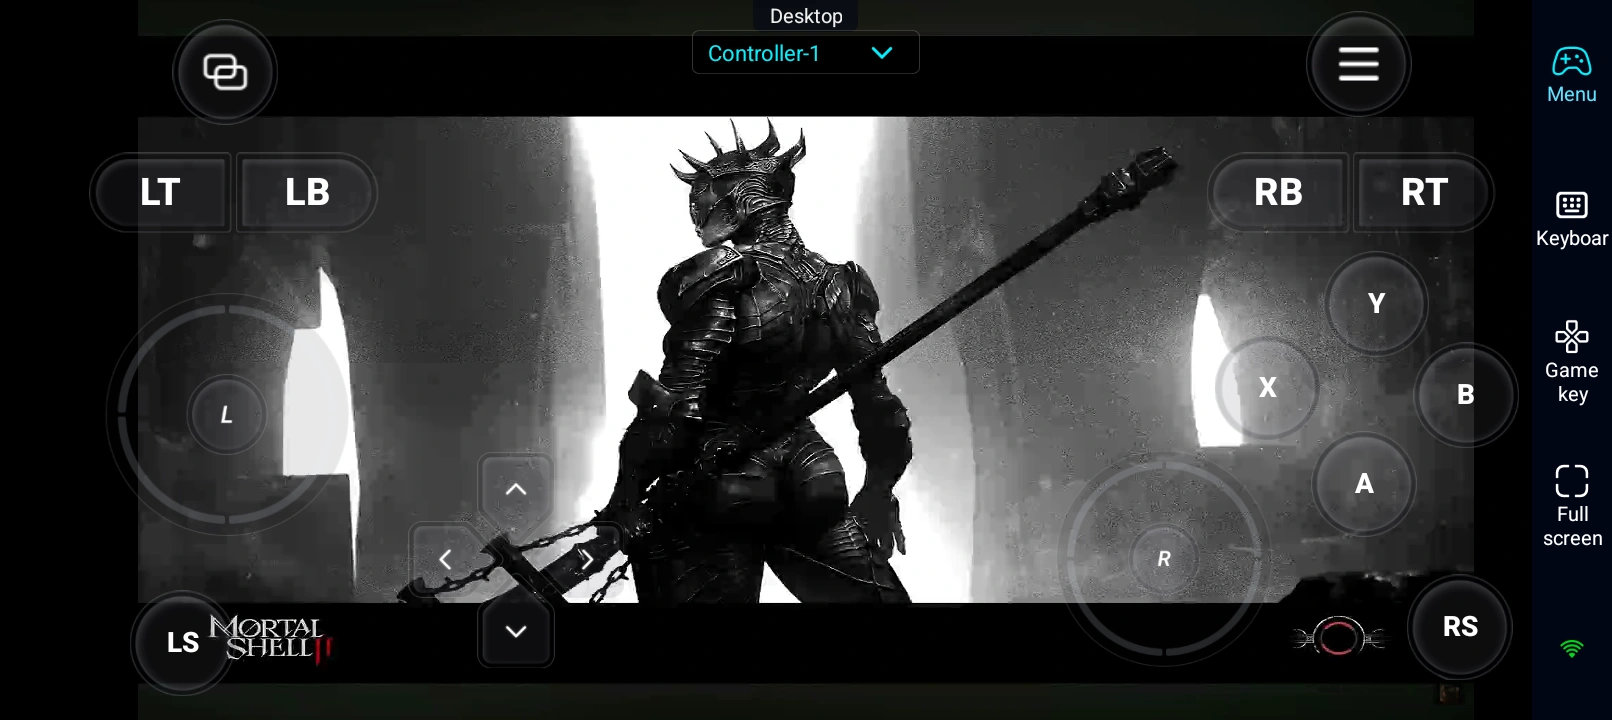
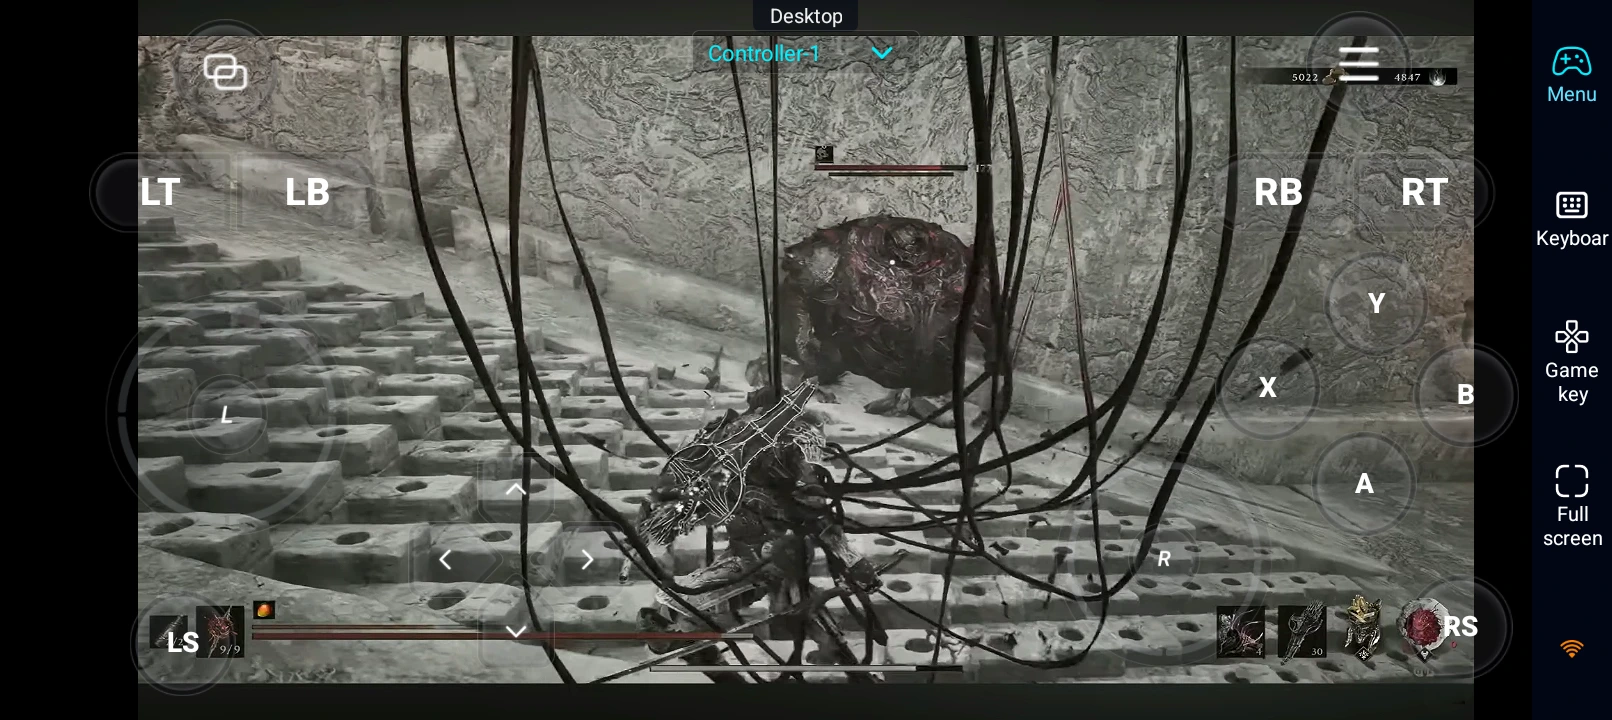
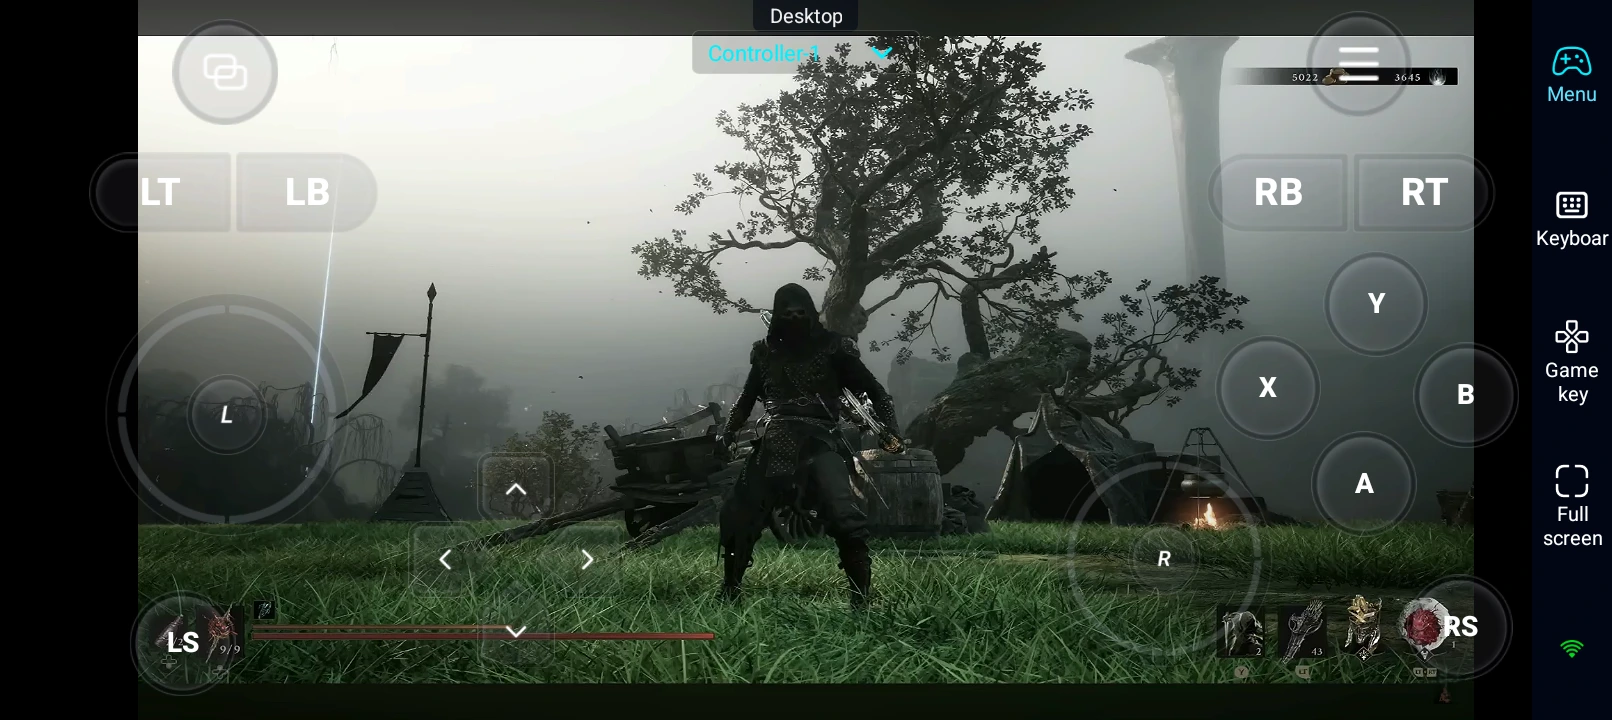
If you want to keep exploring even when you're away from your PC, OSLink gives you a convenient way to play your PC Mortal Shell 2 sessions from your mobile device . That means you can continue your journey, experiment with different Shells, and tackle another boss even when you aren't sitting at your PC.
Mortal Shell 2 Shell Tier List Overview
This Mortal Shell 2 shell tier list ranks all eight Shells based on their overall combat performance, including:
- Damage potential
- Survivability
- Boss performance
- Crowd control
- Consistency
- Ease of use
- Investment requirements
Mortal Shell 2 Shell Tier List




Mortal Shell 2 SS-Tier Shells
These are the best Shells in Mortal Shell 2 when judged by overall combat dominance. Both Smert and Genessa can create powerful situations where enemies struggle to fight back, but they reach that level in very different ways: Smert overwhelms encounters by controlling time, while Genessa uses summoned doubles to deal damage from relative safety.
Smert, the Apostate
- Playstyle: Aggressive burst / time manipulation
- Core Skill: Miracle
- Special Mechanic: Chaos Stacks
- Damage Style: Unarmed attacks + Chaos detonation
- Defining Trait: Stops time during Miracle
- Best For: Players who want maximum damage and boss control
- Main Risk: Sacrifices 50% of current HP when activating Miracle
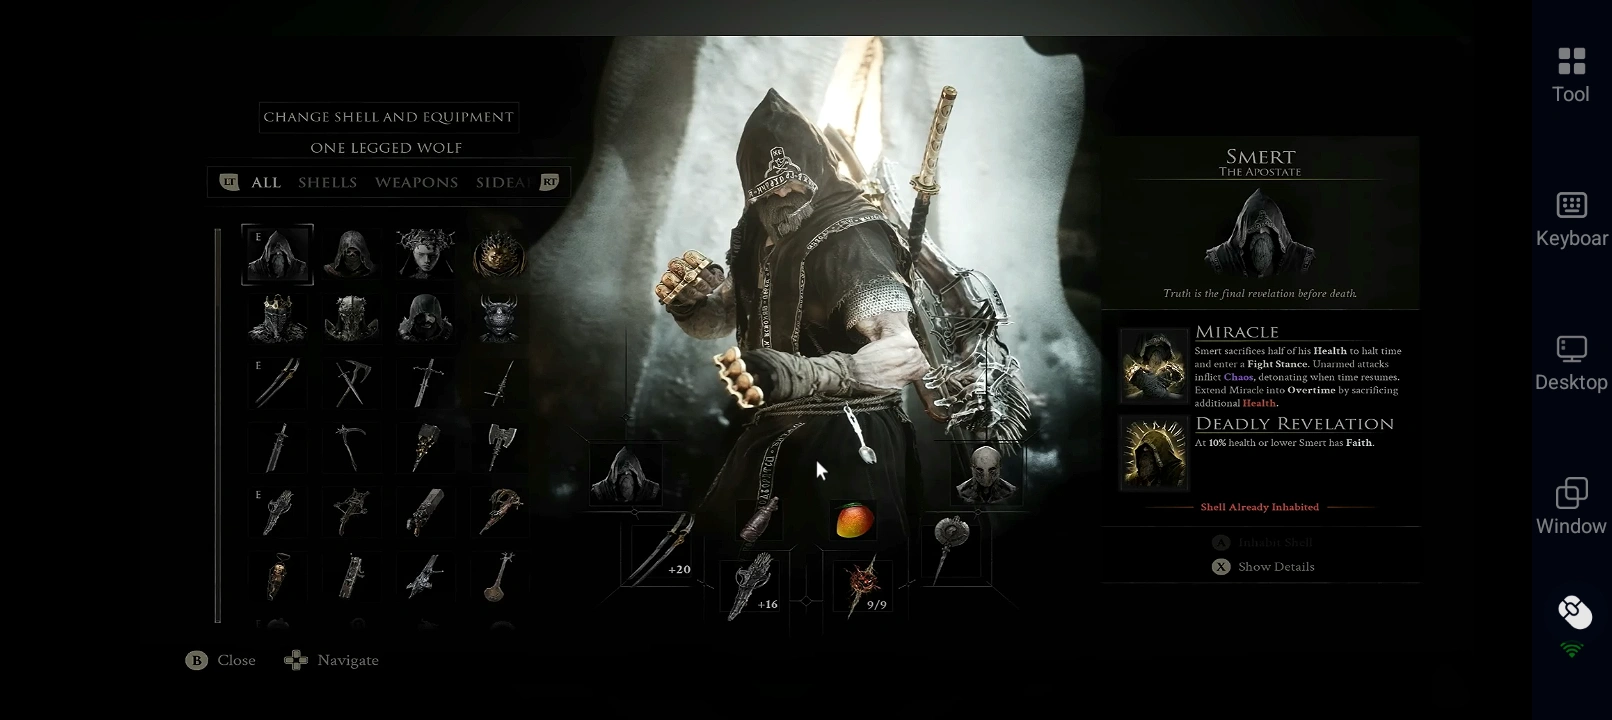
Smert is one of the most mechanically dominant Shells in this Mortal Shell 2 shell ranked list. His entire kit revolves around Miracle , which sacrifices half of his current Health to stop time and enter a special fighting state. While time is frozen, his unarmed attacks build Chaos Stacks , which detonate when the effect ends.
The important part is how effectively this mechanic can be turned into a loop. With the right upgrades, Smert can reduce Miracle's downtime and extend its duration, allowing him to repeatedly create damage windows where enemies simply cannot respond. Against bosses, the basic loop is simple: freeze time, attack, detonate the accumulated Chaos, and repeat.
His low Health is also part of the design rather than simply a weakness. Miracle becomes increasingly efficient at lower Health, while Deadly Revelation grants Faith at 10% Health or below. That creates a high-risk setup where Smert deliberately operates near the danger zone to maximize his potential.
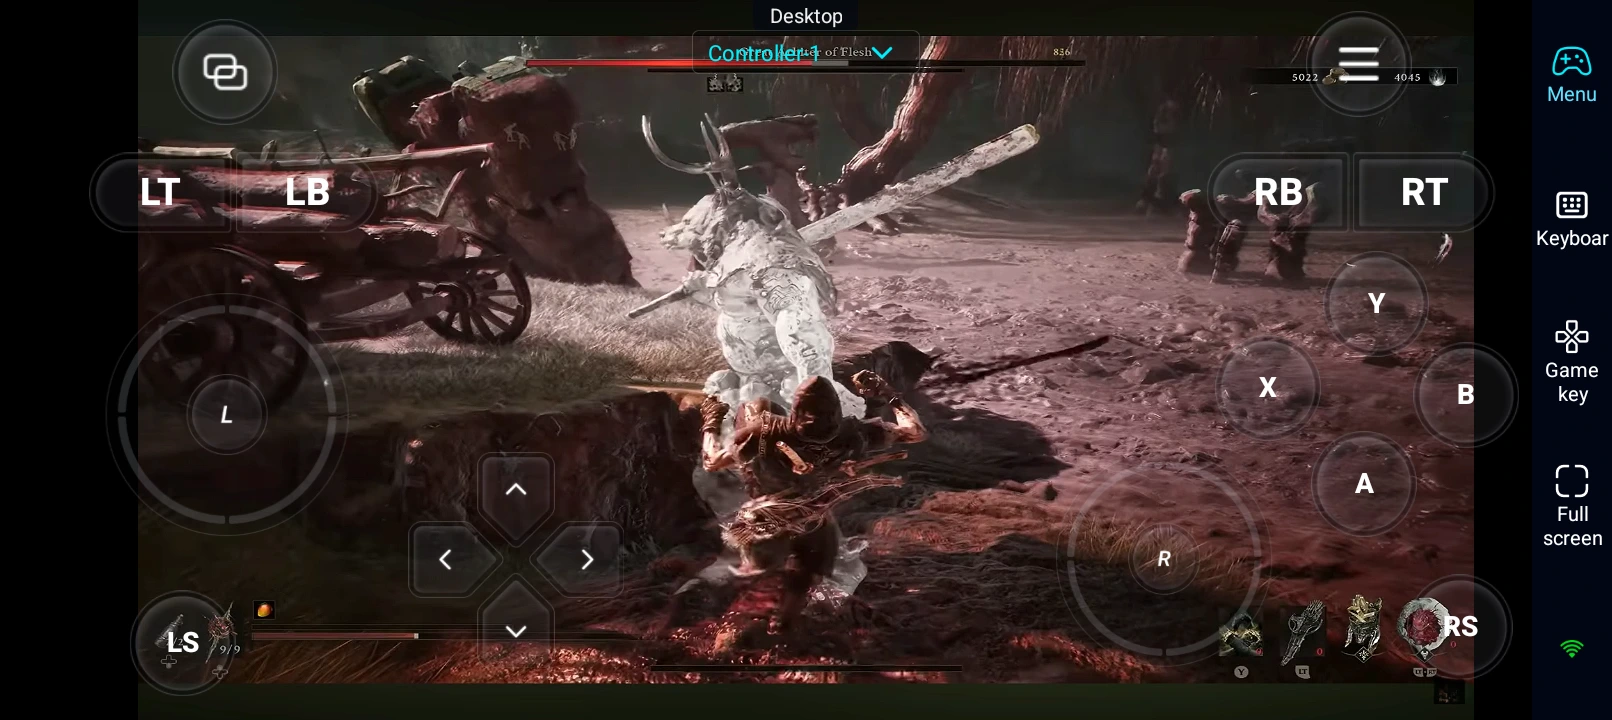
The result is a Shell that can trivialize encounters once properly developed. You don't need to withstand as much enemy pressure when you can repeatedly create openings where enemies are unable to respond.
The trade-off is that Smert isn't necessarily the most forgiving Shell for a new player. Sacrificing half of your current Health every time you activate Miracle demands confidence and proper resource management. But once his mechanics are understood, Smert is arguably the strongest Shell for players looking to maximize raw combat power.
Genessa, the Wayward
- Playstyle: Summoner / ranged pressure
- Core Skill: Faithful Doubles
- Special Mechanic: Duality
- Damage Style: Summoned weapon attacks + Phantom effects
- Defining Trait: Doubles can fight independently
- Best For: Players who want damage without constant direct engagement
- Main Risk: Genessa cannot return to her Shell from Stray form until resting
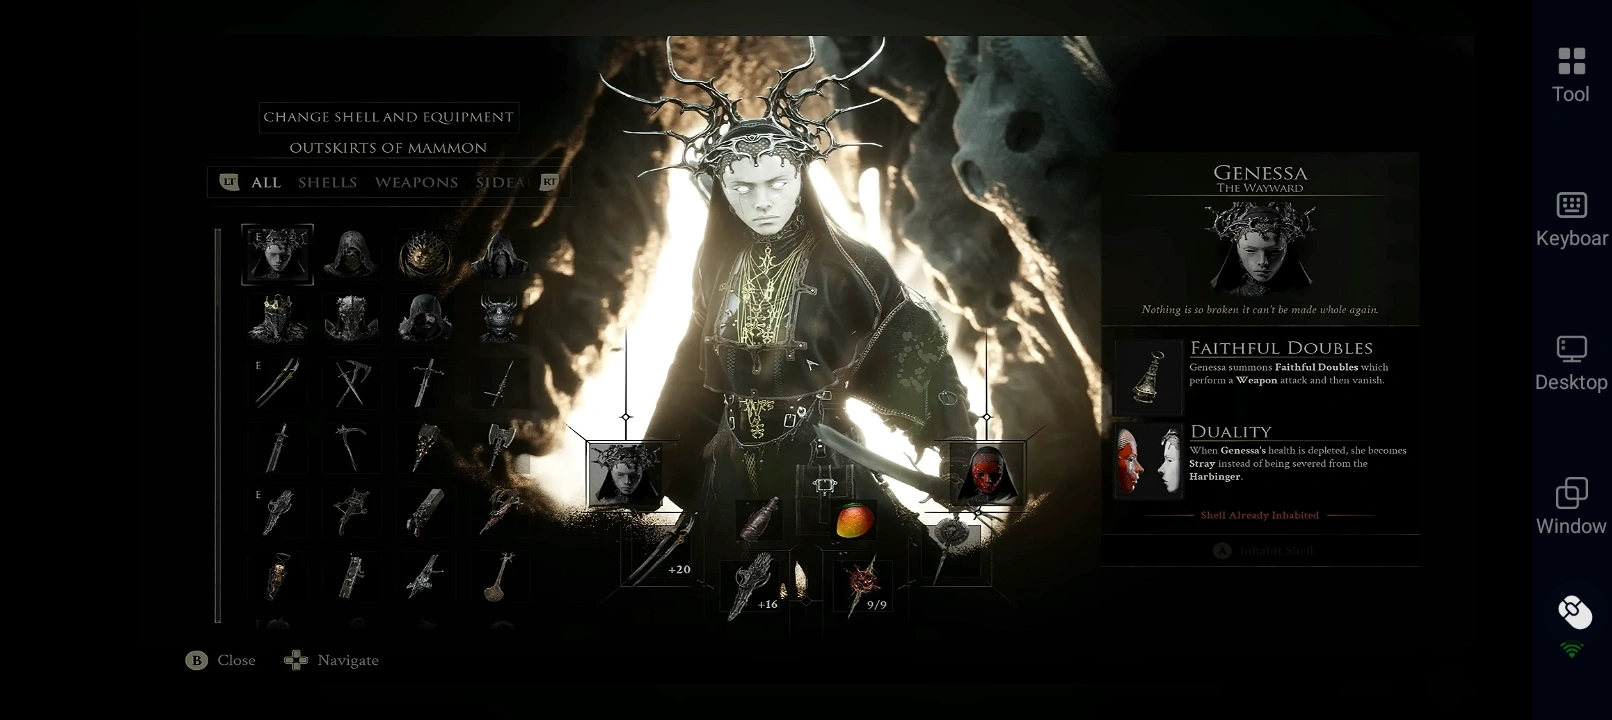
Genessa earns SS tier for a completely different reason. Rather than overwhelming enemies through direct combat, she can make her summons do the fighting for her . Her Faithful Doubles independently attack enemies using her equipped weapon and can even draw enemy attention, creating openings for Genessa herself to attack.
This gives Genessa an unusually safe damage profile. You can send the Doubles into an encounter, let them apply pressure, and use the distraction to reposition or attack from a safer angle. Their attacks also apply Phantom , giving Genessa another source of damage that can build while she stays out of immediate danger.
Her second defining mechanic, Duality , makes her even more unusual. When Genessa's Health is depleted, she becomes Stray instead of being severed from the Shell normally. In this state, she loses access to Faithful Doubles but gains copies that mimic her attacks, increasing her melee and ranged damage while they remain active.
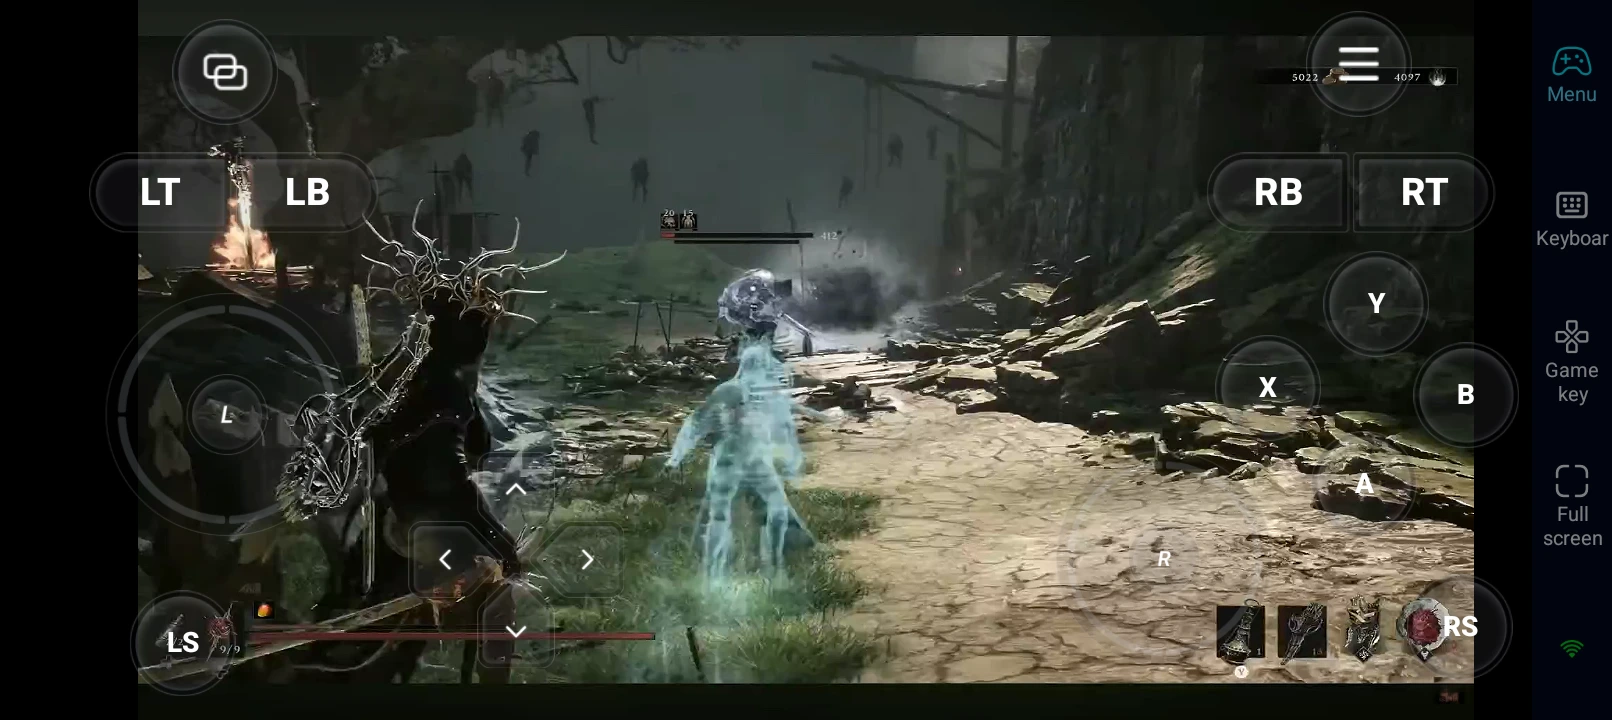
This gives Genessa two distinct ways to approach combat. Faithful Doubles offer the safer approach, letting her control encounters while her summons handle much of the fighting. Stray Doubles trade that safety for higher personal damage, allowing Genessa to fight more aggressively alongside her clones.
The main drawback is that Genessa's strongest setups can require careful Resolve management and investment into her abilities. Her Stray form also comes with an important limitation: once she enters it, she cannot simply return to her Shell until resting at a Beacon.
Even with that limitation, Genessa offers something very few Shells can match: consistent damage while reducing the amount of direct pressure you have to deal with yourself. For players who value safety, flexibility, and summon-based combat, she is one of the strongest Shell choices in the roster.
Mortal Shell 2 S-Tier Shells
S-tier Shells are powerful, reliable choices that can handle most encounters extremely well but don't have quite the same encounter-breaking potential as the SS tier. Gragu and Lazlo stand out for their ability to control fights through stagger pressure, durability, and powerful area attacks.
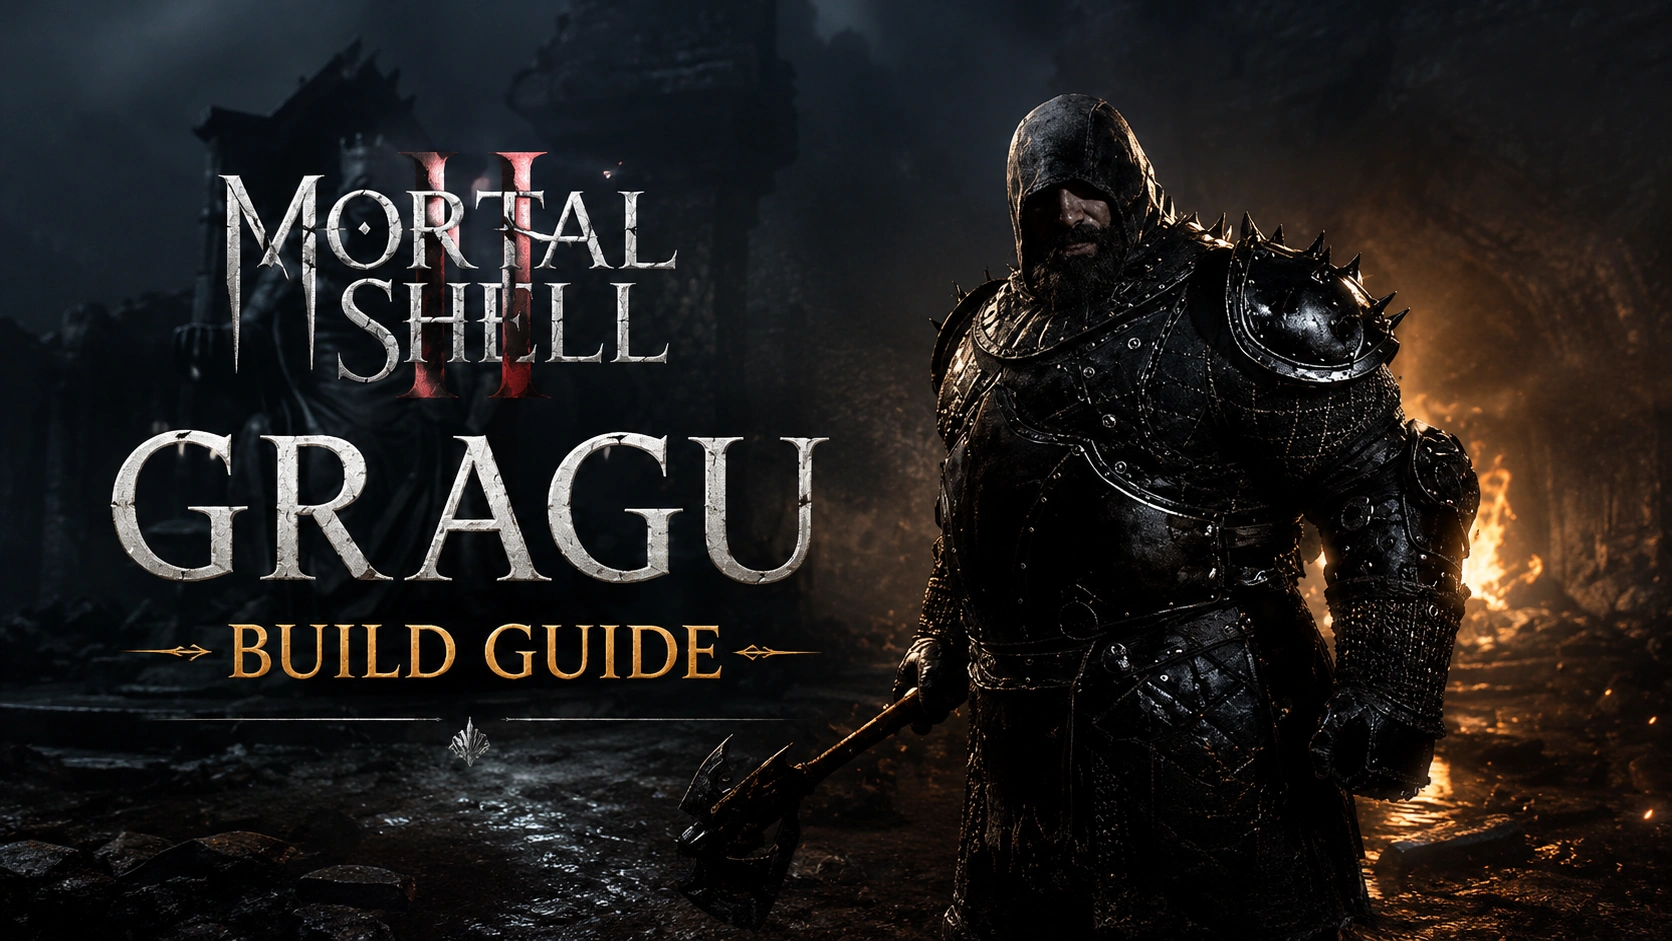
Gragu, the Insatiable
- Playstyle: Heavy stagger / bruiser
- Core Skill: Staggering Blow
- Special Mechanic: Charged Break Damage
- Damage Style: Heavy physical damage + stagger
- Defining Trait: Can repeatedly interrupt enemies
- Best For: Players who want straightforward, aggressive combat
- Main Strength: Can bypass enemy mechanics through constant stagger
- Main Weakness: Can become repetitive and relies heavily on its core ability
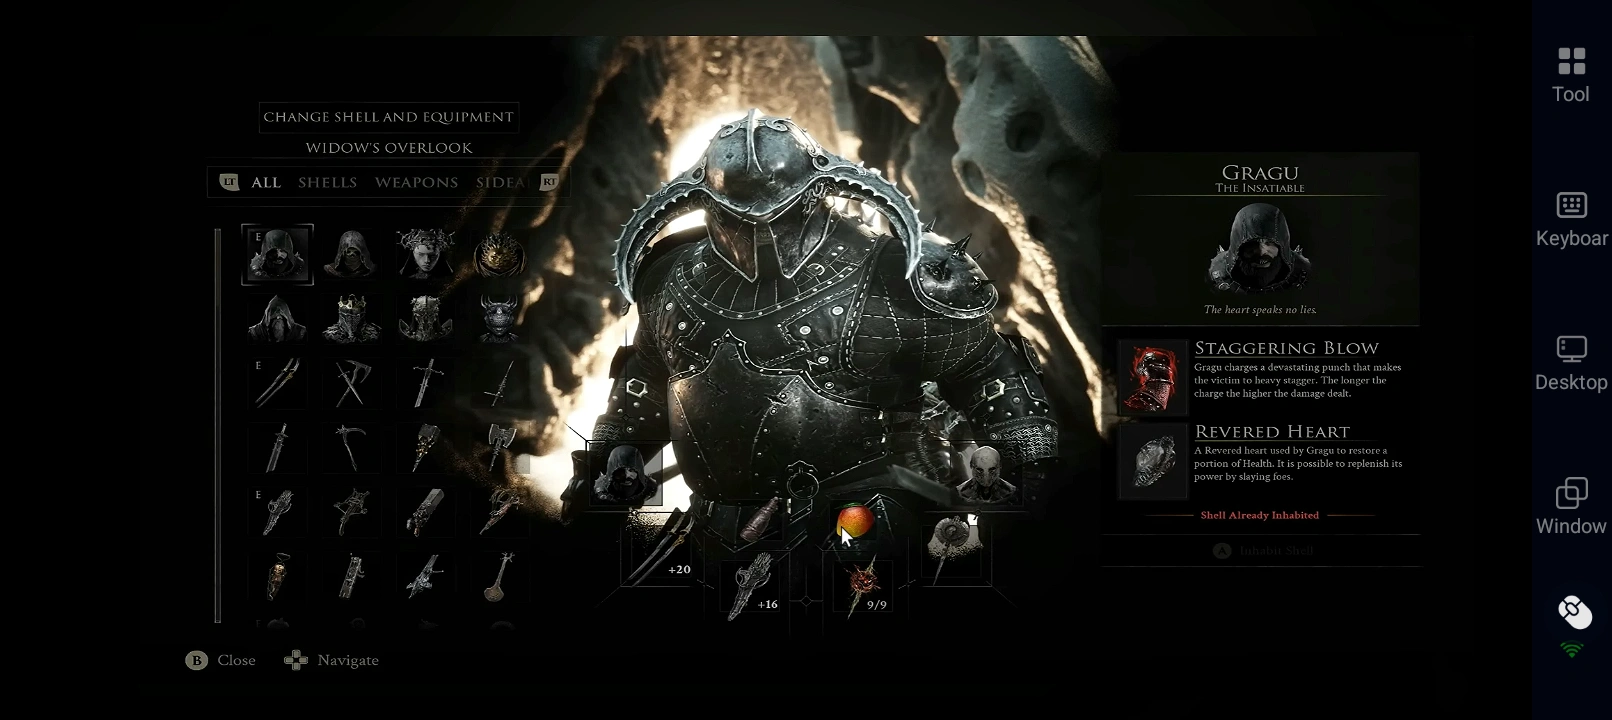
Gragu is one of the easiest Shells to understand but one of the most effective when it comes to simply overpowering enemies. His defining ability, Staggering Blow, charges up a devastating punch that deals increasing damage the longer it is charged while heavily staggering the target.
The real strength isn't just the damage. Staggering Blow can disrupt enemies so consistently that many encounters become much simpler than they are supposed to be. Gragu can stagger many bosses with the ability, allowing him to interrupt their attacks and reduce how often they can execute their mechanics instead of relying entirely on normal weapon attacks.
His Revered Heart also gives him access to healing, with its power capable of being replenished by defeating enemies. That makes Gragu considerably more forgiving during extended exploration and lets him sustain himself without relying as heavily on conventional healing resources.
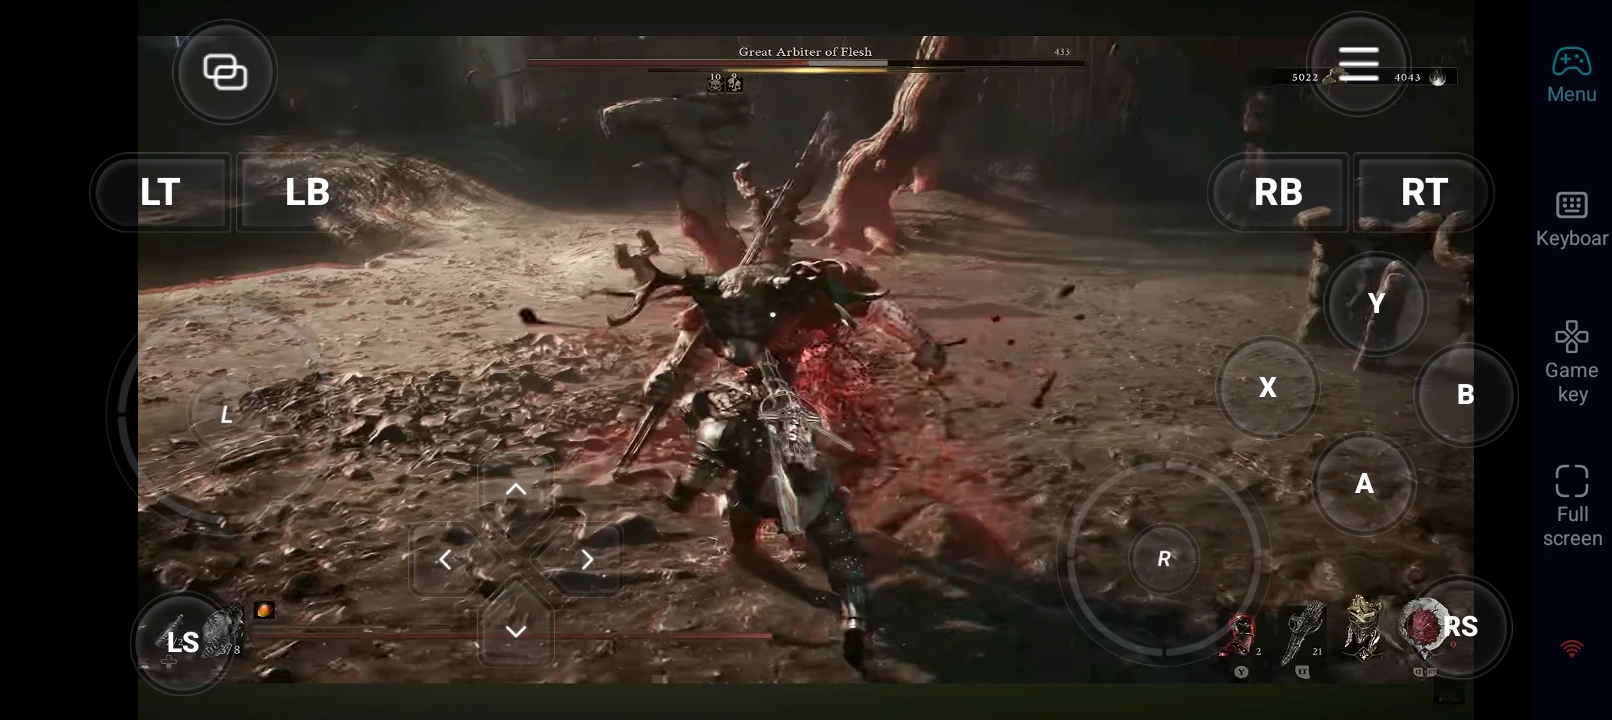
This creates a very simple but effective gameplay loop: charge, stagger, attack, heal, and repeat. Against difficult enemies, the ability to interrupt their attacks can be more valuable than having the highest theoretical damage number.
The main reason Gragu doesn't reach SS is that his power is concentrated heavily around Staggering Blow. Once you've mastered the ability, much of his gameplay revolves around the same basic strategy, leaving him with less versatility than Shells with multiple strong combat routes.
Still, if your idea of a great Shell is one that lets you walk into a dangerous fight and simply overpower it, Gragu is an excellent choice.
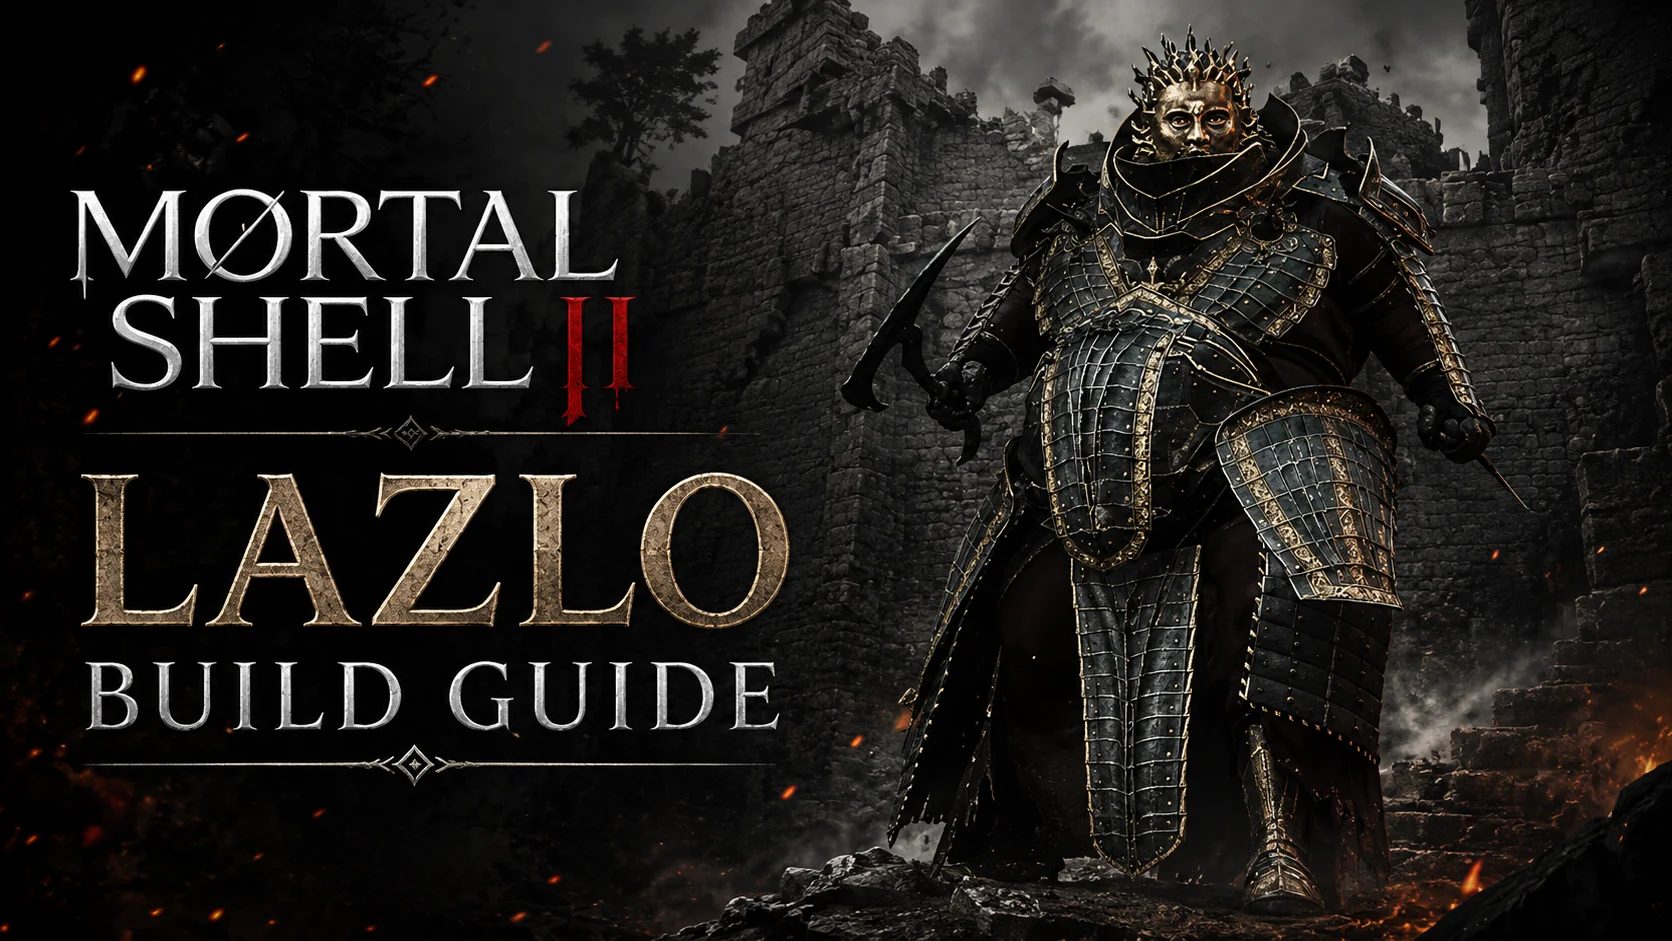
Lazlo, the Justicar
- Playstyle: Tank / AoE bruiser
- Core Skill: Retribution
- Special Mechanic: Heat & Overheat
- Damage Type: Shockwave + Burn
- Defensive Trait: 10% base damage reduction
- Best For: Players who want durability and powerful area damage
- Main Strength: High survivability with strong AoE pressure
- Main Weakness: Must manage Heat and temporarily loses armor after Overheat
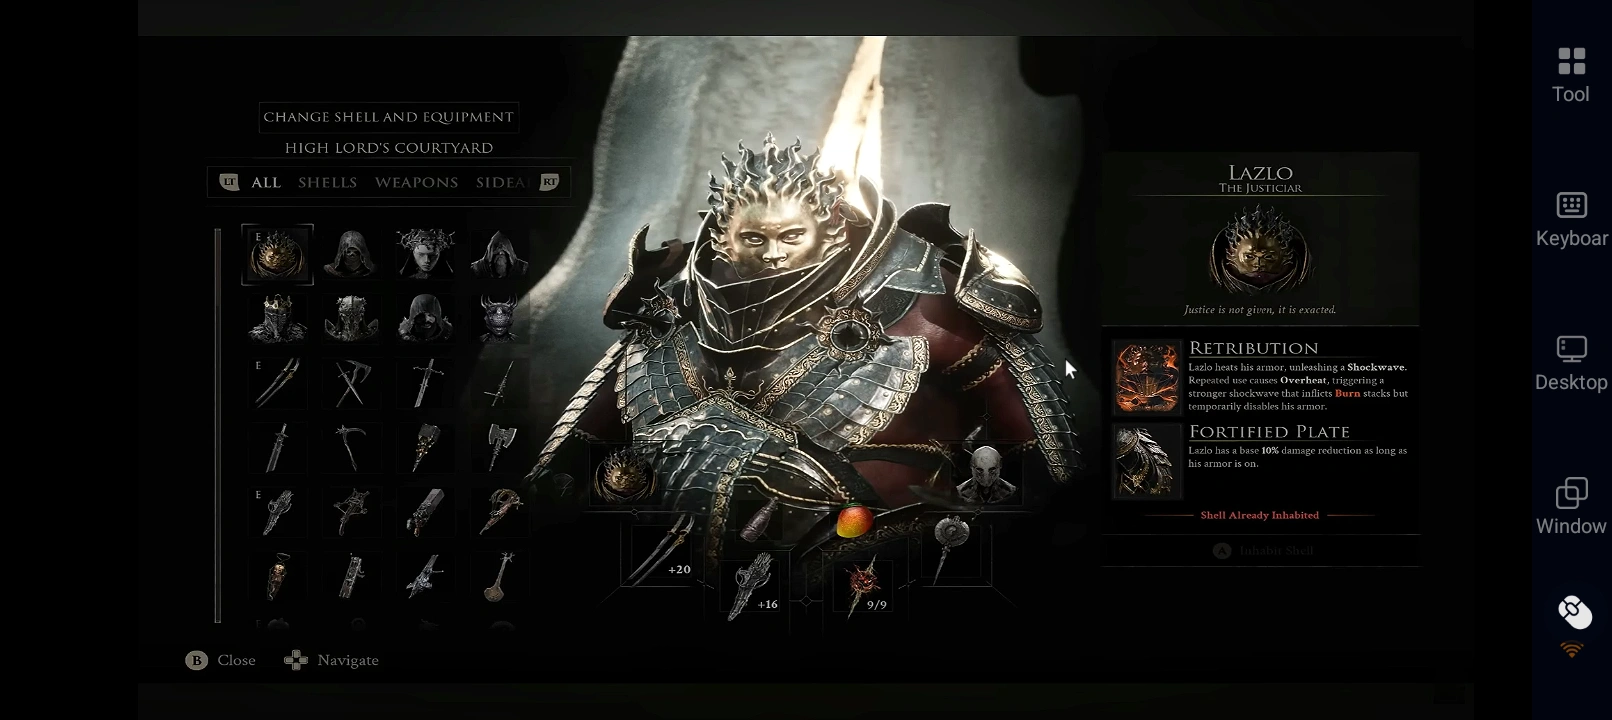
Lazlo takes a completely different approach from Gragu. Instead of relying on repeated stagger, he combines defensive durability with powerful area-of-effect damage. His signature ability, Retribution, heats his armor and releases a Shockwave; repeatedly using it builds Overheat, which produces a much stronger Shockwave and applies Burn stacks to enemies.
That Overheat mechanic is where Lazlo becomes particularly dangerous. You can build Heat during a fight and deliberately hold onto it until you have a good opportunity to unleash the stronger attack. The trade-off is that overheating temporarily disables his armor, so using the ability carelessly can leave him vulnerable.
His defensive side helps compensate for that risk. Fortified Plate gives Lazlo a permanent 10% damage reduction while his armor is active, making him naturally more forgiving than many other Shells.
The resulting playstyle is about managing Heat: build it, decide when the stronger Shockwave is worth triggering, survive the period without armor, and then repeat the cycle.
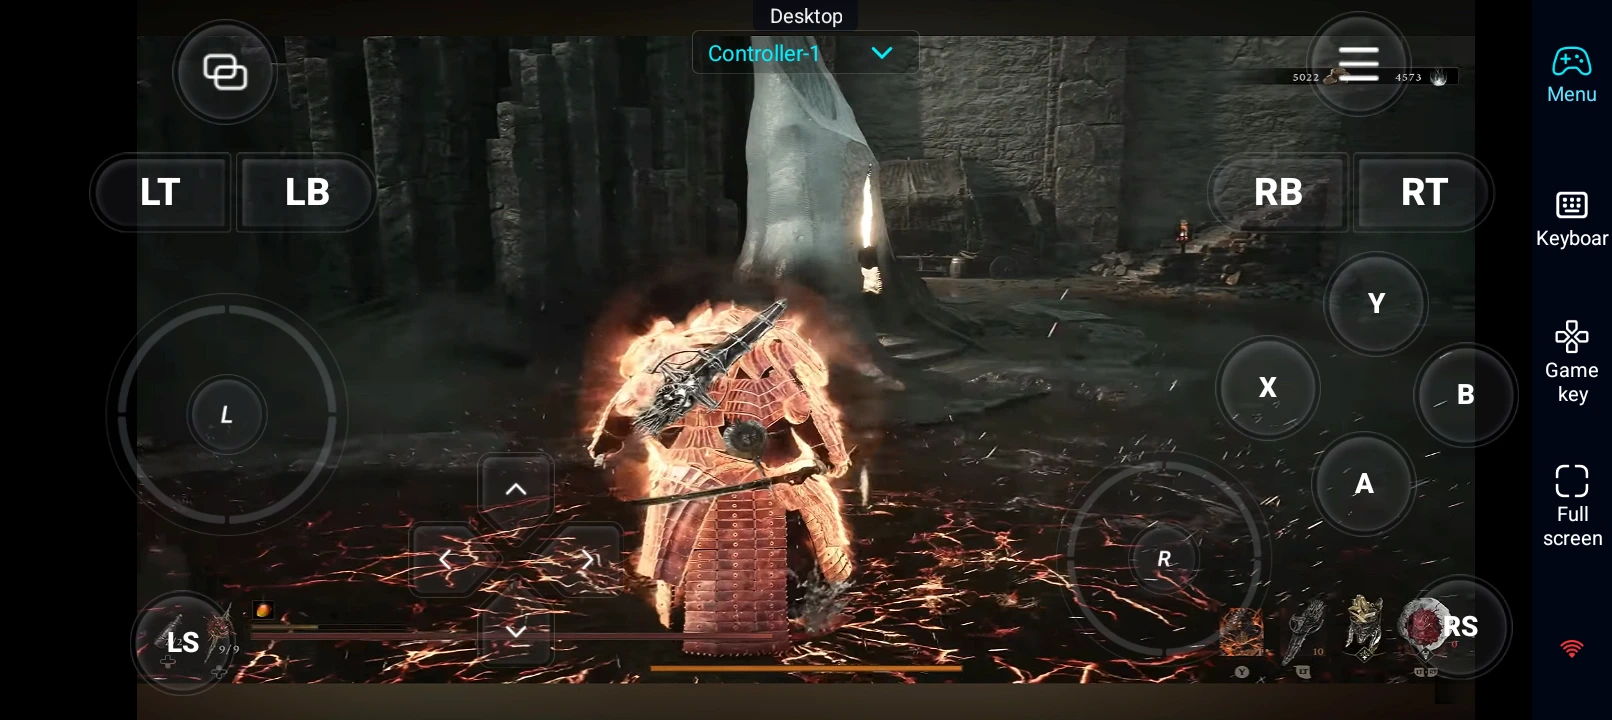
That combination makes Lazlo especially effective when fighting groups. You aren't forced to focus on one target at a time—you can use the Shockwave to pressure several enemies while his armor provides additional protection.
Lazlo's biggest limitation is resource and timing management. His strongest attacks come at the cost of temporarily losing the protection provided by his armor, so choosing when to trigger Overheat is just as important as building it. Lazlo is strongest when you can create the right opening to unleash his enhanced Shockwave and safely survive the recovery period.
That makes Lazlo a strong Shell choice for players who want a durable, aggressive playstyle with powerful AoE damage without relying on the more specialized mechanics of the SS-tier choices.
Mortal Shell 2 A-Tier Shells
A-tier Shells are strong and dependable choices that can perform extremely well when their mechanics are used correctly. Eredrim and Proxima both have powerful tools, but compared with the higher tiers, their strengths are more specialized and they have clearer limitations in certain encounters.
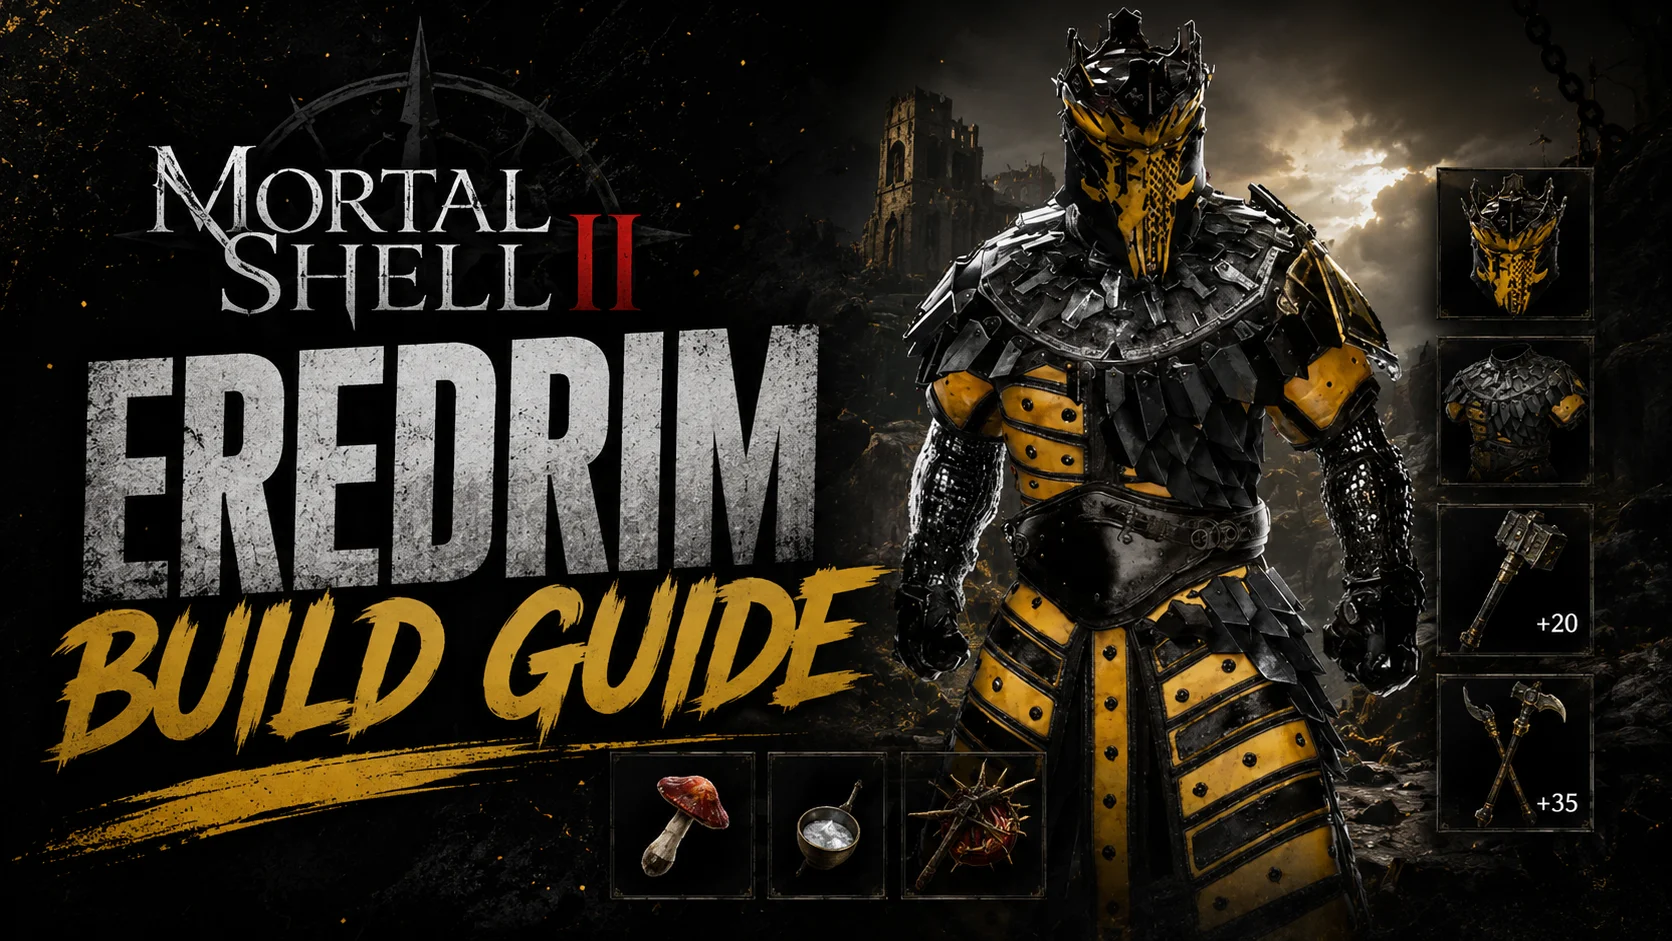
Eredrim, the Venerable
- Playstyle: Heavy bruiser / single-target specialist
- Core Skill: Shoulder Bash
- Special Mechanic: Slaughter Stacks
- Damage Style: Break Damage + Riposte
- Defining Trait: Builds power through consecutive combat
- Best For: Players who enjoy aggressive melee combat
- Main Strength: Excellent single-target pressure
- Main Weakness: Less effective against multiple enemies
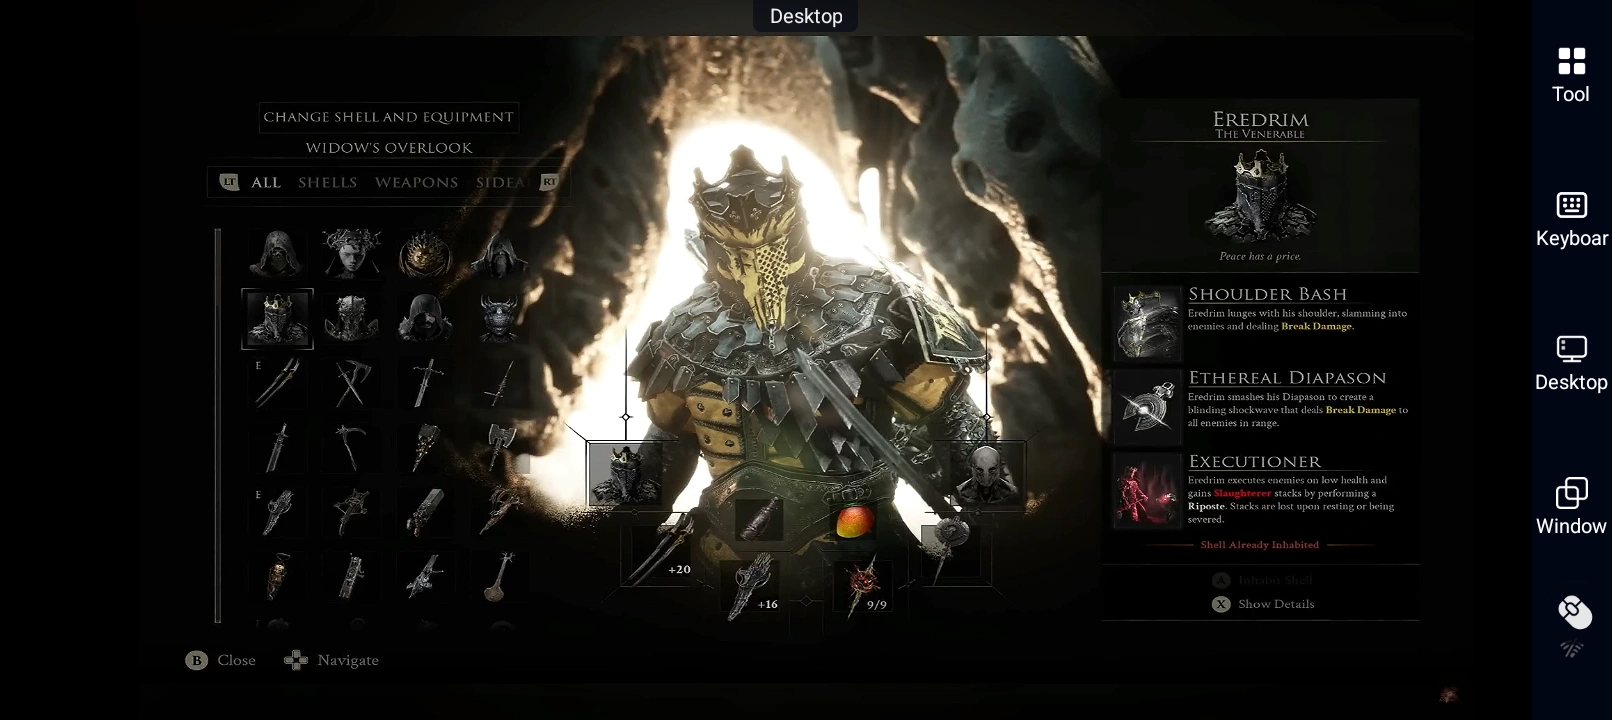
Eredrim is built around breaking enemies down through sustained melee pressure. His Shoulder Bash provides Break Damage and can trigger Riposte opportunities, giving him a reliable way to pressure individual enemies and punish openings at close range.
His biggest advantage comes from Slaughter stacks. As Eredrim continues fighting and defeating enemies, these stacks increase his effectiveness, rewarding him for maintaining momentum throughout a run. His kit also includes abilities that further improve Break Damage and let him use his skills more consistently.
This makes Eredrim particularly impressive against bosses and tougher individual enemies. Once you understand enemy attack patterns and consistently capitalize on Riposte opportunities, he can maintain strong pressure without relying on complicated resource loops.
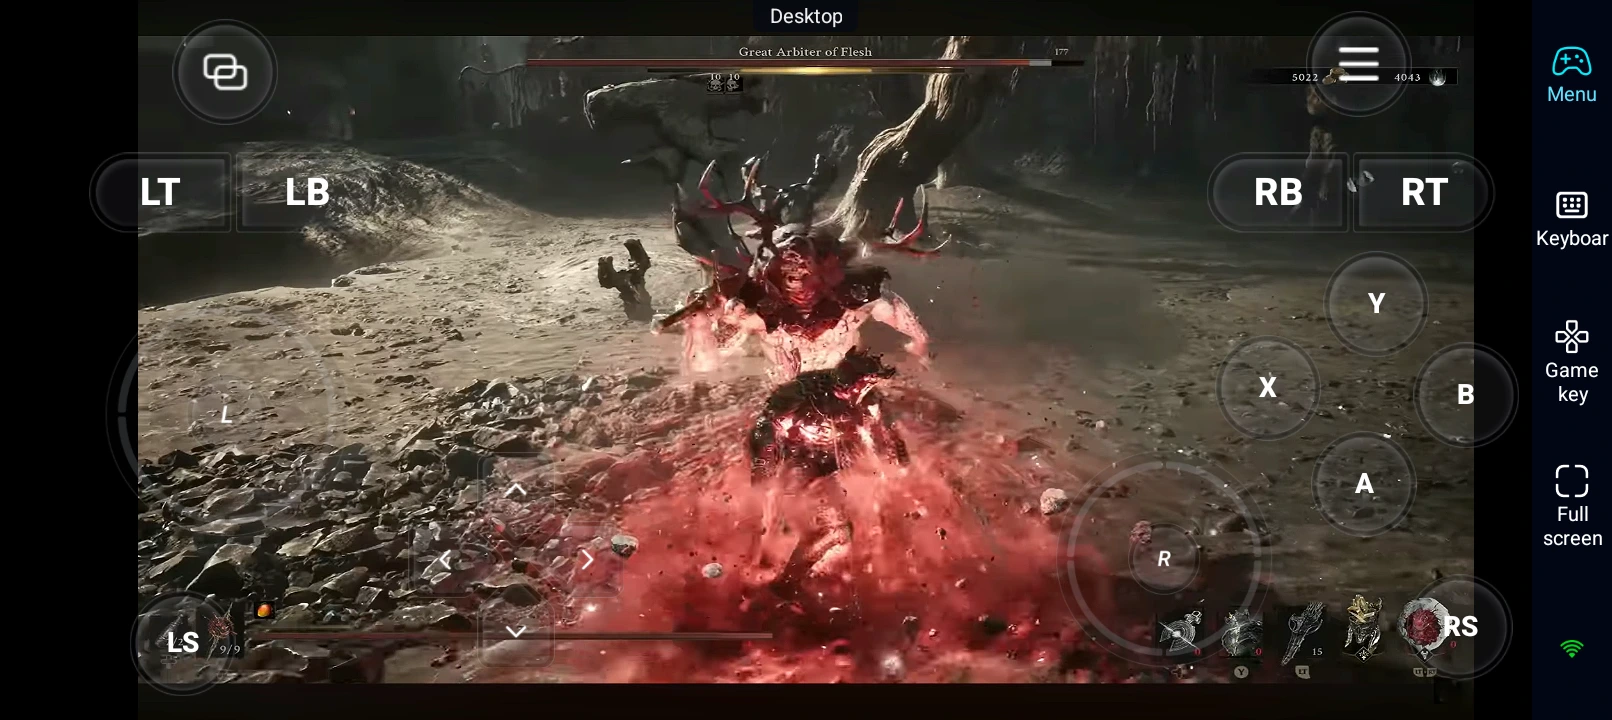
The downside is that his strengths are more noticeable in one-on-one encounters. When several enemies surround you, his single-target focus becomes less valuable compared with Shells that can control or damage groups more efficiently. His Slaughter stacks also reset when you rest or get severed, so maintaining his momentum is an important part of playing him effectively.
Eredrim is therefore a great Shell choice for players who want a traditional melee bruiser. He doesn't rely on complicated mechanics or encounter-breaking abilities; instead, he rewards good positioning, knowledge of enemy patterns, and consistent Riposte timing.
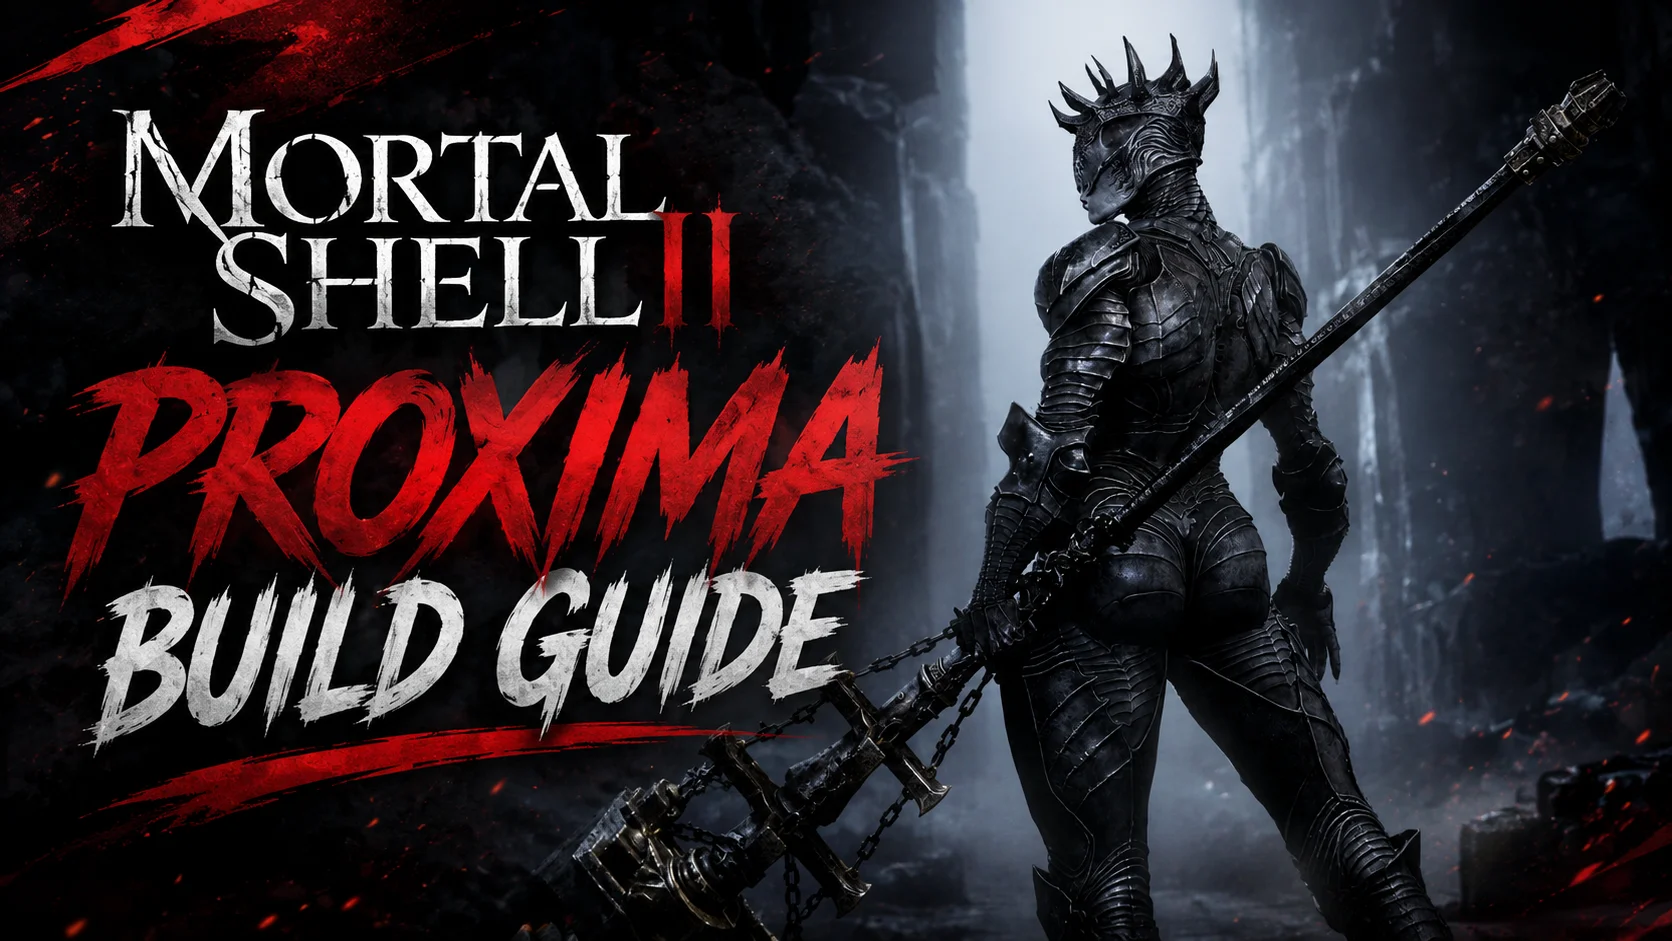
Proxima, the Broodseeker
- Playstyle: Hybrid / crowd-control specialist
- Core Skill: Biosampler
- Special Mechanic: Samples
- Damage Style: Lightning + crowd control
- Defensive Trait: Grafted Armor
- Best For: Players who prefer flexible combat and utility
- Main Strength: Versatile offensive and defensive toolkit
- Main Weakness: Doesn't specialize as strongly as higher-tier Shells
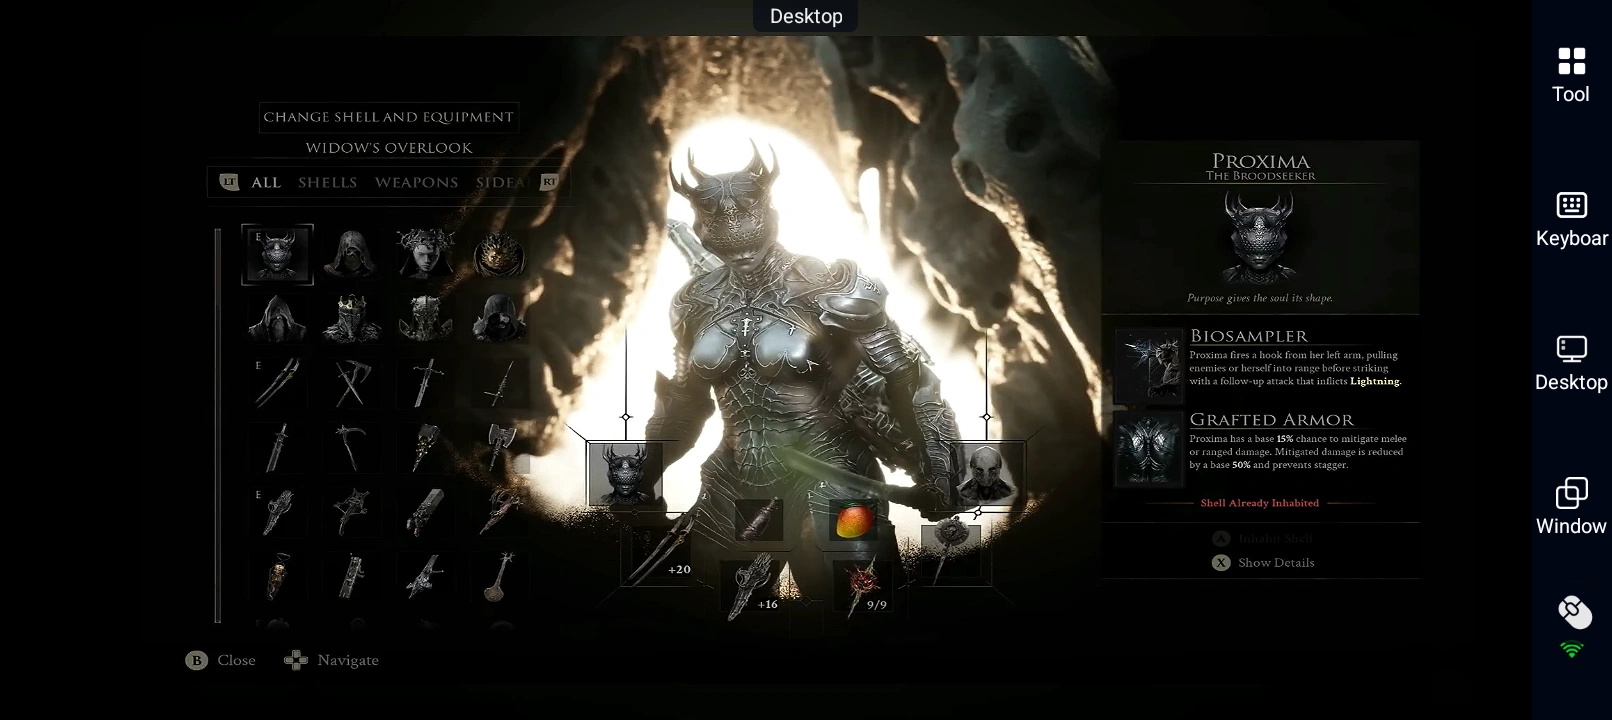
Proxima takes a more versatile approach than most Shells. Her defining ability, Biosampler, can pull enemies toward her and trigger Lightning effects, giving her both positioning control and area damage. Her Grafted Armor also provides a chance to mitigate incoming damage, giving her enough defensive utility to complement her offensive tools.
What makes Proxima appealing is that her kit doesn't force her into a single combat style. She can support crowd control, Lightning damage, defensive mitigation, and resource-focused gameplay, allowing her to adapt to different encounters rather than relying on a single dominant mechanic.
Her Samples mechanic adds another layer of utility, making Proxima particularly useful for players who want to gather resources during exploration rather than simply maximize boss damage.
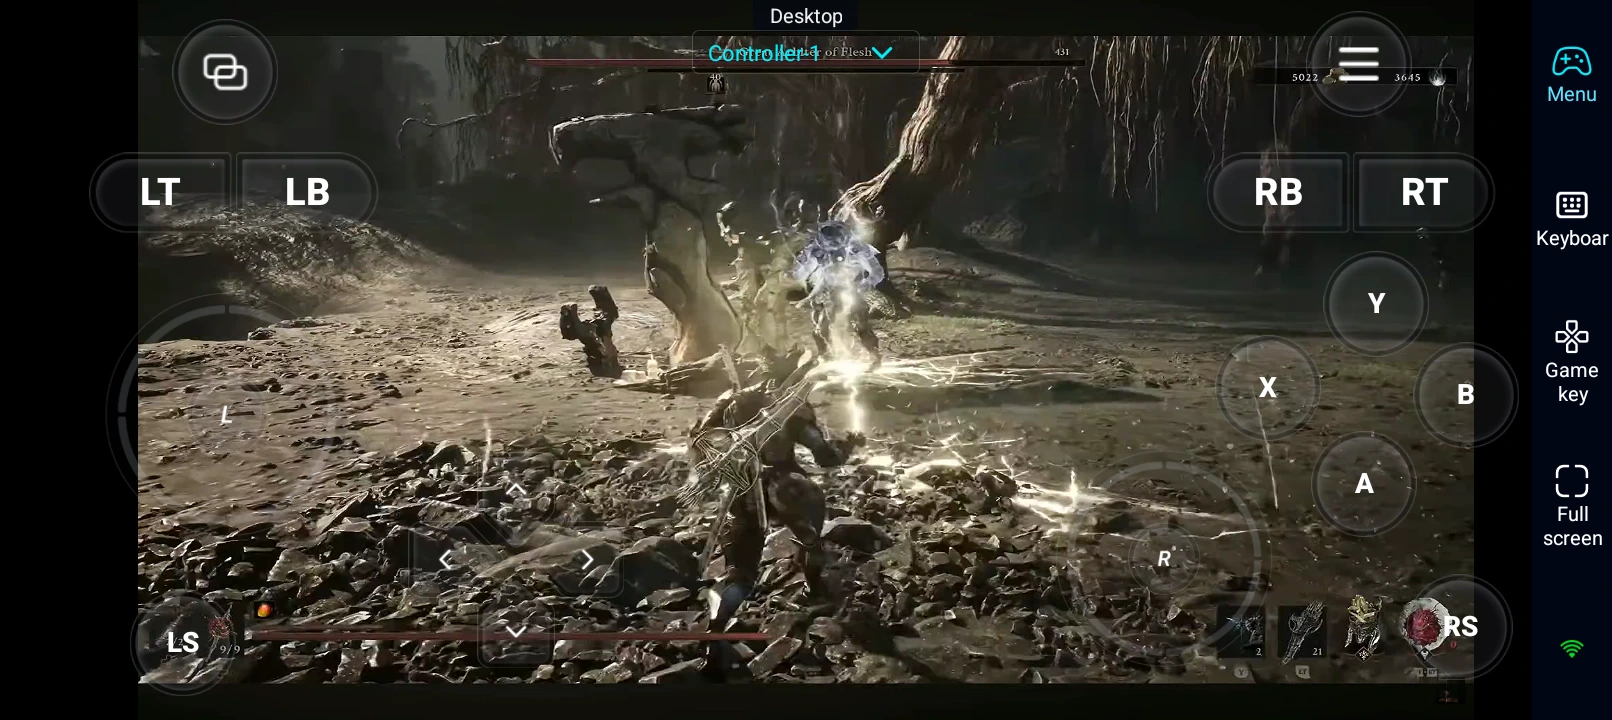
However, that versatility is also why she stops at A tier. Proxima is good at many things, but she doesn't dominate a particular category in the same way as more specialized Shells. Once the higher-tier Shells are fully developed, their more focused mechanics can produce stronger results in the areas where they excel.
Proxima is a solid choice for players who don't want to build their entire playstyle around one mechanic. She may not have the highest ceiling in any specific role, but her flexibility makes her a reliable all-rounder and a worthwhile choice for players who value adaptability.
Mortal Shell 2 B-Tier Shells
B-tier Shells are still perfectly capable of clearing the game, but they have more noticeable limitations than the higher-ranked options. Tiel and Sariel each have strong identities and useful mechanics, but their strengths are either too situational or require more careful play to compete with the Shells above them.
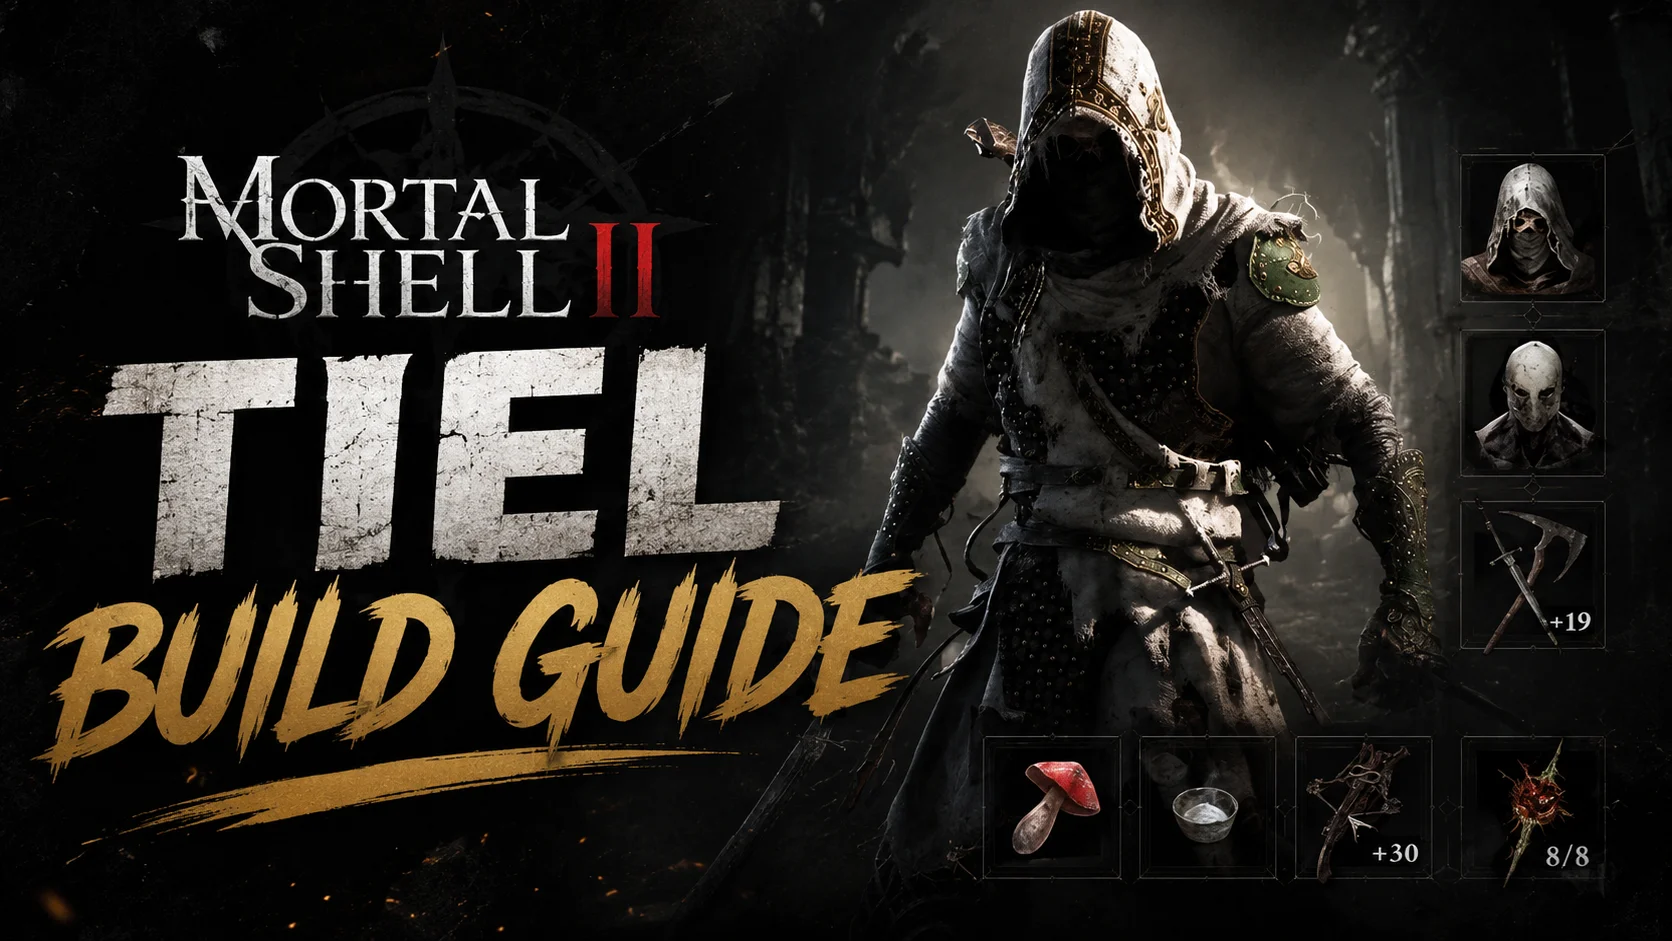
Tiel, the Acolyte
- Playstyle: Assassin / evasive damage dealer
- Core Skills: Shadow Strike & Shadow Dash
- Damage Style: Critical hits + Poison
- Special Mechanic: Shadow / Invisibility
- Defensive Trait: Evasion and repositioning
- Best For: Players who prefer mobility and hit-and-run combat
- Main Strength: Excellent ability to disengage and attack safely
- Main Weakness: High Resolve requirements limit ability uptime
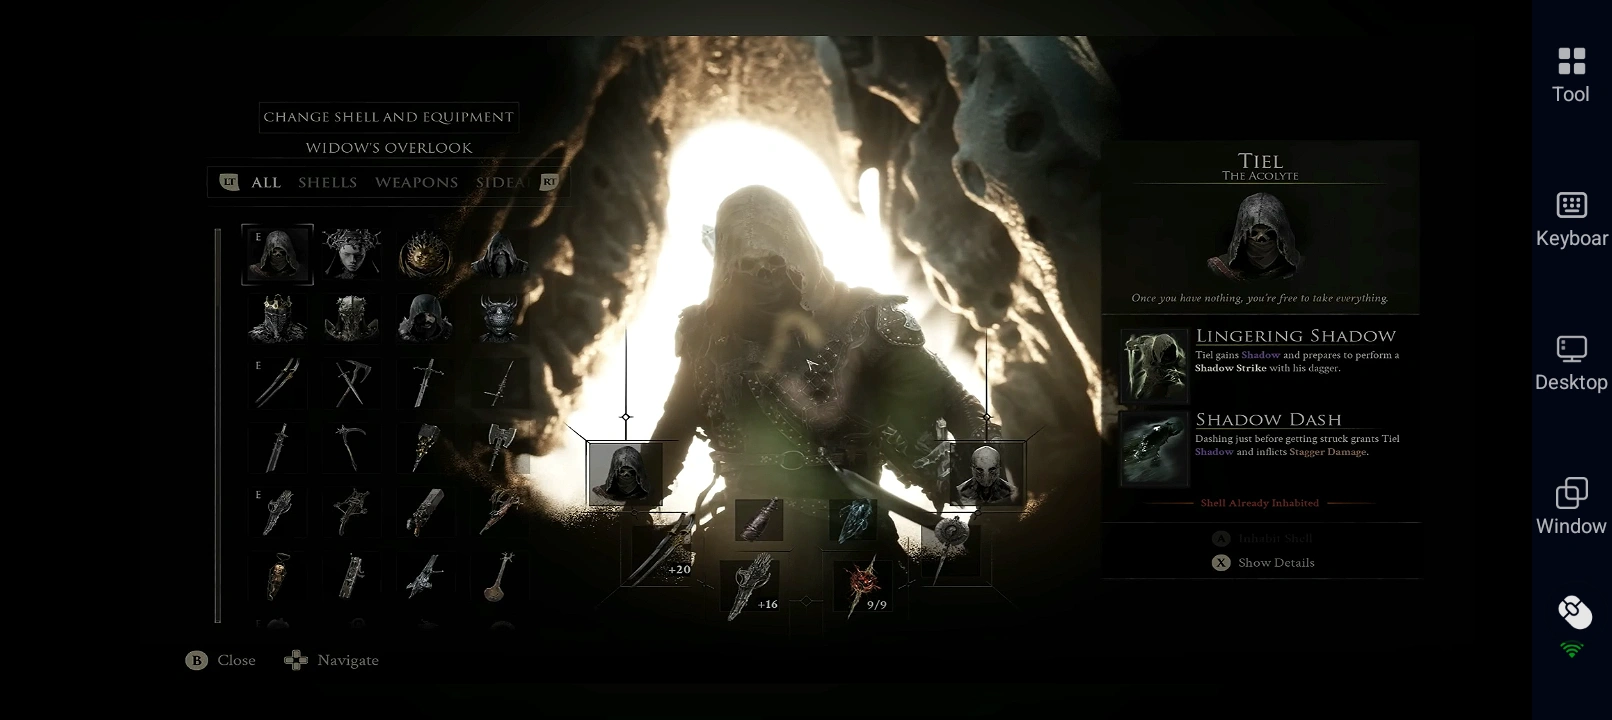
Tiel is one of the more interesting Shells for players who prefer speed, positioning, and avoiding direct confrontation. His in-game identity revolves around taking advantage of Shadow, with Lingering Shadow preparing Shadow Strike and Shadow Dash rewarding well-timed evasive movement with Shadow and Stagger Damage.
That gives Tiel a useful safety net, especially for players who prefer avoiding direct trades. His invisibility gives you a way to disappear from immediate danger, reposition, and choose when you want to re-engage rather than constantly trading hits with enemies. Shadow Dash and Shadow Strike let him attack without fully committing to an encounter.
Tiel's offensive potential is built around a more traditional assassin setup. Abilities focused on critical hits and Poison stacking can produce strong damage when the build comes together, allowing him to punish enemies through repeated high-value attacks.
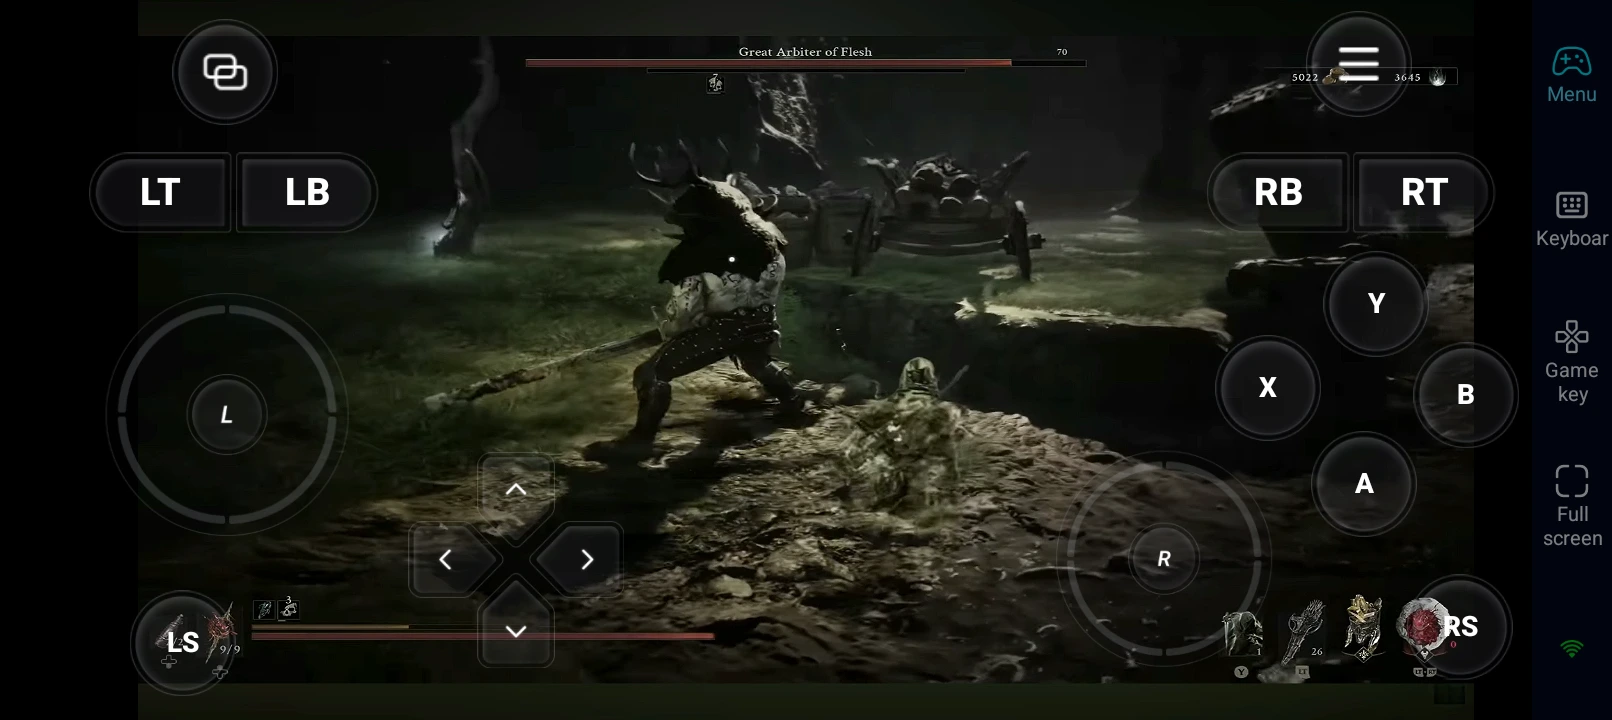
The problem is consistency.
His strongest tools depend heavily on Resolve, and maintaining enough Resolve to use Shadow Strike regularly becomes increasingly difficult later in the game. His critical-hit and Poison setup works, but the investment and management required make it harder to justify when more straightforward Shells can achieve comparable or greater results with considerably less resource management.
Tiel is therefore a good choice for players who enjoy fast, evasive combat, but not necessarily the most consistent option for overall performance. He can remain highly effective in the right hands, but his resource requirements and lower damage ceiling keep him in the B tier.
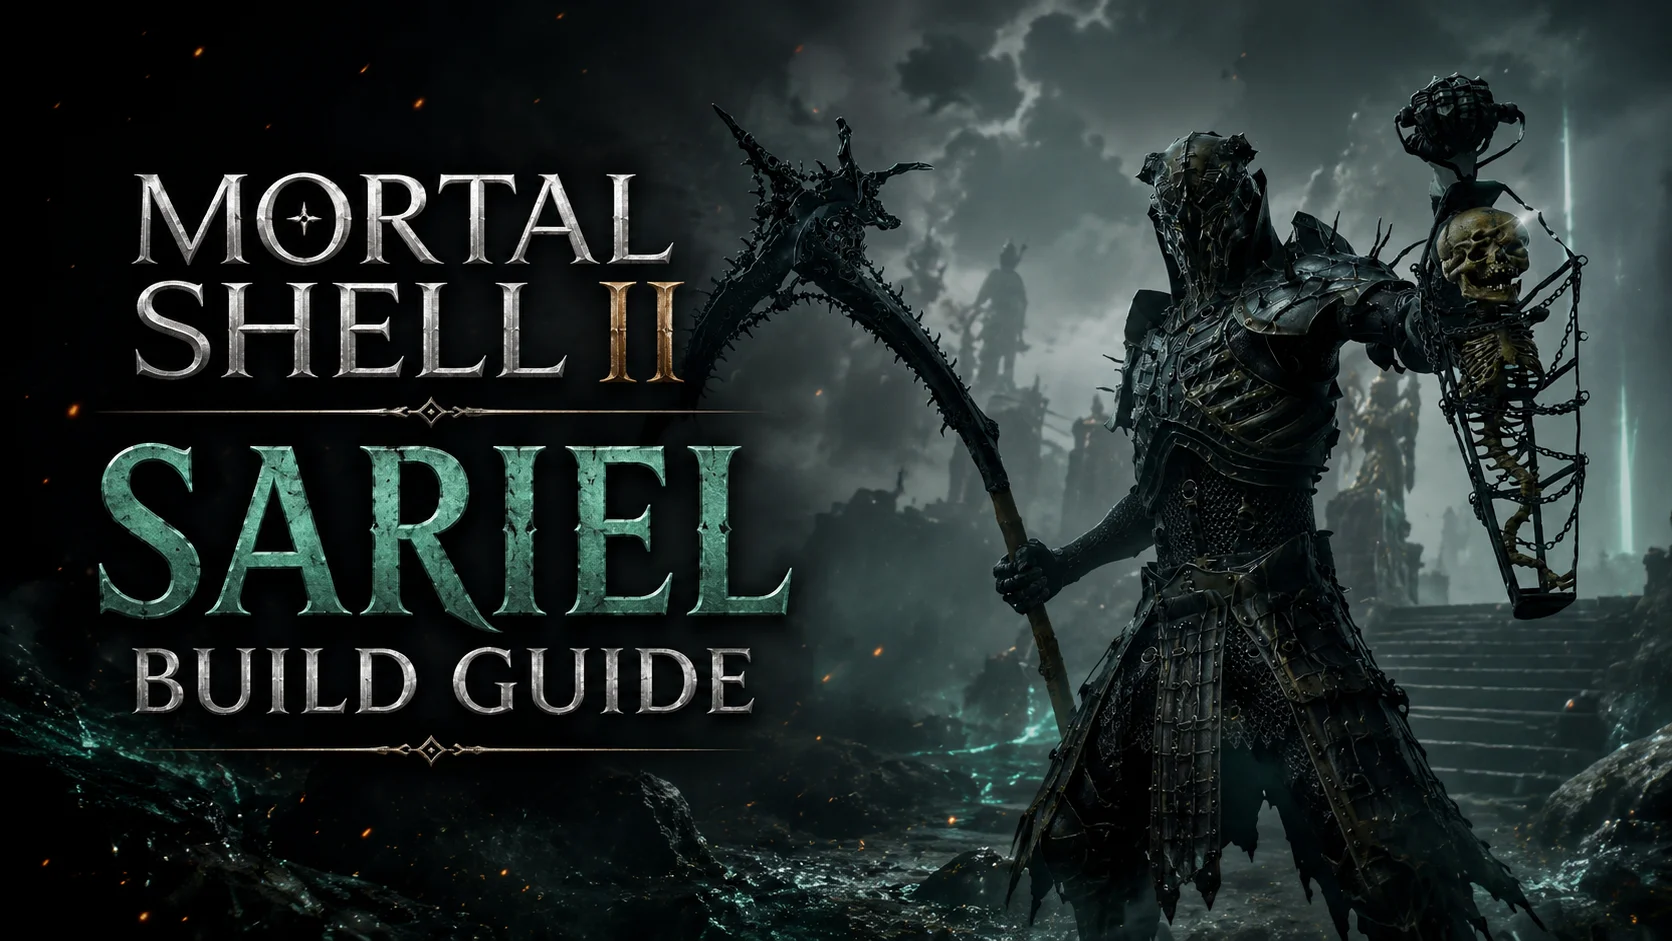
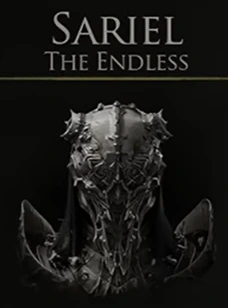
Sariel, the Endless
- Playstyle: Defensive / sustain specialist
- Core Skill: Exodus of Thorns
- Special Mechanic: Pain
- Damage Type: Curse + Thorn damage
- Defensive Trait: Converts incoming damage into recoverable Pain
- Best For: Patient, defensive players
- Main Strength: Extremely high survivability
- Main Weakness: Low damage output and demanding Pain management
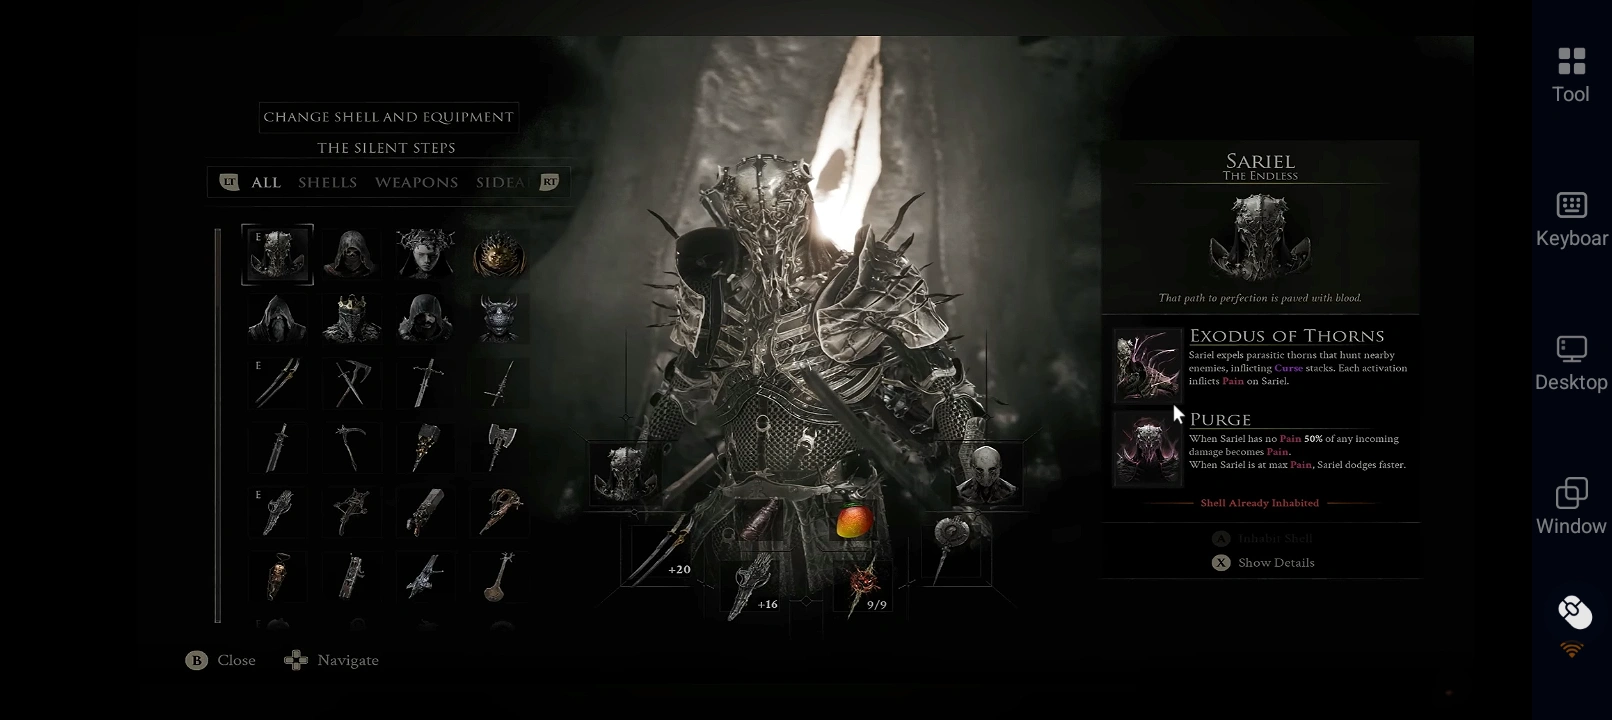
Sariel is perhaps the most unusual Shell in this Mortal Shell 2 shell tier list. While most Shells try to prevent damage through mobility, armor, or crowd control, Sariel's design essentially asks you to take damage and turn part of it into a resource.
His Exodus of Thorns fires parasitic thorns at nearby enemies, dealing damage while applying Curse stacks and generating Pain for Sariel. The Curse effect can protect him from an enemy's next melee attack by reflecting that damage back, giving the ability both offensive and defensive value.
Then comes Purge. When Sariel has no Pain, 50% of incoming damage is converted into Pain instead of immediately reducing his Health. That Pain represents Health that can still be recovered, which Sariel can restore through melee attacks.
On paper, this gives Sariel an incredible survivability loop. With good Pain management, he can absorb punishment, build recoverable Health, attack to restore it, and use Exodus of Thorns to continue feeding the mechanic. His survivability ceiling may be the highest in the roster, and with good play, he can feel almost impossible to kill.
But survivability alone isn't enough for a higher tier.
Sariel's biggest problem is his damage output. His defensive mechanics can keep him alive through extremely long encounters, but that also means fights can take substantially longer than they would with the stronger offensive Shells. Maintaining Pain also requires careful play; taking too many hits in quick succession can disrupt the resource loop that makes his sustain so powerful.
Sariel is a great example of why a Shell's ranking depends heavily on playstyle. If your priority is simply staying alive and steadily wearing enemies down, Sariel can feel much stronger than his B-tier placement suggests. But overall effectiveness also depends on damage, consistency, and clear speed. Sariel's slower offensive performance keeps him below the more versatile Shells.
Best Mortal Shell 2 Shell Builds and Final Recommendations
Your best build direction depends on what you want from your Shell. Focus each build around its defining mechanic rather than trying to make every Shell equally versatile.
- Smert: Build around Miracle, Chaos Stacks, cooldown reduction, and low-Health damage bonuses to maximize burst windows.
- Genessa: Prioritize Faithful Doubles, Resolve generation, and Phantom damage for a safer summon-focused setup, or lean into Stray Doubles for higher personal damage.
- Gragu: Focus on Staggering Blow, Break Damage, Critical damage, and healing to maximize his ability to overwhelm enemies.
- Lazlo: Build around Retribution, Heat/Overheat, Burn, and damage reduction for a durable AoE-focused playstyle.
- Eredrim: Prioritize Break Damage, Riposte, Slaughter stacks, and execution-focused abilities for strong single-target pressure.
- Proxima: Focus on Biosampler, Lightning damage, Samples, and defensive mitigation to take advantage of her hybrid toolkit.
- Tiel: Build toward Critical Hit chance, Poison, Shadow abilities, and Resolve generation for an evasive assassin setup.
- Sariel: Prioritize Pain generation, Curse, healing, and survivability to maximize his defensive sustain loop.
Final Mortal Shell 2 Shell Recommendation
If you want the best Shell in Mortal Shell 2 for overall power, Smert and Genessa are the strongest recommendations. Gragu is a strong choice for straightforward damage, while Lazlo is ideal if you value durability and AoE. For newer players, Tiel's evasive toolkit can be forgiving, while Sariel is the choice for players who prefer a patient, defensive approach.
Ultimately, the Mortal Shell 2 shell tier list reflects overall performance—not which Shell is the most enjoyable. Every Shell has a viable playstyle, so the best choice can still come down to how you prefer to fight.




Conclusion
And that's the wrap-up of our Mortal Shell 2 shell tier list! Hopefully, this ranking helps you find a Shell that matches the way you like to play, whether you prefer overwhelming damage, defensive sustain, or a more specialized combat style. And when you want to keep that adventure going beyond your usual gaming setup, OSLink makes it easy to access your Mortal Shell 2 PC session from your mobile, letting you continue your journey wherever you are.
 Download