English
Hello Players! Mortal Shell 2 returns with the dark and challenging spirit of the original, but this time with an even bigger world filled with new challenges and discoveries. However, if you are new to the Shell mechanics, Seals, Tarstones, upgrades, and open-world exploration, the early game can feel overwhelming. That’s why we're here with this Mortal Shell 2 beginner guide, packed with the best tips and tricks to help you create stronger builds, fight smarter, and explore everywhere in Mortal Shell 2 with confidence.

Want to continue your Mortal Shell 2 adventure even when you’re away from your PC? This is where OSLink allows you to play your Mortal Shell 2 PC sessions directly from your mobile. So, you can explore every Beacon dungeon, collect every top tier weapon and discover hidden areas from anywhere, anytime, without being tied to your PC.
Unlock Your First Shell for Gameplay
While you are jumping into Mortal Shell 2, your real power for gameplay comes from possessing the Shells. Shells are the bodies of fallen warriors that you can find through map exploration. These Shells are like your character classes, with different unique combat abilities and playstyles for your adventure.
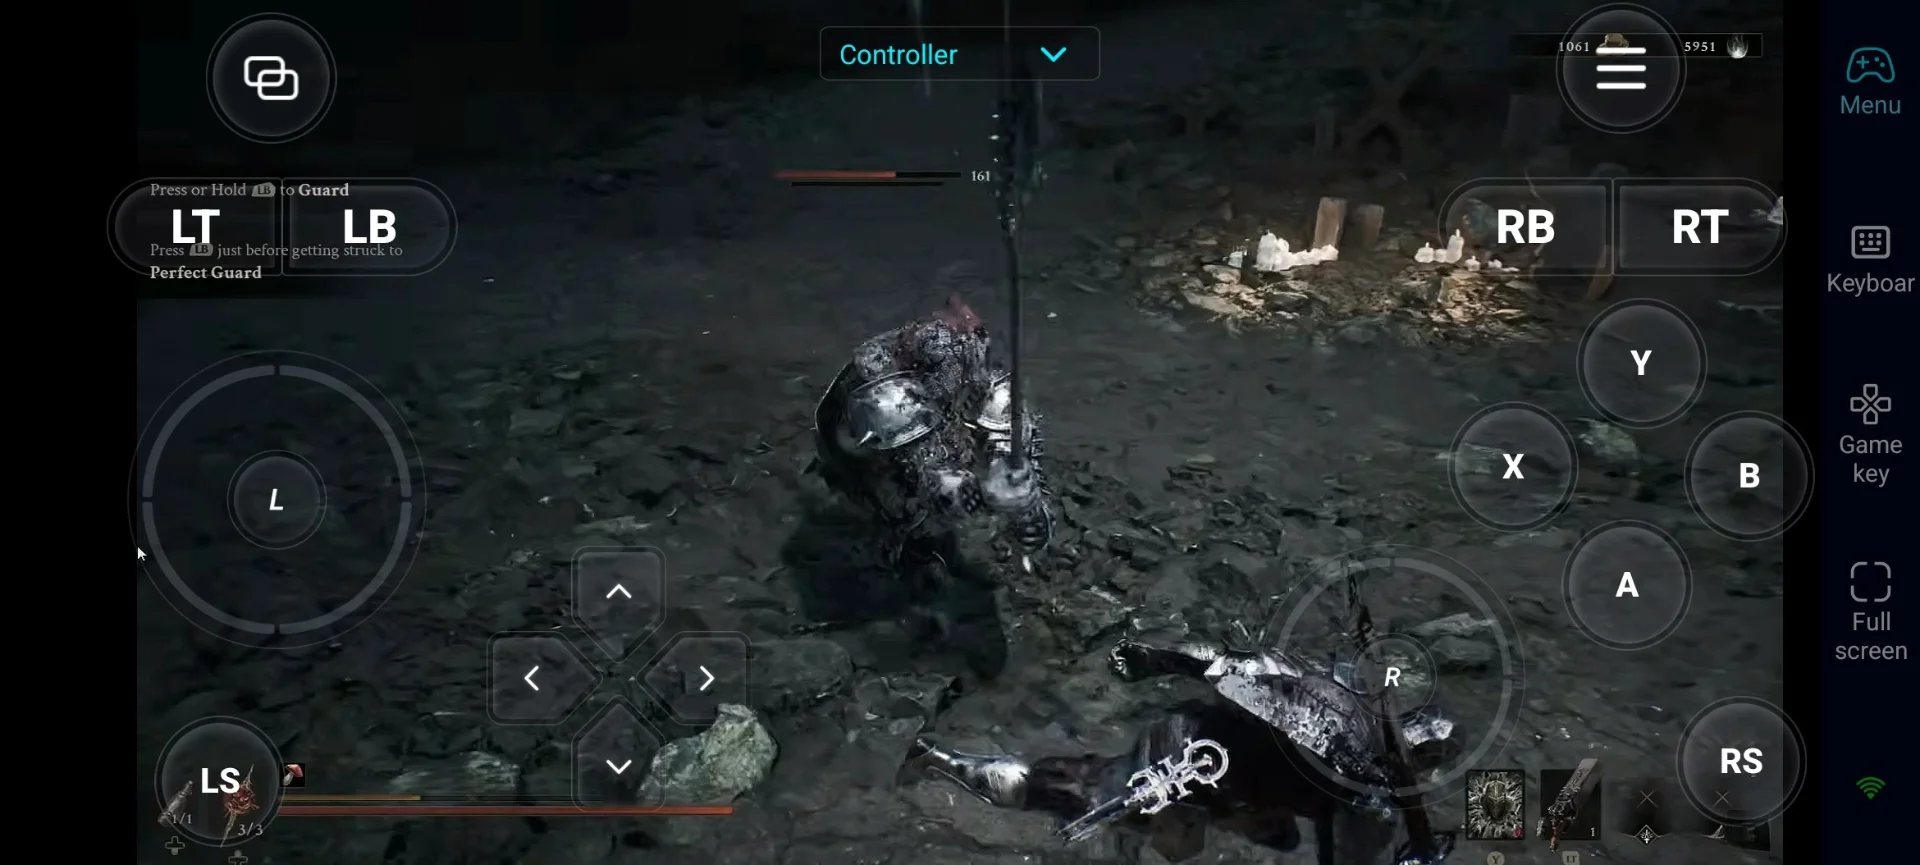
However, finding your first Shell should be one of your early goals. Follow these steps from our Mortal Shell 2 early game guide:
-
Finish the short prologue with Harros and reach Marrow Keep, then enter Fainweald.
-
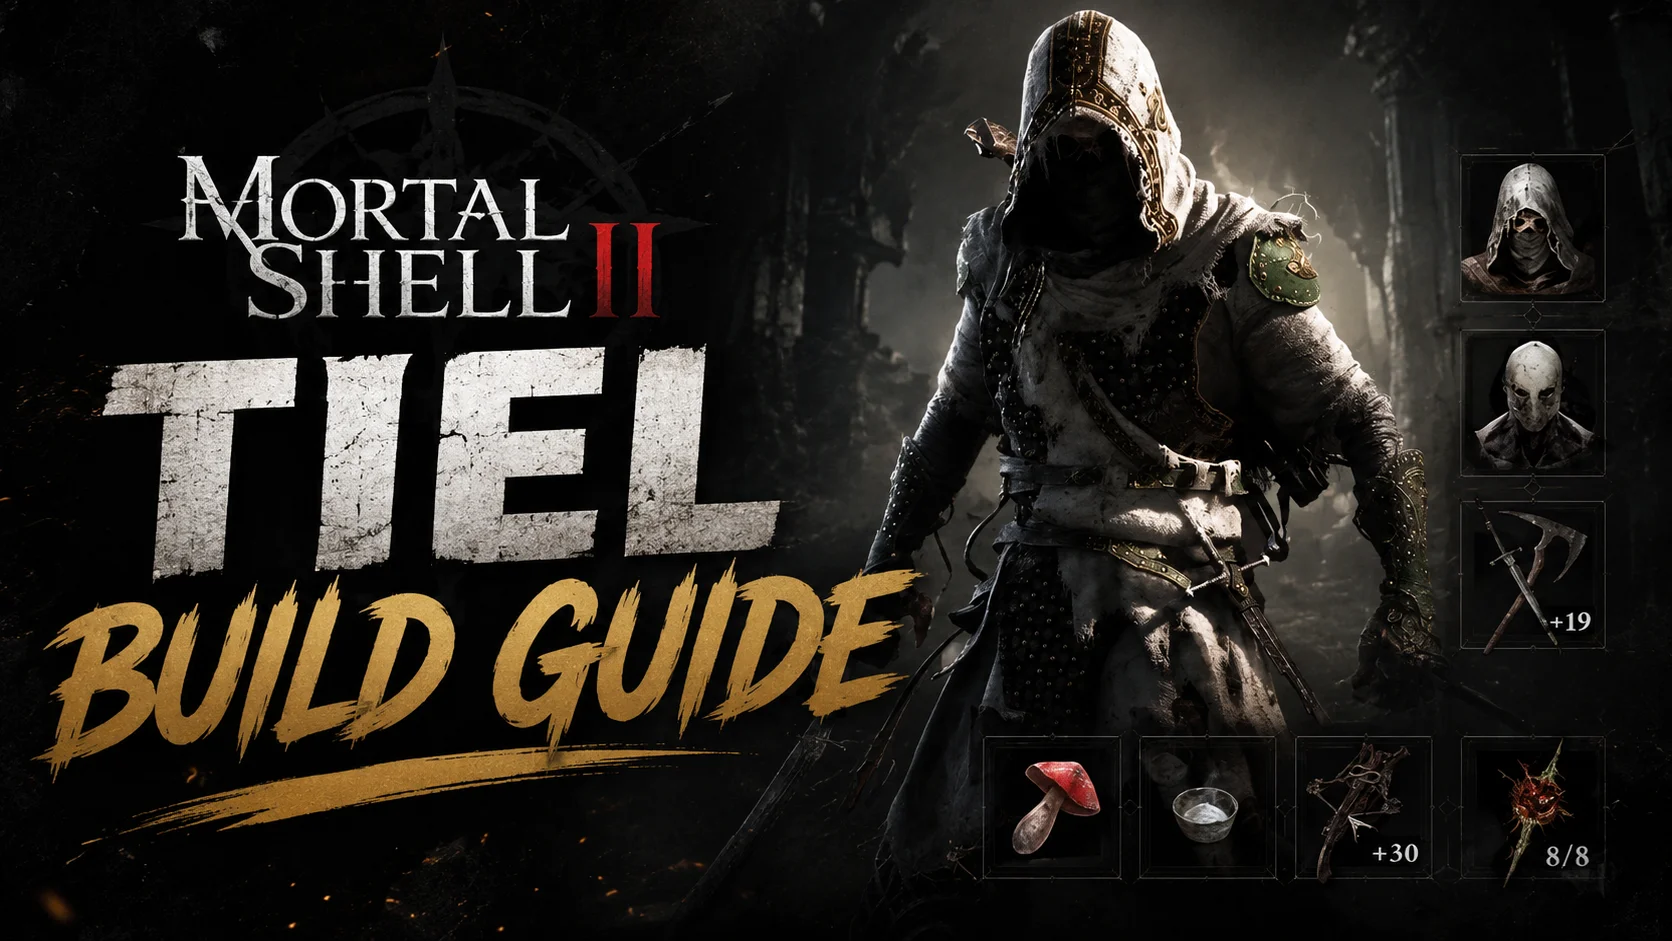
From the Widow’s Overlook beacon, head southeast along the dirt path until you find a fenced area with a shallow grave. Interact with the body and complete the short memory sequence to permanently unlock Tiel: The Acolyte. This is the best Shell for beginners in Mortal Shell 2.
-
Tiel is a beginner-friendly, stealth-focused Shell that offers perfect dodges while building Shadows and lets you turn invisible and perform strong Shadow Strikes.
-
Shortly after, you can also unlock Proxima in the Shattered Beacon area. This Shell has a hook ability to pull enemies in, adds lightning damage, and also has a chance to reduce incoming damage.
Both Shells give you strong early options. Once unlocked, you can switch between them at any beacon or the Shellkeeper in Marrow Keep.
Upgrading Your Weapons and Sidearms Is Essential
In Mortal Shell 2, you can equip any weapon with any Shell you choose. Therefore, as a beginner, one of the most important things that you should prioritize is upgrading your Weapons and Sidearms. Upgrading any early weapon that you equip can make your combat much easier and improve your overall effectiveness.
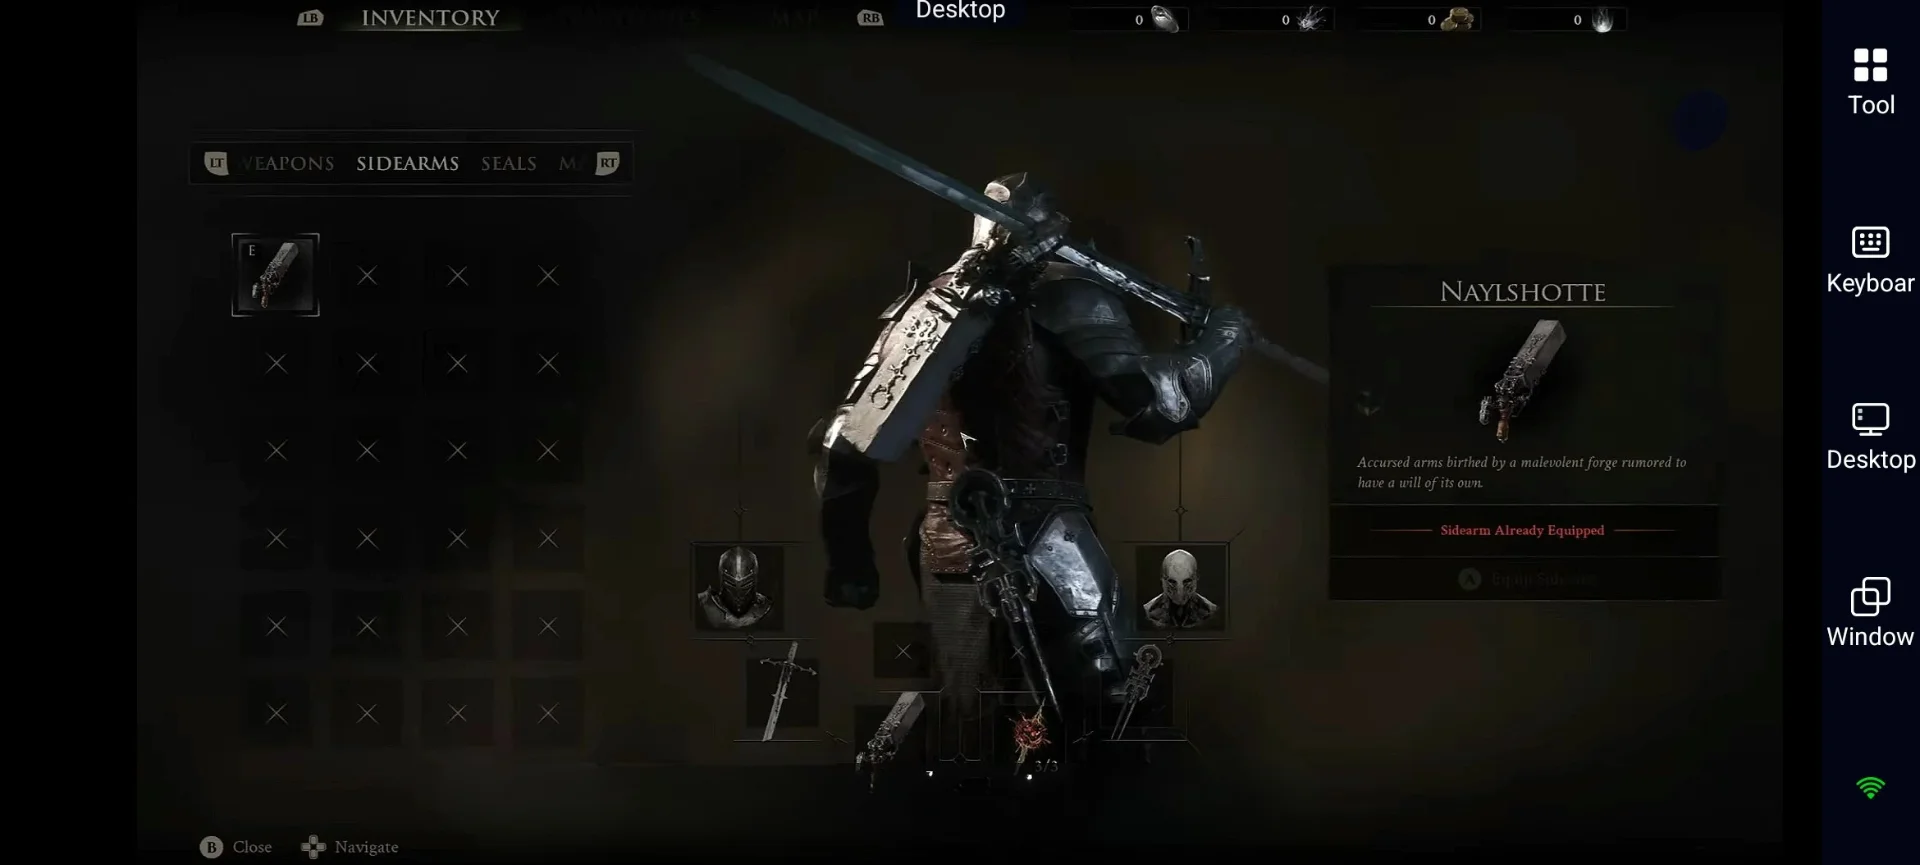
- Explore early. Many weapons found in the world are stronger than the starting sword.
-
Find the Muradean Actuator (unlocks melee weapon upgrades) and Obsidian Lathe (unlocks sidearm upgrades) and give them to Franze, the NPC near the Tarforge in your main hub.
-
Then you need Coins and Ventrium, Laterite, and Dorsalite to upgrade them from the Tarforge.
Tip for Weapon Upgrades: Don't worry too much about your resources. Spend them on weapon upgrades to become stronger early. Later in the game, once you find the “Foundry Stone” you can fully refund your weapon upgrades, so early investment is worth it.
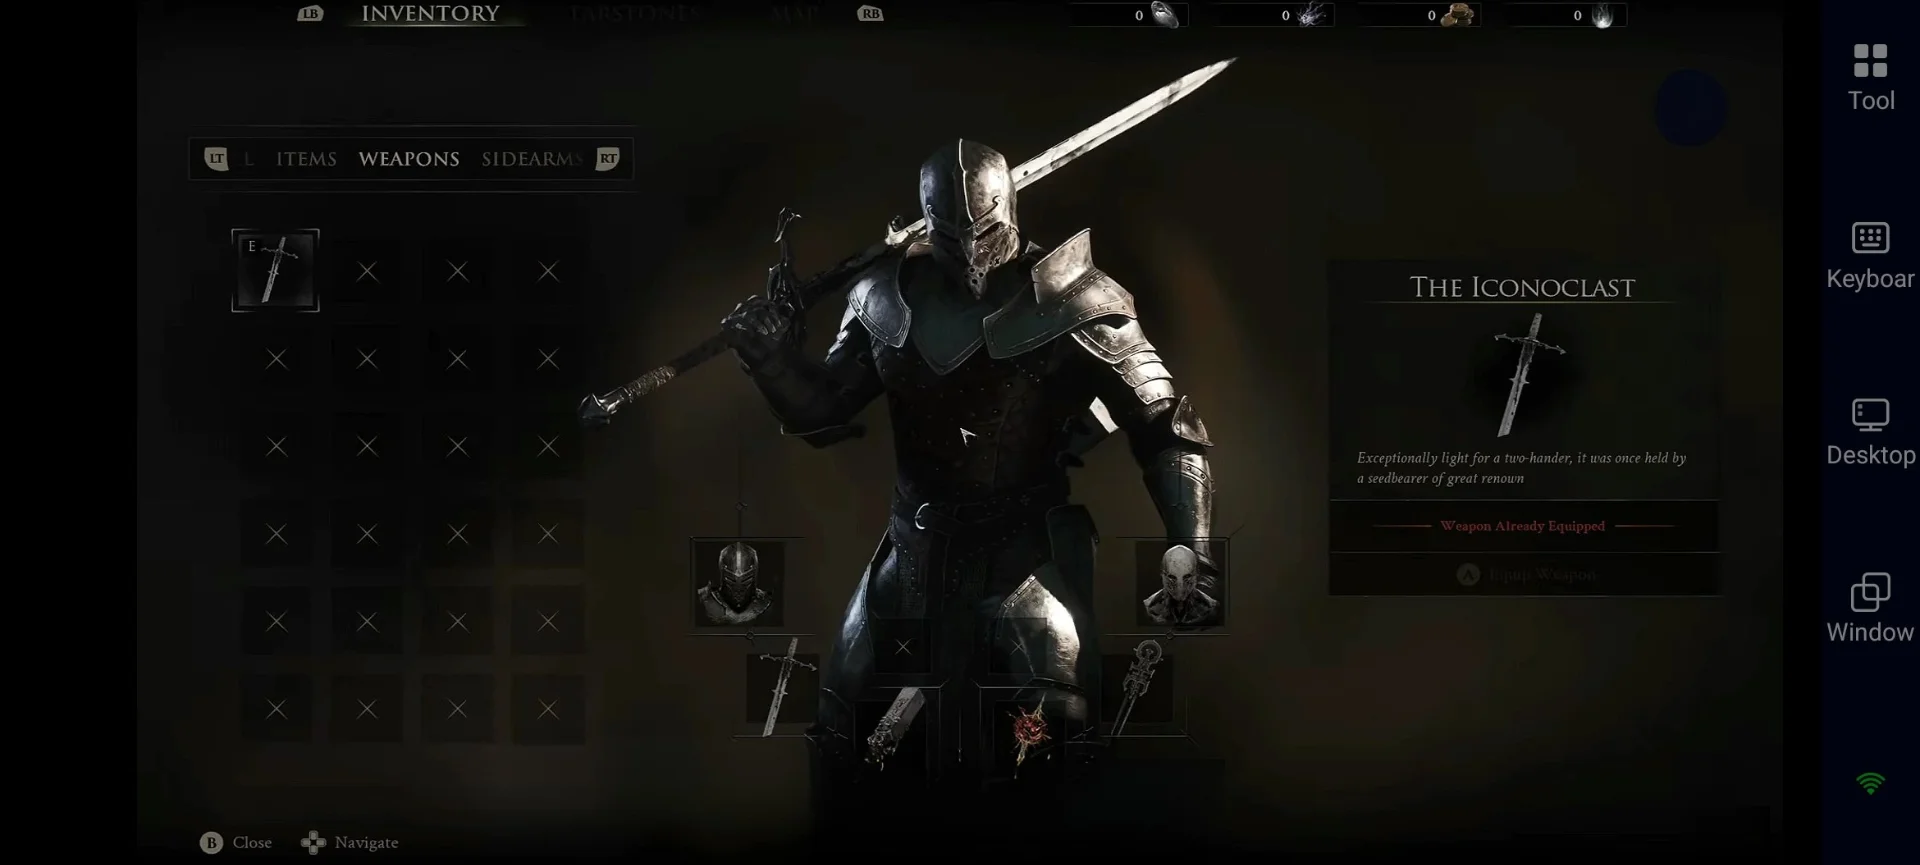
Choose Your Seal that Matches Your Defense Style
Seals decide how you defend yourself and deal Break damage in Mortal Shell 2. There are different Seals, and each Seal offers a different defensive playstyle. Below are the early unlocked Seals and their defensive styles:
-
Untarnished Seal: Hold to block incoming attacks. Perfect timing creates a Perfect Guard that deals Break damage.
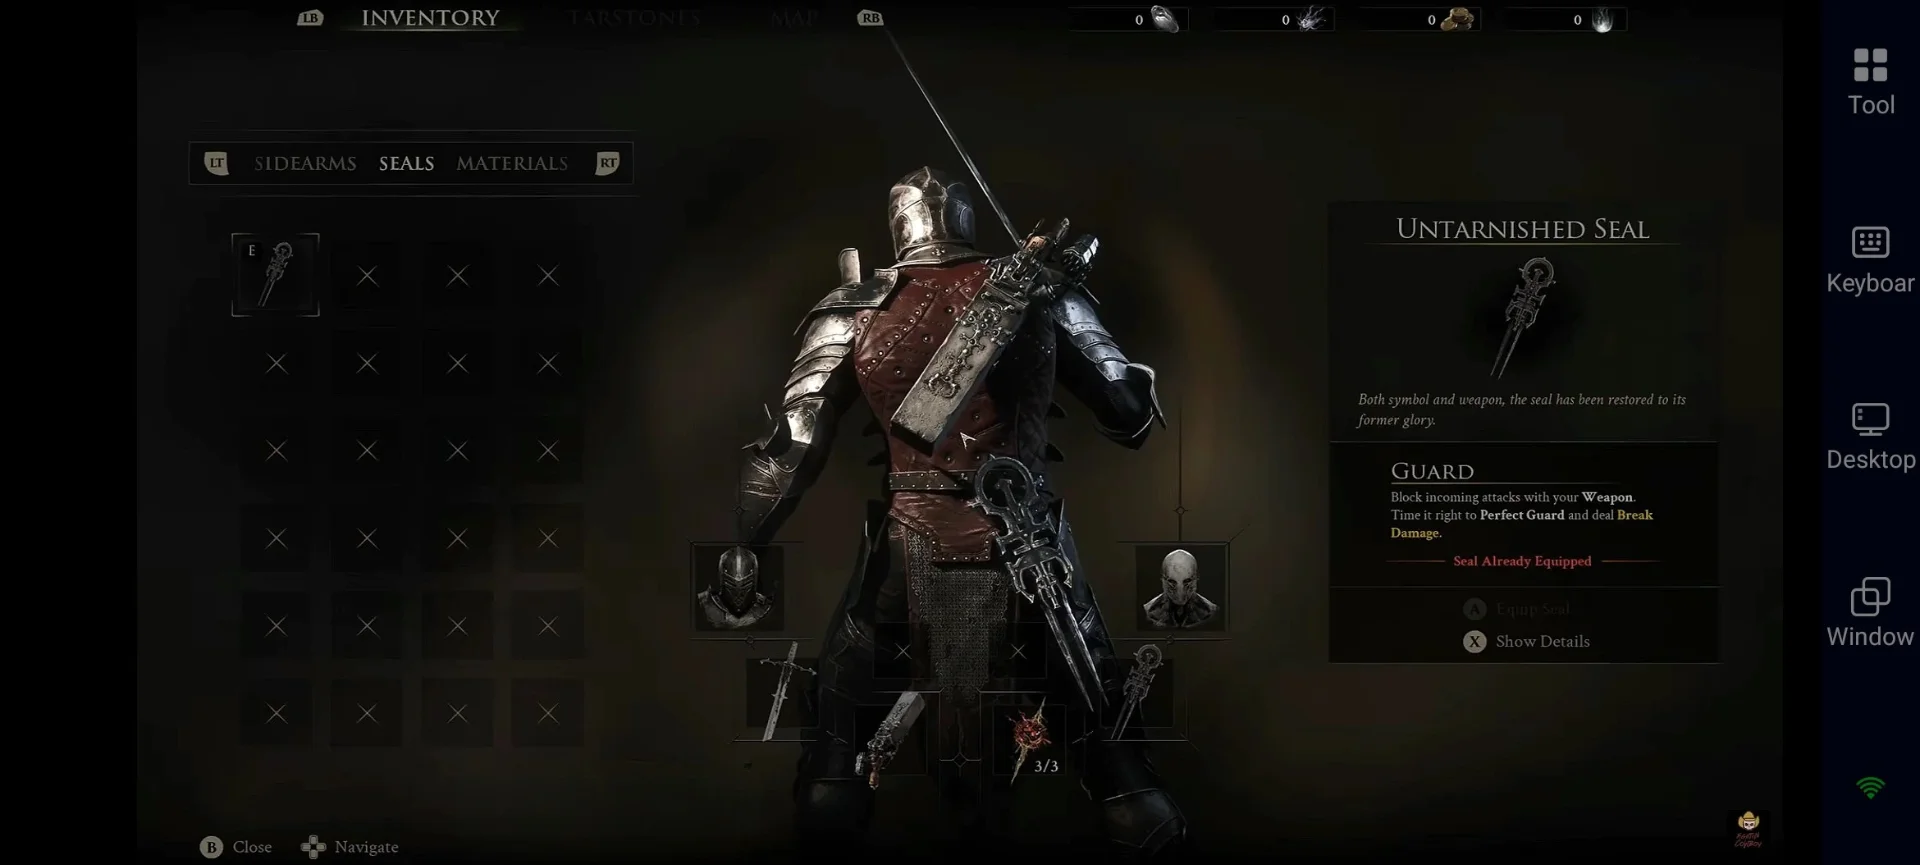
- Vatra’s Seal: Use Harden to turn into stone and block the next attack. A Perfect Harden also deals Break damage.
-
Infinite Seal: A high-risk parry that deals more Break damage but makes you take extra damage if you are hit during the animation.
-
Slayer Seal: An easier option with useful passive effects, Break damage from sidearms, health and Resolve recovery, and a powerful dash-punch.
Tip for Choosing a Seal: Try different Seals and choose the one that fits your playstyle. You can switch between them freely.
Learn the Combat Basics Before Taking on Tougher Battles
Combat in Mortal Shell 2 is fast and focuses on breaking the enemy’s posture meter. Before entering tougher battles, learn these basic combat mechanics:
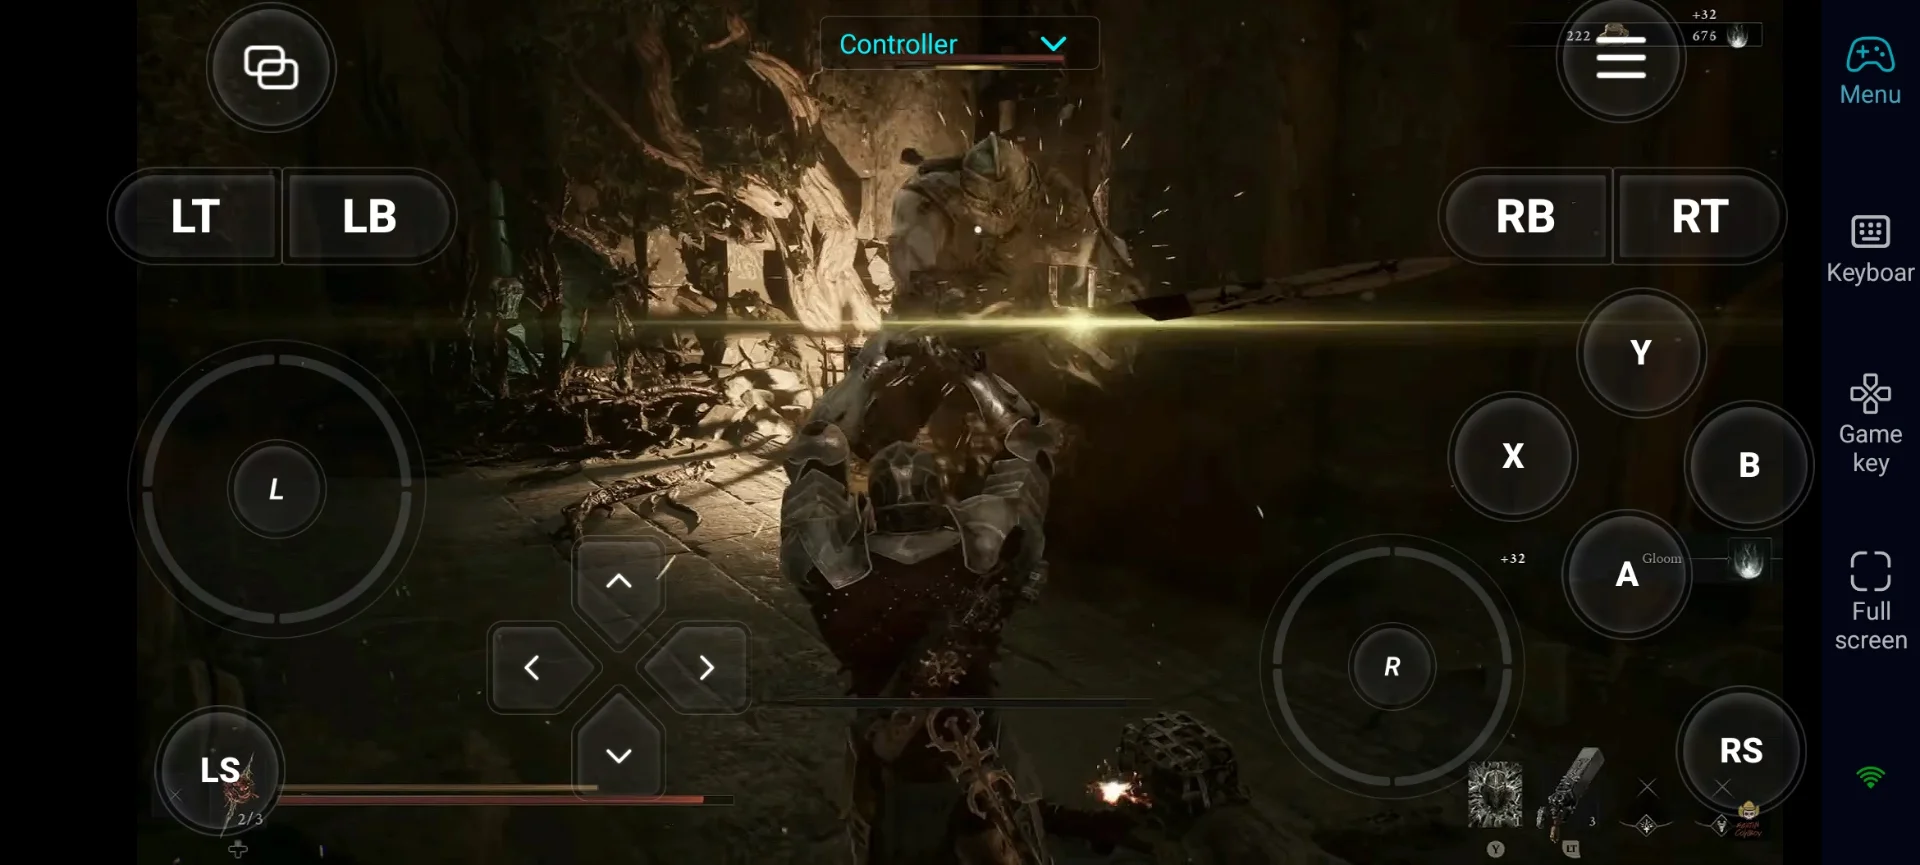
- There is no stamina meter, so you can attack and dodge freely.
-
Every enemy has a Break meter (Posture Meter). Fill it by attacking, Perfect Guarding, Perfect Hardening, or parrying. Once full, the enemy staggers, allowing you to perform a powerful riposte.
-
Keep attacking enemies and parrying successfully to build up your Resolve Meter. Then, use Resolve to power sidearms, weapon effects, special attacks, and some Shell abilities to deal more damage to enemies.
-
When your Shell’s health reaches zero, you enter Harbinger form (the early weaker form). Keep attacking to refill the Shell meter and possess your Shell again.
-
To perform well in battles, practice your timing early. Use well-timed Guards and Perfect Hardens to make a big difference.
Tip for Combat: Master the Break → Riposte combo before moving into tougher areas. Also, make sure to equip the perfect setup of Weapons, Sidearms, and Seal for your defense style and combat.
Spend Glimpse Wisely on Your Best Shell
Glimpse is a useful resource for upgrading the Bond Levels of your Shells. These Bond Levels are important for unlocking higher tiers of a Shell’s unique abilities and passives, while also improving revive efficiency. You need around 27 Glimpse to fully max one Shell to Bond Level 4 and get the best advantages from that Shell in battles.
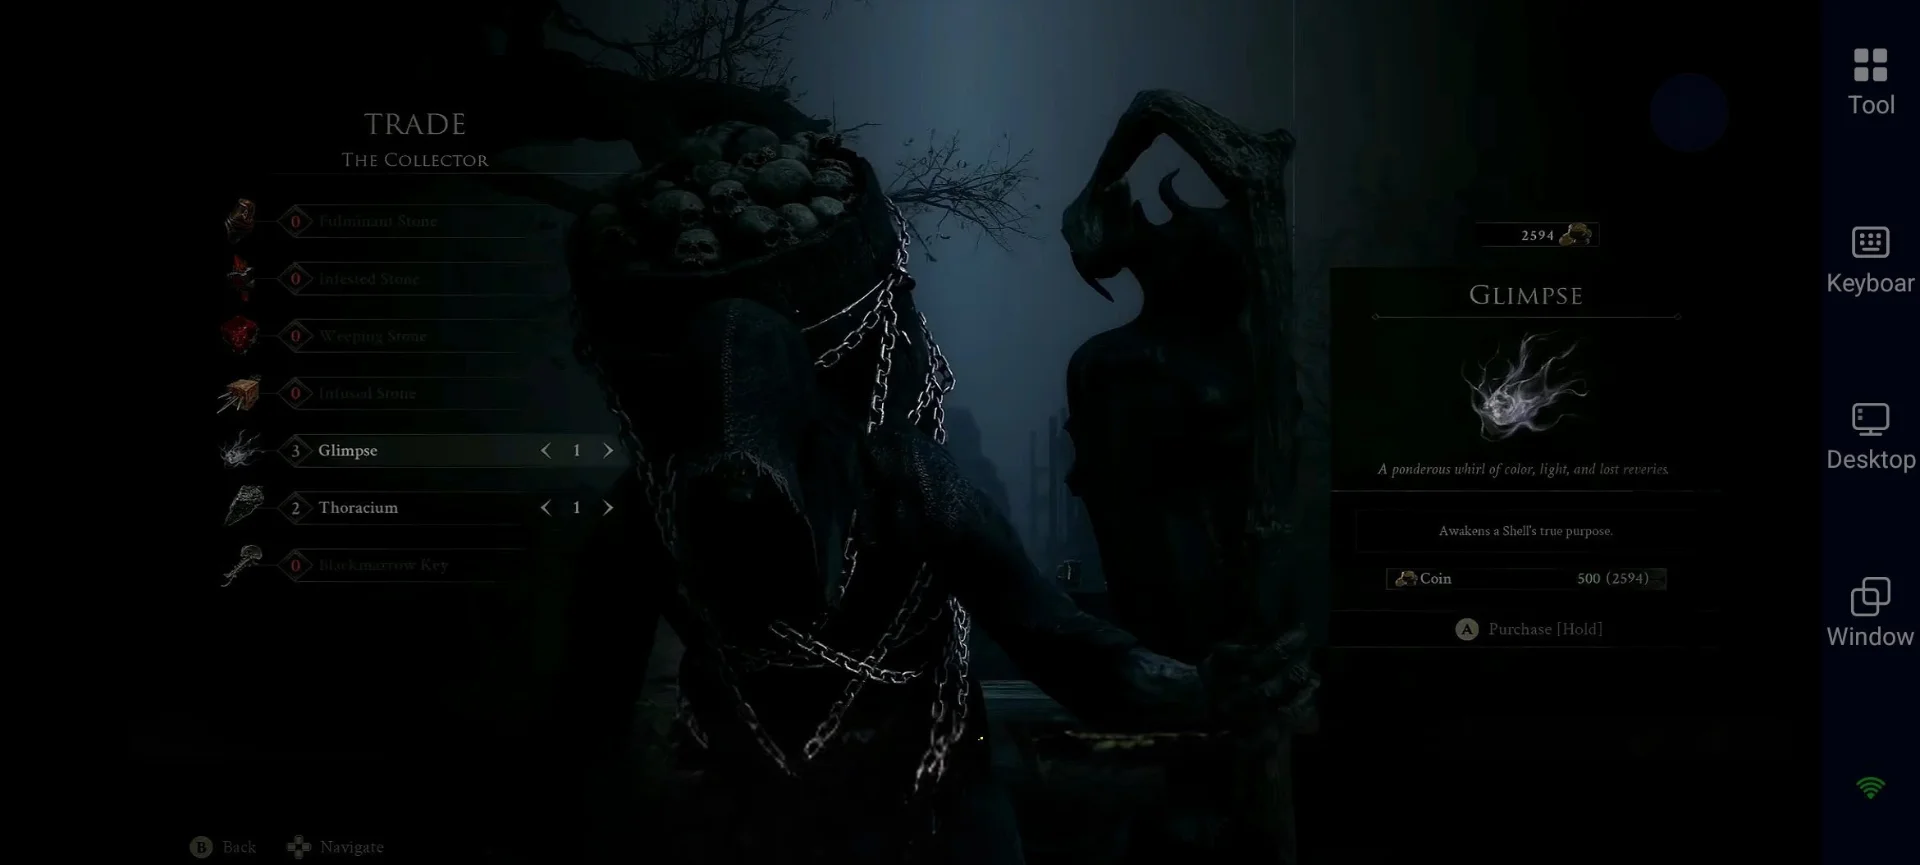
But the main problem is that Glimpse is limited, especially in the early game. Therefore, as a beginner, the best advice from our Mortal Shell 2 beginner guide is to prioritize your favorite Shell that matches your playstyle. Upgrade your chosen Shell to the maximum Bond Level first, then focus on other Shells when you want to switch between them.
Use Different Tarstones to Try Different Builds
Tarstones are one of the best ways to create unique and powerful builds in Mortal Shell 2. These Tarstones can be found in different locations through your exploration, and these special stones slot into your equipment and completely change how your attacks, abilities, and survivability work.
There are four main types of Tarstones in Mortal Shell 2:
-
Support: Gives passive bonuses like increased critical-hit chance, riposte damage, damage reduction, and extra resources.
-
Combat: Activates special effects when you attack or meet certain conditions, such as critical hits, extra attacks, or healing.
-
Infusion: Uses Resolve to add effects like Bloodcurse, Lightning, Poison, Burn, or Frost to your weapons and sidearms.
-
Ability: Uses Resolve to activate powerful attacks and special effects.
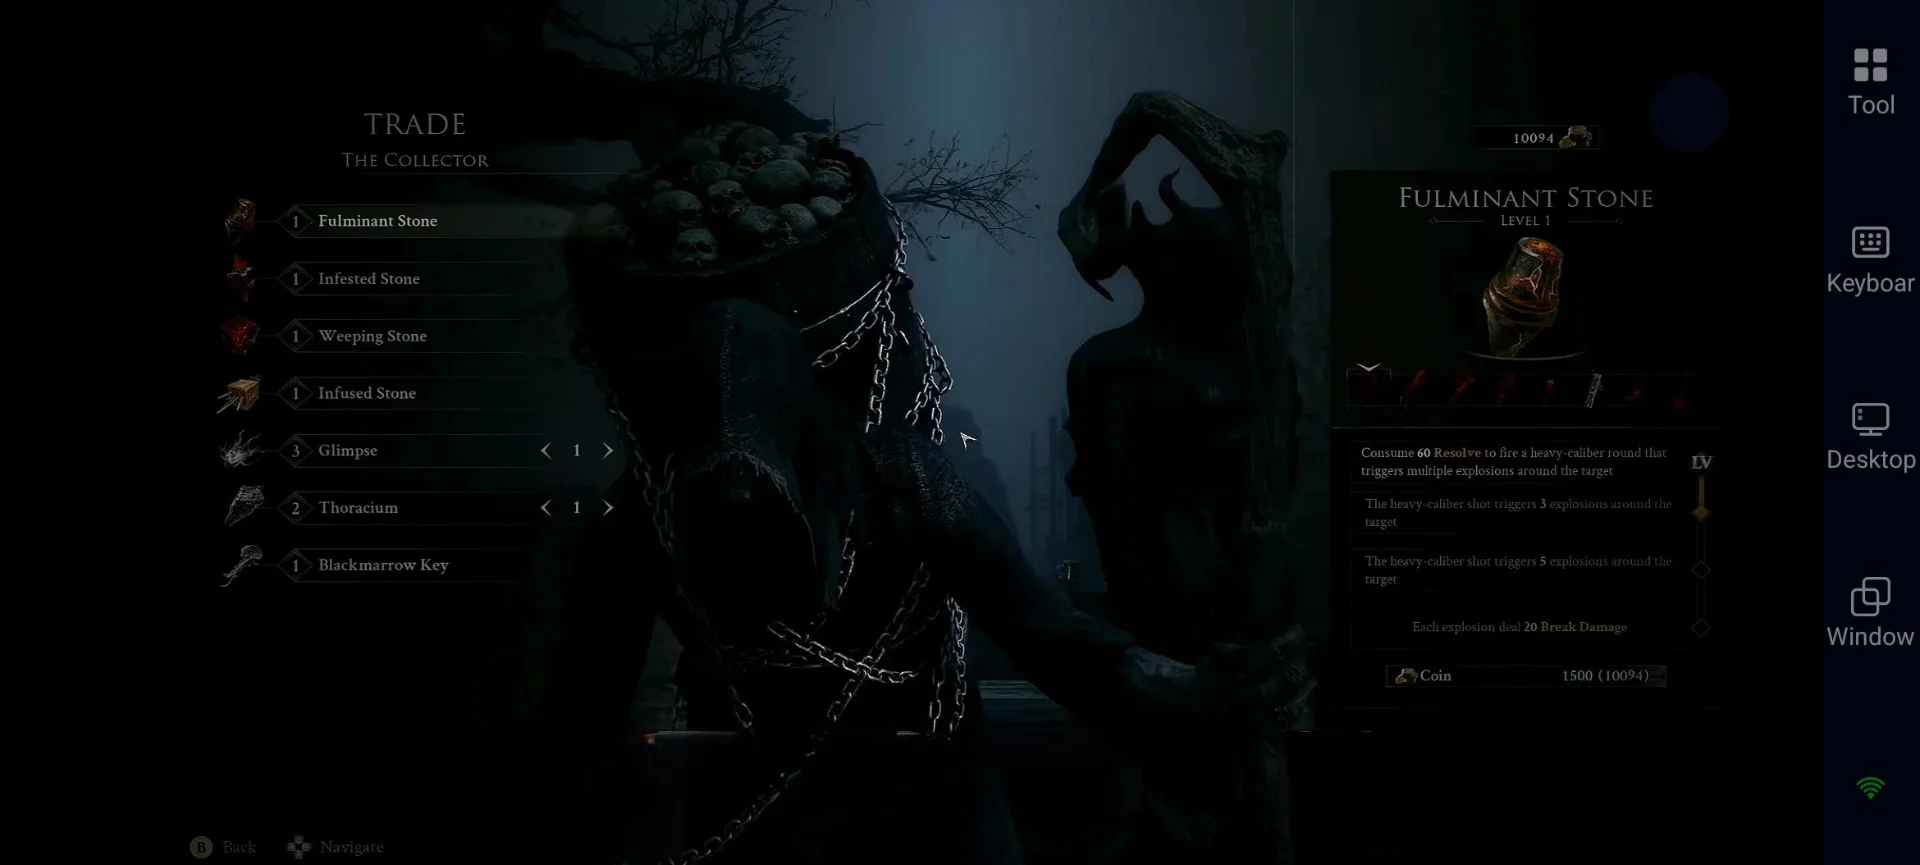
You can equip several Tarstones at once, including multiple Support stones and other types, letting you experiment with different weapon and Shell builds. However, some Tarstones only work with specific weapons. For example, if you invest in a Poison Infusion Tarstone, make sure you equip a weapon that supports Poison Infusion to get its full benefit.


 Pre-set Keymaps for Easy Play

Upgrade Every Tarstone to Level 2 for Better Progress
Once you equip Tarstones that match your weapon and Shell, they gain XP as you defeat enemies. When the XP bar is full, take the Tarstone to the Tarforge in Marrow Keep and upgrade it to Level 2 using Gold and other materials. Each Tarstone upgraded to Level 2 gives you 1 Tarcore.
Here’s the important part: Tarcores are needed to upgrade Tarstones to Level 3 (around 6 Tarcores needed), and the only way to get them is by upgrading other Tarstones to Level 2. So, upgrade as many Tarstones as possible to Level 2 to collect more Tarcores. Then, use those collected Tarcores on the Tarstones that are part of your main build to upgrade to Level 3 and improve their passive buffs, weapon infusion effects, and special abilities.
Tarstone Upgrade Tip: Upgrade every Tarstones to Level 2 to build up your Tarcore supply, but save your Tarcores for the Tarstones that best fit your main build.
Open World Navigation & Exploration Tips
Mortal Shell 2 features a dense, interconnected open world where Beacons act as fast travel points. There are also many different areas to explore, filled with useful items and hidden rewards.
- Clear Beacon Dungeons: Find every Beacon spread throughout the map. These are your fast travel points, and each Beacon has a special dungeon where you can find Tarstones, healing upgrades, and other rewards. Before using “Return to Surface,” check the final area for hidden chests and secret walls.
-
Find Crows Marks: Mark every crow you find on the map immediately. These are the only ways to remove the fog on the map and reveal the true layout of each region.
-
Explore Fog-Door Dungeons: Explore the dungeons with entrances blocked by fog doors to find strong upgrades and useful rewards. Unlike Beacon dungeons, they are not automatically marked as complete, so manually mark them as completed to keep track of your progress.
Conclusion
And that's the wrap-up of our Mortal Shell 2 beginner guide! Now you’re fully ready and know the essential mechanics for how to play Mortal Shell 2. Use the best strategies from our guide to build your perfect Shell, master combat, choose the right gear, and explore the world with confidence. For an even better gameplay experience, use OSLink to remotely access your Mortal Shell 2 PC sessions directly from your mobile and enjoy the open world explorations from wherever you go.
 Download