English
Building the right team in Lumi Master becomes more important as you collect more Lumi, experiment with different synergies, and take on tougher content. This Lumi Master tier list breaks down the strongest combat Lumi, specialized picks, and Support Lumi to help you decide which ones are worth investing in based on your preferred playstyle.

If you're managing multiple accounts to farm Lumi and keep your progression moving, OSLink can also make things easier by letting you play multiple Lumi Master accounts at the same time instead of leaving your extra accounts idle while you focus on your main.
Lumi Master Tier List Overview
This Lumi Master tier list is designed to give players a quick idea of which Lumi can offer the most value in different team situations. The rankings consider more than just raw damage, including each Lumi's role, abilities, Traits, Energy costs, type matchups, switching value, status effects, weather interactions, and overall team synergy.
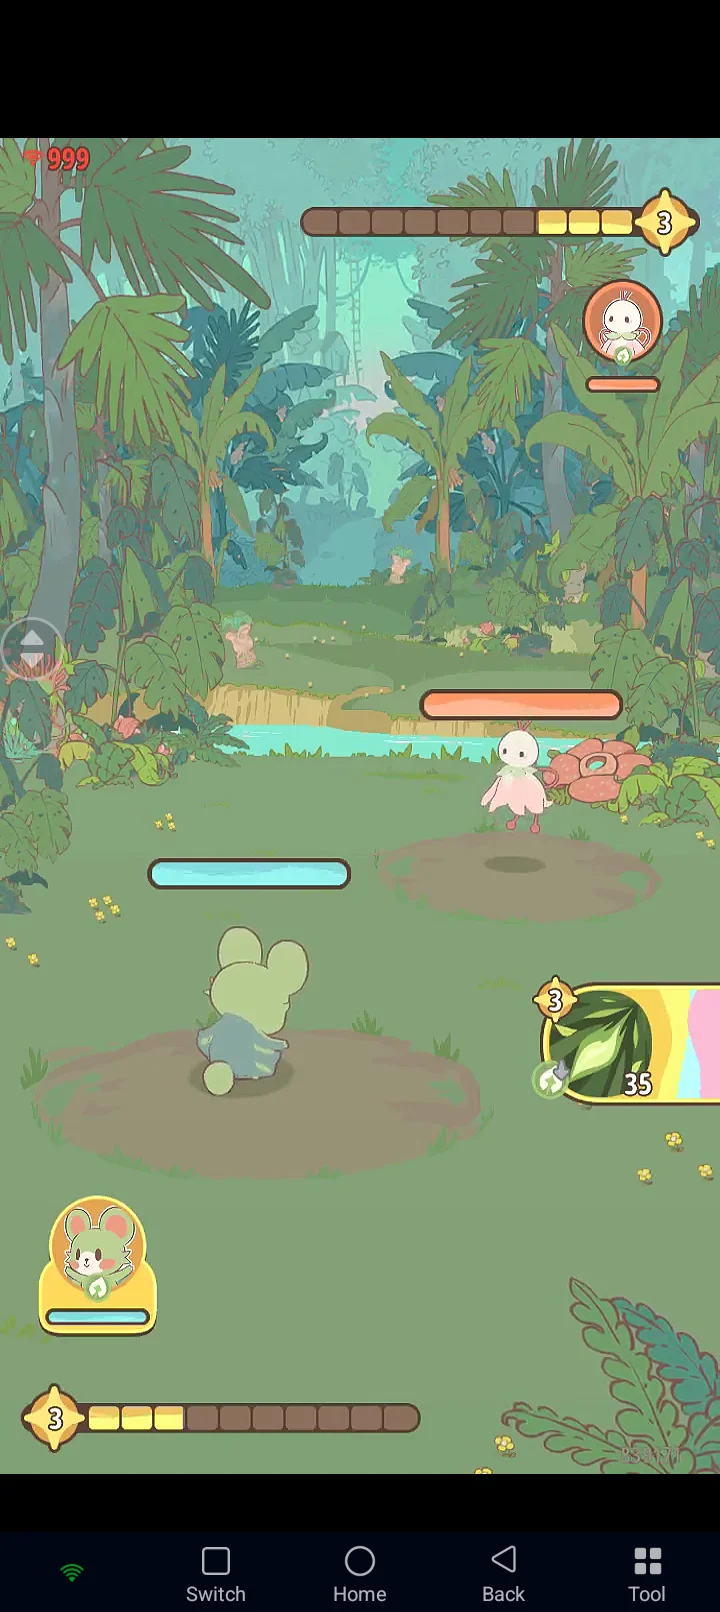
The higher tiers generally contain Lumi that can provide strong and consistent value across a wide range of situations, while lower tiers tend to be more dependent on specific setups, matchups, or team compositions.
However, a tier placement should not be treated as the only factor when building a team. A Lumi with strong synergy can sometimes be more useful than a higher-tier option that does not fit your strategy.
How to Use This Tier List
-
S Tier – Top-performing Lumi with powerful kits and strong overall value.
-
A Tier – Very strong Lumi that can perform extremely well with the right setup.
-
B Tier – Useful and capable Lumi, but generally more dependent on team composition or specific situations.
-
C Tier – More specialized Lumi that may require particular strategies, matchups, or setups to perform effectively.
-
Support Tier – Support-oriented Lumi evaluated separately because their value comes primarily from team utility rather than direct combat performance.
Lumi Master Tier List
|
Tier |
Lumi |
|
S Tier |
Meteofly, Zaphound, Gambir, Clionia, Jolkat, Rainbowdeer |
|
A Tier |
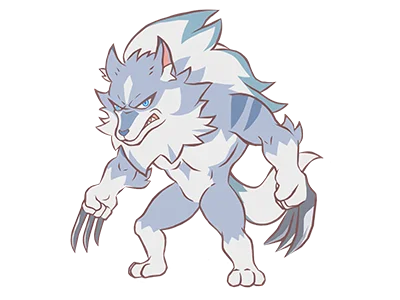
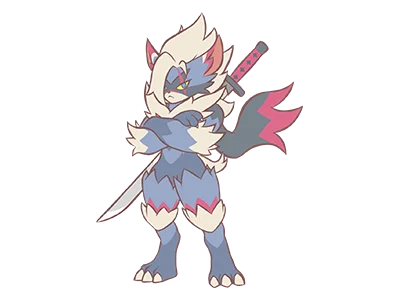
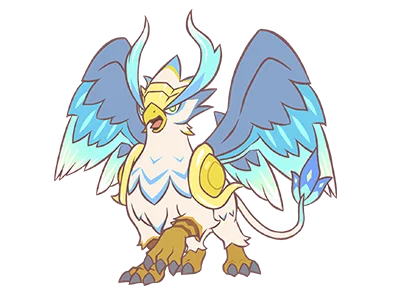
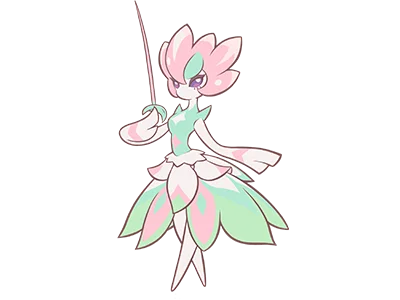
Floragon, Lycanite, Muskyx, Regaffin, Bloom, Charigon, Shriegon, Crysion |
|
B Tier |
Flamblades, Jellistel, Leafkat, Fierikat, Sunbelle, Inferaze, Loongster, Muscledog, Infernadra, Radibun, Shadowbun, Battlantis, Wizpiggy, Dreamtapir, Clobberprawn, Puncheroo, Zoryx, Unicorn, Rimedeer, Echofrog |
|
C Tier |
Fistune, Aerikat, Petrokat, Sharkat, Rochelon, Gooscle, Muscletiger, Rhiniron, Whiscrow, Rushalo, Screamhog, Pan Pan, Bowlguin, Dreamee |
|
Support Tier |
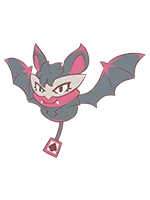
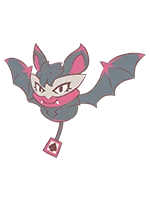
Sandlord, Stealbat, Psykat, Rainkat, Glasnake, Geniphant, Chickadet, Spookling, Inkspire |
Remember: the tier list is a starting point, not a replacement for team building. Lumi that share strong synergy can become much more effective when their Traits, skills, Energy requirements, and field effects work together.
S Tier Lumi
The S Tier features Lumi that can have a major impact on a team through strong damage, powerful traits, efficient skill rotations, or valuable battlefield utility. When looking at the Lumi Master tier list, these Lumi stand out because their kits can influence how an entire team is built and played.
Meteofly
Element: Psychic/Flying
Role: Combat
Excels At: Burst Damage • Setup • Recovery • Switching Utility

Meteofly combines Dream-based setup, burst damage, and recovery in one flexible kit. Star Wish gives it immediate impact when entering the field, while Fall into Dream restores 50% HP and allows Chasing Dream Shooting Star to build Attack and Defense before it wakes. Poised to Strike also gives it a guaranteed Critical Hit when used as its first skill after entering the field.
Its utility makes it even more valuable. Pass the Baton can transfer its Attack and Defense levels to the replacement Lumi, while Storm Approaches can create Storm and reset the swap cooldown. This makes Meteofly useful for both aggressive setups and carefully planned team rotations.
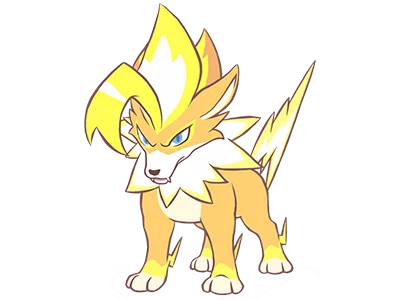
Zaphound
Element: Electric
Role: Combat / Power Generation
Excels At: Paralysis • Energy Recovery • Burst Damage
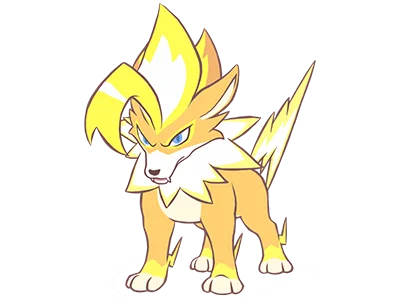
Zaphound is built around Paralysis, starting with its trait that applies Paralysis when it enters the field. Those stacks directly improve its kit: Arc Impact gains Penetration based on Paralysis, while Thunderclap restores energy based on the number of stacks.
It also benefits from Rain and can create Thunder and Lightning terrain itself. Because its damage, energy recovery, and battlefield control all connect through Paralysis, Zaphound works particularly well in teams that can consistently maintain that status.
Gambir
Element: Flying
Role: Standard
Excels At: Burst Damage • Switching • Buff Removal • Utility
Gambir rewards frequent switching and good entry timing. Its Shuffle trait progressively reduces the cost of its first skill on repeated entries, while Card Dealing Master can deal significantly more damage against enemies above 50% HP. Poised to Strike also provides a guaranteed Critical Hit when used immediately after appearing.
Gambir isn't limited to damage. Pure Wind removes several field effects, while Wind Sweeps the Clouds can remove enemy buffs and stat increases. This combination gives Gambir a strong mix of offensive pressure and disruption, making it a flexible choice for many team compositions.
Clionia
Element: Water/Grass
Role: Standard
Excels At: Team Sustain • Healing • Moisture Support • Parasite Setup
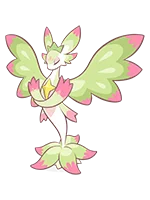
Clionia brings a strong mix of team healing and resource support. Its Slow and Steady trait builds Drenched stacks as allies use skills, while Rushing Waves Assault converts Moisture into both Parasite stacks and team healing. Leaf Storm can then turn those Parasite stacks into significant team recovery.
Rain Prayer gives the whole team Moisture while setting Rain, and Water Escape can pass Moisture to the replacement Lumi. This makes Clionia especially useful in teams that rely on frequent skill usage, sustained battles, and Water-based rotations.
Jolkat
Element: Electric
Role: Combat / Power Generation
Excels At: Paralysis Support • Team Attack Speed • Energy Recovery
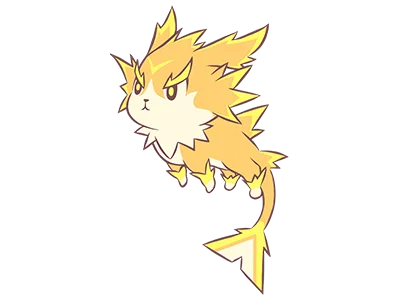
Jolkat is an Electric-focused Lumi that provides value even when it isn't the main attacker. Its Charge trait gives allied Lumi additional Attack Speed when attacking Paralysed targets, making it particularly effective in teams that can consistently maintain Paralysis.
Its own kit also helps maintain that cycle. Paralysis Electric Current quickly builds stacks, Arc Impact gains Penetration from them, and Thunderclap restores energy based on the target's Paralysis. This gives Jolkat a strong combination of team support and personal damage, especially alongside other Electric Lumi.
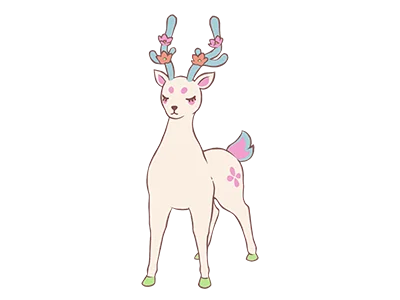
Rainbowdeer
Element: Light
Role: Combat
Excels At: Healing • Debuffing • Cleansing • Team Recovery
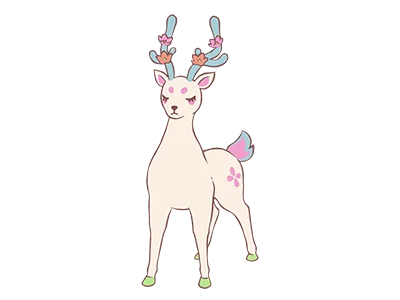
Rainbowdeer is one of the most versatile support-oriented combat Lumi in the S Tier. Its Auspicious trait immediately lowers the enemy's Attack on entry, while Baptism can reduce it further for only 3 energy. Healing Light restores the entire team and removes Poison, giving Rainbowdeer strong sustain without completely sacrificing offensive options.
Its biggest emergency tool is Self-Sacrifice, which fully restores the other allied Lumi and removes their abnormal statuses. Calling Friends also lets Rainbowdeer leave while giving the replacement Lumi an Attack level. With healing, cleansing, debuffing, and team recovery all in one kit, it can provide enormous value in a wide range of Lumi Master team compositions.
A Tier Lumi
The A Tier includes Lumi that offer strong damage, useful utility, reliable traits, or valuable team synergy. They may require more specific setups than S Tier Lumi, but they can still play important roles in the right Lumi Master team.
|
A Tier Lumi |
Details |
|
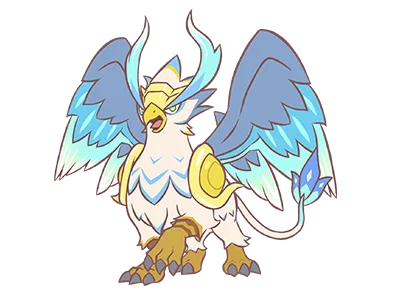
Floragon
|
Best For: Parasite teams, sustained damage, team healing Key Strength: Parasite stacking, Defense reduction and team sustain Floragon builds its entire kit around Parasite, starting with its Bloom trait and then converting those stacks into stronger attacks, Defense reduction and healing. Its Leaf Storm can also restore HP to the whole team based on the Parasite stacks on the target, giving it useful sustain alongside its damage. |
|
Lycanite
|
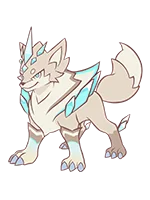
Best For: Physical damage, aggressive teams, Haste-based setups Key Strength: Critical hits, self-sustain and attack-speed synergy Lycanite combines strong offensive stats with several ways to increase its damage. Swift Strike builds Swiftness, allowing Fierce Claw Surprise Attack to gain a guaranteed Critical Hit and potentially attack twice. Its self-healing and team Haste support also help it remain useful in longer fights. |
|
Muskyx
|
Best For: Status teams, Poison setups, multi-target pressure Key Strength: Abnormal-status stacking and Poison spread Muskyx is built around stacking abnormal statuses and turning them into offensive advantages. Poison Master can add another status when Poison is applied, while Stuck in the Mud becomes cheaper as more statuses are placed on the target. Its Venom Spread and Malicious Infection can then spread those effects across the enemy team. |
|
Regaffin
|
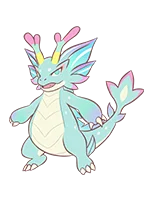
Best For: Storm teams, burst damage, enemy buff removal Key Strength: Storm synergy and strong offensive utility Regaffin becomes especially threatening under Storm, where its trait increases Critical Hit Rate and Dragon Rush receives a major energy-cost reduction. Rapid Storm can create the weather it needs, while Wind Sweeps the Clouds removes enemy buffs and stat increases. This gives Regaffin both offensive pressure and useful disruption. |
|
Bloom
|
Best For: Parasite teams, aggressive Grass teams, sustained battles Key Strength: High Attack, Haste scaling and Parasite conversion Bloom has one of the more aggressive Grass-oriented kits, with high Attack and a trait that links its Haste directly to the enemy's Parasite stacks. Blooming Flowers can then consume those stacks for increased damage, while Leaf Storm provides team healing based on the same mechanic. |
|
Charigon
|
Best For: Burst damage, Defense-break teams, Fire/Dragon teams Key Strength: Defense reduction and Penetration Charigon applies immediate pressure with Dragon Might, reducing the enemy's Defense when it enters the field. Several of its skills continue lowering Defense, allowing Furious Dragon Piercing Heart to gain additional Penetration. With strong 120-Power attacks and Storm synergy on Dragon Rush, Charigon can turn Defense reduction into heavy burst damage. |
|
Shriegon
|
Best For: Rain teams, Water/Dragon teams, energy-efficient damage Key Strength: Rain synergy and efficient high-damage skills Shriegon's Cloth Rain trait reduces energy consumption while Rain is active, making its attacks significantly easier to rotate. Rain Prayer helps create the weather while providing Moisture to the team, and Power of the Tide gains additional damage from the energy reduction. |
|
Crysion
|
Best For: Ice teams, Frostbite pressure, control-focused battles Key Strength: Frostbite stacking and increased enemy skill costs Crysion uses Frost and Frostbite to make the enemy's skill rotation more difficult. Its Frost Claw increases enemy skill costs when enough Frost is applied across the opposing team, while Snowfall and Ice Shard Flight help build Frostbite. Avalanche can also gain additional attacks from abnormal statuses. |
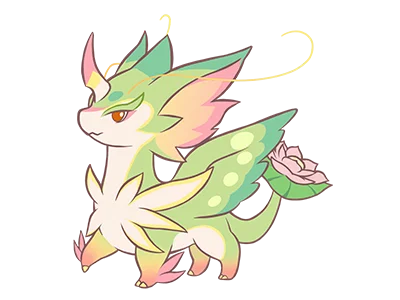

B Tier Lumi
The B Tier includes Lumi that can perform very well in the right situation but may depend more on specific team setups, weather, statuses, or playstyles. They can still be strong choices when their strengths match the needs of your team.
|
B Tier Lumi |
Details |
|
Flamblades
|
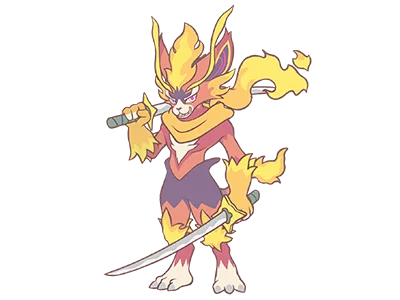
Best For: Burn teams, Haste setups, aggressive teams Key Strength: Burn stacking and Attack Speed Flamblades turns Burn into offensive momentum through its Swift Fire trait, gaining Haste whenever it applies Burn. It can also transfer Haste to a replacement Lumi with Relay, giving it value beyond its own damage. |
|
Jellistel
|
Best For: Water teams, Light Spirit teams, sustained battles Key Strength: Recovery, Wet support and Light Energy generation Jellistel combines self-recovery with useful Water and Fairy utility. Its Regeneration restores HP when leaving the field, while Illusory Beauty provides Wet to the team and Chasing the Light generates additional Light Energy. |
|
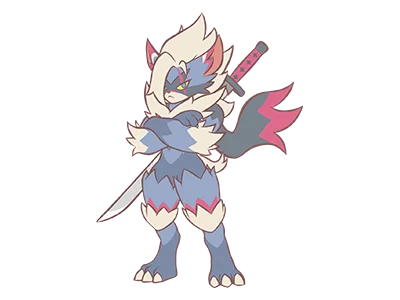
Zoryx
|
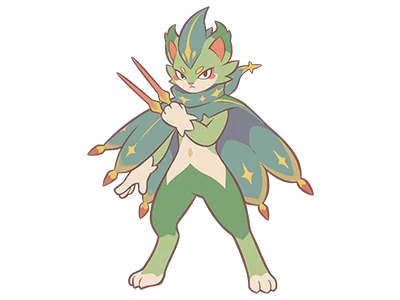
Best For: Critical-hit teams, Grass teams, Attack-based setups Key Strength: Multi-hit damage and Attack scaling Zoryx benefits from increased Critical Hit Chance and can build Attack through Red Leaf Dagger. Its Disperse Energy can also convert accumulated Attack levels into energy, while Pass the Baton allows those buffs to be transferred to another Lumi. |
|
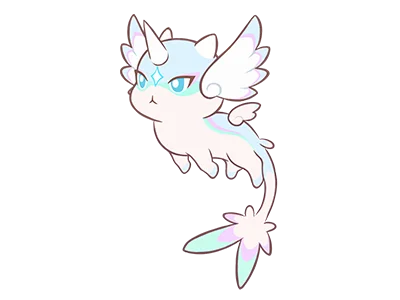
Unicorn
|
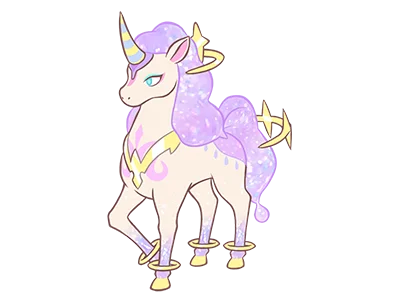
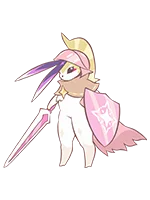
Best For: Light Spirit teams, Fairy teams, sustained damage Key Strength: Light Energy generation and scaling damage Unicorn's Innocence trait improves its Light Energy generation, helping it access its Light Spirit mechanics more consistently. Starfall also gains damage as more Light Spirit skills are used, giving Unicorn stronger scaling during longer battles. |
|
Rimedeer
|
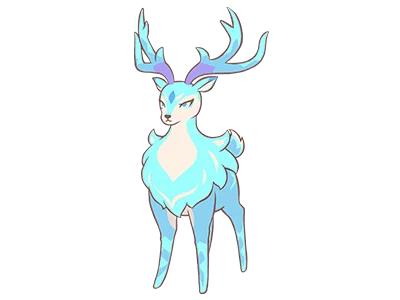
Best For: Ice teams, Frostbite setups, multi-target battles Key Strength: Frostbite pressure and AoE damage Rimedeer applies Frostbite when receiving skill damage and can build additional stacks through its Ice skills. Snowfall creates Heavy Snow, while Hail provides three-hit AoE damage, making it useful for Ice-focused teams. |
|
Echofrog
|
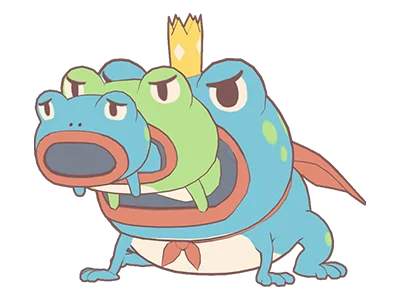
Best For: Water teams, Rain setups, sustained damage Key Strength: Scaling attacks and Wet/Moisture synergy Echofrog's Echo becomes stronger with repeated use, adding another bullet each time before its count resets when switching out. Rain Prayer supports the team with Rain and Moisture, while Surging Waves can gain significant damage from lower energy costs. |
|
Leafkat
|
Best For: Grass teams, Parasite teams, team-wide Critical support Key Strength: Critical Rate support and Parasite synergy Leafkat provides team-wide Critical Rate against enemies carrying Parasite, making it particularly useful alongside Grass and Parasite-focused Lumi. Its own attacks also scale from Parasite stacks, while Leaf Storm provides team healing. |
|
Fierikat
|
Best For: Fire teams, Burn teams, energy-focused rotations Key Strength: Burn-based energy recovery Fierikat's Seize the Opportunity trait can restore energy when allies defeat enemies carrying Burn. Its own kit builds Burn efficiently, while Blazing Fire becomes cheaper as its own Burn stacks increase. |
|
Sunbelle
|
Best For: Scorching Sun teams, Grass/Fairy teams, Critical-focused teams Key Strength: Team Critical support under Scorching Sun Sunbelle's Happy Sunshine trait increases the team's Critical Rate during Scorching Sun, giving it strong value as a team enabler. It can also create the weather itself and gain additional damage and sustain through Dance of Falling Blossoms. |
|
Inferaze
|
Best For: Burn teams, status teams, Scorching Sun teams Key Strength: Burn resistance and status punishment Inferaze is immune to Burn damage and can punish enemies that hit it with skills by applying Burn back to them. Its Burn-based attacks also help reduce the cost of Blazing Fire, allowing its own status effects to fuel its offense. |
|
Loongster
|
Best For: Water/Fire teams, mixed-element teams, weather setups Key Strength: Flexible elemental pressure Loongster's Arrogant and Proud trait rewards both favorable and resisted matchups, creating different effects depending on how its attacks interact with the enemy. Its Water and Fire skills also give it flexibility when dealing with different targets. |
|
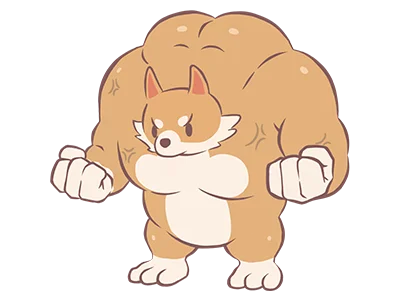
Muscledog
|
Best For: Defensive teams, Defense stacking, utility setups Key Strength: Defense scaling and Armor Break Muscledog builds Defense after taking skill damage, then converts that Defense into additional attacks through Unload and Pursue or stronger damage with Muscle Press. Armor Break also lets it remove enemy Defense enhancements, giving it useful counterplay. |
|
Infernadra
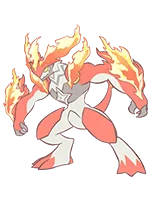
|
Best For: Burn teams, Defense-break setups, Fire teams Key Strength: Burn combined with Defense reduction Infernadra turns Burn application into additional pressure by reducing enemy Defense. Its kit combines Parasite, Burn and Defense reduction, allowing it to support teams that benefit from stacking multiple offensive debuffs. |
|
Radibun
|
Best For: Light teams, defensive teams, team recovery Key Strength: Mark interaction, healing and team protection Radibun combines Light Mark mechanics with Attack reduction, healing and buff transfer. Self-Sacrifice provides a powerful emergency option by restoring the other allied Lumi and removing their abnormal statuses. |
|
Shadowbun
|
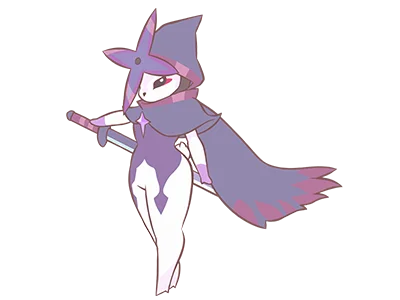
Best For: Mark teams, Dark teams, status-based damage Key Strength: Shadow Mark and Attack scaling Shadowbun becomes stronger when enemies carry Marks, with additional Attack when Light Marks are present. It can then use Shadow Mark, Poison and abnormal-status interactions to build toward cheaper and stronger attacks. |
|
Battlantis
|
Best For: Grass teams, aggressive setups, basic-attack builds Key Strength: High Attack and Penetration Battlantis combines very high Attack with a trait that gives every even-numbered attack additional Penetration. It also has access to Haste support, Polishing for stronger basic attacks, and a powerful Scorching Sun attack. |
|
Wizpiggy
|
Best For: Switching teams, Dream setups, Light Spirit teams Key Strength: Repeated entry attacks and scaling Star Rod Wizpiggy's Star Rod encourages repeated entry and switching, eventually allowing the skill to remain on the field with greatly increased damage. It also has Dream recovery, Attack reduction and Light Energy generation, giving it several different ways to contribute. |
|
Dreamtapir
|
Best For: Dream teams, sustain, energy recovery Key Strength: Dream interaction and energy generation Dreamtapir converts Dream effects into resources through its Dream Walker trait, restoring energy when Dreams are consumed. Its attacks can gain additional damage and Lifesteal from consumed Dreams, while Dream Eater provides strong recovery against Dream targets. |
|
Clobberprawn
|
Best For: Fighting teams, Attack stacking, Defense-break utility Key Strength: Attack scaling and guaranteed Critical Hits Clobberprawn gains Attack whenever it gains Wet, allowing Water-based setups to fuel its Fighting skills. With enough Attack, Flying Fist Bang Bang guarantees a Critical Hit, while Armor Break removes enemy Defense enhancements. |
|
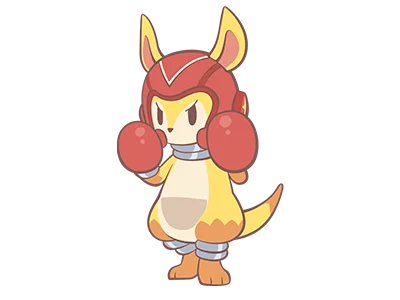
Puncheroo
|
Best For: Fighting teams, aggressive switching, defensive counterplay Key Strength: Lifesteal, recovery and status cleansing Puncheroo has strong built-in survivability through Perseverance, which can restore HP after being knocked out and cleanse its own statuses when heavily affected. Charging Punch also provides Lifesteal and can automatically activate when an enemy Lumi appears. |

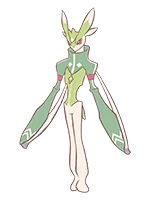





 AFK Anywhere, Progress Anytime

C Tier Lumi
C Tier Lumi can still have useful strengths, but they generally rely more heavily on specific mechanics, team setups, or favorable situations. They can work well when built around their strengths, but they require more careful team building.
|
C Tier Lumi |
Details |
|
Fistune
|
Best For: Light Spirit teams, Fairy/Fighting setups Fistune can generate Light Energy by taking skill damage and has both Fairy and Fighting tools. Its Starfall scales with Light Spirit usage, while Armor Break gives it a way to deal with Defense-boosted targets. |
|
Aerikat
|
Best For: Flying teams, buff removal, switching strategies Aerikat brings useful utility through Borrowing the Wind, which can reduce enemy buffs when allied Lumi appear. It also has Pure Wind, Storm Approaches and Wind Sweeps, giving it several ways to disrupt enemy setups. |
|
Petrokat
|
Best For: Defensive teams, Ground teams, anti-Critical setups Petrokat's Spirit Soil can protect allied Lumi with positive Defense from Critical Hits. Its own kit focuses on Defense stacking and Ground attacks, allowing it to play a defensive role rather than rely purely on damage. |
|
Sharkat
|
Best For: Flexible teams, mixed-element coverage Sharkat has access to a wide variety of elemental attacks, allowing it to cover several matchups. Its Vitality trait also provides Energy when taking skill damage, although its broad kit is more about flexibility than a specialized strategy. |
|
Rochelon
|
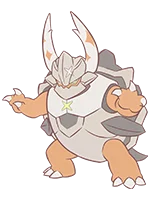
Best For: Defense stacking, Ground teams, durable frontline play Rochelon has very high Defense and can turn that Defense into stronger Earth Heavy Stomp damage. Fight to Sustain adds Lifesteal, while Rock Shell limits the damage it takes from Normal attacks. |
|
Gooscle
|
Best For: Ice/Fighting teams, Frostbite setups, Attack scaling Gooscle gains Attack after receiving skill damage, allowing it to become more threatening as the battle continues. Frost Heavy Pressure gains Lifesteal from Frostbite stacks, while Hail provides multi-hit AoE damage. |
|
Muscletiger
|
Best For: Burn teams, aggressive Fire/Fighting builds Muscletiger turns its own Burn stacks into Attack through Hot-Blooded. This creates an interesting risk-and-reward playstyle where applying Burn to itself increases offensive pressure while also helping reduce the cost of Blazing Fire. |
|
Rhiniron
|
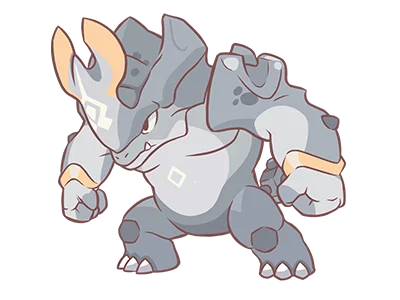
Best For: Ground teams, heavy melee damage, Defense-based setups Rhiniron's trait increases the power of its melee skills but comes with an HP cost. It also has strong Ground attacks, Defense-based multi-attacks and useful switching utility through Earth Escape. |
|
Whiscrow
|
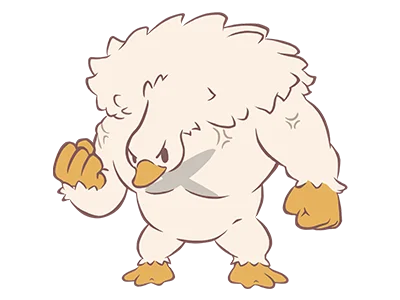
Best For: Anti-switch teams, buff removal, Flying teams Whiscrow specializes in controlling the opponent's switching options. Its Whistle extends replacement cooldown, while Wind Sweeps removes enemy buffs and Pure Wind clears several field effects. |
|
Rushalo
|
Best For: Water teams, Defense stacking, Moisture setups Rushalo becomes more defensive as it gains Wet through Water Barrier. It can also provide Moisture to the entire team with Raging Charge and convert accumulated Defense into additional attacks through Unload and Pursue. |
|
Screamhog
|
Best For: Defensive teams, Attack reduction, Ground teams Screamhog provides consistent debuff utility by reducing enemy Attack after taking skill damage. Its kit also includes Defense boosting, Defense reduction and a strong multi-target Rockfall. |
|
Pan Pan
|
Best For: Grass teams, Scorching Sun teams, Parasite setups Pan Pan gains HP recovery from Grass skills and benefits from Scorching Sun. Its Parasite-based attacks become stronger as stacks build, while Vegetation Growth can create Grass/Wood terrain and spread Parasite. |
|
Bowlguin
|
Best For: Ice teams, Frostbite setups, Heavy Snow Bowlguin has a highly variable Energy mechanic through Fortune, which can either help or hurt its rotations. Heavy Snow improves its Frostbite application, while Hail provides three-hit AoE damage. |
|
Dreamee
|
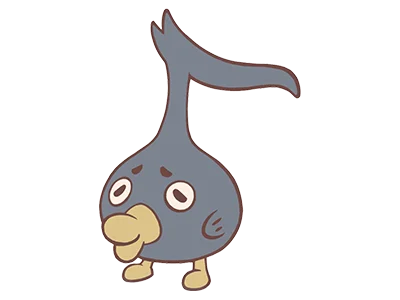
Best For: Dream teams, Sleep setups, sustain Dreamee revolves around Dream and Sleep interactions. It can reduce incoming and outgoing damage while in Dream, gain stronger attacks against sleeping targets, and recover HP through Dream Eater. |







Best Support Lumi For Your Team
Support Lumi play a different role from the main combat-oriented roster. Instead of asking whether they can deal the most damage, the important questions are what they provide to the team, how reliably they provide it, and how well their utility fits into different team strategies.
|
Support Lumi |
Main Role |
Key Utility |
Best For |
|
Sandlord
|
Stat Transfer |
Passes ATK/DEF buffs to the replacement Lumi |
Setup & buff-transfer teams |
|
Stealbat
|
Disruption |
Steals Energy, spreads statuses, removes enemy buffs |
Energy & debuff teams |
|
Psykat
|
Protection |
Emergency healing + Sleep |
Defensive & Dream teams |
|
Rainkat
|
Team Support |
Damage reduction, Rain & Moisture support |
Water teams |
|
Glasnake
|
Status Control |
Spreads Poison, Burn, Paralysis & Sleep |
Status teams |
|
Geniphant
|
Dream Setup |
ATK stacking + Dream/Sleep interactions |
Dream teams |
|
Chickadet
|
Setup Support |
ATK preparation + replacement buff |
Setup teams |
|
Spookling
|
Dream Support |
Sleep, Dream Eater & team Haste |
Dream & speed teams |
|
Inkspire
|
Buff Disruption |
Steals enemy buffs on entry |
Anti-buff teams |






Best Lumi Recommendations
Not every player is looking for the same thing from a Lumi. Some want a powerful carry, while others may prefer a reliable switch-in, a status specialist, or a Lumi that can build around a specific team strategy. The recommendations below focus on what each Lumi is particularly well suited for.
|
Recommendation |
Lumi |
Why You Might Choose It |
|
Best Offensive Switch-In |
Meteofly
|
Combines entry utility, Dream mechanics, guaranteed Critical Hits and strong switching tools, giving it several ways to create offensive momentum. |
|
Best Paralysis Specialist |
Zaphound
|
Its kit revolves around Paralysis, with multiple ways to apply stacks and skills that gain additional value from them. |
|
Best Healing Support |
Rainbowdeer
|
Provides team healing, Poison removal, enemy Attack reduction and a powerful emergency recovery option through Self-Sacrifice. |
|
Best Status-Based Attacker |
Muskyx
|
Can build around Poison and other abnormal statuses, with several skills that spread or exploit them. |
|
Best Weather-Based Attacker |
Regaffin
|
Storm directly supports its kit, improving its offensive options while enabling cheaper and stronger attacks. |
|
Best Defensive Setup |
Lycanite
|
Can build Swiftness, increase its own stats, provide team Haste and transfer that Haste to another Lumi. |
|
Best Dream Team Option |
Dreamee
|
Its entire kit revolves around Dream and Sleep, giving it healing, damage reduction and bonus damage against sleeping targets. |
|
Best Buff Disruptor |
Inkspire
|
Steals ability increases and buffs from enemy Lumi when entering the field, making it useful against setup-heavy opponents. |
|
Best Energy Disruptor |
Stealbat
|
Steals Energy on entry and can turn the opponent's status setup and buffs into opportunities for disruption. |
|
Best Water Team Support |
Rainkat
|
Supports Water-based strategies through Rain, Moisture and damage reduction for allied Drenched Lumi. |
|
Best Status Support |
Glasnake
|
Offers Poison, Paralysis, Sleep and status-spreading tools, making it flexible for abnormal-status teams. |





Conclusion
That’s everything from this Lumi Master tier list. Whether you’re building around a powerful carry, creating a specialized status or weather team, or looking for the right Support Lumi, the best results come from finding combinations that work together rather than simply chasing individual power. And if you’re running multiple accounts to farm Lumi, level up your teams, and keep your progression moving, OSLink can help reduce the time spent babysitting your daily grind. Use it to manage multiple Lumi Master accounts at once, keep farming and progressing across your accounts, and let your extra accounts keep working while you focus on your main team. Let OSLink handle the grind while you focus on building your Lumi roster.
 Download