English
Ready to get more out of Dylan’s combat kit? CONTROL Resonant gives you plenty of freedom in how you build your character, from Aberrant Forms and Combat Abilities to Talents, Traversal skills, and status effects. This CONTROL Resonant Skill Tree Guide and Abilities breakdown covers how the progression systems work, which abilities you can unlock, useful weapon combinations, and the synergies worth trying as you progress.

Want to experiment with different builds without being tied to your PC? If you prefer playing on the go, OSLink lets you play CONTROL Resonant on mobile, giving you a convenient way to jump back into the game and keep working on Dylan’s Forms, Talents, and abilities wherever you are.
CONTROL Resonant Progression Systems
Before we get into the abilities, let’s quickly look at how CONTROL Resonant’s progression system works. Dylan has different ways to upgrade his combat and exploration skills. You’ll manage Aberrant Forms, Talents, resources, and your Zone and Power Levels as you progress. Keeping these upgraded will help you take on stronger enemies more easily
. 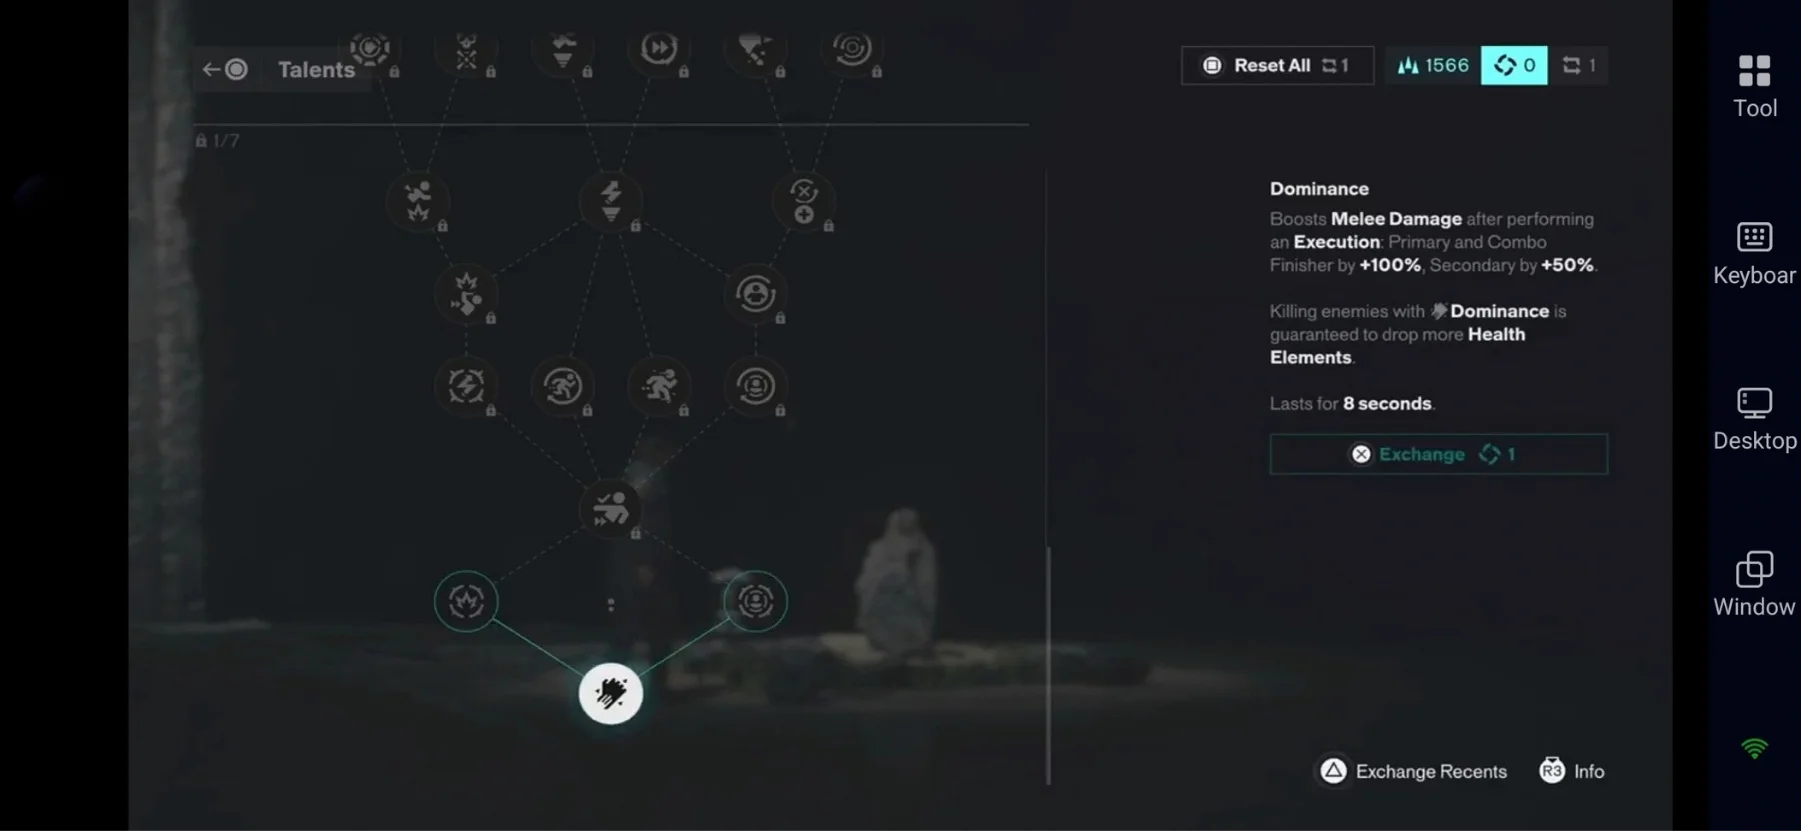
Here’s a quick look at the main progression systems in CONTROL Resonant and what each one does as you build up Dylan.
|
Progression System |
What It Does |
How to Progress |
|
Aberrant Strength |
Increases overall damage and Falter. |
Unlock and upgrade Aberrant Forms, including Forms you don't actively use. |
|
Talent Points |
Unlock passive bonuses in the Talent Tree. |
Increase Zone Levels through missions, side quests, World Feats, Large Resource Chests, and other activities. |
|
Living Shards |
Used to unlock new Aberrant Forms. |
Collect them through combat, exploration, and other activities. |
|
Source |
Used for progression and upgrades. |
Gather it during your exploration and combat. |
|
Corrupted Elements |
Used for certain upgrades and progression. |
Collect them from relevant activities and encounters. |
|
Distorted Forms |
Upgrade material used for progression. |
Obtain them through exploration and combat. |
|
Aberrant Materials |
Includes Splinters, Shards, Fragments, and other upgrade materials. |
Gather them from enemies, chests, and exploration. |
|
Power Level |
Determines how prepared Dylan is for stronger enemies. |
Upgrade Forms, Talents, Health, Power, and Aberrant Strength. |
|
Zone Level |
Drives progression and provides Talent Points. |
Complete missions, side activities, World Feats, and exploration content. |
All CONTROL Resonant Combat Abilities
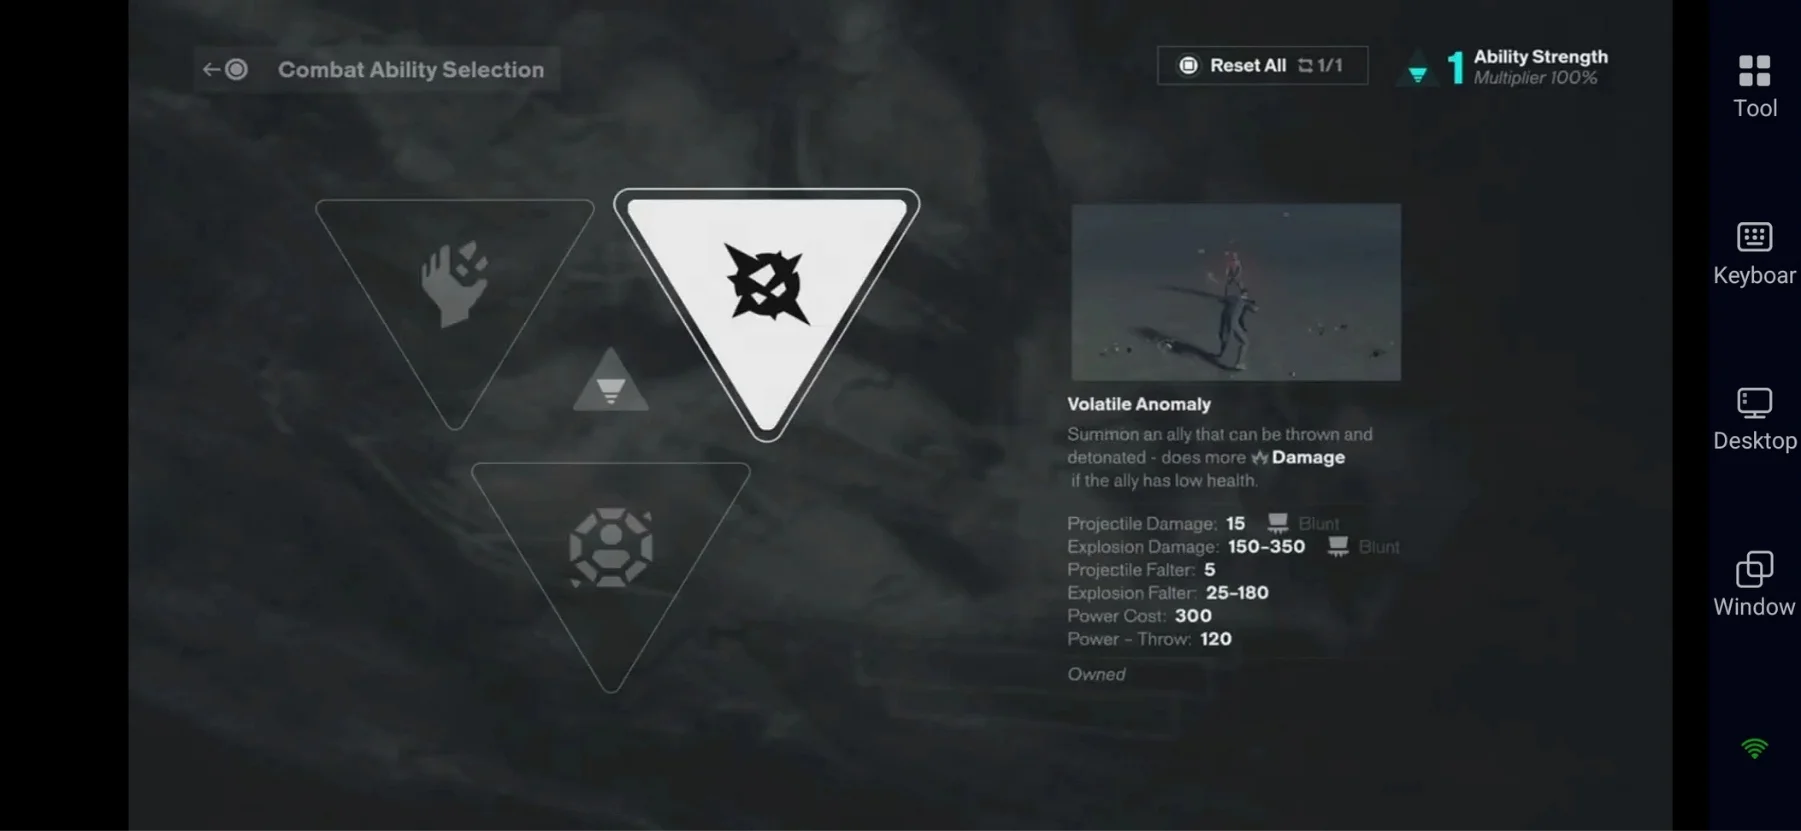
Combat Abilities are an important part of the CONTROL Resonant skill tree. They give Dylan new ways to attack, defend, and control enemies. Here’s what each ability does and how to unlock it.
|
Combat Ability |
Effect |
Unlock Source |
|
Barrage |
Fires projectiles that deal Blunt damage. |
Artist |
|
Volatile Anomaly |
Summons a throwable ally that can be detonated and becomes stronger at low health. |
Artist |
|
Shield |
Absorbs damage based on Power and can perform a Shield Bash after dodging. |
Artist |
|
Push |
Knocks enemies back and can send them into hazards or off ledges. |
Dancer |
|
Ground Slam |
Creates an AoE attack that becomes stronger based on your height. |
Dancer |
|
Ignite |
Adds Fire and Burn effects to melee attacks and some abilities. |
Deserter |
|
Inferno |
Sends out fire waves that build Burn. |
Deserter |
|
Spore Burst |
Fires Mold projectiles that build Infected. |
Collective |
|
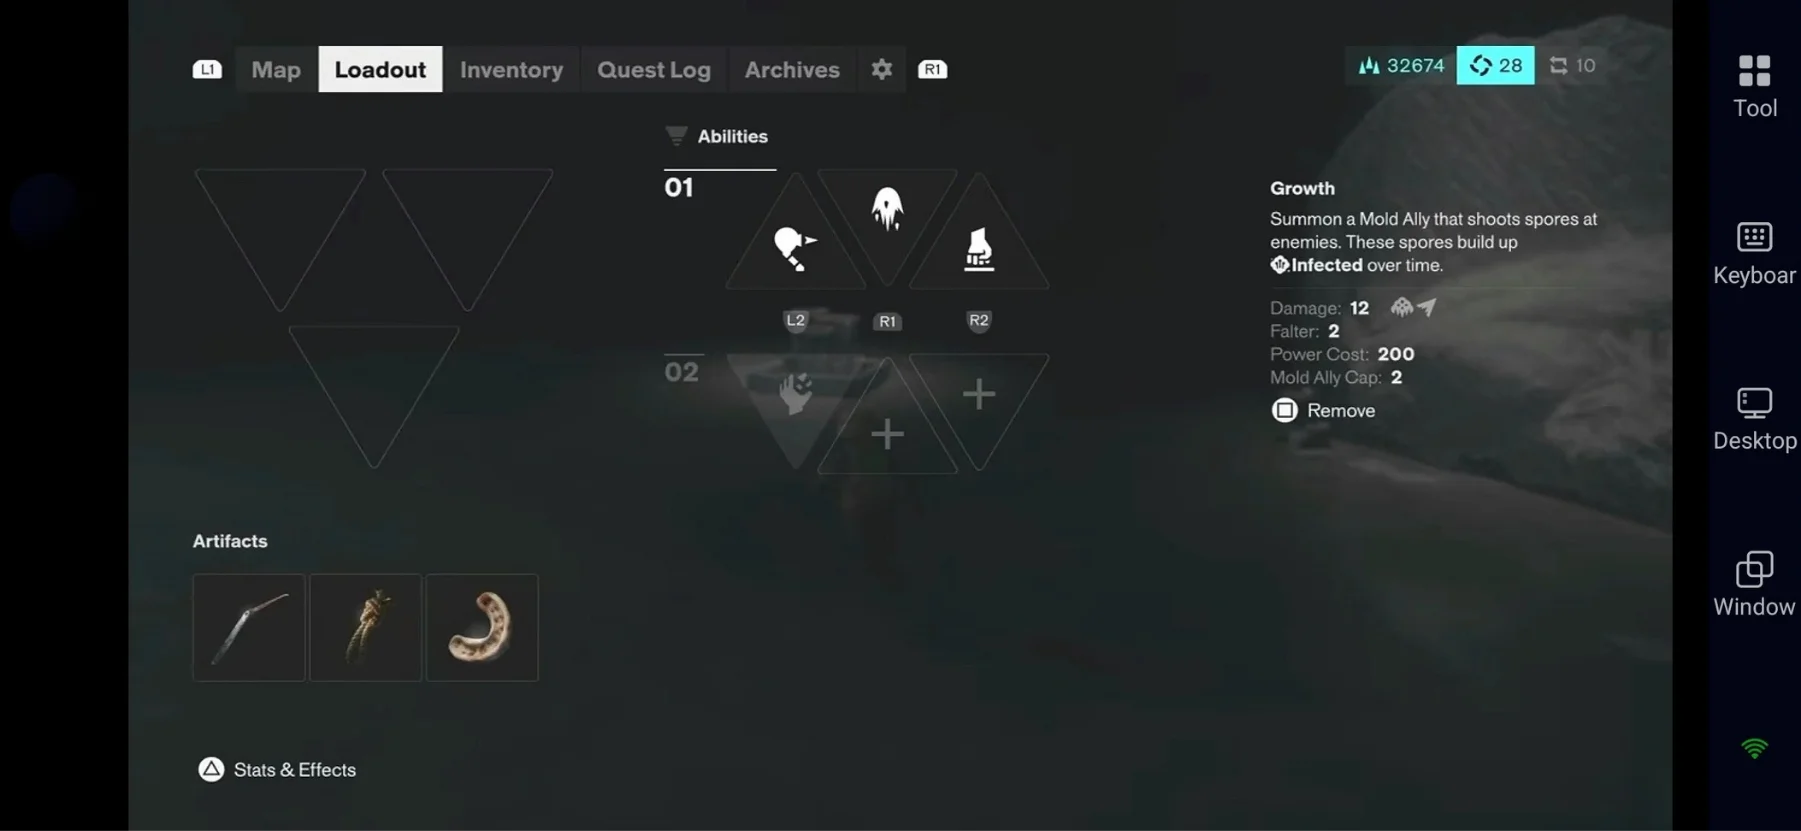
Growth |
Summons up to two Mold allies that attack enemies with spores. |
Collective |
|
Spike |
Summons an Astral Spike that attacks enemies and builds Astralized. |
Physicist |
|
Astral Rebuke |
Fires a homing spike that launches enemies and builds Astralized and Lifted. |
Physicist |
|
Command |
Controls an enemy and turns them into an ally. |
Co-Director / Unknown Resonant |
Best Combat Ability Synergies
Once you start mixing Combat Abilities instead of using them on their own, you can create some really useful combinations. These CONTROL Resonant skill tree synergies let you combine Fire, Infected, Lifted, and melee attacks to deal more damage and keep enemies under pressure.
|
Ability Synergy |
How It Works |
Why It Helps |
|
Ignite + Volatile Anomaly |
Use Ignite before Volatile Anomaly to give the energy ball Fire. You can also throw it to create a larger fiery explosion. |
Adds Burn damage and gives you extra area damage. |
|
Growth + Ignite |
Growth summons Mold allies that apply Infected, while Ignite adds Burn. Infected enemies that are affected by Burn can trigger an explosion. Enduring Ally can also increase summon duration. |
Great for a summon and status-effect build. |
|
Lifted + Melee |
Launch enemies with Lifted, then continue attacking while they're airborne or move behind them for back attacks. |
Gives you safer openings for aerial combos and backstab damage. |
CONTROL Resonant Aberrant Forms
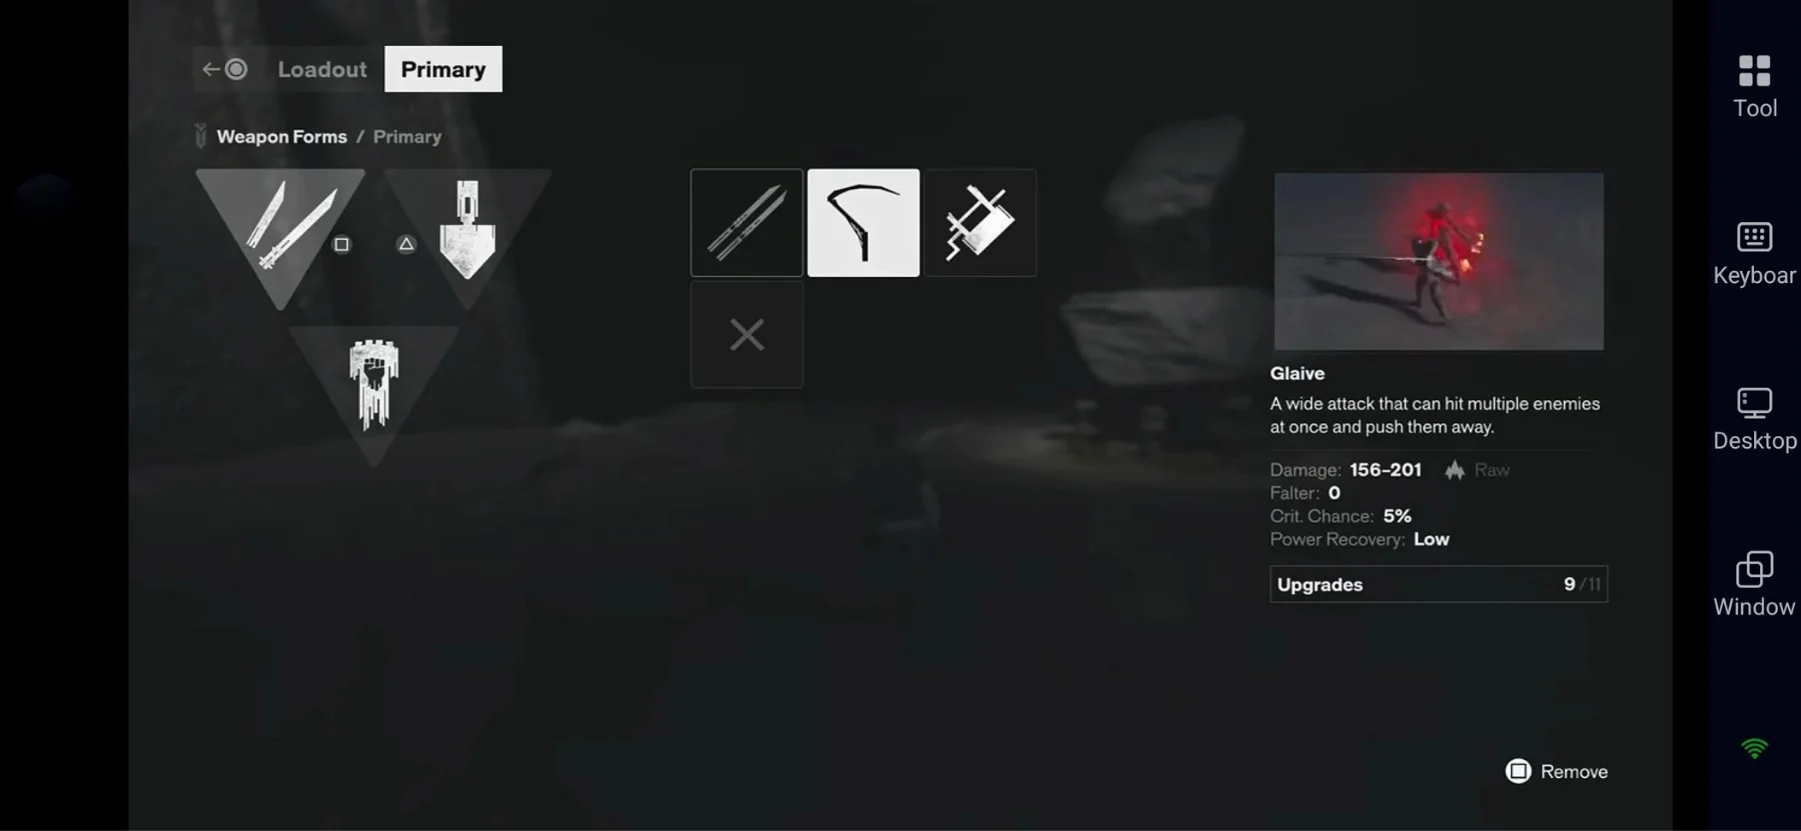
Aberrant Forms are Dylan’s main melee weapons, and each one has a different feel in combat. You can equip a Primary Form, Secondary Form, and Combo Finisher, then upgrade them as you progress. It’s also worth upgrading Forms you don’t use often, since every upgrade can contribute to your overall Aberrant Strength. Here’s a quick look at the three Primary Forms:
|
Aberrant Form |
Details |
|
Cleave |
A balanced Form with strong Lifted synergy. Its Dodge Attack can launch enemies into the air, while its upgrades improve Lifted effects, Power recovery, Dominance buffs, and damage against full-health enemies. |
|
Strike |
A fast Form focused on critical hits. Its upgrades improve Critical Chance, Power recovery, Empowered effects after kills, and damage against shields and breakable parts. |
|
Glaive |
A wide-reaching Form that works well against groups. Its upgrades focus on Power generation, status effects, airborne damage, and Health Element drops. |


 Pre-set Keymaps for Easy Play

Secondary Aberrant Forms
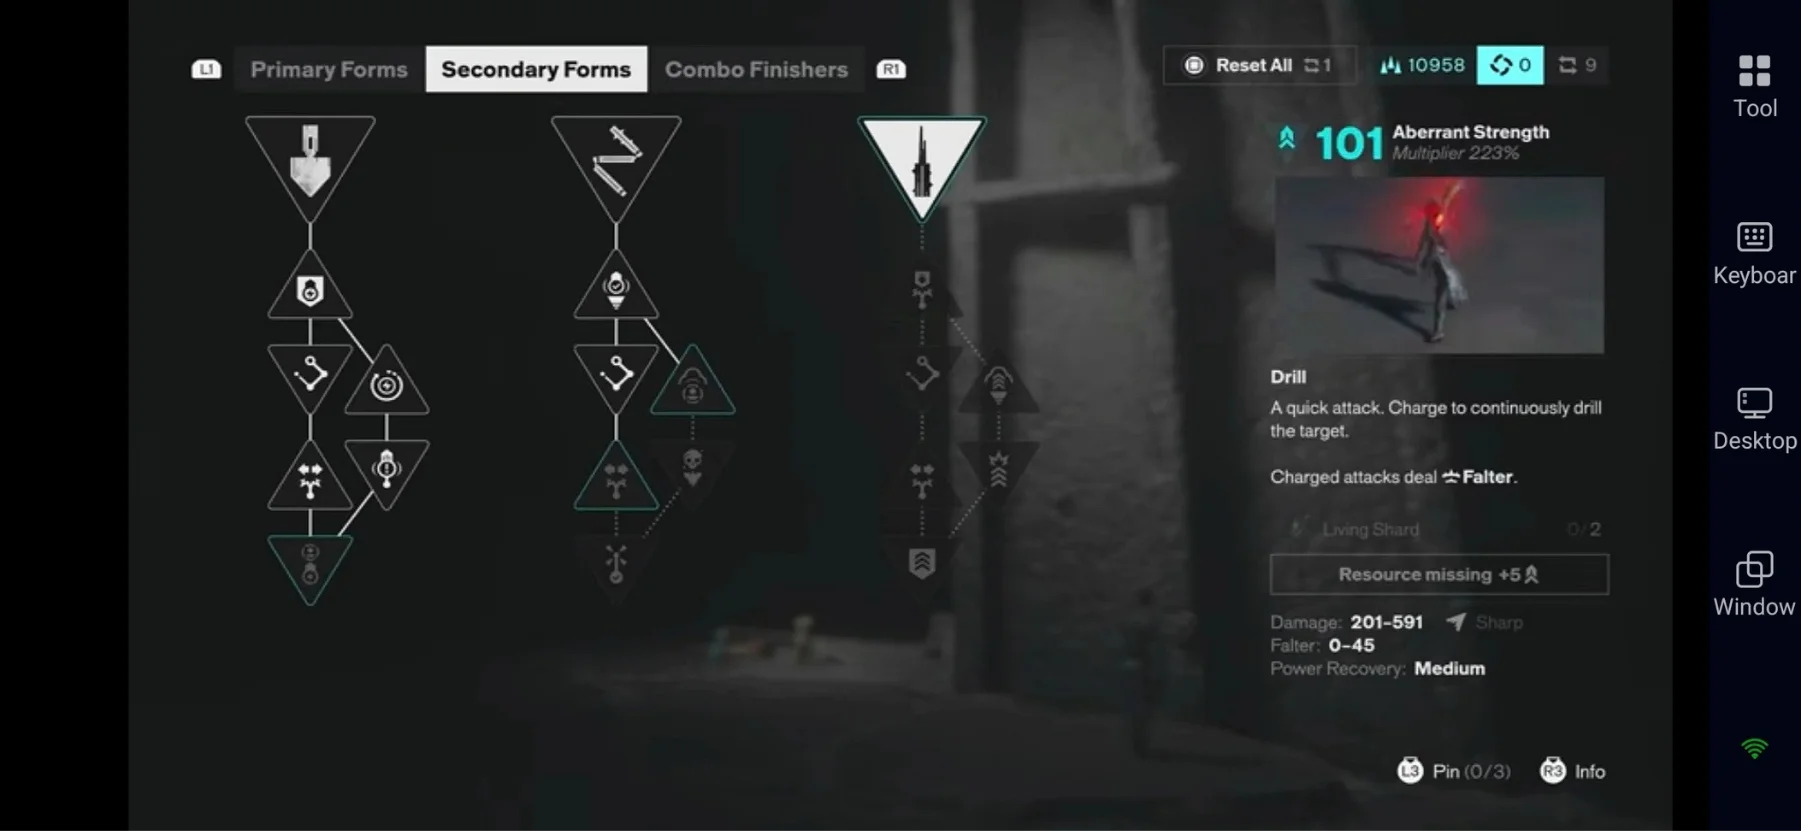
Secondary Aberrant Forms give you more ways to mix up your melee attacks. Crush focuses on heavy hits, Extend gives you range and crowd control, while Drill is great for repeated attacks and Weakened effects. Here’s a quick look at what each one offers:
|
Secondary Aberrant Form |
Details |
|
Crush |
A heavy hammer focused on charged attacks and high Falter. Its upgrades include reduced damage while charging, Triple Smash, faster charging, and a Switch Attack. |
|
Extend |
A long-range flail with strong reach and AoE potential. It can recover Power through Perfect Charges, hit multiple enemies, build Falter against airborne targets, and unlock a Switch Attack. |
|
Drill |
A piercing weapon that can build Weakened, making enemies take more ability damage and Falter. Its upgrades improve drill speed, airborne Power generation, damage reduction while drilling, and Switch Attacks. |
Combo Finishers
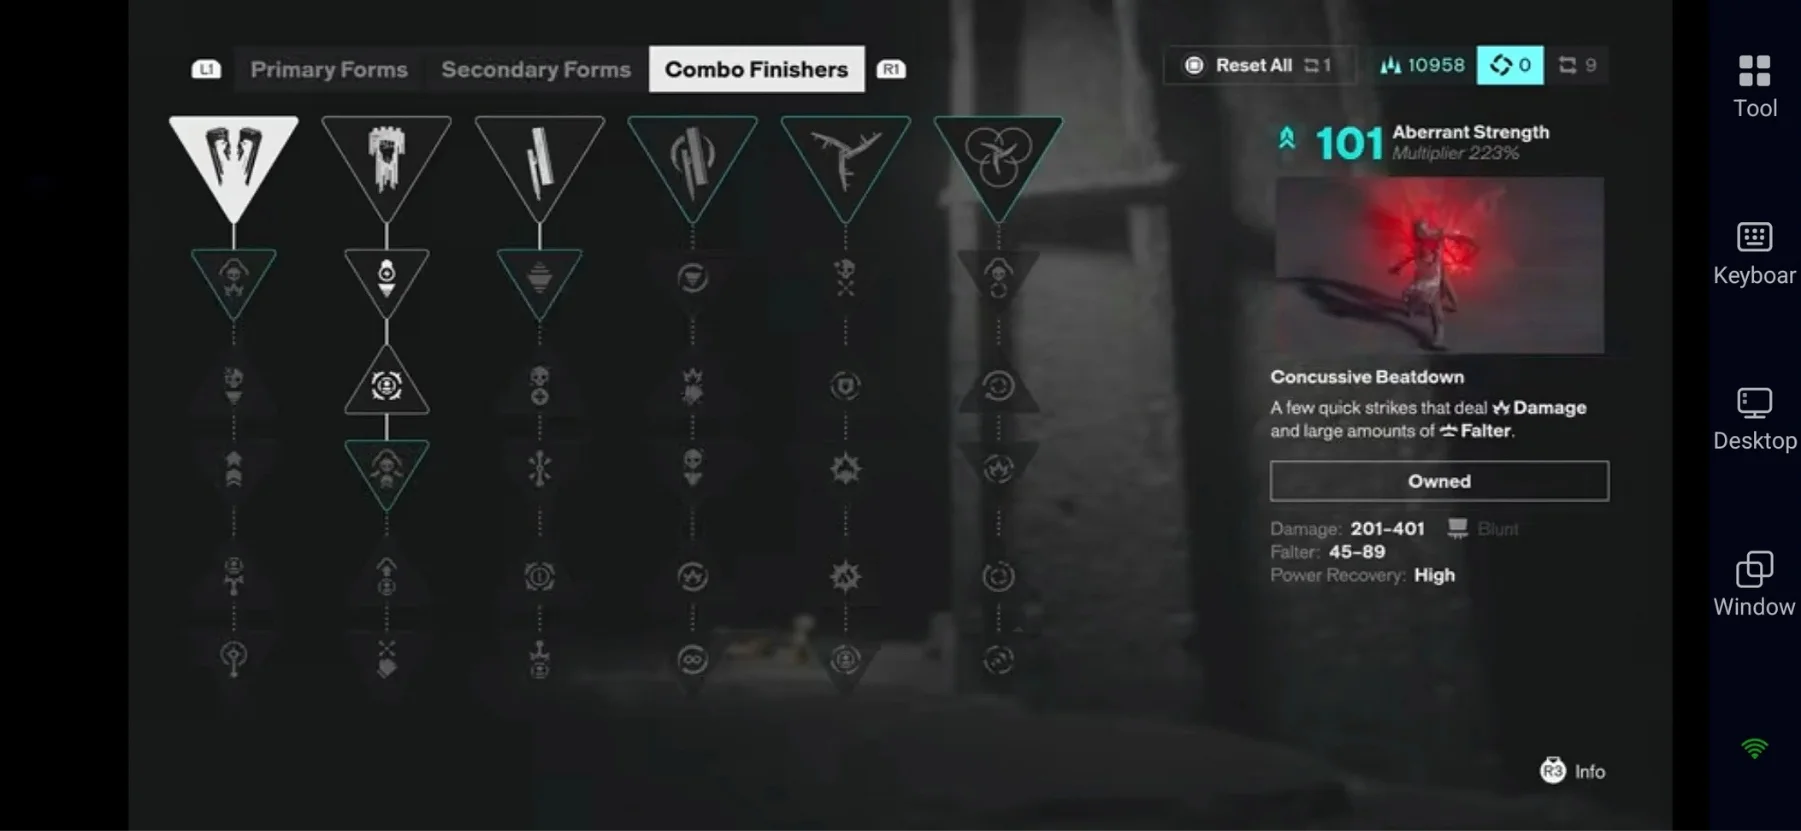
Combo Finishers give your melee combos a strong final hit, and each one works a little differently. They can launch enemies, deal heavy damage, or hit multiple targets at once. As you work through the CONTROL Resonant skill tree guide, you’ll unlock more Finishers and can choose one that matches your preferred combat style.
Concussive Beatdown
Concussive Beatdown ends Dylan’s melee combo with a series of powerful stone-fist attacks. Instead of hitting just once, it delivers multiple strikes and can create shockwaves around the impact. It also builds a high amount of Falter, making it useful when you want to break an enemy’s defenses and create an opening for your next attack. Its follow-up attacks let you keep the pressure going rather than immediately ending the combo.
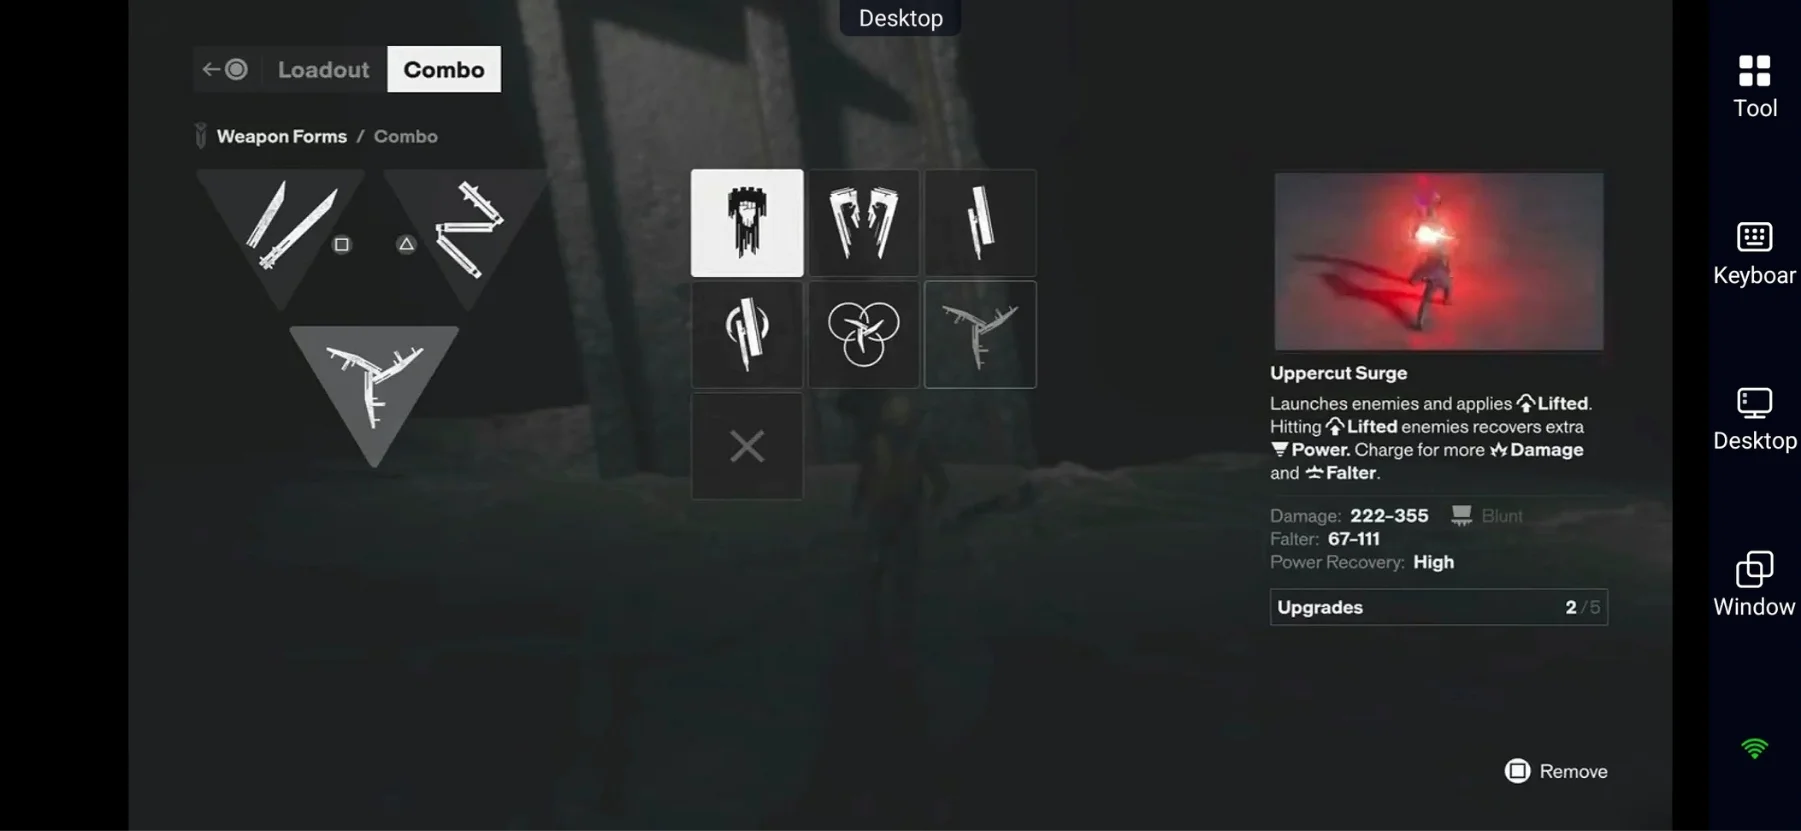
Uppercut Surge
Uppercut Surge is all about sending enemies into the air. The final hit launches the target and applies Lifted, leaving them open to follow-up attacks while airborne. This makes it especially useful for melee setups built around aerial combos. You can also use the opening to quickly move behind the enemy and attack their back, making it a good match for Talents such as Skilled Backstab.
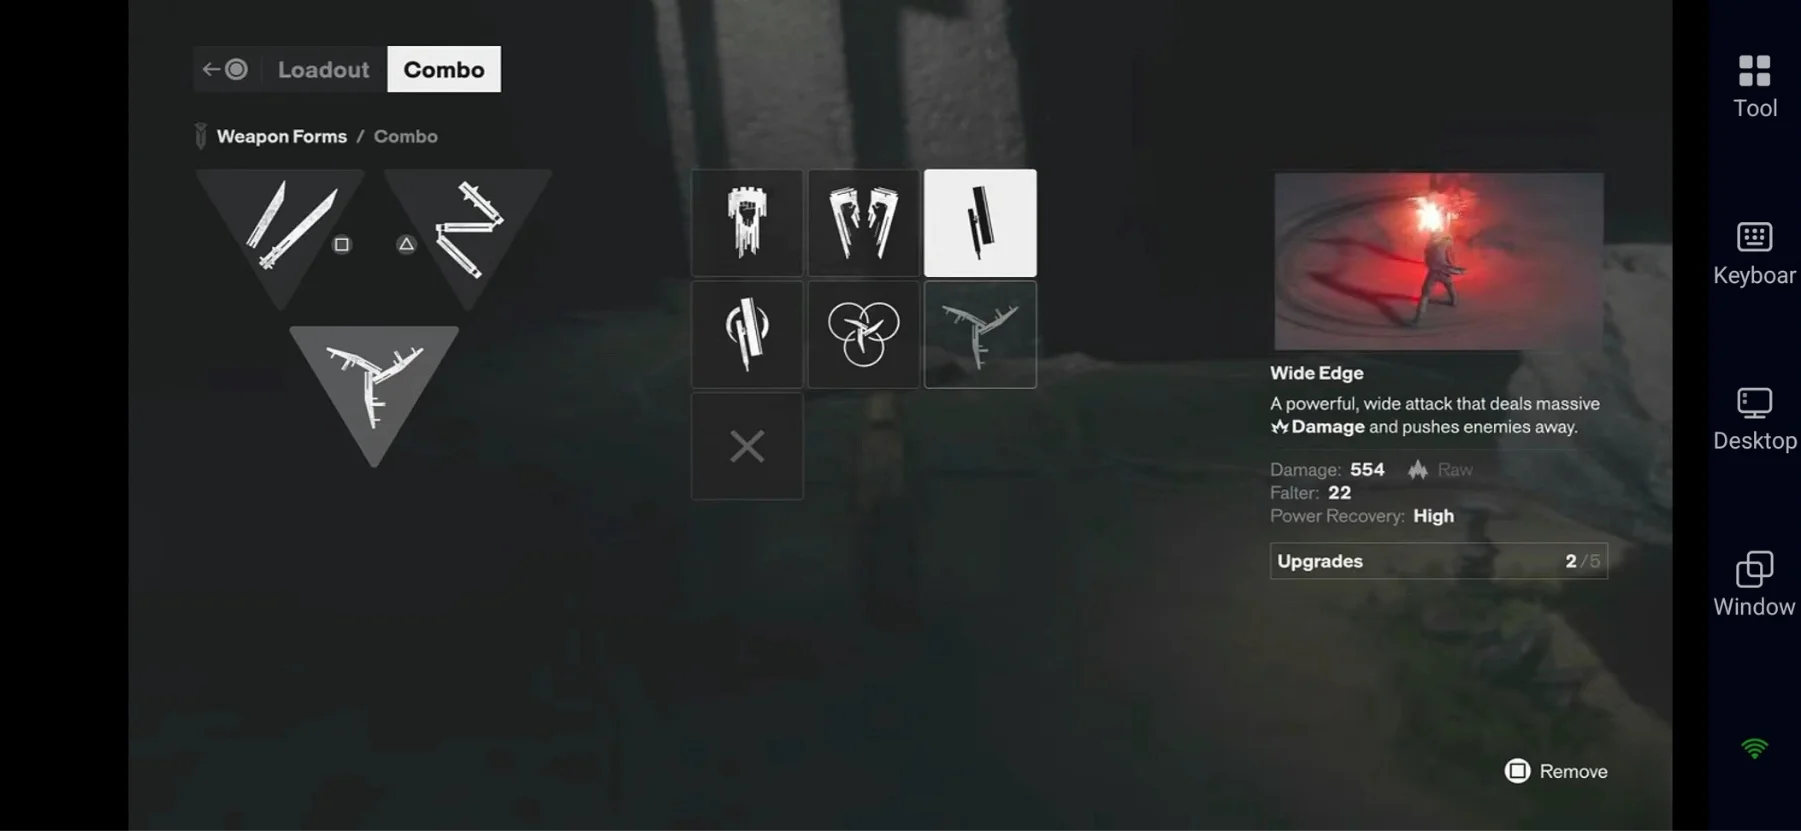
Wide Edge
Wide Edge is designed for players who want to hit more than one enemy at a time. The Finisher delivers a wide, powerful swing that can catch nearby enemies and deal multiple hits. Its upgrades can also help create Health Elements, giving you some extra recovery during fights. If you're dealing with groups instead of focusing on a single target, Wide Edge can fit nicely into your setup.
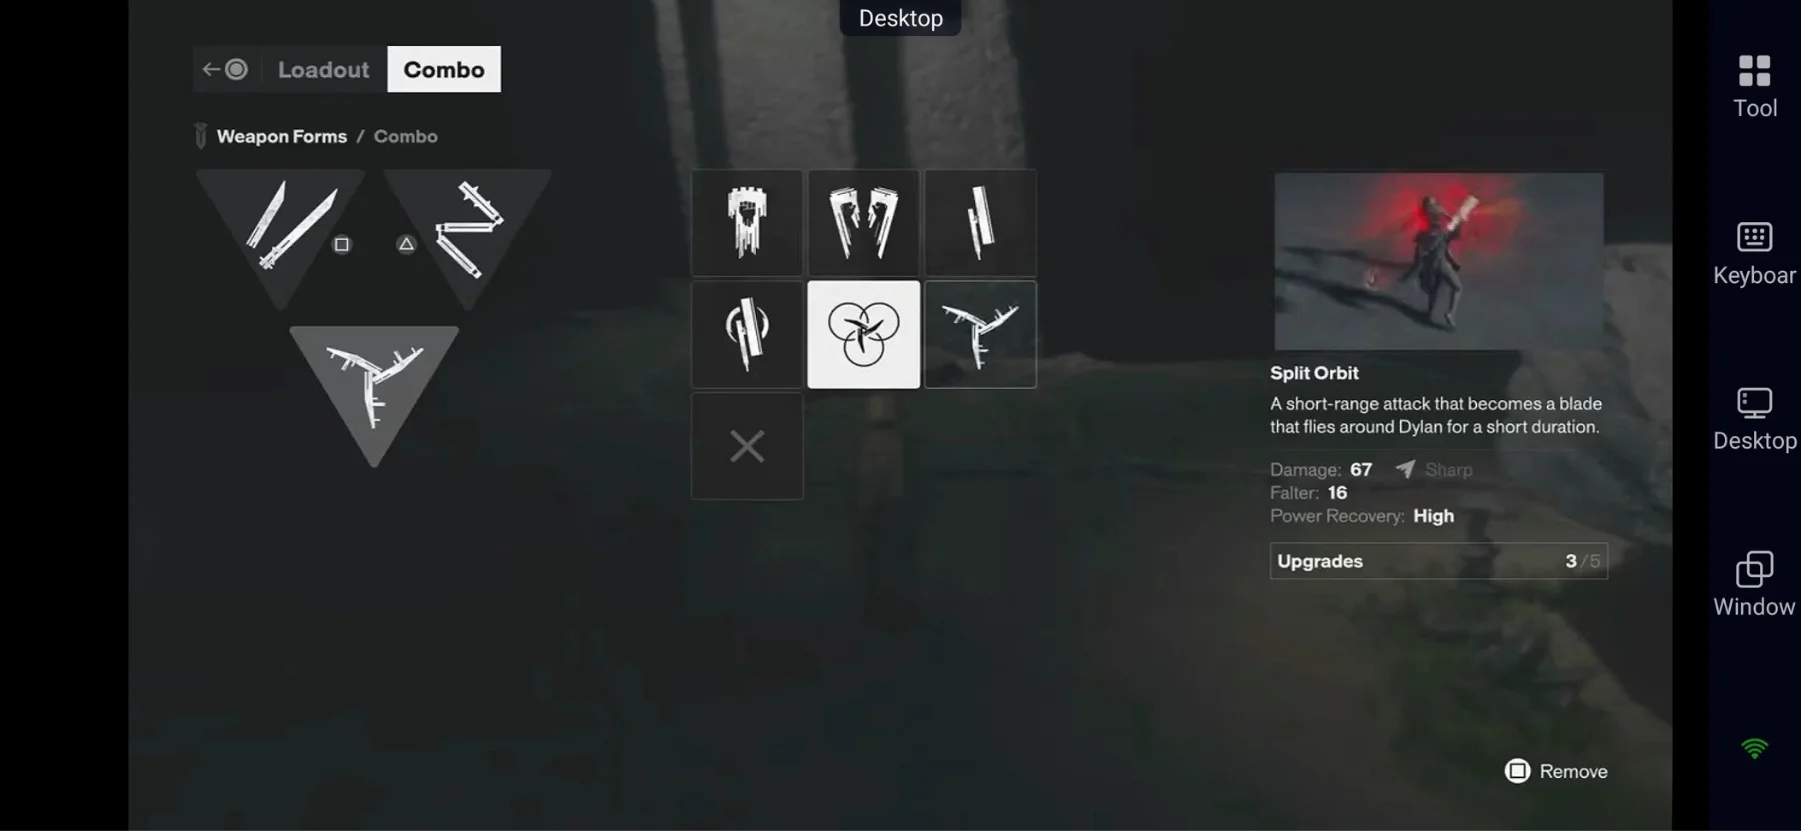
Split Orbit and Other Finishers
Split Orbit and the other Combo Finishers you unlock later give you even more ways to customize your melee combos. Some focus on damage, while others can provide better crowd control or work with specific status effects. As you progress through the CONTROL Resonant skill tree guide, try different Finishers with your Primary and Secondary Forms rather than sticking with one option from the start.
Best Early Aberrant Form Combinations
You can change your Aberrant Forms as you progress, so you don't have to commit to one setup. Try different combinations to see what fits your playstyle, whether you prefer fast combos, heavy attacks, or keeping enemies in the air.
|
Playstyle |
Aberrant Form Combination |
How It Works |
|
Fast Melee Build |
Strike + Drill + Uppercut Surge |
Strike quickly builds your combo, while Uppercut Surge launches enemies. Follow up with Drill to keep attacking while the target is airborne. |
|
Heavy Damage Build |
Glaive + Crush + Wide Edge |
Glaive gives you wide attacks, Crush adds heavy hits and strong Falter, while Wide Edge helps finish combos with a powerful area attack. |
|
Aerial Combo Build |
Strike + Drill + Uppercut Surge |
Use Uppercut Surge to apply Lifted, then follow with Drill attacks while the enemy is airborne. |
Tips for Building Your Character
For the best ability setup, focus on how your Forms, Talents, and Combat Abilities work together rather than upgrading everything at random. These tips can help you build a setup that fits your playstyle and makes progression easier.
-
Upgrade multiple Aberrant Forms: Don't put all your resources into one Form. Upgrading different Forms also increases Aberrant Strength.
-
Keep your levels up: Keep increasing your Power Level and Zone Levels as you progress.
-
Combine status effects: Use effects like Burn, Infected, Astralized, and Lifted together for more damage.
-
Use Lifted enemies: Attack enemies while they're in the air or move behind them for backstab damage.
-
Try different Forms: Test different Forms and combinations in The Gap before spending too many resources.
-
Keep Crush ready: Crush can open some ground doors, so keep it available when exploring.
-
Use traversal Talents: Movement Talents can make exploring and getting around much easier.
-
Use Reset Items: Try different builds and use Reset Items when you want to change your setup.
Conclusion
That’s everything you need to get started with Dylan’s upgrades and build a setup that fits your playstyle. From Aberrant Forms and Combat Abilities to Talents and traversal skills, there are plenty of ways to shape your combat style. Hopefully, this CONTROL Resonant skill tree guide helps you make each upgrade count and take on your next fight with confidence. Now, get back out there and see which setup works best for you! With so many Forms, abilities, and combinations to experiment with, you may want the freedom to keep playing even when you’re away from your PC. With OSLink, you can play CONTROL Resonant from your mobile device and continue testing builds and progressing through Dylan’s upgrades wherever you are.
 Download