English
Choosing the right weapons in CONTROL Resonant can make a big difference in how you approach combat. With different Primary Forms, Secondary Forms, and Combo Finishers, your weapon choices can shape everything from single-target damage and AoE to Falter, status effects, Power generation, and Combat Ability synergy. Finding the right combination is less about picking three individually powerful weapons and more about building a setup where their effects work together.
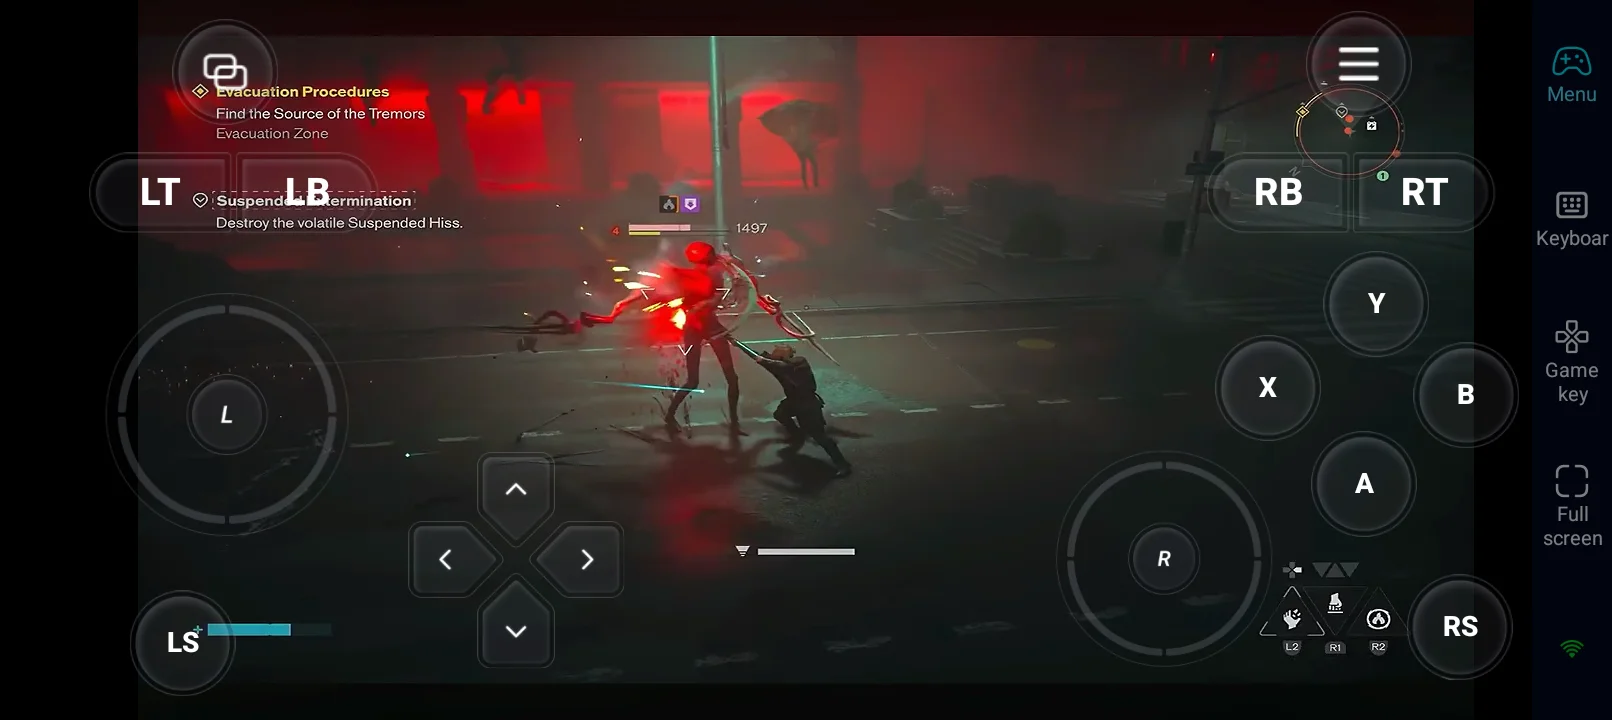
In this CONTROL Resonant Weapon Tier List, we'll rank the available weapon forms and break down the combinations that work particularly well together. Whether you're building around Strike's critical hits, Cleave's Falter synergy, Drill's Weaken effects, or Glaive's AoE, you'll find recommendations for different playstyles and combat situations. OSLink lets you play the CONTROL Resonant PC version directly from your mobile, giving you a convenient way to keep testing weapon combinations, experimenting with different builds, and practicing your combat setups even when you're away from your PC.
CONTROL Resonant Weapon Tier List Overview
Choosing the best weapon in CONTROL Resonant isn’t just about damage. Each Aberrant Form has a different role, and your Primary Form, Secondary Form, and Combo Finisher work together to shape your build.
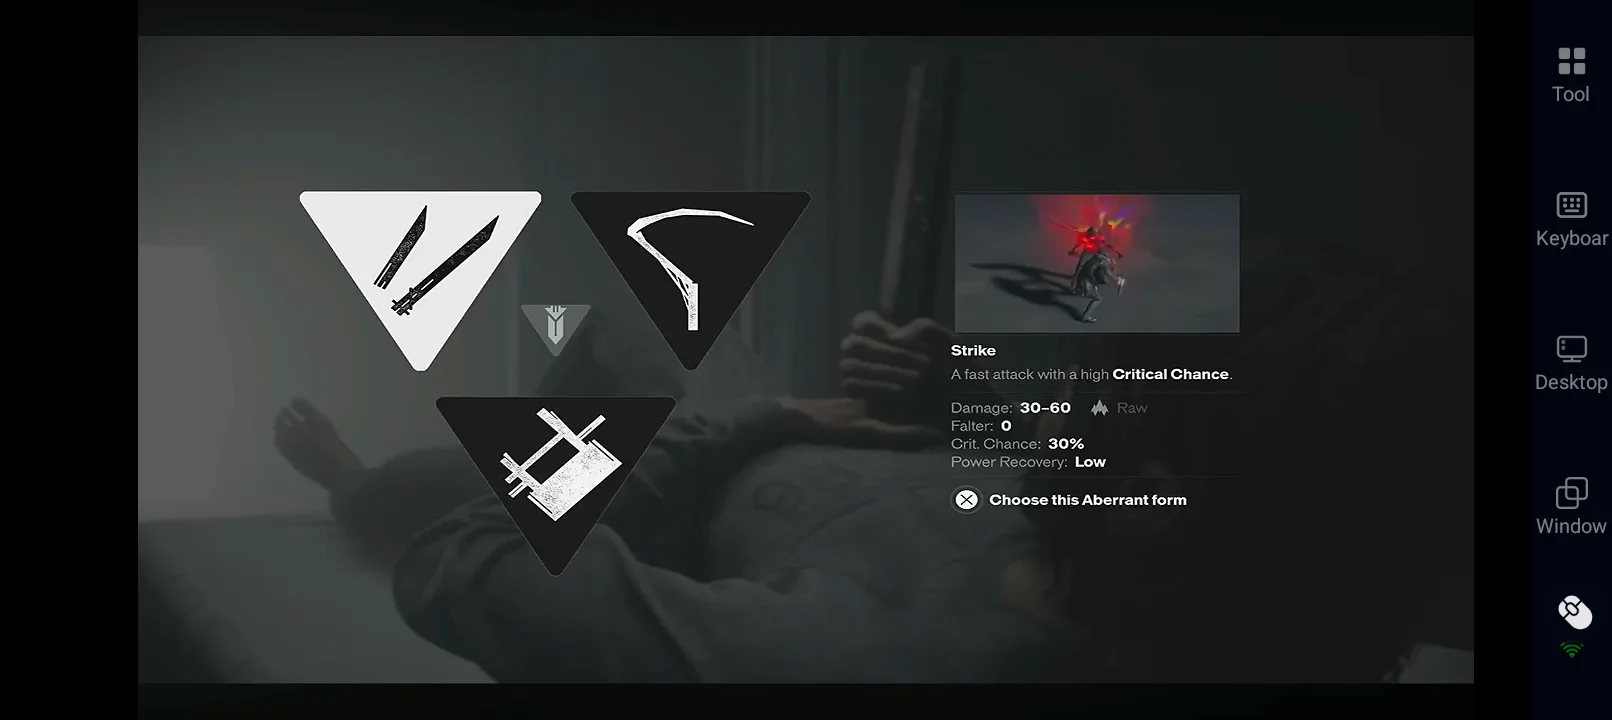
- Primary Forms: Define your light attacks and core combat style.
- Secondary Forms: Provide heavy attacks, utility, and additional effects.
- Combo Finishers: Add powerful final attacks that can further specialize your build.
For example, Strike focuses on fast attacks and critical hits, Glaive excels at AoE, and Cleave works well with Lift and Falter. Secondary Forms follow the same idea: Crush focuses on Falter and armor, Drill provides sustained damage and Weaken, while Extend offers range and AoE.
Combo Finishers add another layer of specialization. Concussive Beatdown focuses on Falter, Uppercut Surge works with Lift and Power recovery, Wide Edge provides burst and AoE, and Split Pivot can build around Crit, Weaken, and Burn.
How to Read This Tier List
Rankings consider each weapon's damage, utility, Falter potential, range, AoE, status effects, upgrade potential, and build synergy within its category.
- S Tier: Strong overall value with powerful or broadly useful effects.
- A Tier: Highly effective but more specialized or with some trade-offs.
- B Tier: Viable options that are more situational.
Treat these rankings as a guide rather than a strict rule. The right choice depends on whether you prefer single-target damage, AoE, Falter, status effects, Power generation, or another playstyle.
Primary Weapon Form Tier List
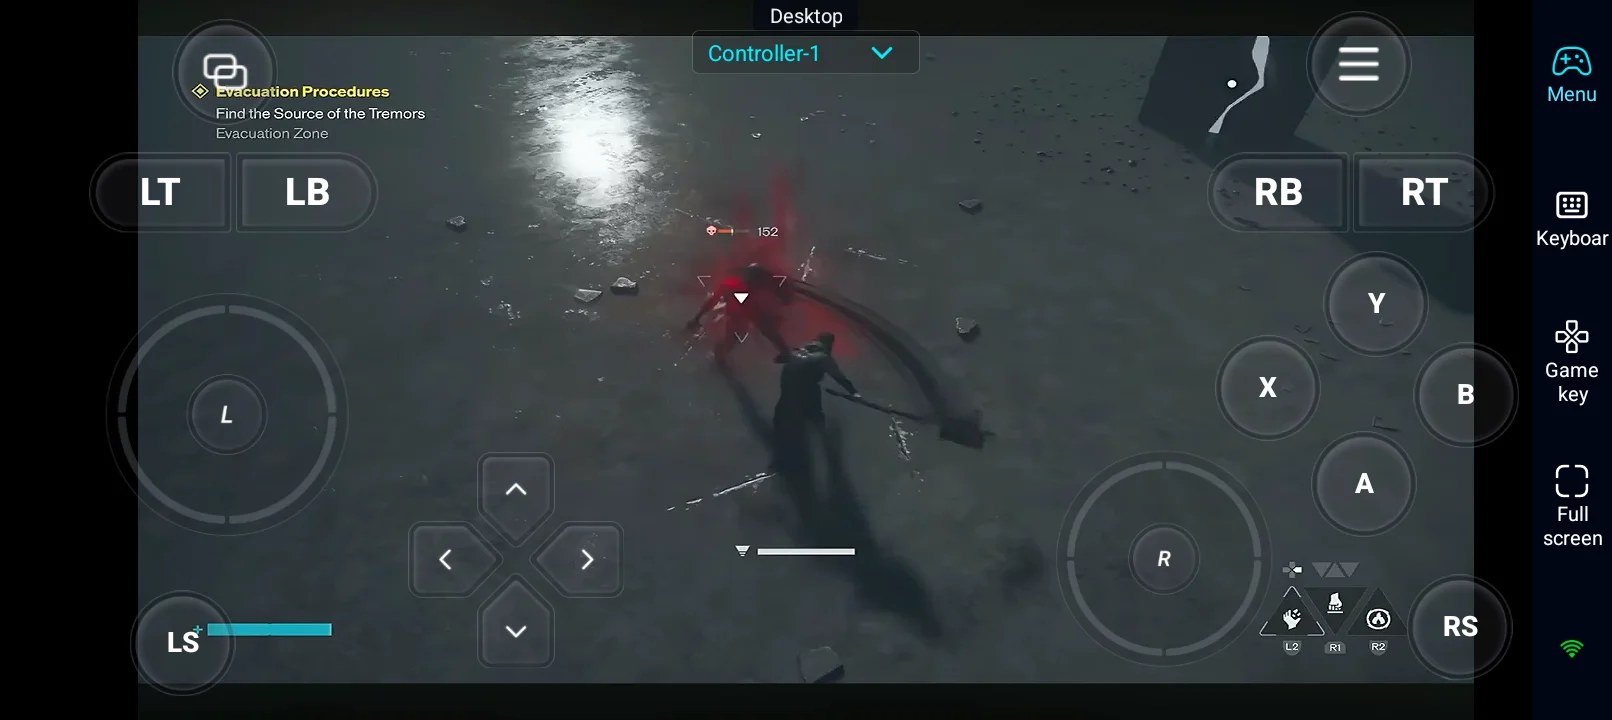
In CONTROL Resonant, the Primary Form determines Dylan’s light attacks, with three options: Strike, Glaive, and Cleave. Each has a different combat role, so this ranking considers damage, attack speed, crowd control, Falter potential, combo progression, and build synergy.
Primary Weapon Tier List
| Tier | Weapon | Best For |
| S Tier |
Strike
|
Critical hits, single-target damage, fast combos |
| A Tier |
Glaive
|
AoE, crowd control, groups of enemies |
| A Tier |
Cleave
|
Lift/Falter builds, back attacks, balanced play |
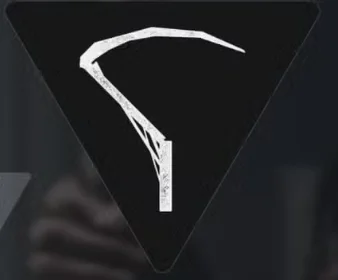
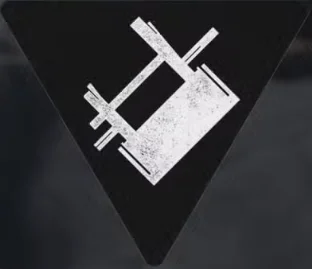
S Tier — Strike
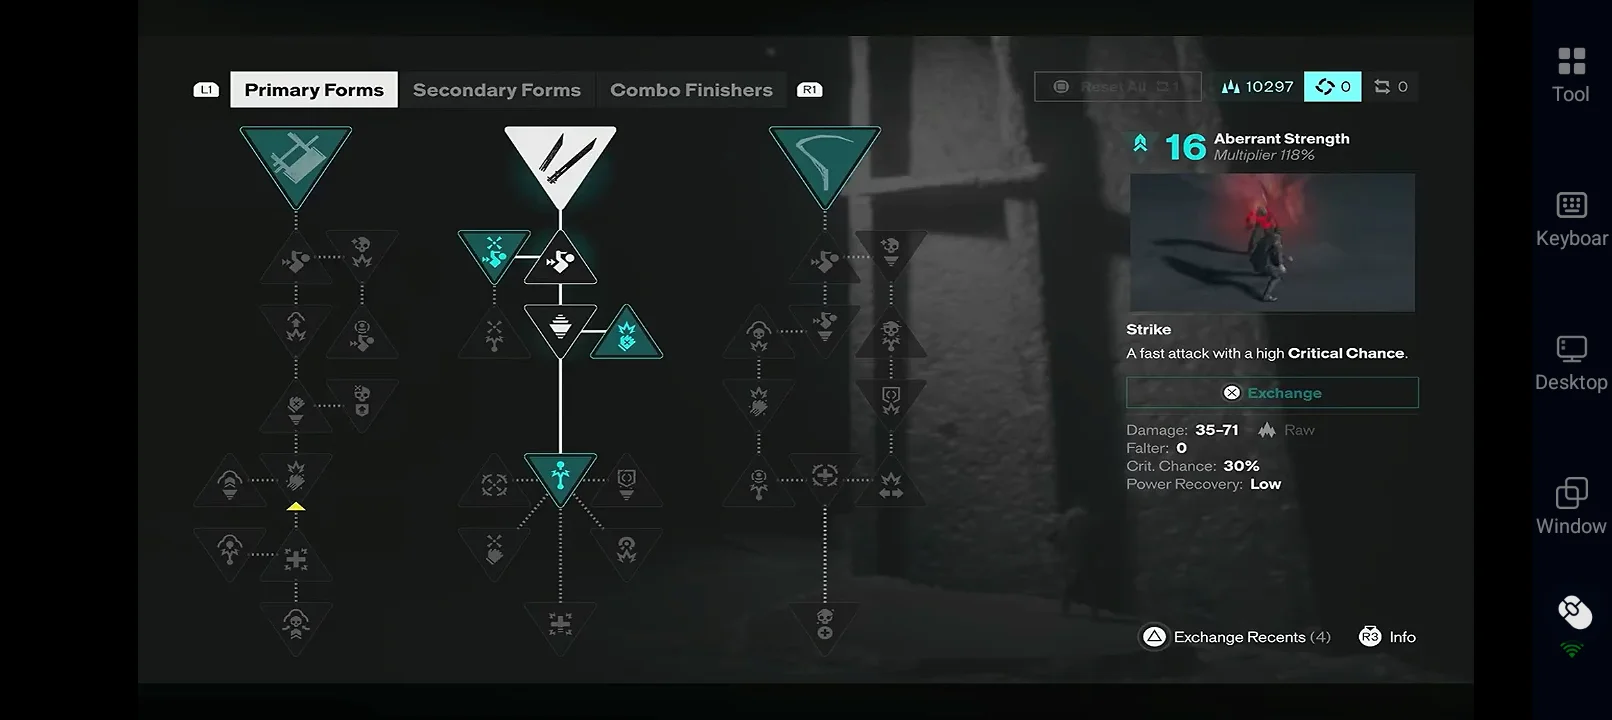
Strike is the fastest Primary Form and specializes in critical hits and single-target damage. Its quick attacks also let Dylan reach Combo Finishers faster, making it effective for aggressive builds and fast combat rotations.
Strike is especially useful when combined with critical-hit bonuses and abilities that benefit from frequent combos. Its upgrades can also improve its interaction with Combo Finishers and Combat Abilities, allowing it to contribute to a wider build rather than simply dealing damage.
Best for: Single-target damage, critical-hit builds, aggressive play, and faster access to Combo Finishers.
Weakness: Its focused attack pattern is less effective against large groups of enemies.
A Tier — Glaive
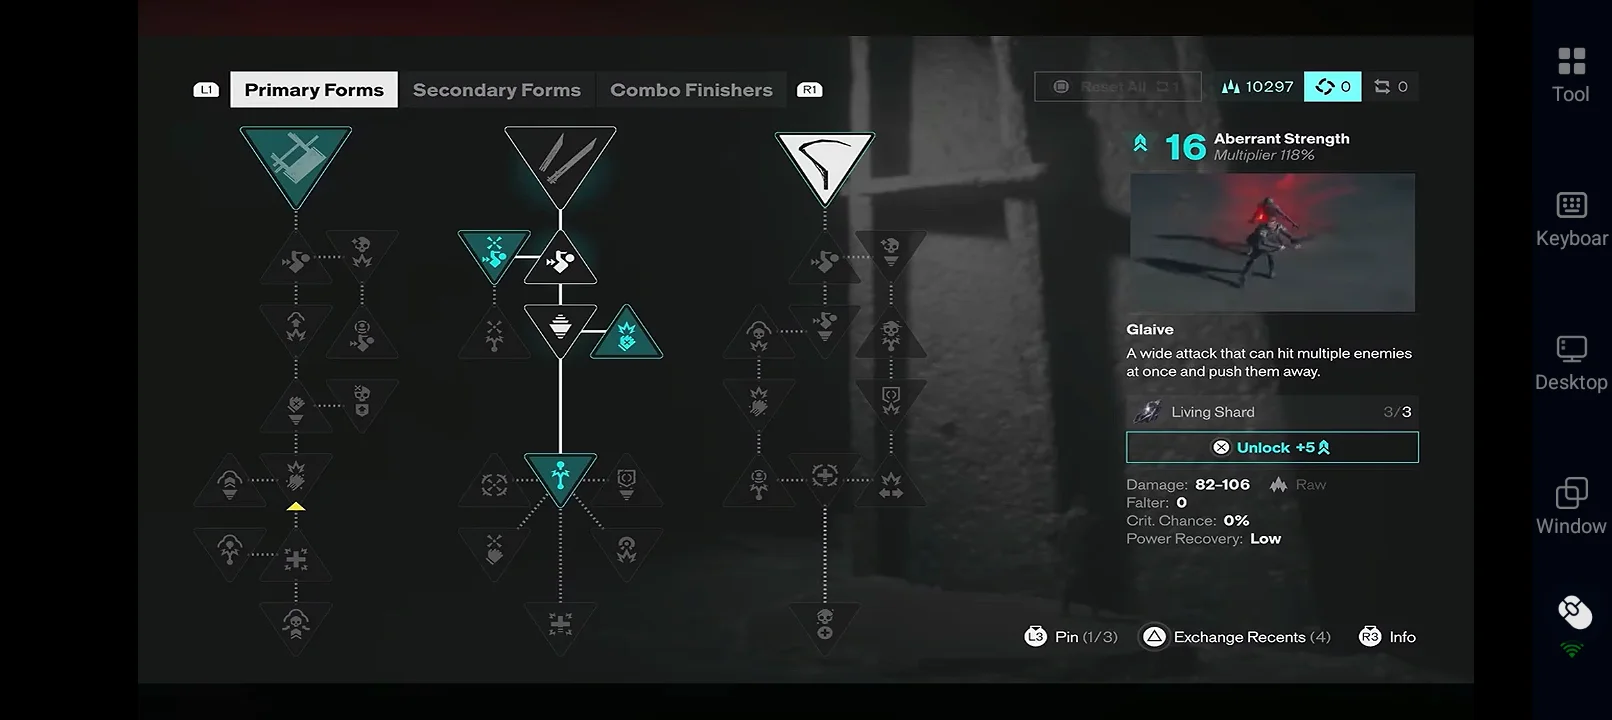
Glaive focuses on wide attacks rather than Strike’s speed, making it effective against groups and useful for controlling the space around Dylan. It offers higher base damage and broader coverage but is slower and less focused on critical hits.
Glaive also works well with AoE-focused Combo Finishers such as Wide Edge, especially when its attacks can hit multiple enemies before the finisher. It is also a strong choice for builds that rely heavily on Combat Abilities due to its Power generation.
Best for: AoE damage, crowd control, groups of enemies, and Combat Ability-focused builds.
Weakness: Its slower attacks and weaker critical-hit focus make it less specialized for fast single-target damage.
A Tier — Cleave
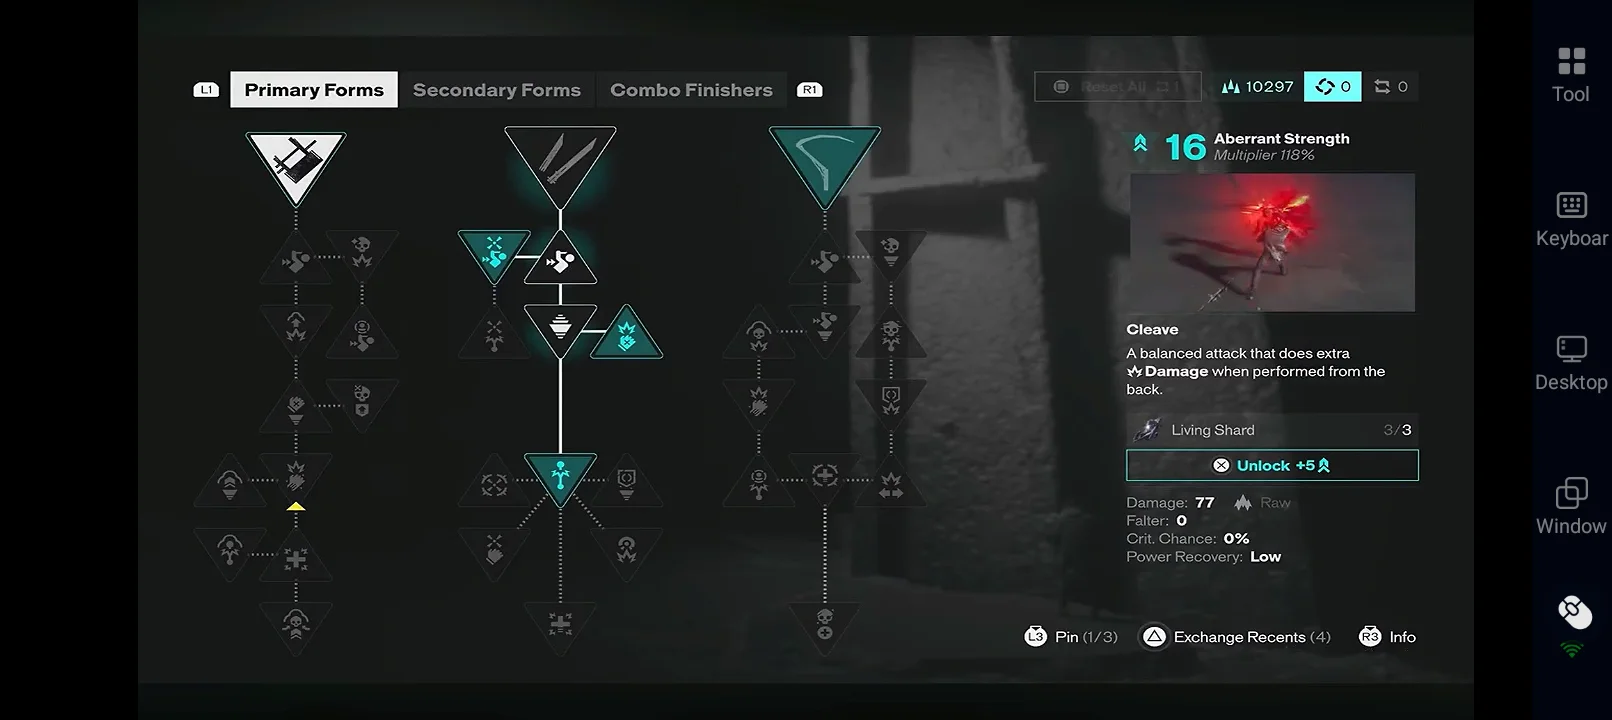
Cleave sits between Strike and Glaive, offering faster attacks than Glaive while dealing more raw damage than Strike. It also rewards positional play by dealing additional damage when attacking enemies from behind.
Its strongest feature is its synergy with Lifted and Falter mechanics. Its dodge attack can apply Lifted, while upgrades can further increase damage and Falter against affected enemies. This makes Cleave a natural fit for Falter-focused builds, especially when paired with Concussive Beatdown or a Secondary Form such as Drill for additional Weaken effects.
Best for: Lifted enemies, Falter builds, positional attacks, and balanced playstyles.
Weakness: It does not specialize in critical hits like Strike or broad AoE like Glaive.
Secondary Weapon Form Tier List
Secondary Forms are Dylan’s heavy attacks, with three options: Crush, Drill, and Extend. While Primary Forms define your basic attack style, Secondary Forms add utility through Falter, damage types, status effects, range, and enemy-specific advantages.
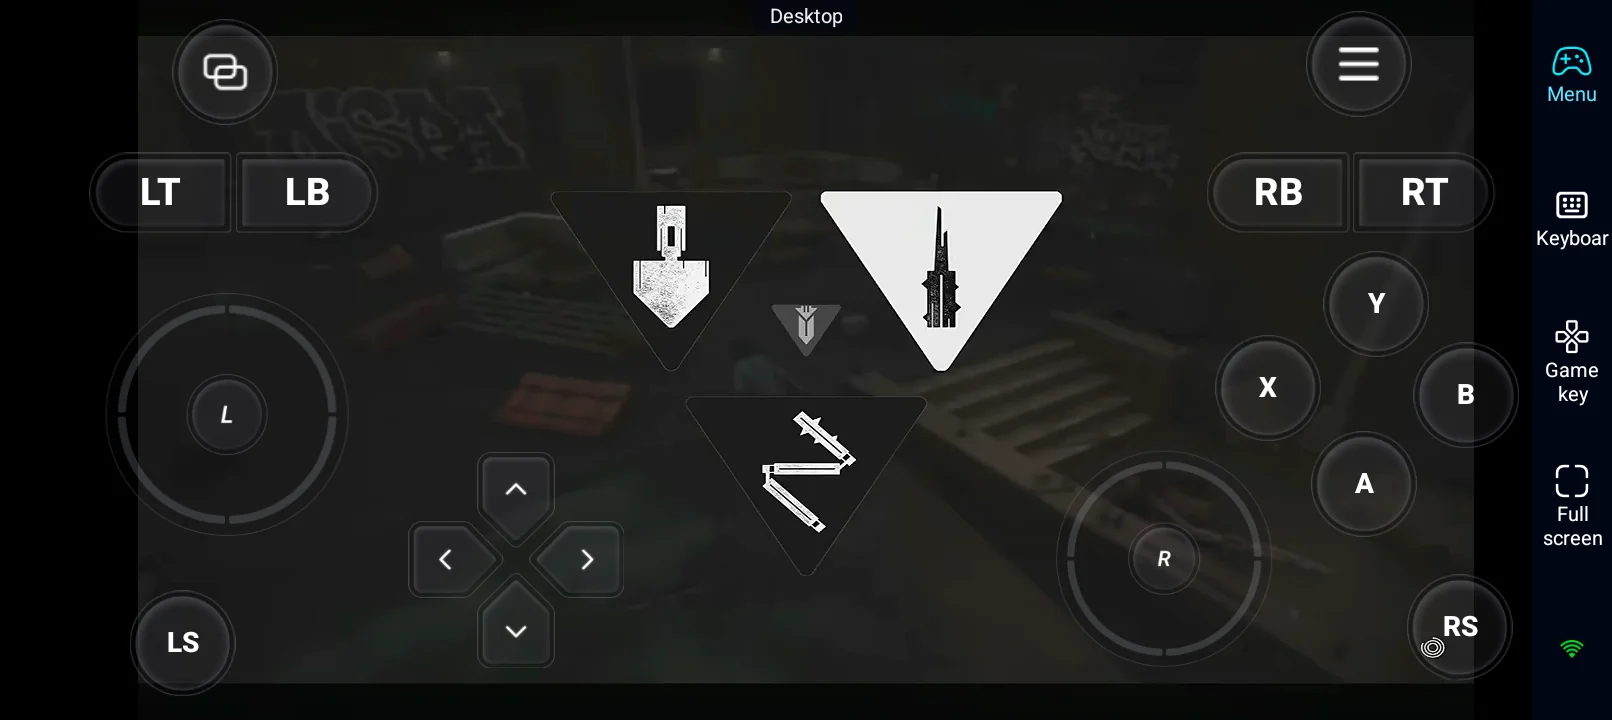
Secondary Weapon Tier List
| Tier | Weapon | Best For |
| S Tier |
Crush
|
Falter, armor breaking, stagger-focused builds |
| S Tier |
Drill
|
Weaken, sustained damage, shields, boss fights |
| A Tier |
Extend
|
Range, AoE, charged attacks, crowd control |
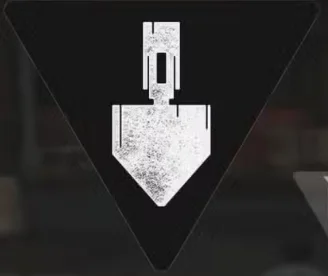
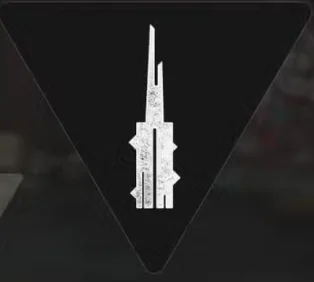
S Tier — Crush
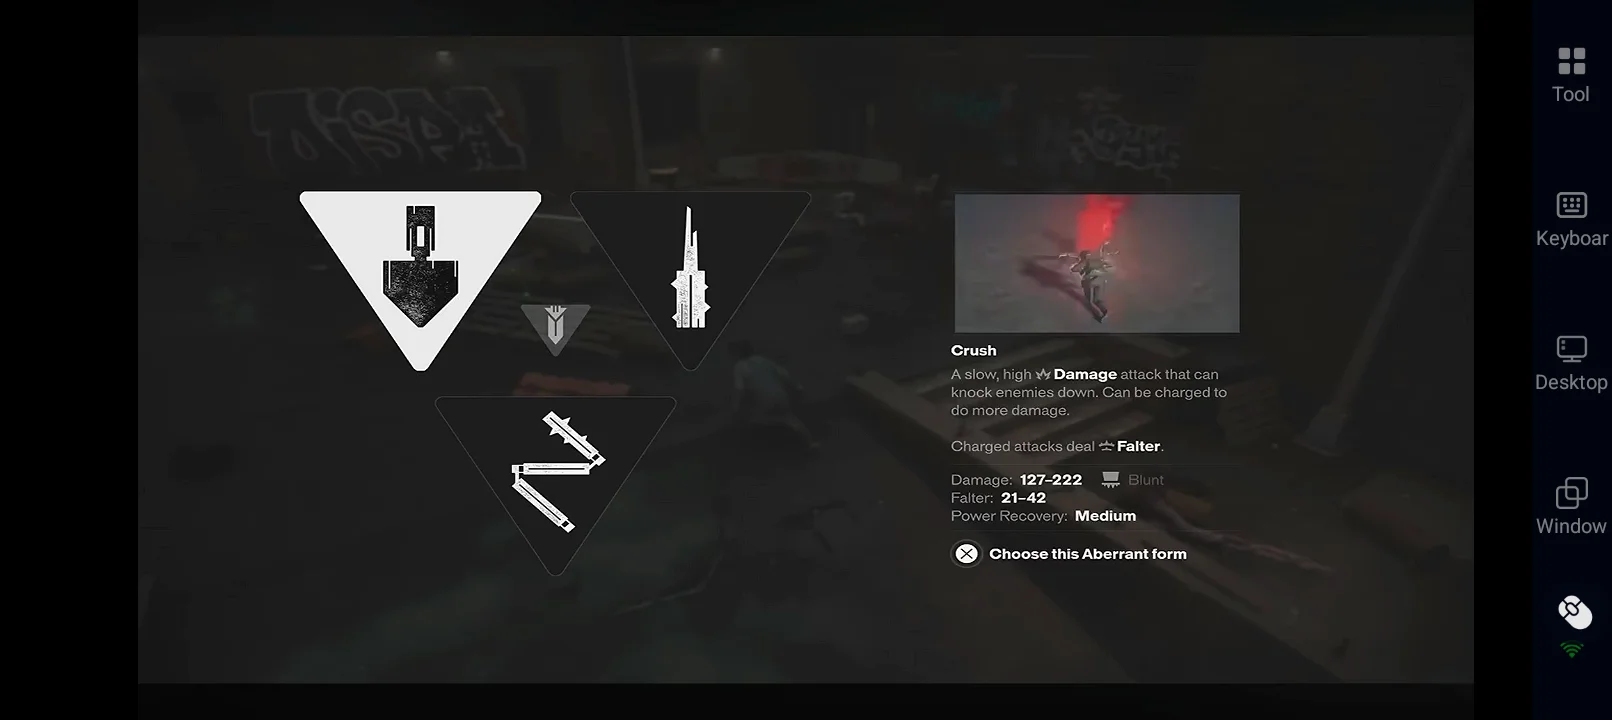
Crush is the heaviest Secondary Form and has the highest Falter potential of the three. Its Blunt damage also makes it effective against armor, while upgrades can add further utility, including the ability to Lift enemies with its third attack.
Crush works particularly well in Falter-focused builds and can create opportunities for executions or follow-up Combat Abilities. It also has useful synergy with abilities such as Ground Slam, allowing attacks to knock enemies into the air or back to the ground for additional follow-ups.
The main drawback is its slow attack speed and lengthy recovery, although dodges, jumps, and Combat Ability cancels can help reduce its downtime.
Best for: Falter builds, armor, executions, stagger-focused combat, and heavy attacks.
Weakness: Slow attacks and long recovery compared with other Secondary Forms.
S Tier — Drill
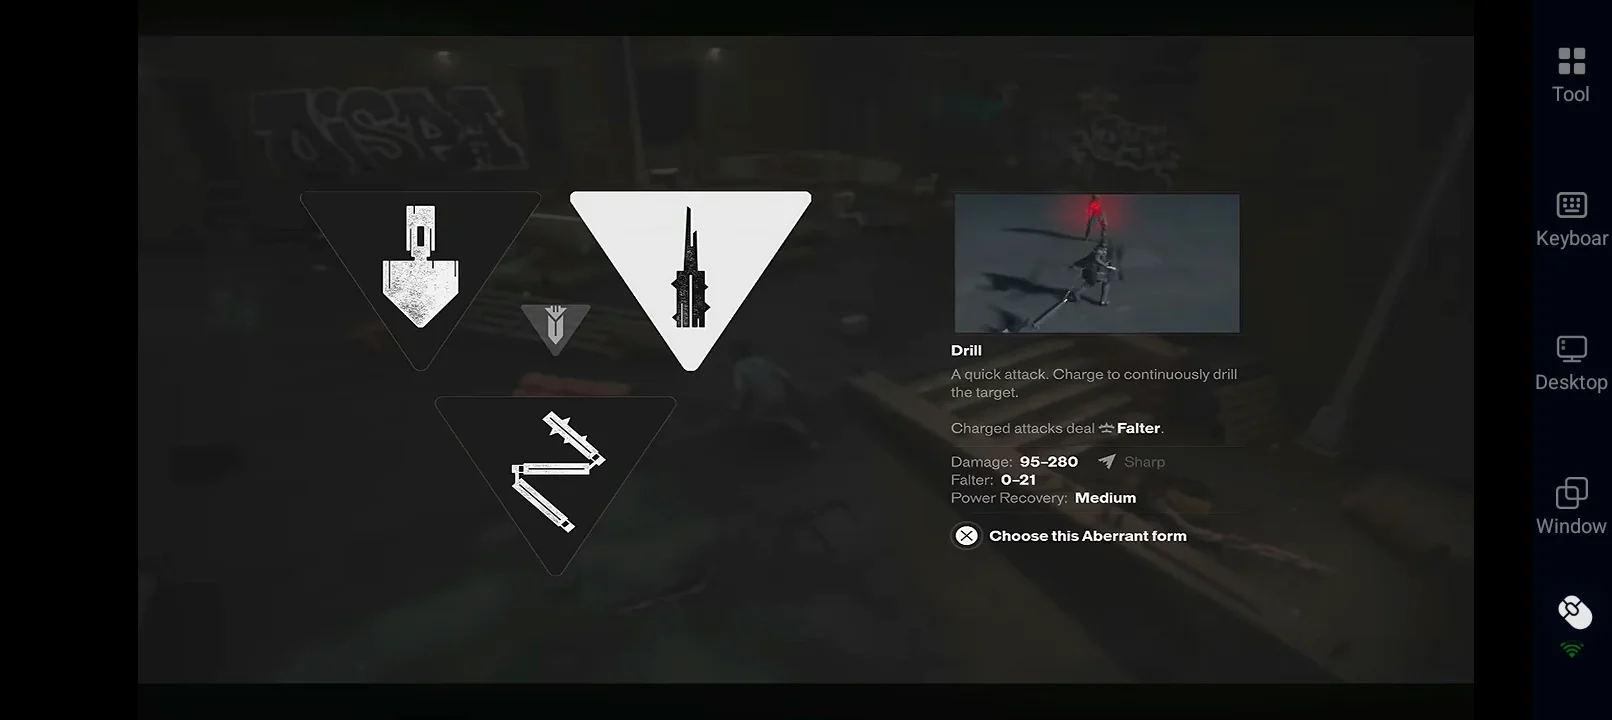
Drill focuses on sustained damage and status effects rather than Crush’s raw Falter potential. Its ability to apply Weaken makes it especially valuable because Weakened enemies take increased damage and Falter from Combat Abilities.
Drill deals Sharp damage, making it effective against Hiss shields, and its attacks can be held after connecting to continue dealing damage. This gives it strong sustained-damage potential, particularly against tougher enemies and bosses.
It also pairs well with Split Pivot, which can apply Weakened and Burning, allowing status effects and Combat Ability synergy to become a major part of the build.
Best for: Bosses, status builds, Combat Ability synergy, shielded enemies, and sustained damage.
Weakness: Its straight-line attacks provide less control against groups surrounding Dylan.
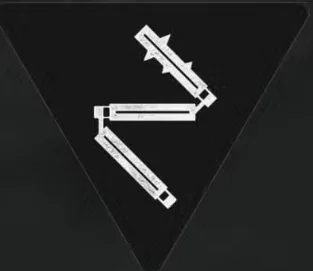
A Tier — Extend
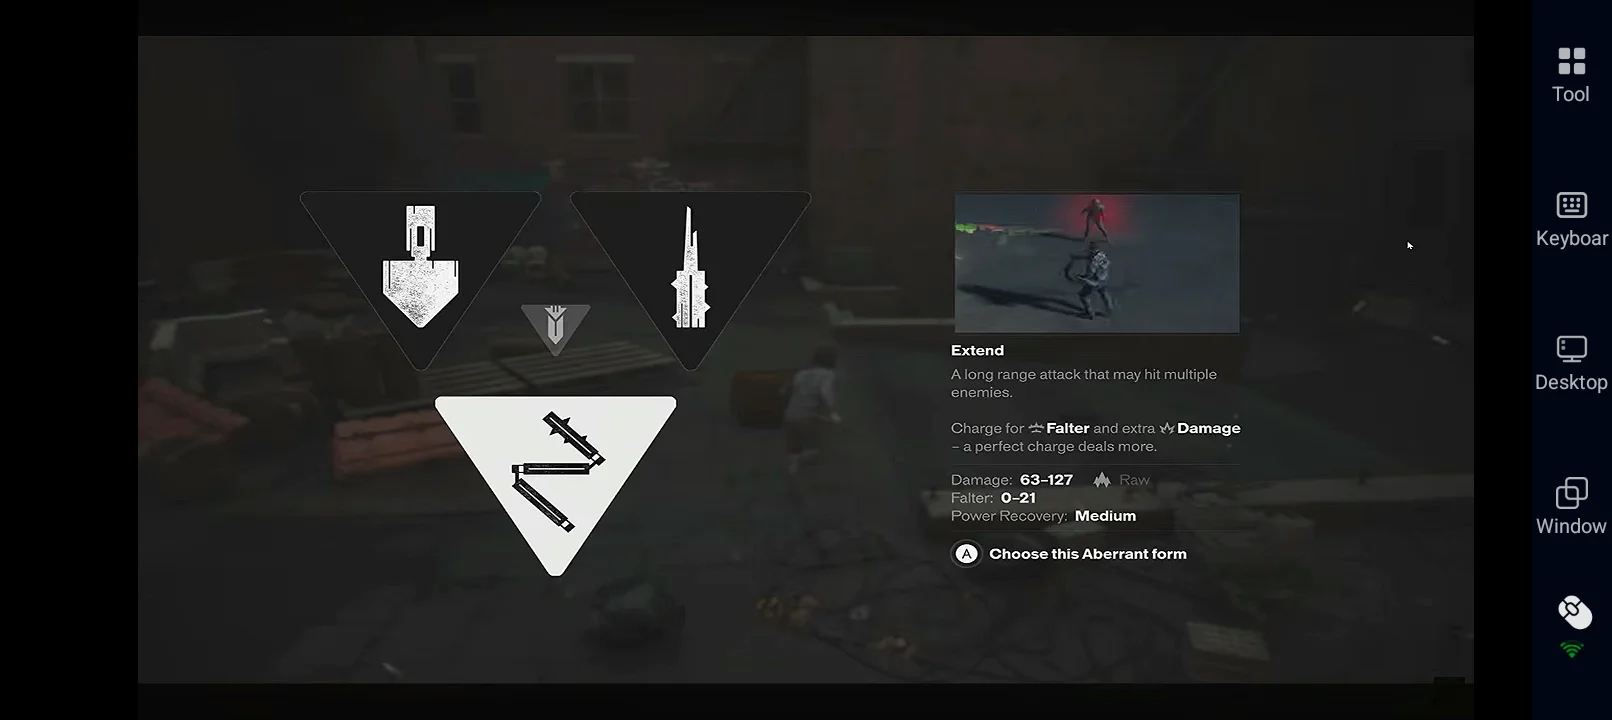
Extend is the most range-focused Secondary Form, using a sectional staff to attack from a distance and cover a wider area. Its charged attacks can also reward precise timing with additional damage.
Unlike Crush and Drill, Extend deals Raw damage, so it does not offer the same specialized armor or shield utility. Its main strength is flexibility, allowing it to fill gaps in your build by adding range and AoE coverage.
For example, pairing Strike + Extend combines Strike’s fast, single-target attacks with Extend’s wider coverage and range, giving the build more options against groups.
Best for: Range, AoE, groups of enemies, and covering weaknesses in your Primary Form.
Weakness: Lacks the specialized armor, shield, and Weaken utility provided by Crush and Drill.


 Pre-set Keymaps for Easy Play

3. Combo Finisher Tier List
Combo Finishers are powerful attacks triggered after completing a Primary Form combo. Each Finisher has a distinct role, from Falter and Lift to burst damage, AoE, status effects, and Power recovery, and their effectiveness can change depending on the weapon combination used before them.
Combo Finisher Tier List
| Tier | Combo Finisher | Best For |
| S Tier |
Concussive Beatdown
|
Falter, aggressive combat, airborne targets |
| S Tier |
Split Pivot
|
Status effects, Weaken, Burn, Crit builds |
| A Tier |
Wide Edge
|
Burst damage, AoE, crowd control |
| A Tier |
Uppercut Surge
|
Lift, Power recovery, Falter |
| A Tier |
Spin Edge
|
Multi-hit damage, Falter, Power recovery |
| B Tier |
Split Orbit
|
Sustained surrounding AoE |
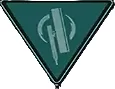

S Tier — Concussive Beatdown
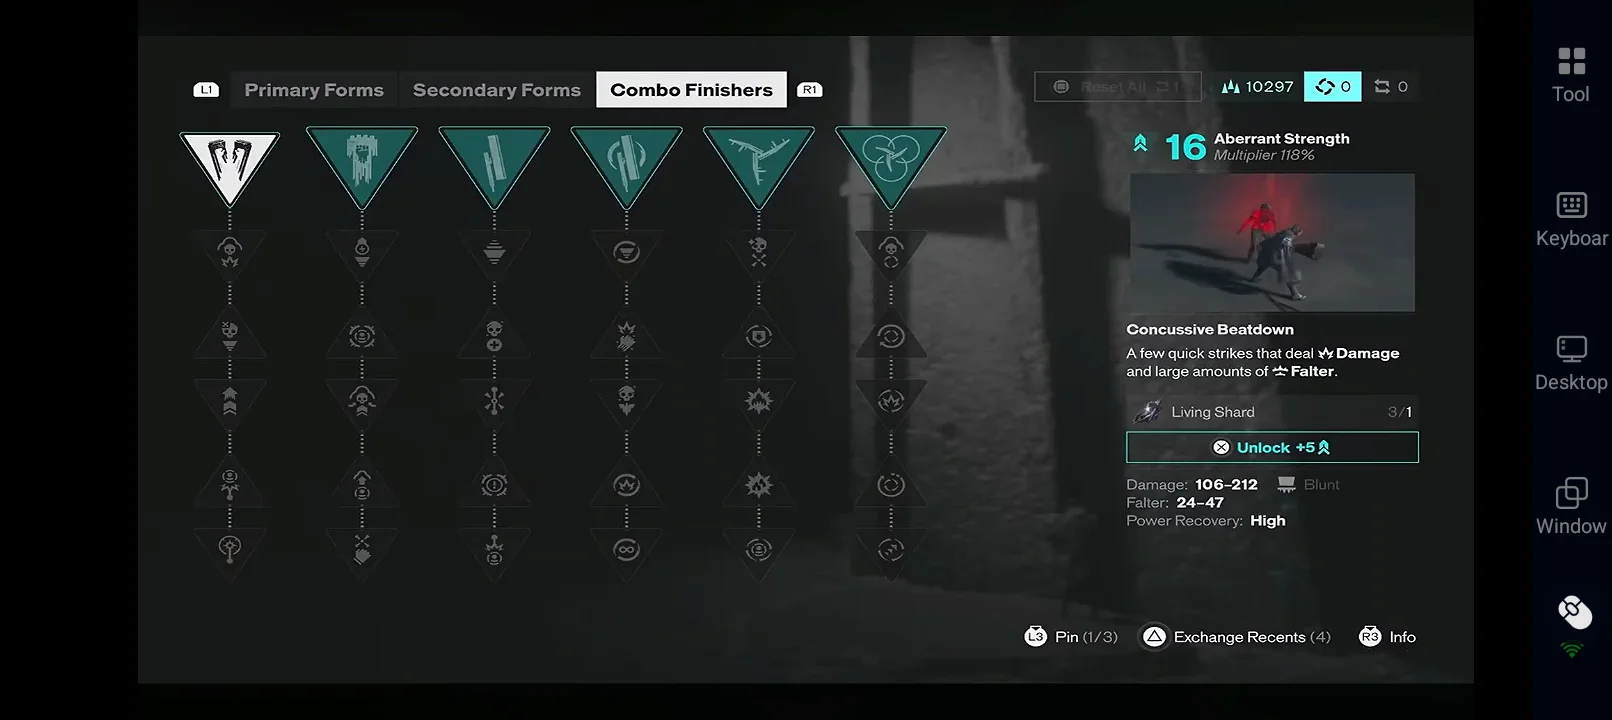
Concussive Beatdown is one of the strongest Finishers for Falter-focused builds. It deals solid damage while applying significant Falter, with upgrades that further improve its damage, Falter, and effectiveness against airborne enemies.
It pairs particularly well with Cleave, which can help create Lifted or airborne targets for Concussive Beatdown to exploit.
Best for: Falter builds, aggressive combat, and Lift/airborne synergies.
Weakness: Its full value depends on successfully connecting its attack sequence.
S Tier — Split Pivot
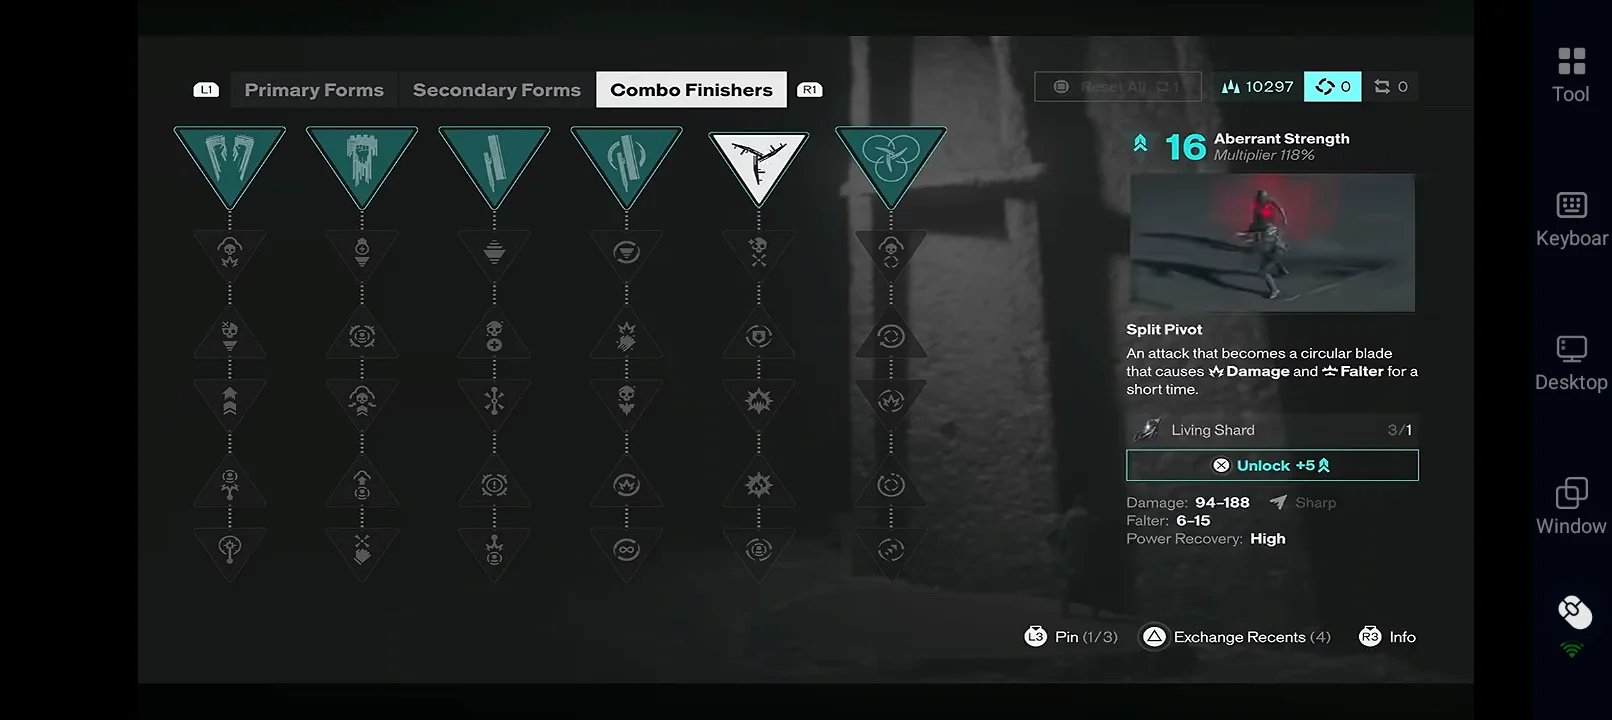
Split Pivot starts with modest damage and Falter, but its upgrades give it strong build synergy. It can gain a high critical-hit chance and later apply Weakened and Burning, turning it into a powerful setup Finisher.
Its synergy with Drill is especially useful, as both can apply Weakened and help increase the damage and Falter of Combat Abilities against affected enemies.
Best for: Status builds, Crit builds, Weaken/Burn setups, and synergistic weapon combinations.
Weakness: Its potential is more limited before its key upgrades are unlocked.
A Tier — Wide Edge
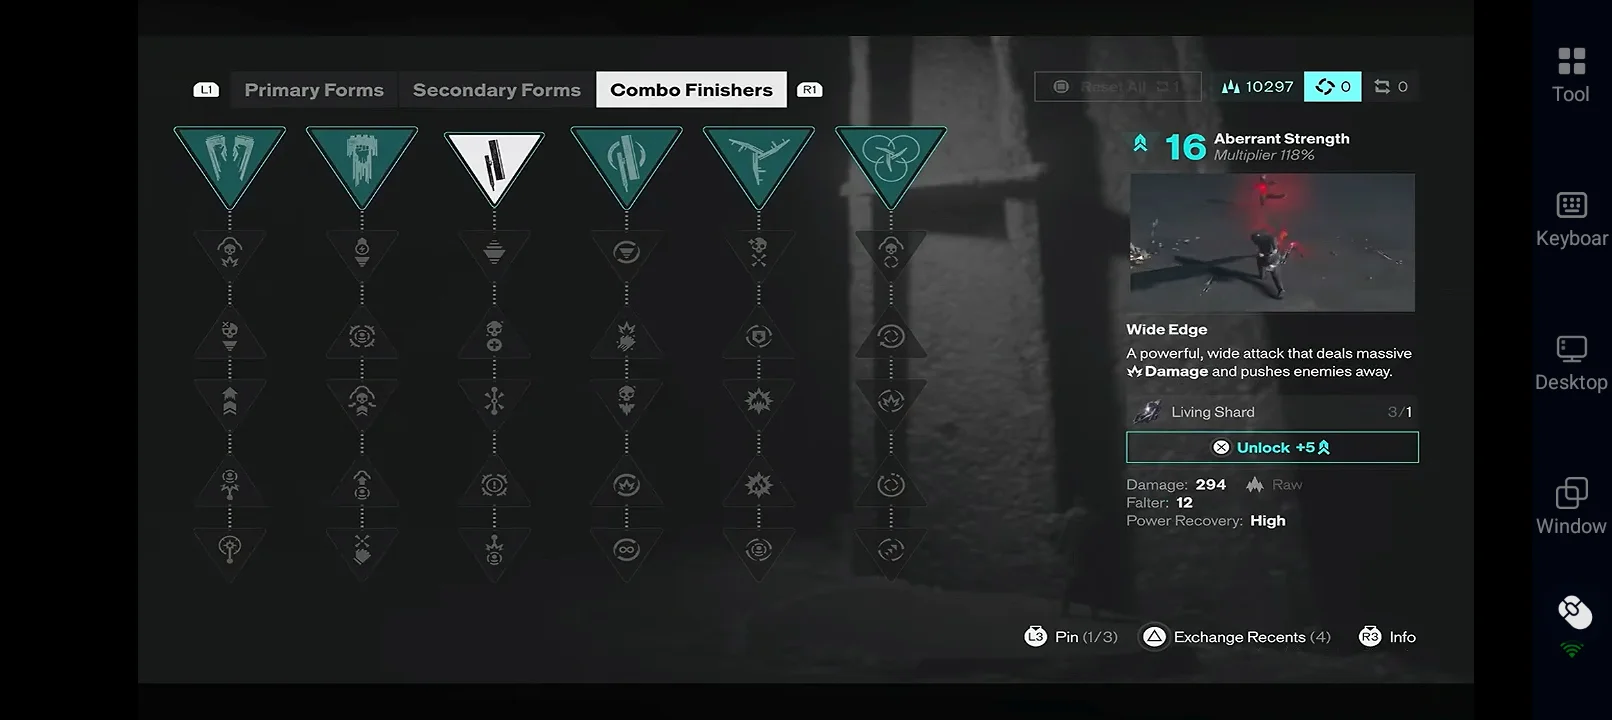
Wide Edge focuses on burst damage and wide-area attacks. It combines high single-hit damage with broad coverage, making it effective for clearing groups around Dylan.
Its upgrades can also scale with the number of enemies hit by the preceding Primary combo, improving effects such as Critical Chance and Falter. This makes it a natural partner for Glaive, whose wide attacks can hit multiple enemies before the Finisher is triggered.
Best for: Burst damage, AoE, crowd control, and Glaive builds.
Weakness: Its strongest scaling depends on consistently hitting multiple enemies with the preceding combo.
A Tier — Uppercut Surge
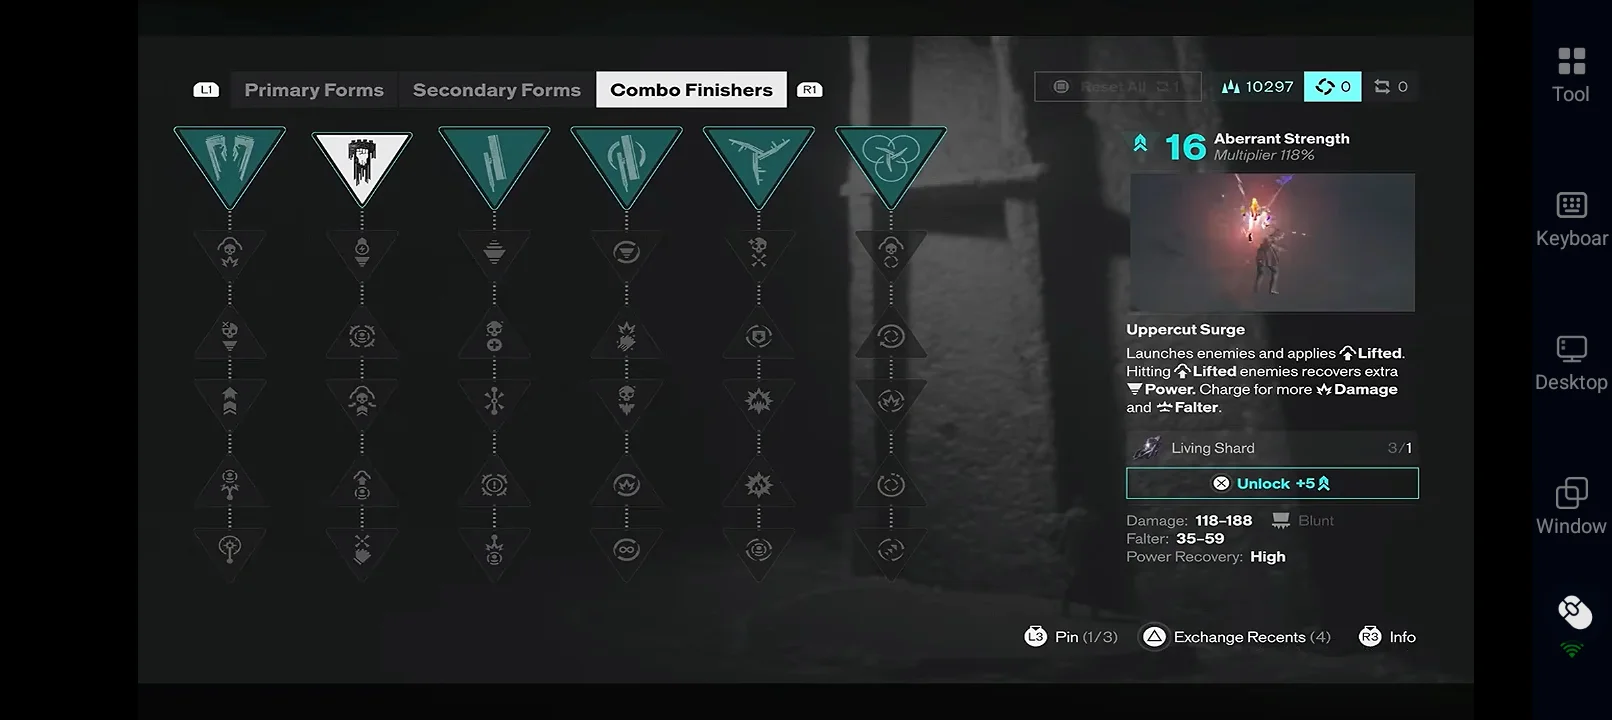
Uppercut Surge focuses on the Lifted status rather than immediate burst damage. It launches enemies and applies Lifted, while later upgrades can improve Falter, spread Lift to nearby enemies, and restore Power when attacking Lifted targets.
This creates a useful combat loop:
Lift enemies → attack Lifted targets → recover Power → use Combat Abilities
Best for: Lift builds, Power recovery, Falter, and Combat Ability-focused play.
Weakness: Its value depends heavily on taking advantage of the Lifted status.
A Tier — Spin Edge
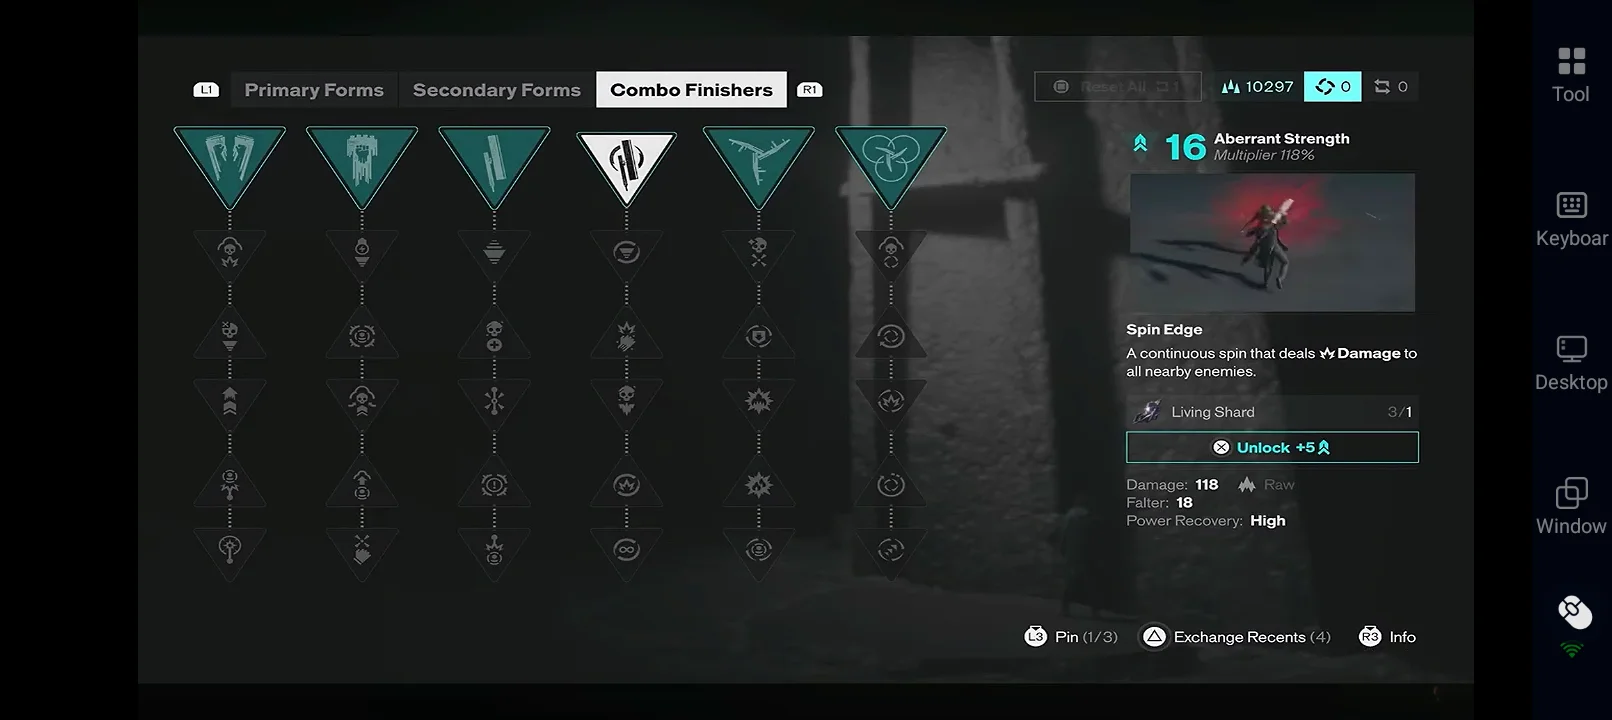
Spin Edge is a multi-hit alternative to Wide Edge, striking three times instead of relying on one large attack. Individual hits deal less damage, but completing the sequence can provide strong overall damage and Falter.
Its upgrades can add Power recovery, consecutive-hit scaling, increased Falter, Empowered, and longer spinning duration, giving it strong potential when Dylan can maintain good positioning.
Best for: Multi-hit damage, Falter, Power recovery, and aggressive AoE combat.
Weakness: Missing part of the sequence reduces its damage and Falter potential.
B Tier — Split Orbit
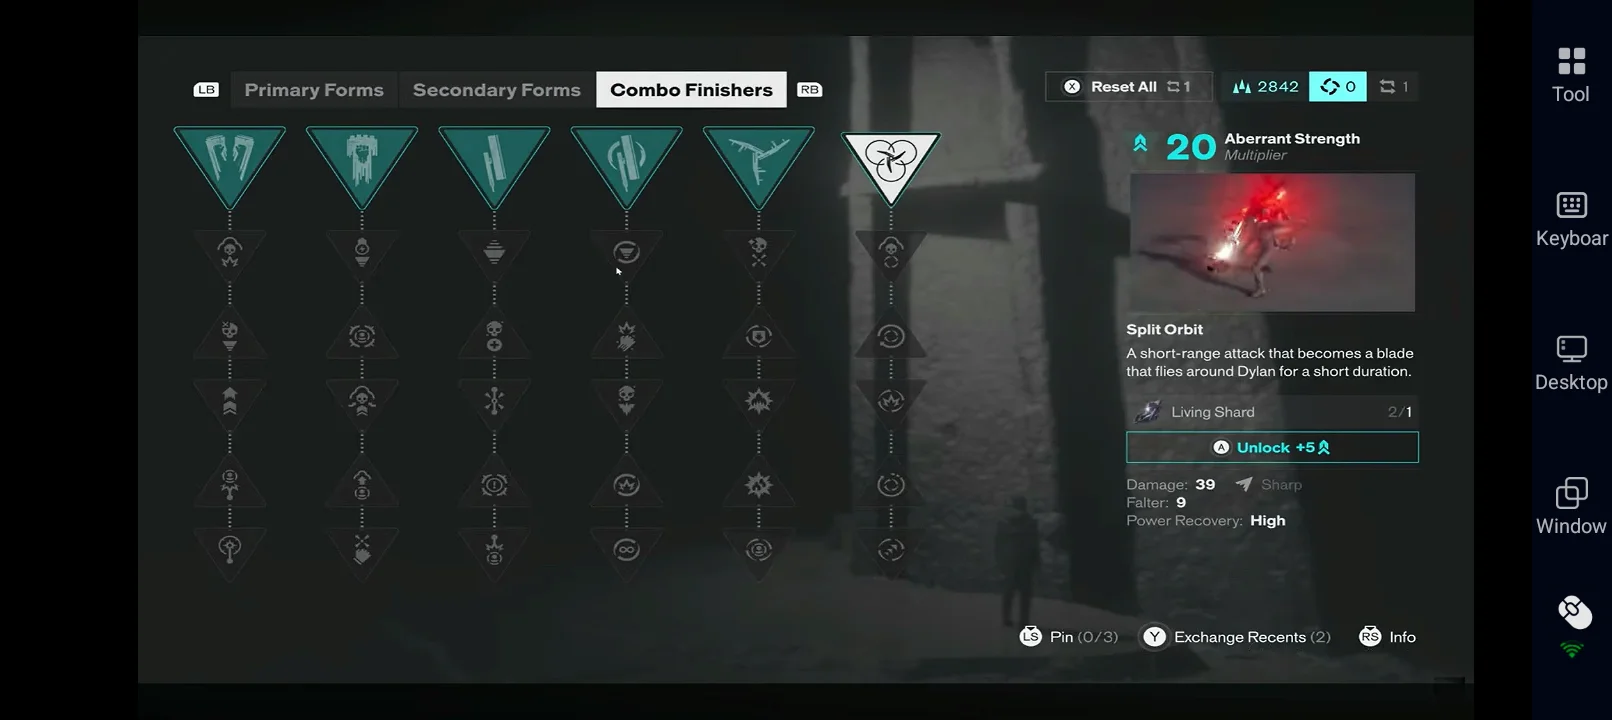
Split Orbit provides sustained AoE around Dylan rather than focusing its attacks directly in front of him. Its upgrades improve its duration, spin speed, number of hits, damage, and Falter, giving it better performance as it develops.
However, compared with the other Finishers, it offers less immediate burst damage or specialized utility.
Best for: Surrounding AoE, sustained damage, and controlling nearby enemies.
Weakness: Lower initial impact and less specialized utility than the higher-ranked Finishers.
Weapon Recommendations by Build and Synergy
The strongest weapon setup isn’t necessarily the one with three individually powerful weapons. As a CONTROL Resonant beginner, focus on matching your Primary Form, Secondary Form, and Combo Finisher so they work well together. The best combination ultimately depends on the playstyle or mechanic you want to build around.
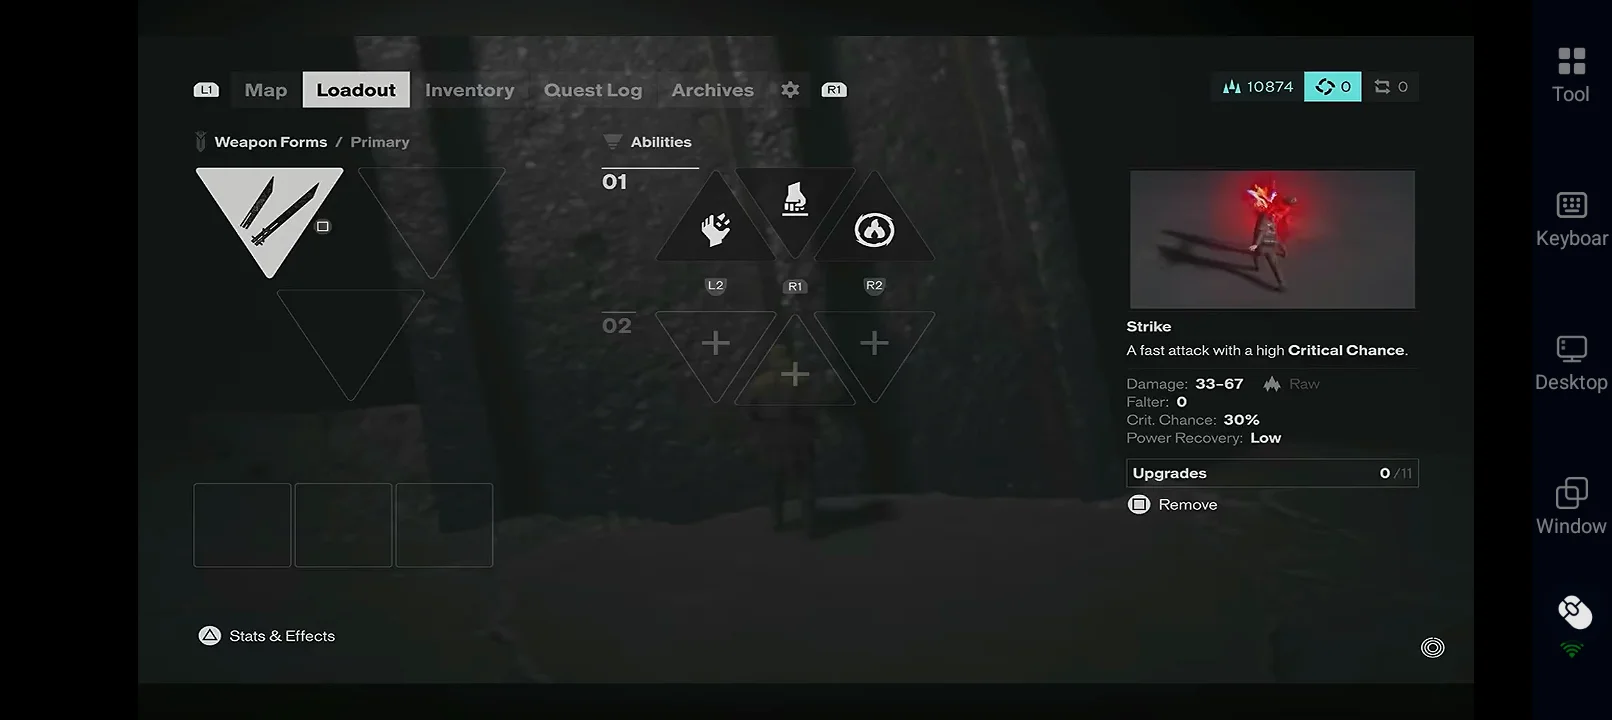
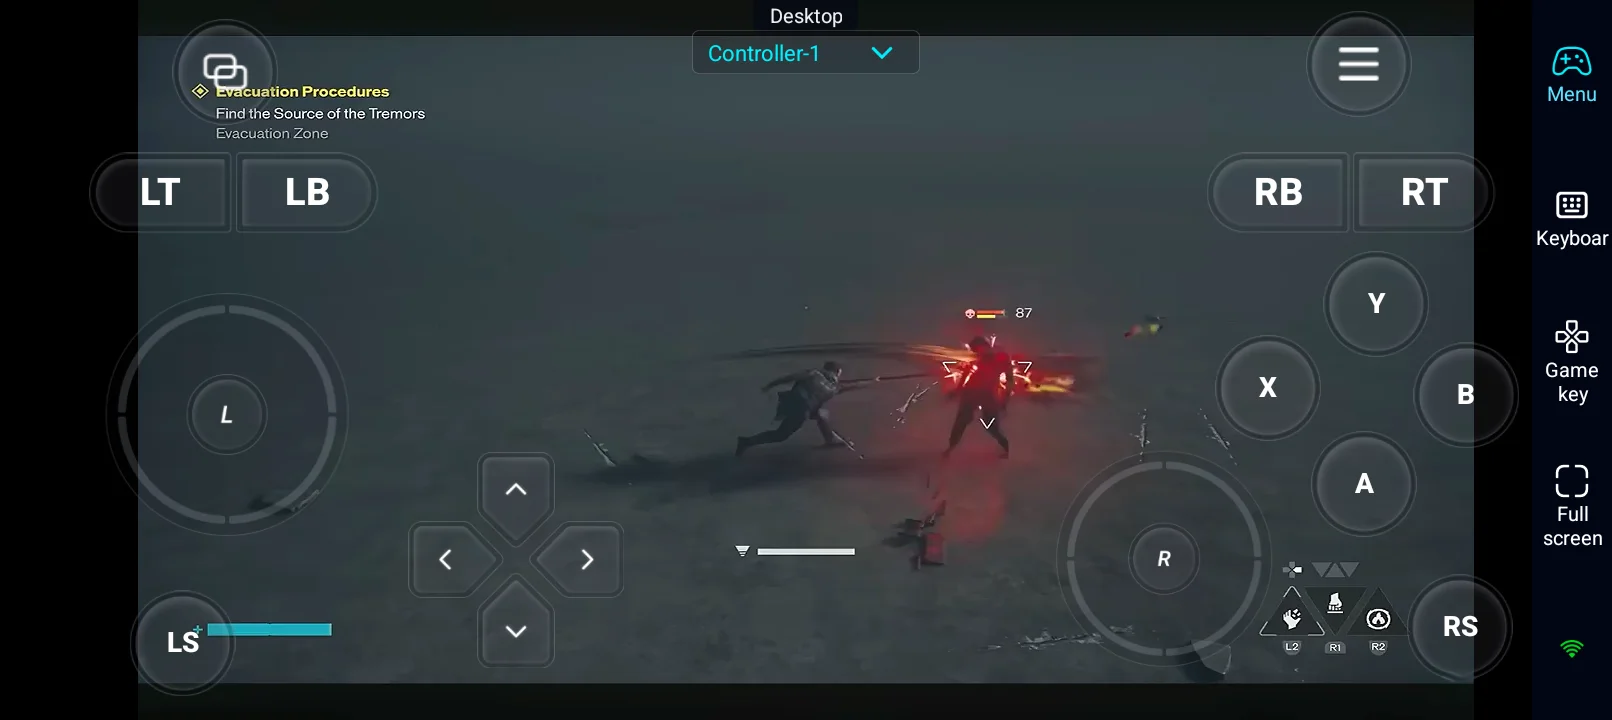
Best Single-Target Build — Strike + Drill + Split Pivot
Strike + Drill + Split Pivot focuses on fast attacks, critical hits, and status effects. Strike provides strong critical-hit potential, while Drill adds sustained damage and Weaken. Split Pivot further supports the setup with critical-hit potential, Weakened, and Burning effects through its upgrades.
Best for: 1v1 encounters, bosses, and status-focused single-target damage.
Best Falter Build — Cleave + Crush + Concussive Beatdown
Cleave + Crush + Concussive Beatdown puts Falter at the center of the build. Cleave benefits from Lifted enemies, Crush provides high Falter potential, and Concussive Beatdown adds another powerful source of Falter.
Best for: Staggering enemies quickly, executions, and aggressive crowd control.
Best AoE Build — Glaive + Extend + Wide Edge
Glaive + Extend + Wide Edge is built for controlling groups. Glaive provides wide attacks, Extend adds further area coverage, and Wide Edge works particularly well with Glaive when multiple enemies are caught in the combo.
Best for: Groups of enemies, crowd clearing, and battlefield control.
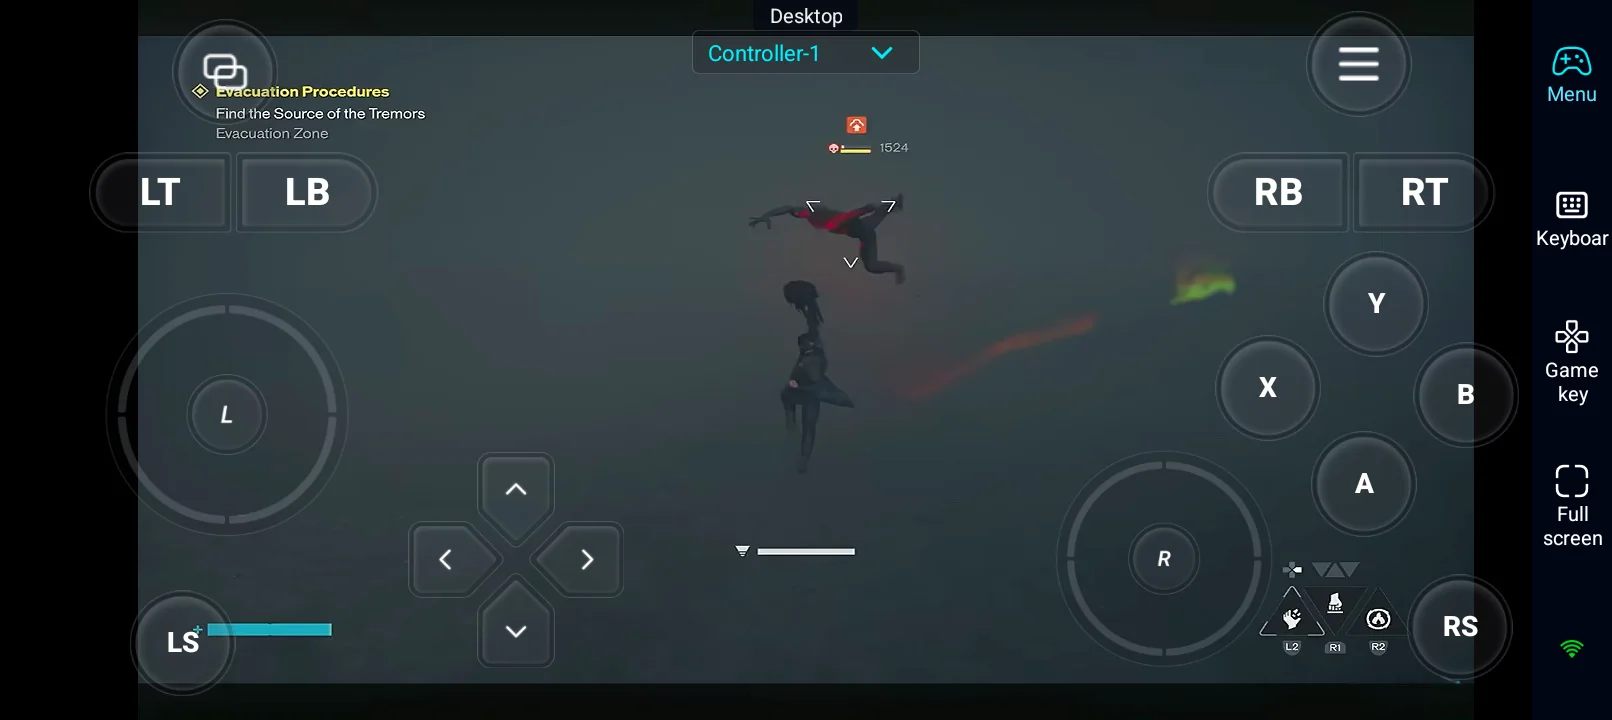
Best Lift / Power Build — Cleave + Crush + Uppercut Surge
Cleave + Crush + Uppercut Surge revolves around the Lifted status. Cleave and Crush can apply Lift through their upgrades, while Uppercut Surge rewards attacking Lifted enemies with improved Power recovery.
The basic loop is simple: Lift enemies → attack Lifted targets → recover Power → use Combat Abilities.
Best for: Lift-focused combat, Power recovery, and Combat Ability-heavy builds.
Best Status Build — Strike + Drill + Split Pivot
Strike + Drill + Split Pivot also works well as a dedicated status build. Drill can apply Weaken, while Split Pivot can add Weakened and Burning, allowing you to amplify damage and take advantage of status-based effects.
Best for: Weaken/Burn builds and players who want to increase Combat Ability damage through status effects.
Best Power / Combat Ability Build — Glaive + Drill + Spin Edge
Glaive + Drill + Spin Edge focuses on generating and recovering Power for more frequent Combat Ability use. Glaive helps generate Power, Drill can make abilities more effective against Weakened enemies, and Spin Edge provides additional Power recovery through its upgrades.
Best for: Builds that rely heavily on Combat Abilities.
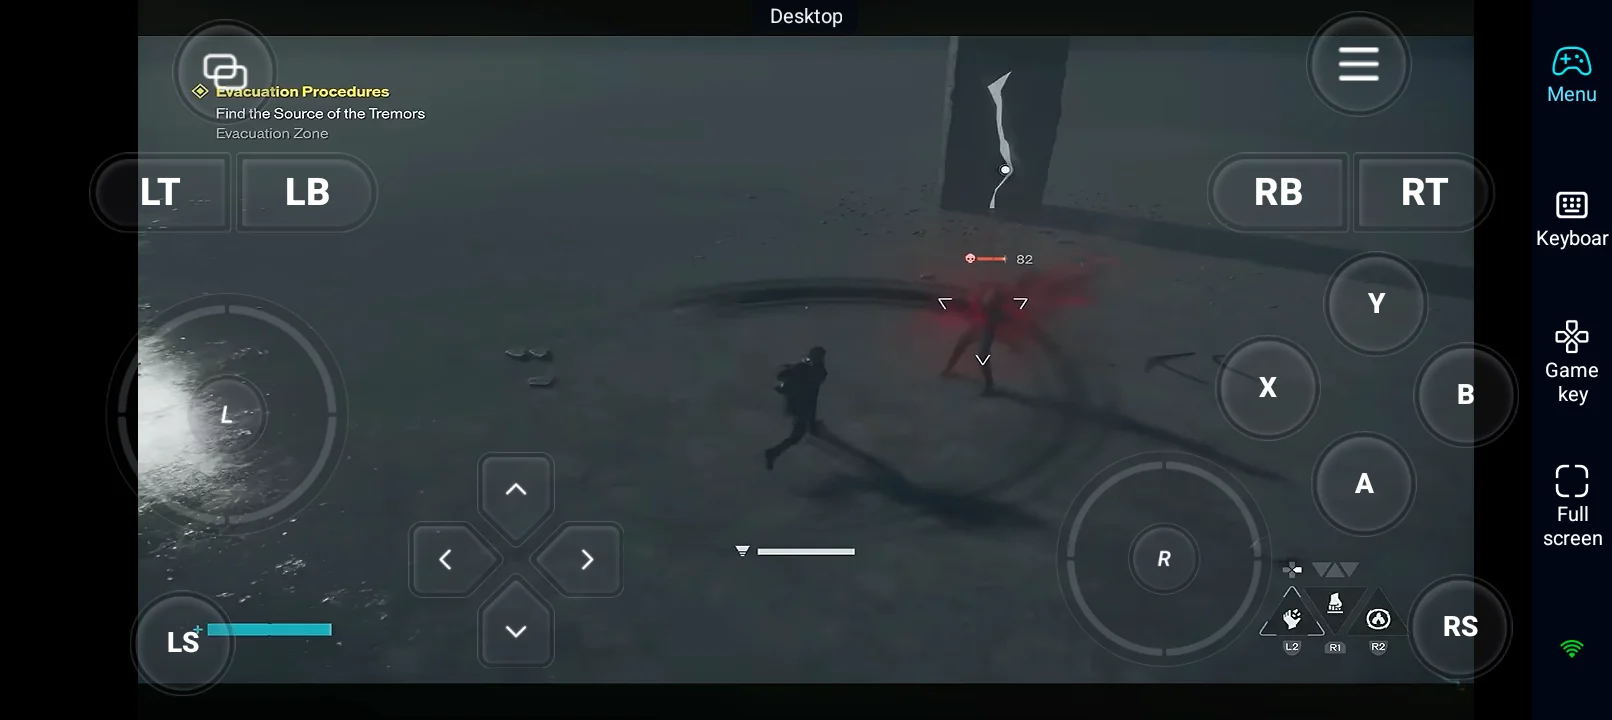
Best Balanced Build — Strike + Crush + Wide Edge
Strike + Crush + Wide Edge offers a flexible mix of fast attacks, critical hits, Falter, armor breaking, and AoE damage. It doesn’t specialize heavily in one mechanic, making it useful across different combat situations.
Best for: Players who want a flexible setup without committing to a single playstyle.
Quick Build Recommendations
| Playstyle | Primary | Secondary | Finisher |
| Single Target | Strike | Drill | Split Pivot |
| Falter | Cleave | Crush | Concussive Beatdown |
| AoE | Glaive | Extend | Wide Edge |
| Lift / Power | Cleave | Crush | Uppercut Surge |
| Status | Strike | Drill | Split Pivot |
| Combat Ability | Glaive | Drill | Spin Edge |
| Balanced | Strike | Crush | Wide Edge |
The key takeaway is that build synergy matters more than simply stacking the highest-ranked weapons. Look for Forms and Finishers whose effects reinforce the mechanic you want to build around, whether that’s critical hits, Falter, Lift, status effects, AoE, or Power generation.
Conclusion
Overall, the best CONTROL Resonant weapon setup depends on how you want to approach combat. Rather than simply stacking the highest-ranked Forms, look for combinations that reinforce the mechanic you want to build around, whether that's critical hits, Falter, Lift, status effects, AoE, or Power generation. Use the tier list and build recommendations as a starting point, then experiment with different combinations to find what works best for you. Once you've found a build you want to try, OSLink lets you play the CONTROL Resonant PC version directly from your mobile, so you can continue testing different weapon combinations and refining your build even when you're away from your PC.
 Download