English

Looking for the best characters in BLEACH Mirrors High? Our tier list ranks 14 characters from S to C Tier, helping you see which ones are worth prioritizing and what they bring to your team. Whether you're looking for powerful damage dealers, reliable support, or characters with useful combat abilities, this ranking will help you make better choices.

If you're planning to reroll for a strong starting account or manage multiple BLEACH Mirrors High accounts, OSLink can make the process easier. Its multi-instance and synchronization features let you run and control multiple game sessions simultaneously, helping you manage repetitive rerolling and account progression more conveniently. Once you've found the characters you want, use our tier list to decide which ones are worth building.
BLEACH Mirrors High Tier List Overview
Choosing the best characters in BLEACH Mirrors High involves more than raw damage. This tier list ranks 14 characters based on their offensive potential, team utility, consistency, survivability, and overall synergy.
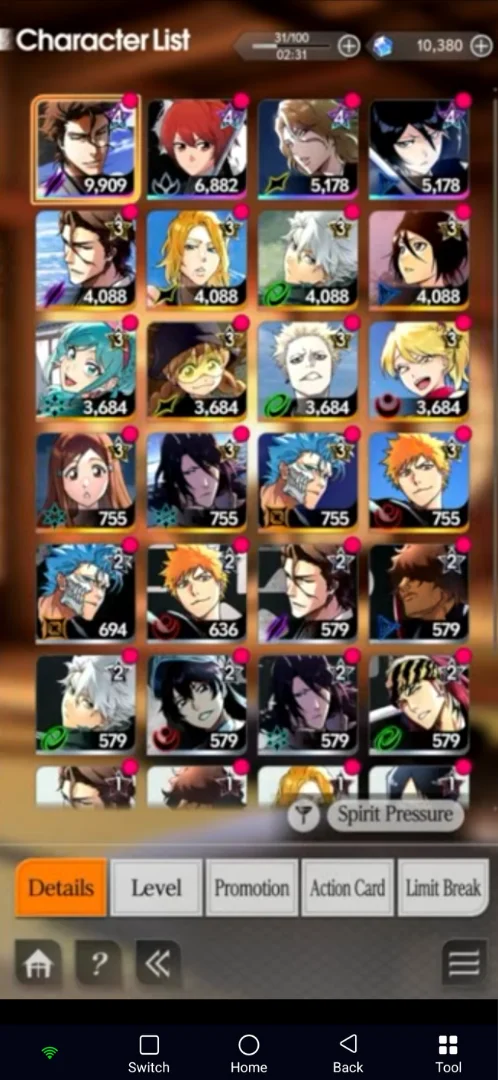
We consider how effectively characters deal damage through Skills, Arts, and Combos, while also accounting for buffs, debuffs, and support abilities. Consistency in combat, defensive options, and crowd control effects such as Freeze, Bind, and Paralyze also influence their rankings. Finally, we evaluate team synergy and how much value each character provides without relying too heavily on specific team combinations.
BLEACH Mirrors High Character Tier List
|
Tier |
Characters |
|
S Tier |
Ichigo Kurosaki, Sosuke Aizen, Toshiro Hitsugaya, Rukia Kuchiki |
|
A Tier |
Rangiku Matsumoto, Yoruichi Shihoin, Mayuri Kurotsuchi, Byakuya Kuchiki |
|
B Tier |
Yasutora Sado (Chad), Renji Abarai, Bambietta Basterbine |
|
C Tier |
Orihime Inoue, Grimmjow Jaegerjaquez, Uryu Ishida |
S Tier BLEACH Mirrors High Characters
S Tier characters are the ones worth prioritizing when building a strong team in BLEACH Mirrors High. They bring plenty of value to battles through their damage, useful abilities, and ability to work well with other characters. These are the picks that can make a real difference when you're putting together your lineup.
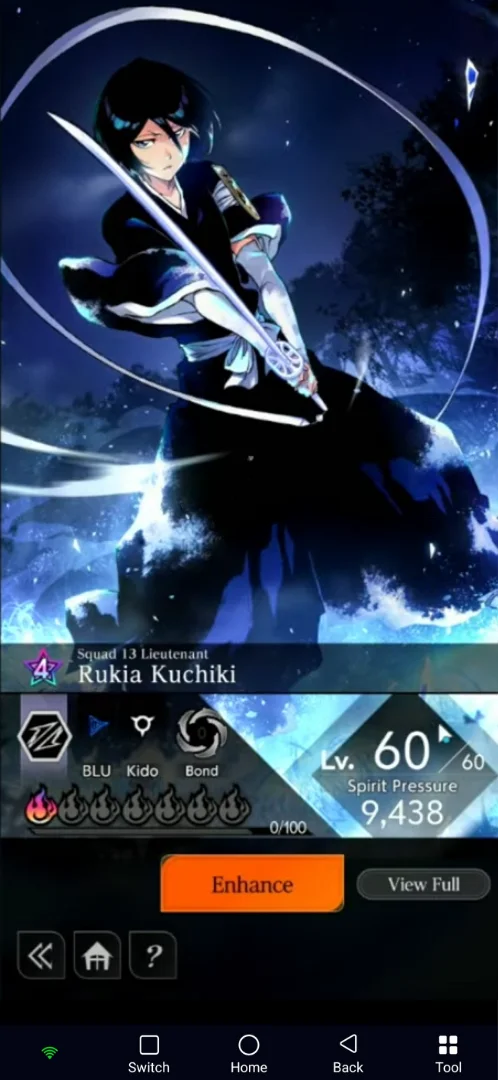
Rukia Kuchiki — S Tier
-
Chain Support: Rukia brings useful Chain support to her team, helping create opportunities for stronger follow-up attacks.
-
Critical Hit Buffs: She can increase her team's Critical Hit performance, making her a valuable partner for characters that rely on critical damage.
-
Bind: Her Bind effect can restrict opponents and make it harder for them to respond during combat.
-
Freeze: Rukia can also Freeze enemies, adding another layer of crowd control to her abilities.
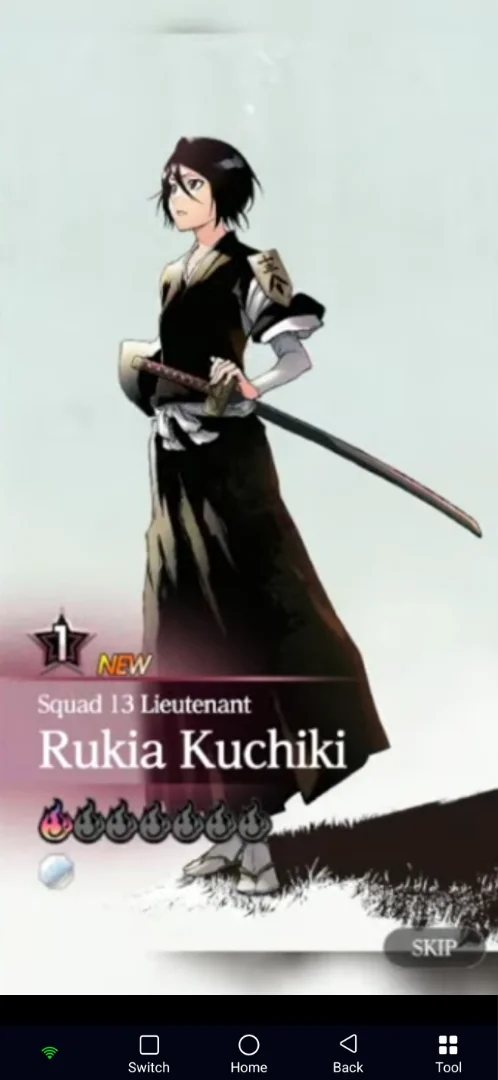
Rukia's biggest strength is how much she can contribute to the entire team. Her Critical Hit buffs make offensive teammates more effective, while her Chain support adds further value to team combinations. Instead of relying entirely on her own damage, she helps other characters perform better, making her a great choice for teams built around powerful attackers.
Her crowd-control abilities are another reason she's worth prioritizing. Bind and Freeze give her ways to disrupt opponents, creating useful openings for the rest of the team. This combination of support and control makes her more than just a character who provides buffs.
Rukia becomes particularly valuable when paired with characters who can take advantage of her Critical Hit bonuses. She works especially well alongside damage-focused teammates, allowing the team to combine stronger offensive pressure with useful enemy control. Her ability to support allies while disrupting opponents makes her one of the most versatile characters in our S Tier ranking.
Ichigo Kurosaki — S Tier
-
Attack Buffs: Ichigo can boost his own Attack during combat, helping him hit harder as the battle goes on.
-
Strong Skill Damage: His Skill deals solid damage and is an important part of his overall attack rotation.
-
Combo-Based Combat: His playstyle revolves around keeping his attacks flowing and making the most of his offensive combos.
-
Reliable Damage: He doesn't need complicated setups to be effective, making him a dependable damage dealer in different team compositions.
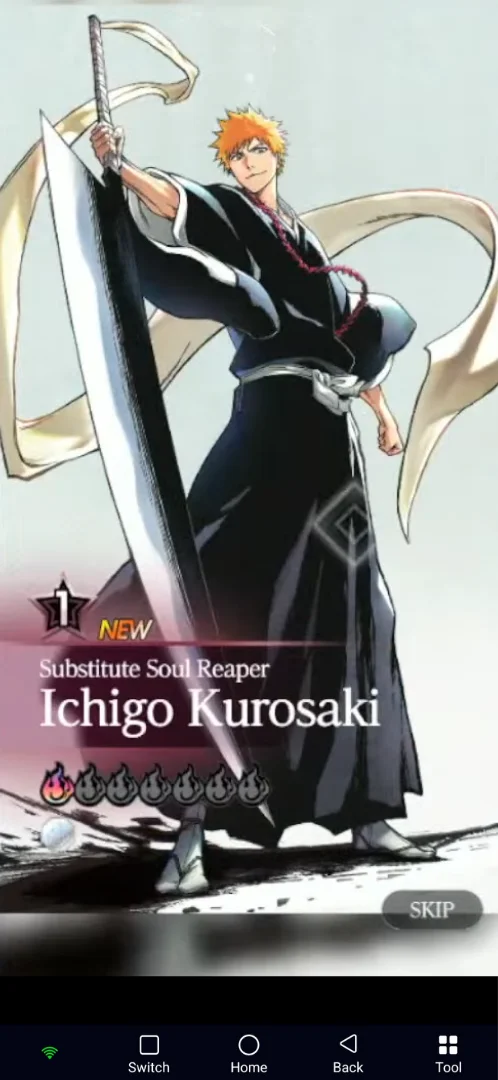
Ichigo is a great pick if you want a character who can deal serious damage without making combat overly complicated. His Attack buffs help him build up his offensive power, while his Skill gives him another way to hit opponents hard. The more effectively you manage his attacks, the more value you can get out of his kit.
What makes Ichigo stand out is how easy he is to fit into a team. He doesn't depend on specific status effects or complicated combinations to do his job. You can focus on dealing damage and keeping up the pressure, which makes him a solid choice even when you're not building your entire team around him.
Sosuke Aizen — S Tier
-
Attack Buffs: Aizen can increase his Attack when entering combat and through his Skill, giving him a strong offensive boost.
-
Skill-Based Damage: His Skill plays an important role in his combat performance, combining his offensive abilities with additional Attack increases.
-
Offensive Pressure: His Attack buffs help him maintain strong damage output, making him a valuable choice for an offense-focused team.
-
Switch Cooldown Penalty: Switching Aizen out comes with a cooldown drawback, so players need to think carefully about when to bring him in and out of battle.
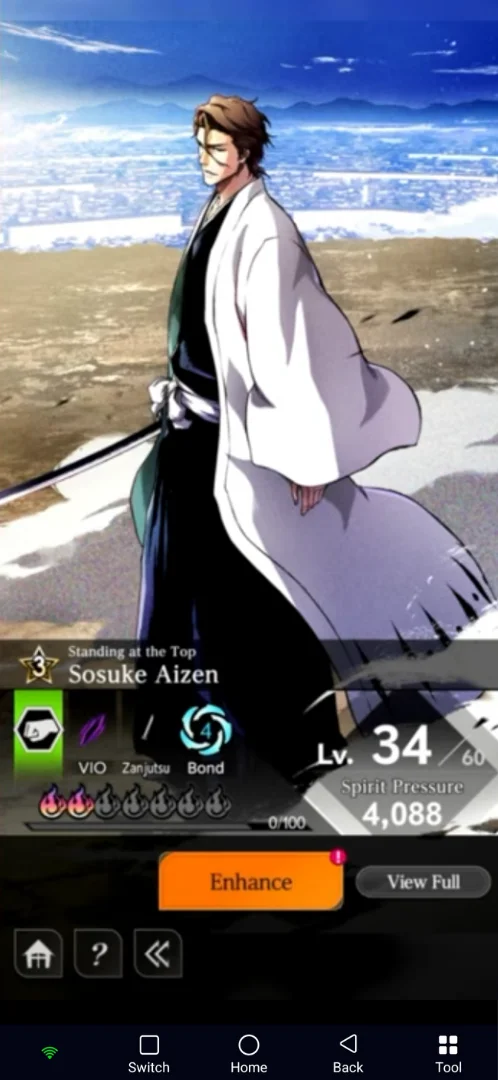
Aizen is a strong pick for players who want to build around offensive power. His Attack increases give him a noticeable advantage, especially when you can make good use of his Skill and keep him active during combat. Rather than relying on complicated team setups, he brings his own offensive boost to the fight.
The main thing to watch out for is his Switch cooldown penalty. Unlike characters you can freely rotate in and out, Aizen requires a little more planning when managing your team. Switching at the wrong time can disrupt your rotation, so it's worth thinking ahead before bringing another character into battle.
Even with that limitation, Aizen's strong Attack buffs make him one of the best offensive options in our ranking. He rewards players who know when to keep him on the field and when to make use of his abilities, making him a powerful addition to an offense-focused lineup.
Toshiro Hitsugaya — S Tier
-
Critical Hit Scaling: Toshiro benefits from Critical Hit-focused effects, giving him strong damage potential when his critical attacks come into play.
-
Attack Buffs: His abilities can increase his Attack, helping him deal more damage during combat.
-
Frostbite: His ice-based abilities can inflict Frostbite, adding another useful effect to his offensive kit.
-
Freeze: Toshiro can Freeze opponents, giving him a way to disrupt enemies and create openings during battles.
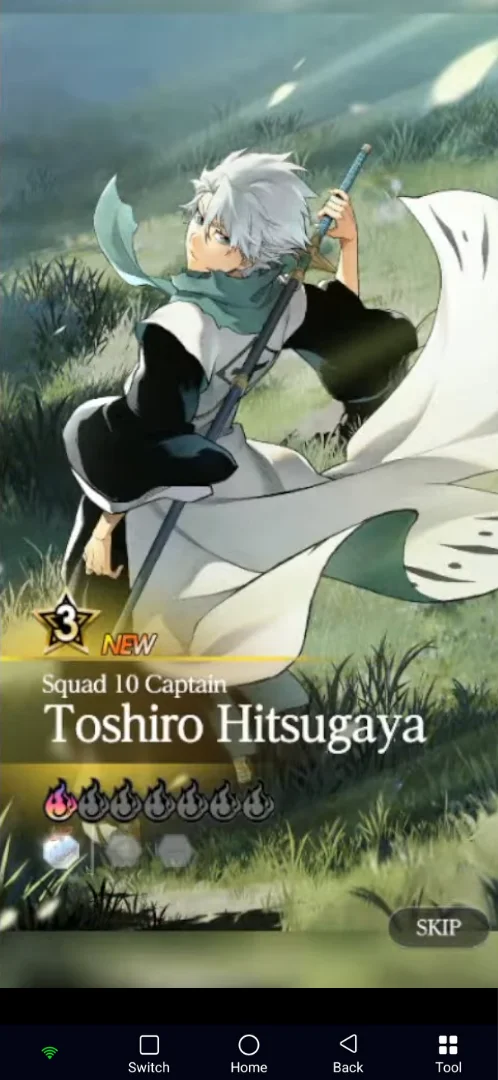
Toshiro is more than just a damage dealer. His Critical Hit potential and Attack increases give him plenty of offensive power, while Frostbite and Freeze add useful control to his kit. This combination makes him a strong choice for players who want a character capable of both dealing damage and disrupting opponents.
His abilities also make team composition an important part of getting the most out of him. Pairing Toshiro with characters who provide Critical Hit support can help push his damage even further. Rangiku is a particularly useful partner thanks to her Critical Hit Rate and Critical Damage buffs, making the two a strong combination.
The main appeal of Toshiro is how much he brings to a fight. He can put pressure on opponents while also making it harder for them to respond effectively. With the right teammates supporting his Critical Hit potential, he becomes one of the strongest characters in our ranking.
A Tier BLEACH Mirrors High Characters
These four characters each bring something different to a team. Rangiku improves critical-hit damage, Yoruichi relies on movement and evasion, Mayuri weakens opponents with debuffs, and Byakuya combines Bleed damage with crowd control. They're all useful choices, but their more specialized strengths explain why we placed them in A Tier rather than S Tier.
|
A-Tier Characters |
Details |
|
Rangiku Matsumoto
|
Best For: Critical-hit focused teams and supporting powerful damage dealers. Key Strength: Provides Critical Hit Rate and Critical Damage buffs that help teammates deal more damage. |
|
Rangiku is a great choice when you're building a team around critical hits. Rather than relying entirely on her own damage, she helps other attackers get more out of theirs by improving both their Critical Hit Rate and Critical Damage. This makes her especially useful alongside Toshiro, whose offensive kit benefits from critical-hit support. Her value depends more on the team she supports than on her own offensive presence, but with the right lineup, she can make a noticeable difference in overall damage output. |
|
|
Yoruichi Shihoin
|
Best For: Mobile combat, evasion-based playstyles, and disrupting enemy rotations. Key Strength: Extra Flash Step, Stagger, enemy Switch restrictions, and Attack increases through evasion. |
|
Yoruichi rewards players who are comfortable staying active and making good use of their movement. Her additional Flash Step gives her more room to avoid attacks, while her evasion mechanics help build up her Attack. She can also Stagger opponents and restrict their ability to Switch, giving her useful ways to disrupt enemy actions. The main challenge is getting the timing right. Much of her value comes from making good use of her movement and evasion, so she can be less straightforward than characters with more direct offensive abilities. |
|
|
Mayuri Kurotsuchi
|
Best For: Debuff-focused teams, weakening enemies, and supporting damage through status effects. Key Strength: Poison, Defense reduction, Paralyze, and additional team damage through Chain-entry effects. |
|
Mayuri brings a collection of effects that make opponents easier for the rest of the team to handle. Poison adds another source of damage, while Defense reduction helps teammates hit harder. He can also Paralyze enemies, giving the team useful opportunities to keep up the pressure. His Chain-entry effect adds even more value by contributing additional team damage. Rather than depending on raw offensive power, Mayuri makes battles easier by weakening opponents and creating advantages for his teammates. This makes him a strong option for teams that can take full advantage of his debuffs and status effects. |
|
|
Byakuya Kuchiki
|
Best For: Bleed-focused setups, enemy control, and teams that benefit from additional damage against afflicted opponents. Key Strength: Bleed, Bind, an extra Flash Step, and increased damage against bleeding enemies. |
|
Byakuya combines damage and control through his Bleed and Bind effects. His attacks can inflict Bleed, allowing him to take advantage of abilities that deal additional damage to affected enemies. The extra Flash Step also gives him more flexibility when avoiding incoming attacks and maintaining his combat flow. His kit works best when you can consistently apply Bleed and make use of the extra damage against affected opponents. While his control effects give him useful options, his overall offensive performance is less consistent than the characters in our higher tiers. |





 AFK Anywhere, Progress Anytime


B Tier BLEACH Mirrors High Characters
These characters each have a useful role, but their limitations hold them back from A Tier. Chad offers protection, Renji brings Clash-based support, and Bambietta focuses on Burn damage. They can all contribute to a team, but getting the best results from them requires more consideration of their individual mechanics.
|
B-Tier Characters |
Details |
|
Yasutora Sado (Chad)
|
Best For: Defensive team setups, protecting teammates, and providing extra team support. Key Strength: His Shield abilities, Cover Change, and team damage buffs give him a useful mix of protection and support. |
|
Chad stands out because he can do more than simply deal damage. His Shield and Cover Change mechanics give him ways to protect teammates, making him a useful option when your team needs more defensive support. He can also provide damage buffs, so bringing him along doesn't mean giving up all your offensive potential. His main limitation is that his value comes more from keeping the team protected than from delivering the kind of damage output we expect from higher-tier characters. He's a solid choice for players who want a tougher lineup, but he isn't always the best pick for teams focused on finishing battles quickly. |
|
|
Renji Abarai
|
Best For: Clash-focused combat and teams that benefit from enemy Defense reduction and damage buffs. Key Strength: Can increase Clash Victory Rate, reduce enemy Defense, and provide damage buffs to teammates. |
|
Renji has some useful tools for helping his team deal more damage, especially when he can take advantage of his Clash-related abilities. Increasing his Clash Victory Rate gives him a better chance of winning these encounters, while his Defense reduction makes opponents easier for the team to damage. He can also provide additional damage buffs, giving him value beyond his own attacks. The downside is that some of his effectiveness depends on winning Clashes and making the most of those opportunities. When things go his way, he can contribute nicely, but his reliance on these conditions makes him less dependable than the characters in A Tier. |
|
|
Bambietta Basterbine
|
Best For: Burn-focused strategies and dealing additional damage to enemies affected by status effects. Key Strength: Can inflict Burn and deal additional damage against burning opponents. |
|
Bambietta's kit revolves around applying Burn and taking advantage of enemies affected by it. This gives her a clear offensive direction, especially when she can maintain the status effect and follow up with attacks that benefit from it. However, getting consistent value from her abilities can be more difficult than using characters with straightforward damage or team-wide support. Her reliance on Burn and the limitations around her attack sequences can also make her performance less consistent in certain battles. She's still a useful option for players who enjoy status-based damage, but she doesn't offer the same overall flexibility as the characters ranked above her. |



C Tier BLEACH Mirrors High Characters
These characters have their own useful applications, but each comes with limitations that affect their overall performance. Orihime leans heavily toward defensive support, Grimmjow needs the right conditions to reach his damage potential, and Uryu requires more careful management of his offensive mechanics. They can still have a place in certain teams, but they're generally lower priorities when building your lineup.
|
C-Tier Characters |
Details |
|
Orihime Inoue
|
Best For: Defensive team setups and reducing incoming damage. Key Strength: Provides defensive support through damage reduction and conditional effects that can help teammates survive longer. |
|
Orihime's main value comes from helping her team stay alive rather than putting out strong damage herself. Her defensive abilities can be useful when facing opponents that deal heavy damage, giving teammates more room to survive difficult encounters. However, her overall contribution is more limited when a team needs stronger offensive pressure. Compared with characters who can provide damage buffs, powerful attacks, or multiple useful effects, Orihime has fewer ways to influence the flow of a battle. She can still fill a defensive role, but that support doesn't give her the same overall value as the higher-ranked characters. |
|
|
Grimmjow Jaegerjaquez
|
Best For: Situational offensive setups that can take advantage of status effects and Clash-based bonuses. Key Strength: Gains offensive benefits from status ailments and can make use of Clash performance to improve his damage potential. |
|
Grimmjow has an aggressive playstyle, but getting the most out of his abilities depends on meeting certain conditions. His offensive bonuses become more useful when enemies are affected by status ailments, while his Clash-related mechanics can provide additional opportunities to increase his damage. The problem is that these conditions make his performance less dependable. If the team cannot consistently apply the effects he needs or he struggles to win Clashes, his damage potential becomes harder to maintain. He can work in the right setup, but there are more reliable attackers to prioritize. |
|
|
Uryu Ishida
|
Best For: Ranged attacks and players who want to make use of Mortal Blow mechanics. Key Strength: Has access to powerful Mortal Blow attacks and conditional Attack bonuses that can improve his offensive output. |
|
Uryu has some interesting offensive tools, particularly through his Mortal Blow attacks and ranged combat options. He can deal meaningful damage when his abilities line up, but his attack patterns are relatively predictable, making it harder to maintain pressure against opponents who can respond to them. His conditional Attack bonuses also require players to manage his mechanics carefully, while his HP consumption adds another drawback to his playstyle. These limitations make him less comfortable to use consistently, especially when compared with characters who can deal reliable damage without as many conditions. |



Best Characters to Build in BLEACH Mirrors High
Not every team needs the same type of character. Some players may want a reliable damage dealer, while others might need better support, enemy control, or defensive options. Here are five characters worth considering, each offering something different to your lineup.
-
Ichigo Kurosaki – Best All-Round Damage Dealer: Ichigo is a reliable choice if you want strong offensive performance without complicated setup requirements. His Attack buffs and powerful Skill damage make him an easy character to build around.
-
Rukia Kuchiki – Best Team Support: Rukia is a great option for teams that rely on strong attackers. Her Critical Hit buffs and Chain support help teammates get more value from their attacks, while Bind and Freeze give her useful crowd-control options.
- Rangiku Matsumoto – Best Critical Hit Support: If your lineup focuses on critical damage, Rangiku is worth prioritizing. Her Critical Hit Rate and Critical Damage buffs can make a noticeable difference, especially when paired with characters like Toshiro.
-
Mayuri Kurotsuchi – Best Debuffer: Mayuri is a strong pick if you prefer weakening opponents instead of relying entirely on direct damage. Poison, Defense reduction, and Paralyze give him several ways to make battles easier for the rest of your team.
-
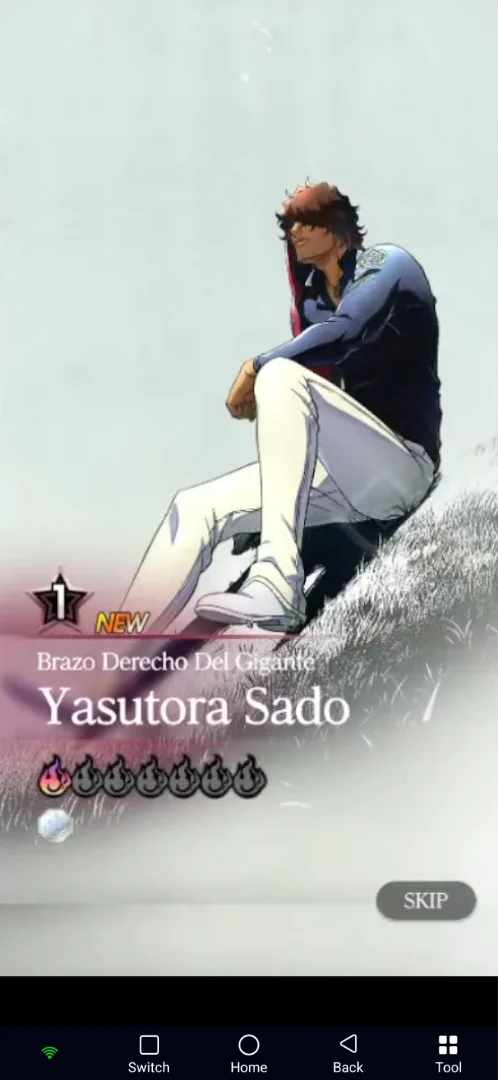
Yasutora Sado (Chad) – Best Defensive Support: Chad is worth considering when your team needs more protection. His Shield and Cover Change mechanics help keep teammates safe, while his damage buffs allow him to contribute some offensive value as well.
Conclusion
Building a strong team in BLEACH Mirrors High isn't just about choosing the highest-ranked characters. Each fighter brings something different to combat, whether it's raw damage, team support, enemy control, or defensive utility. Use our tier list as a starting point when deciding which characters to prioritize, but don't be afraid to experiment with different combinations to find what works Best For your playstyle. If you're managing multiple accounts or working towards building your ideal roster, OSLink can make the process more convenient. Its multi-instance and synchronization features let you manage multiple game sessions simultaneously, making it easier to handle repetitive tasks and account progression, even when you're away from your PC. Good luck building your strongest team!
 Download