English
  Blog Game Guide Arknights Endfield Umbral Monument Turbidity Manifest Guide: Best Teams & Strategies
Umbral Monument: Turbidity Manifest is one of the toughest endgame modes in Arknights: Endfield, featuring six difficult stages filled with dangerous enemies, survival mechanics, and powerful bosses. You can face challenging stages that test your positioning, crowd control, stagger management, and team synergy. But no worries, this guide provides easy-to-follow strategies, positioning tips, and the best team setups to help you clear all Turbidity Manifest stages more easily and earn more rewards.
Table of Contents
For a smoother and more comfortable gameplay experience, you can play Arknights: Endfield PC version on mobile using OSLink. This allows you to manage all Umbral Monument: Turbidity Manifest stages more easily, test different team strategies and continue your gameplay anytime, anywhere you want to play.
Umbral Monument: Turbidity Manifest Overview
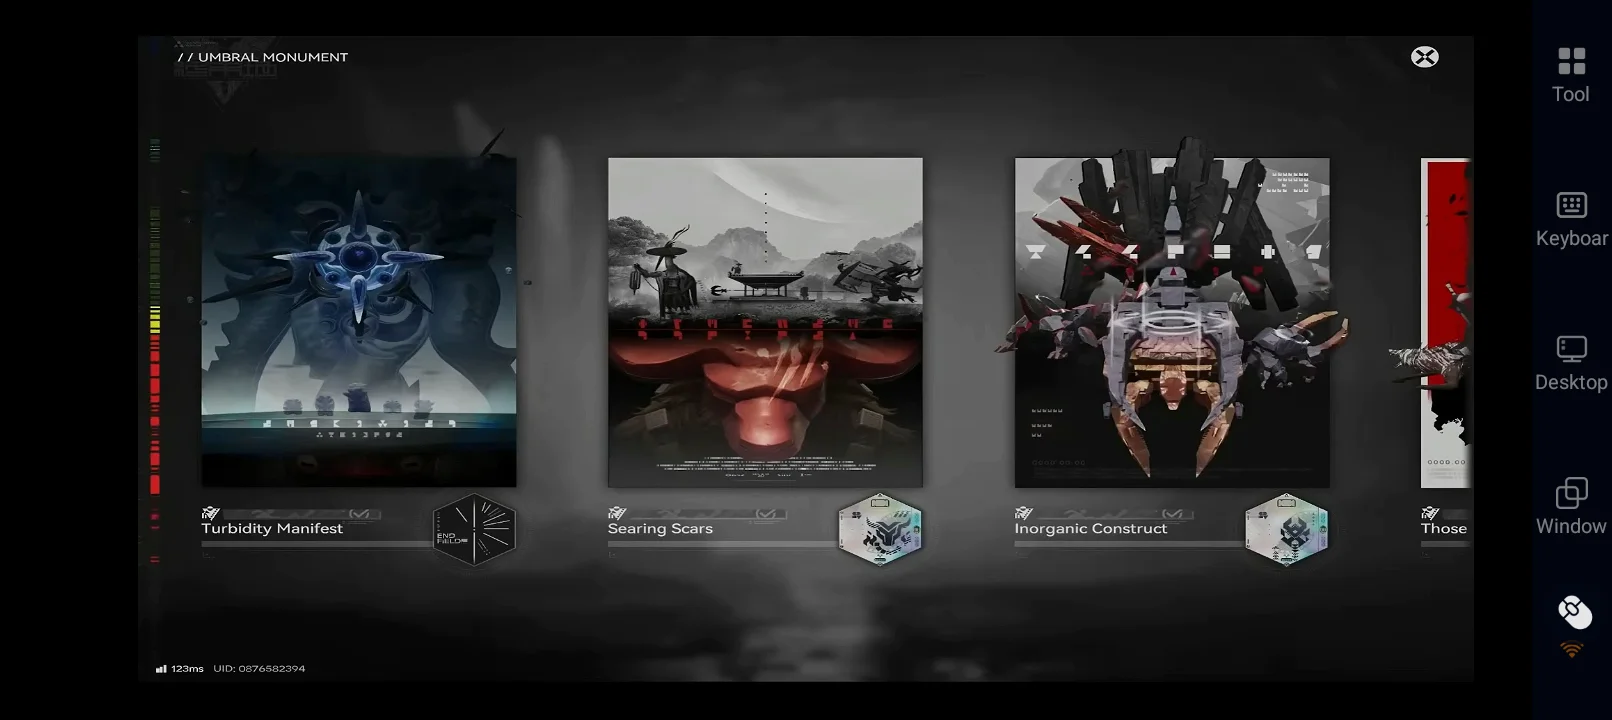
Turbidity Manifest is the fourth series added to Umbral Monument, the permanent endgame challenge mode in Arknights: Endfield. This special game mode features six challenging stages that test operator positioning, crowd control, stagger and interrupt management, and overall team synergy.
The six stages in Turbidity Manifest are:
-
Stage 1: Silent Horizon
-
Stage 2: Withered Sea
-
Stage 3: Tidal Grief
-
Stage 4: Underflow Chasm
-
Stage 5: Blood Debased
-
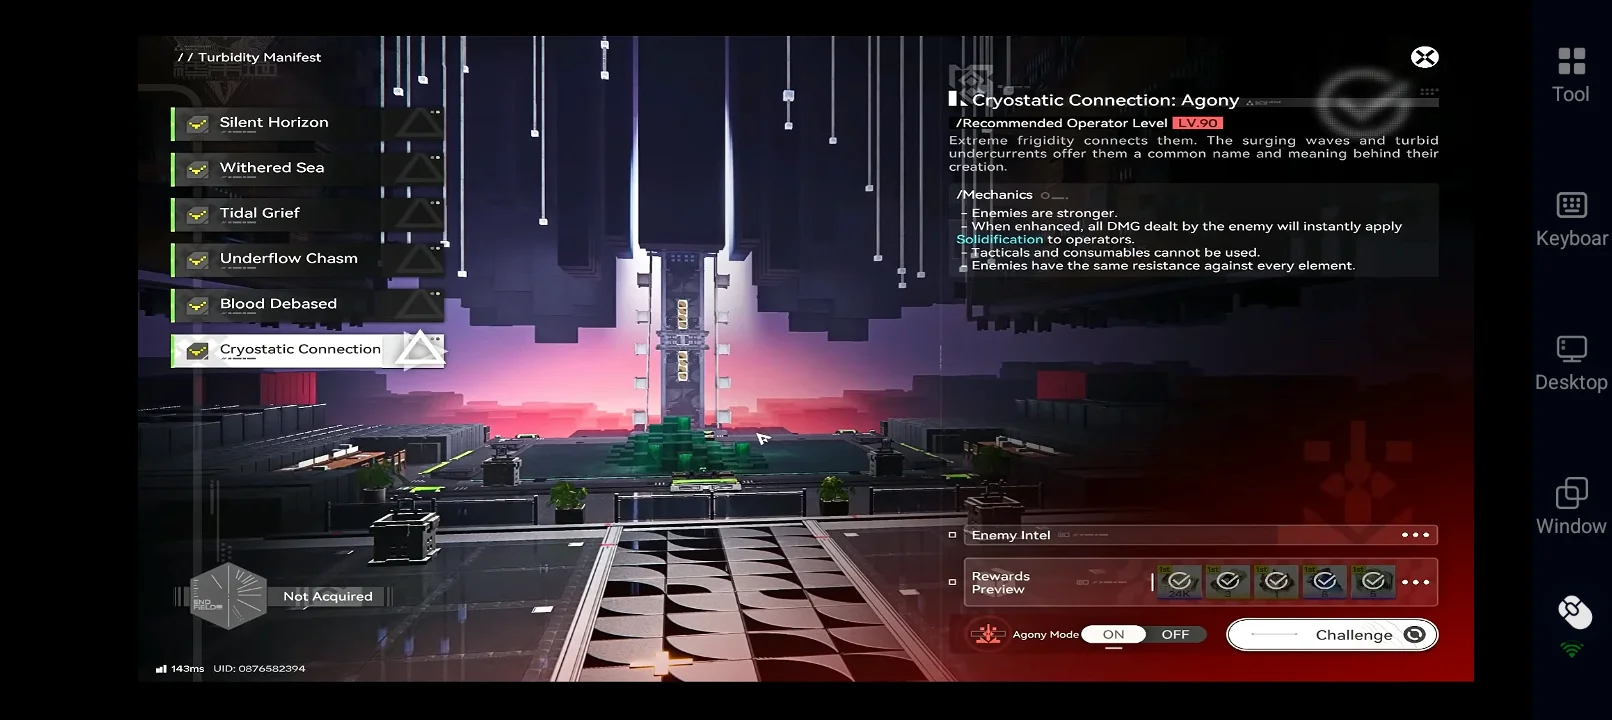
Stage 6: Cryostatic Connection
Each stage in Umbral Monument Turbidity Manifest comes with two difficulty modes: Normal Mode, which is recommended for level 60 players and Agony Mode, which is recommended for level 90 players. However, many Arknights: Endfield beginners struggle to clear all stages due to stronger enemies, intense boss fights, and heavy survival mechanics.
Because of this, we decided to create the best Turbidity Manifest guide with all the important details and tips for clearing all the stages and winning the battle more easily.
Stage 1: Silent Horizon
This stage is a multi-wave survival battle where strong enemies keep spawning in the center. Your goal is to clear the grouped enemies before they overwhelm your team.a
Main Enemies & Mechanics
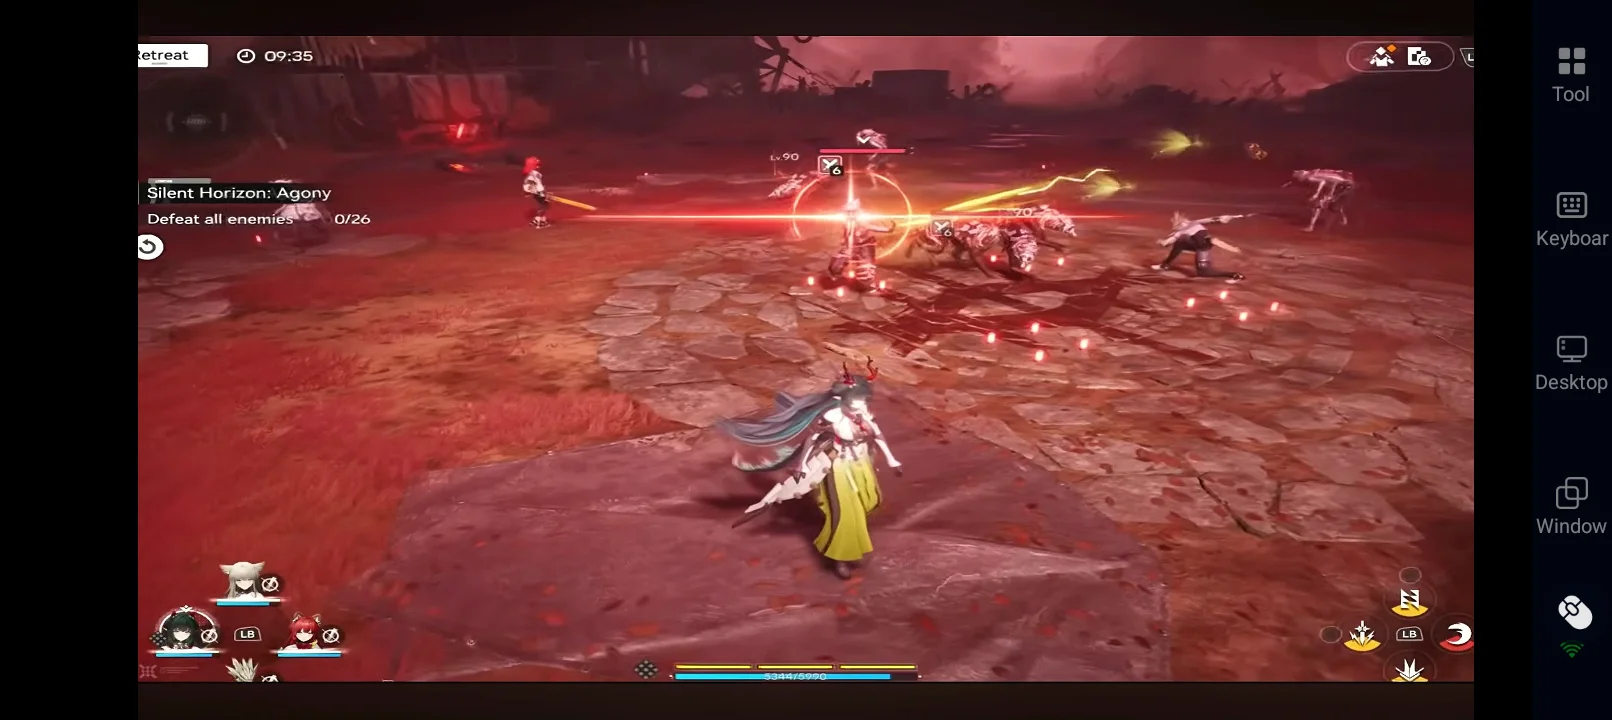
-
Hazefyre Claw and Tuskbeast are tanky enemies that become stronger over time by gaining ATK stacks.
-
Enemies appear in multiple waves from the center area.
-
If left alive too long, enemies can quickly pressure your team.
-
In Agony Mode, enemies have higher HP and deal more damage, while consumables cannot be used during the battle.
Best Strategies to Complete the Stage
-
Wait for full enemy waves - Save your Skills and Ultimates until most enemies gather together for better AoE damage.
-
Fight near the center - Staying close to the middle helps you hit more enemies at once.
-
Use crowd control - Freeze, slow, pull, or stun enemies to stop them from spreading.
-
Bring healers or shields - The fight lasts a long time, so sustain units are very helpful.
-
Use Gilberta effectively - Her grouping and displacement skills are excellent for controlling enemy waves.
-
Reposition early - Move before enemies surround your team and create too much pressure.
Recommended Teams for Silent Horizon
Cryo Control Team (Best for beginners & consistency)
|
Character |
Role |
Function |
|
Yvonne
|
Main DPS |
Ranged safe damage + Solidification CC |
|
Tangtang
|
Control |
Strong enemy grouping + Freeze |
|
Gilberta
|
Debuffer |
Enemy grouping + susceptibility debuff |
|
Xaihi
|
Support |
Sustain + damage uptime |


This team offers strong crowd control, safe ranged damage, and easy chaos management.
Physical AoE Team (High stagger & burst)
|
Character |
Role |
Function |
|
Endministrator
|
Main DPS |
Consistent damage + crystal control |
|
Pogranichnik
|
SP Support |
High SP generation |
|
Chen Qianyu
|
Control |
Lift + interrupt |
|
Gilberta
|
Debuffer |
Enemy grouping + damage boost |


This team offers high stagger uptime, strong burst damage, and excellent SP generation.
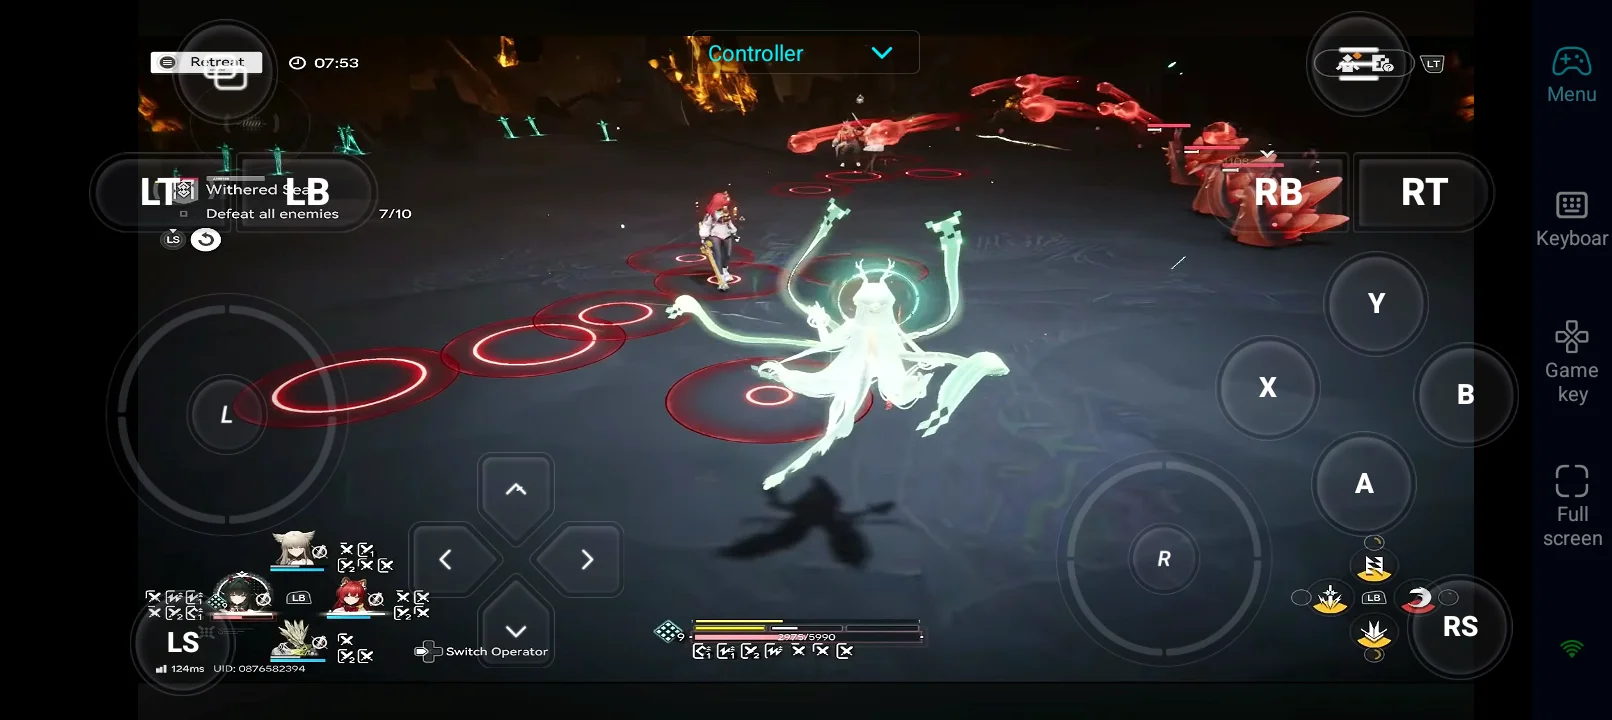
Stage 2: Withered Sea
Stage 2 starts with dangerous elite enemies before the main boss appears. You must survive the early pressure and prepare properly for the boss fight.
Main Enemies & Mechanics
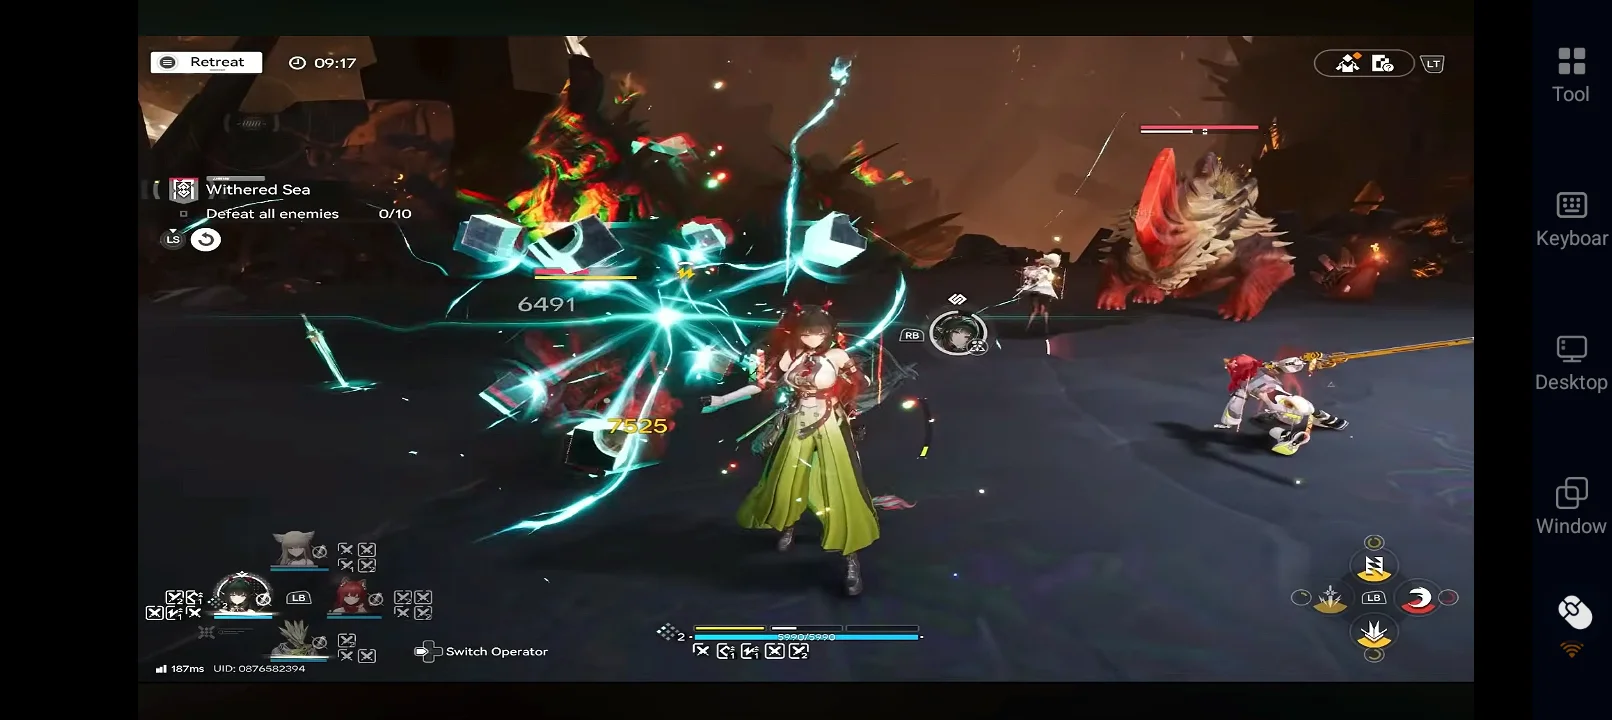
-
Strong elite enemies appear in the first phase and deal heavy damage.
-
After clearing the elites, the main boss enters the fight.
-
In Agony Mode, the stage becomes harder because enemies are stronger and consumables cannot be used.
Best Strategies to Complete the Stage
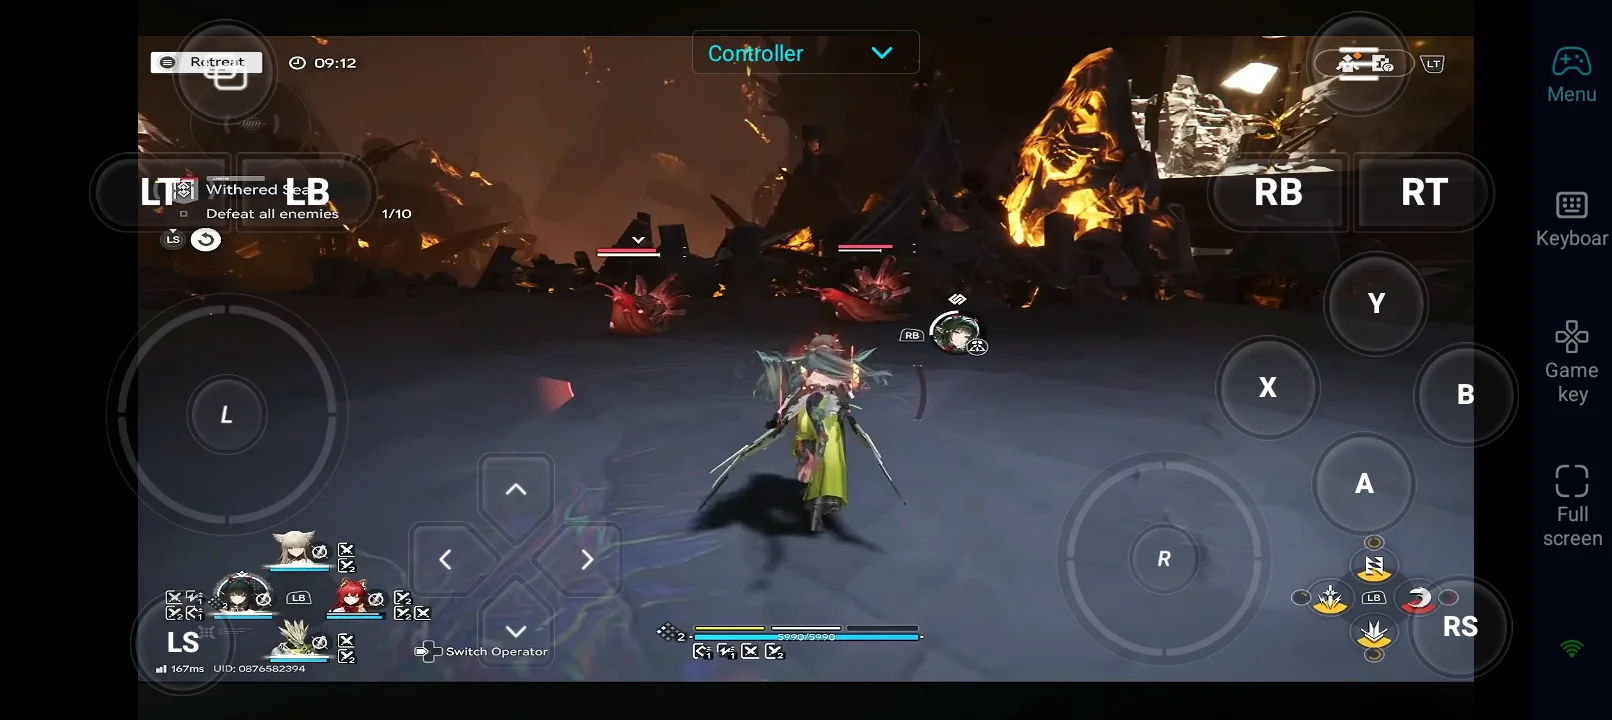
-
Clear elite enemies first - Do not ignore them because they can quickly overwhelm your team.
-
Build resources early - Generate SP and save Ultimates while clearing the slug enemies.
-
Prepare for the boss phase - Reposition your team before the boss fully engages.
-
Focus on stagger damage - Interrupt boss attacks and deal burst damage during vulnerable moments.
-
Avoid danger zones - Move away from large boss attack areas to reduce damage taken.
-
Use AoE attacks - They help clear any remaining enemies faster during the fight.
Recommended Teams for Withered Sea
Heat Team (Fast clear)
|
Character |
Role |
Function |
|
Laevatain
|
Main DPS |
High AoE damage |
|
Wulfgard
|
Buffer |
Energy generation + DPS boost |
|
Akekuri
|
SP Support |
Enables frequent Ultimate usage |
|
Ardelia
|
Support |
Utility + increases team damage |


This team offers high AoE burst damage, fast enemy clearing, and strong chain-breaking.
Cryo Control Team (Safe & consistent)
|
Character |
Role |
Function |
|
Yvonne
|
Main DPS |
Ranged safe damage + control |
|
Tangtang
|
Control |
Enemy grouping + stagger |
|
Gilberta
|
Debuffer |
Damage amp |
|
Xaihi
|
Support |
Sustain |


This team offers strong crowd control, safe ranged gameplay, and high survivability.
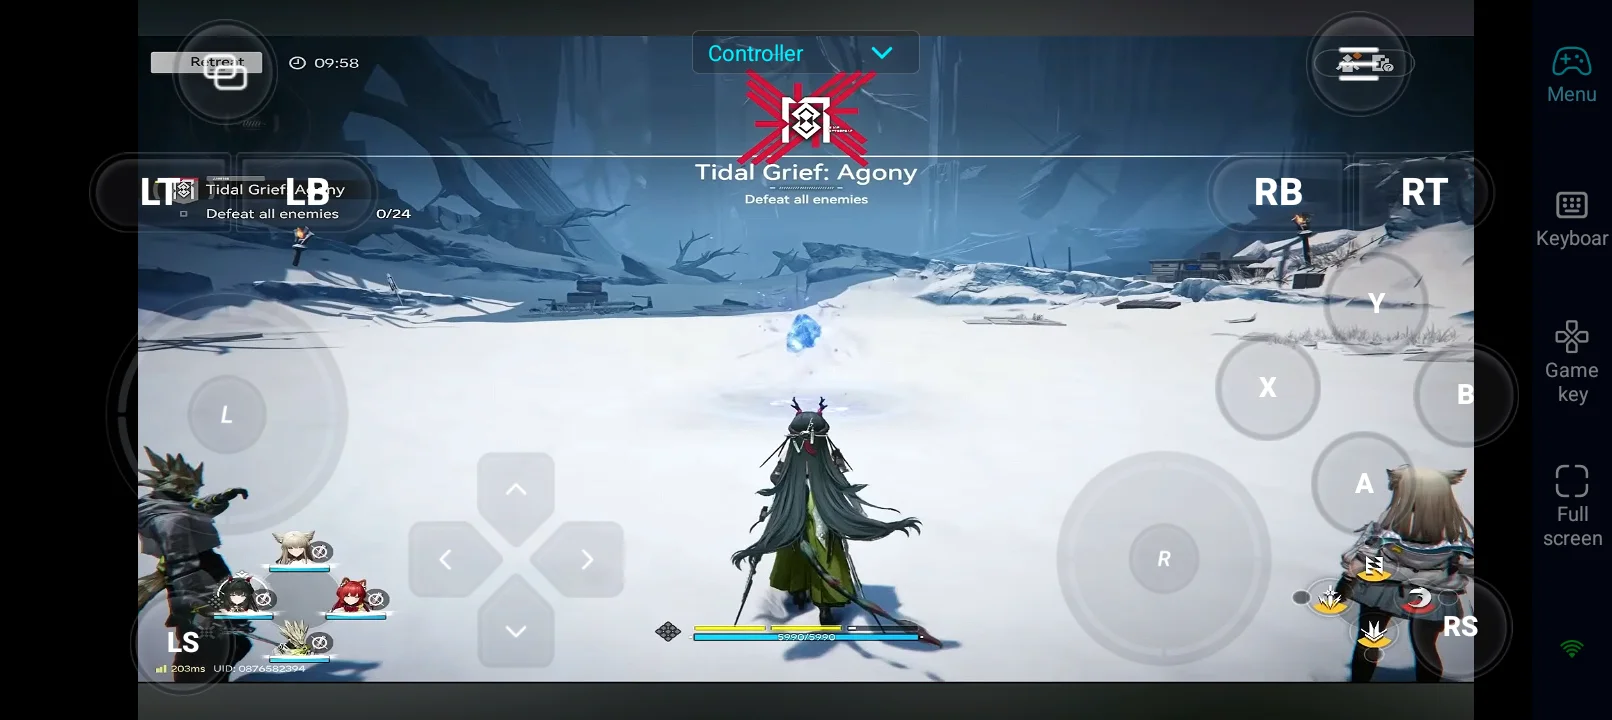
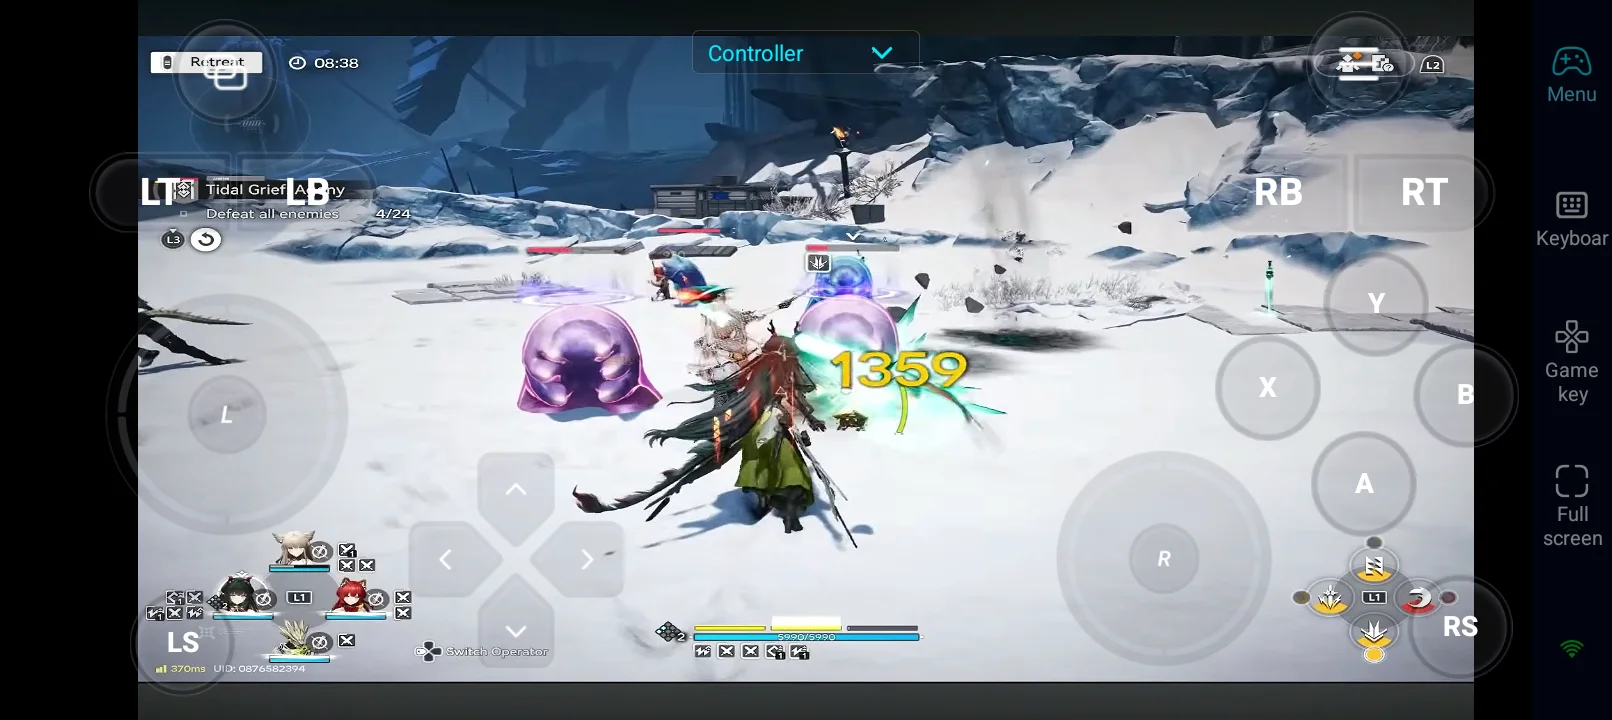
Stage 3: Tidal Grief
Stage 3 is focused on controlling enemies before they reach the center and explode. Good positioning and target priority are very important here.
Main Enemies & Mechanics
Mudflow enemies, especially the blue δ variants, move toward the center and explode for massive damage.
-
Blue variants are harder to interrupt or push away.
-
Enemy waves become larger and more dangerous over time.
Best Strategies to Complete the Stage
-
Focus blue Mudflow first - They are the biggest threat and should be killed or pushed away quickly.
-
Slow enemy movement - Use freezes, slows, pulls, or crowd control skills to stop enemies from reaching the center.
-
Save Ultimates for later waves - Use them when larger enemy groups appear, especially after around 14 enemies.
-
Clear one side first - Focus on one area of the map before rotating to the other side.
-
Bring healers or shields - Sustain helps reduce damage from smaller explosions.
Recommended Teams for Tidal Grief
Heat AoE Team (Best for this stage)
|
Character |
Role |
Function |
|
Laevatain
|
Main DPS |
High AoE + Heat synergy |
|
Wulfgard
|
SP Support |
Enables frequent Ultimate usage |
|
Akekuri
|
Support |
Utility + team damage |
|
Ardelia
|
Control |
Enemy grouping + AoE setup |


This team offers high AoE burst, fast clearing, and excellent stage synergy.
Electric Team
|
Character |
Role |
Function |
|
Avywenna
|
Main DPS |
Electric burst |
|
Arclight
|
Sub DPS |
Electric application |
|
Perlica
|
Support |
Electrification |
|
Gilberta
|
Debuffer |
Enemy grouping + debuff |


This team offers strong AoE, better enemy grouping, and high burst damage.
Stage 4: Underflow Chasm
Underflow Chasm is a boss-focused stage against the powerful Effigy Boss. The fight becomes difficult because of its strong attacks and constant summons.
Main Enemies & Mechanics
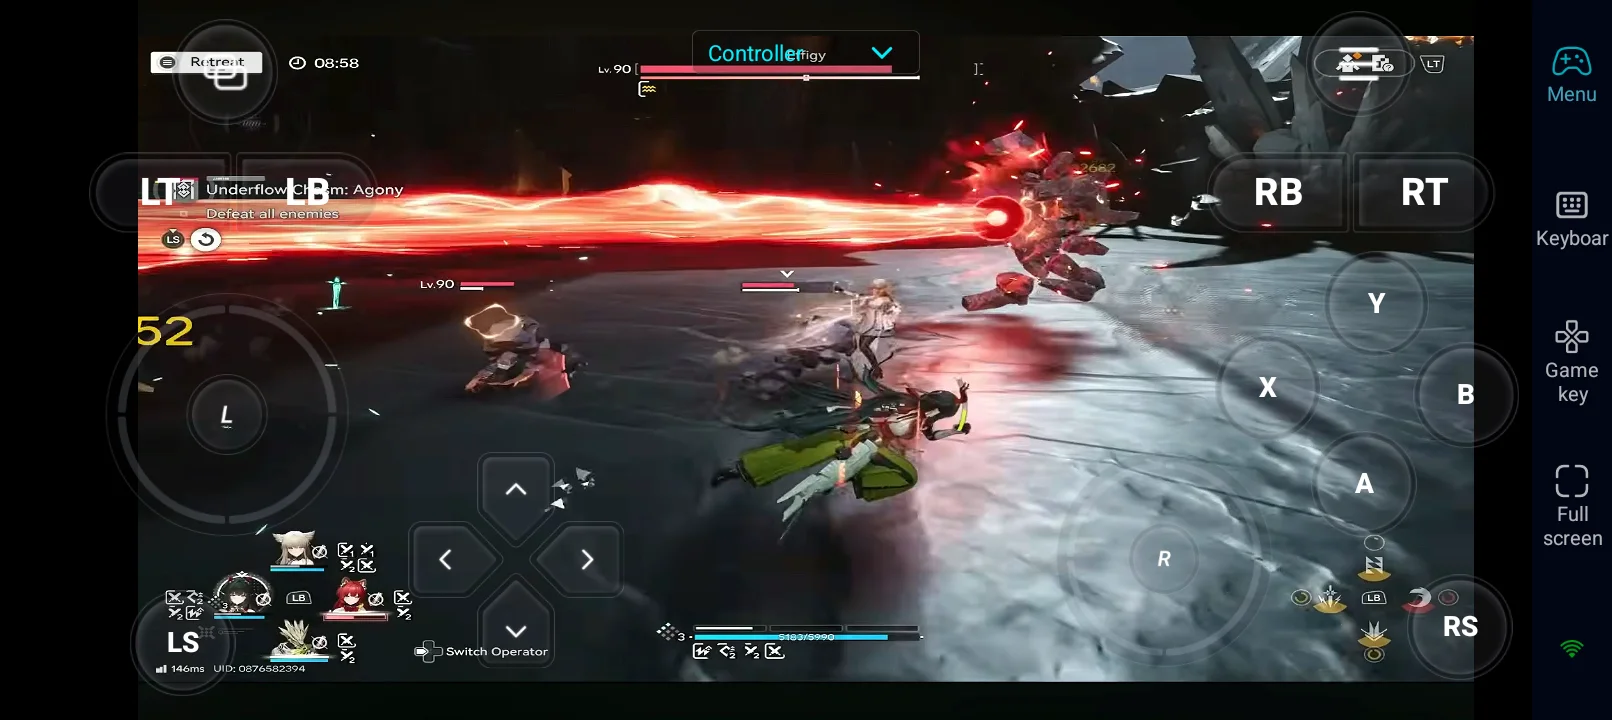
-
Effigy uses slow slam attacks, charge beams, grab attacks, and dark matter summons.
-
The boss also summons Aggeloi Adds during the fight.
-
Effigy has balanced resistances, so no damage type has a major advantage.
Best Strategies to Complete the Stage
-
Attack from the side or behind - The boss turns slowly, so circling around it helps avoid dangerous frontal attacks.
-
Interrupt attacks quickly - Stop charge beams and grab attacks as soon as possible using interrupt skills.
-
Handle adds fast - Clear or crowd-control Aggeloi enemies while continuing to damage the boss.
-
Play aggressively early - Deal heavy damage before dark matter mechanics and larger summon waves begin.
-
Reposition during dark matter - Move far away to create more room for dodging attacks safely.
Recommended Teams for Underflow Chasm
Electric Team (Strong interrupts)
|
Character |
Role |
Function |
|
Zhuang Fangyi
|
Main DPS |
High burst + interrupts |
|
Arclight
|
Sub DPS |
Electric effects |
|
Perlica
|
Support |
Team synergy |
|
Gilberta
|
Debuffer |
Enemy grouping + damage amp |


This team offers strong interrupts, better enemy grouping, and high burst damage.
Cryo Control Team
|
Character |
Role |
Function |
|
Yvonne
|
Main DPS |
Ranged safe damage |
|
Tangtang
|
Control |
Enemy grouping + Freeze |
|
Gilberta
|
Debuffer |
Damage amp |
|
Xaihi
|
Support |
Sustain |


This team offers strong crowd control, safe ranged play, and high survivability.
Stage 5: Blood Debased
Blood Debased is a difficult stage with constant enemy summons from the main boss. Good crowd control and AoE damage are very important here.
Main Enemies & Mechanics
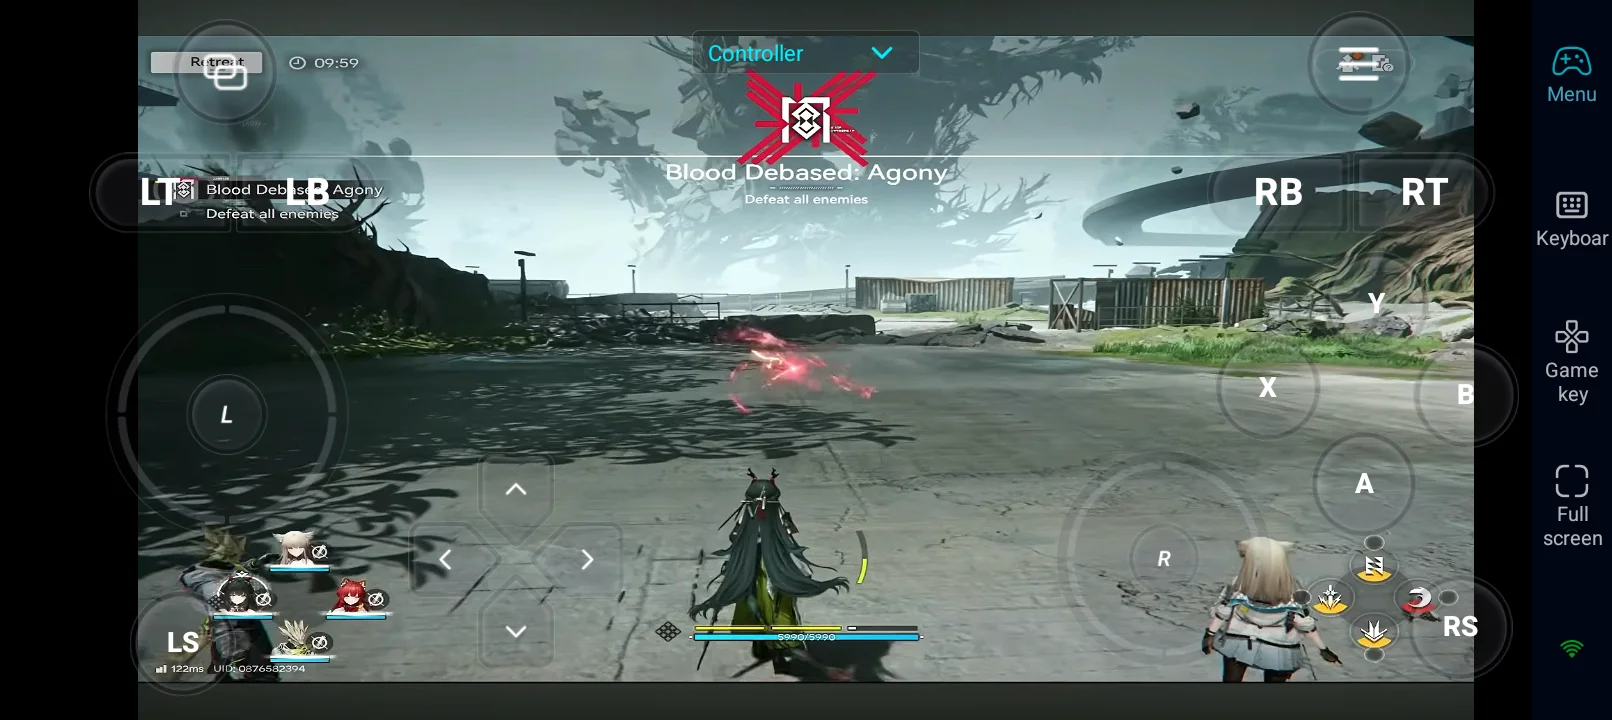
-
Imbued Quillbeast is the main boss and frequently summons dangerous Quillbeasts.
-
The summoned enemies can quickly overwhelm your team if ignored.
Best Strategies to Complete the Stage
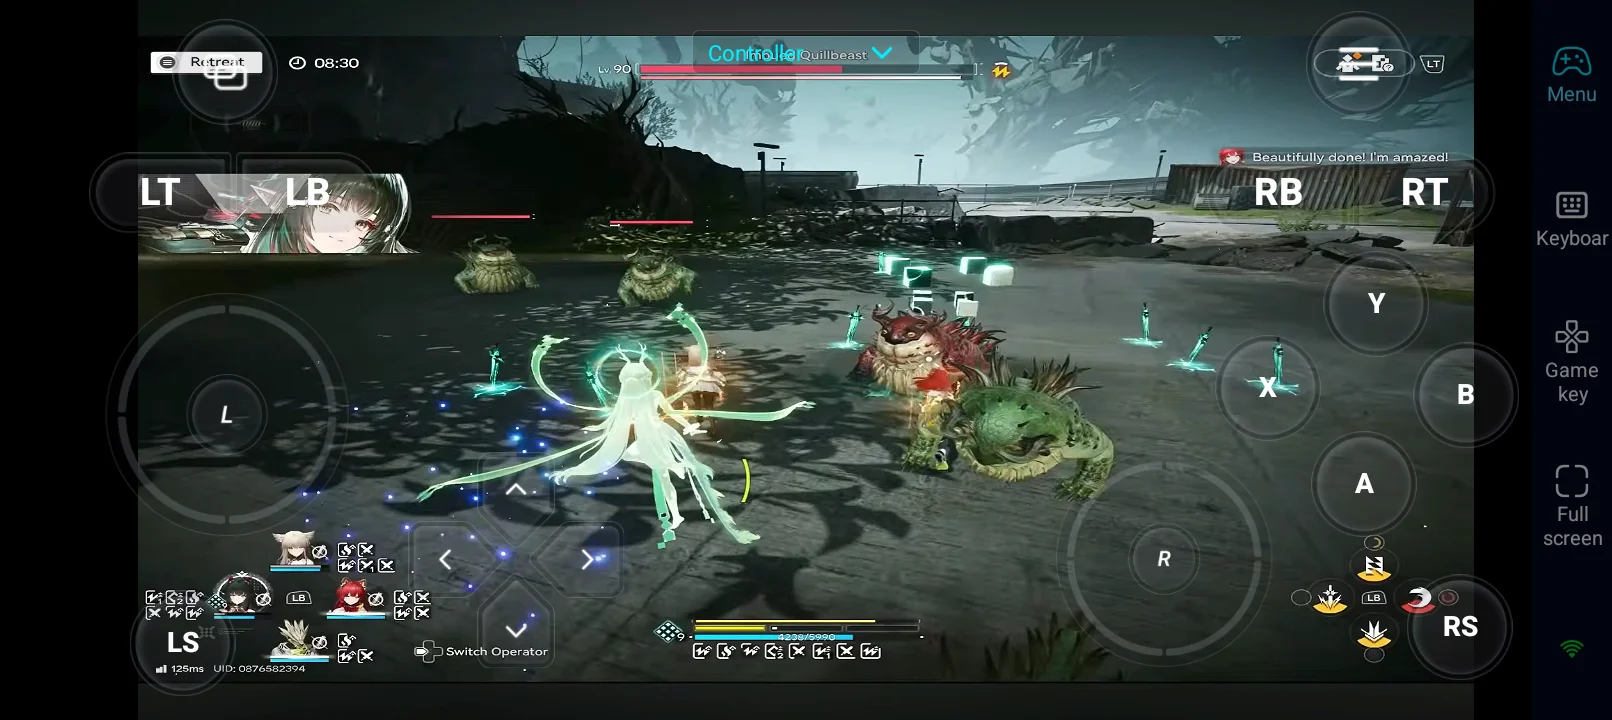
-
Focus summoned enemies first - Kill or control summoned enemies quickly before they stack up.
-
Group enemies together - Use pull, freeze, or crowd-control skills to keep spawned Quillbeasts and the boss close together.
-
Burst during safe moments - Attack the Quillbeast heavily when enemies are grouped.
-
Keep good positioning - Stay mobile and avoid getting surrounded by spawned Quillbeasts.
-
Bring strong AoE characters - Wide-area damage helps clear summons much faster.
Recommended Teams for Blood Debased
Electric Team (Best balance)
|
Character |
Role |
Function |
|
Avywenna
|
Main DPS |
AoE Electric damage |
|
Arclight
|
Sub DPS |
Electric application |
|
Perlica
|
Support |
Synergy + buffs |
|
Gilberta
|
Debuffer |
Enemy grouping |


This team offers strong AoE, good enemy grouping, and high burst damage.
Heat Team (Fast add clear)
|
Character |
Role |
Function |
|
Laevatain
|
Main DPS |
High AoE damage |
|
Akekuri
|
SP Support |
Frequent Ultimates |
|
Ardelia
|
Support |
Improves team consistency and overall output |
|
Tangtang
|
Control |
Enemy grouping |


This team offers fast add clearing, high AoE burst, and strong control.
Stage 6: Cryostatic Connection
Cryostatic Connection is the final stage with strong freeze mechanics and a very durable boss: Tidalklast. Good timing and careful play are important to survive.
Main Enemies & Mechanics
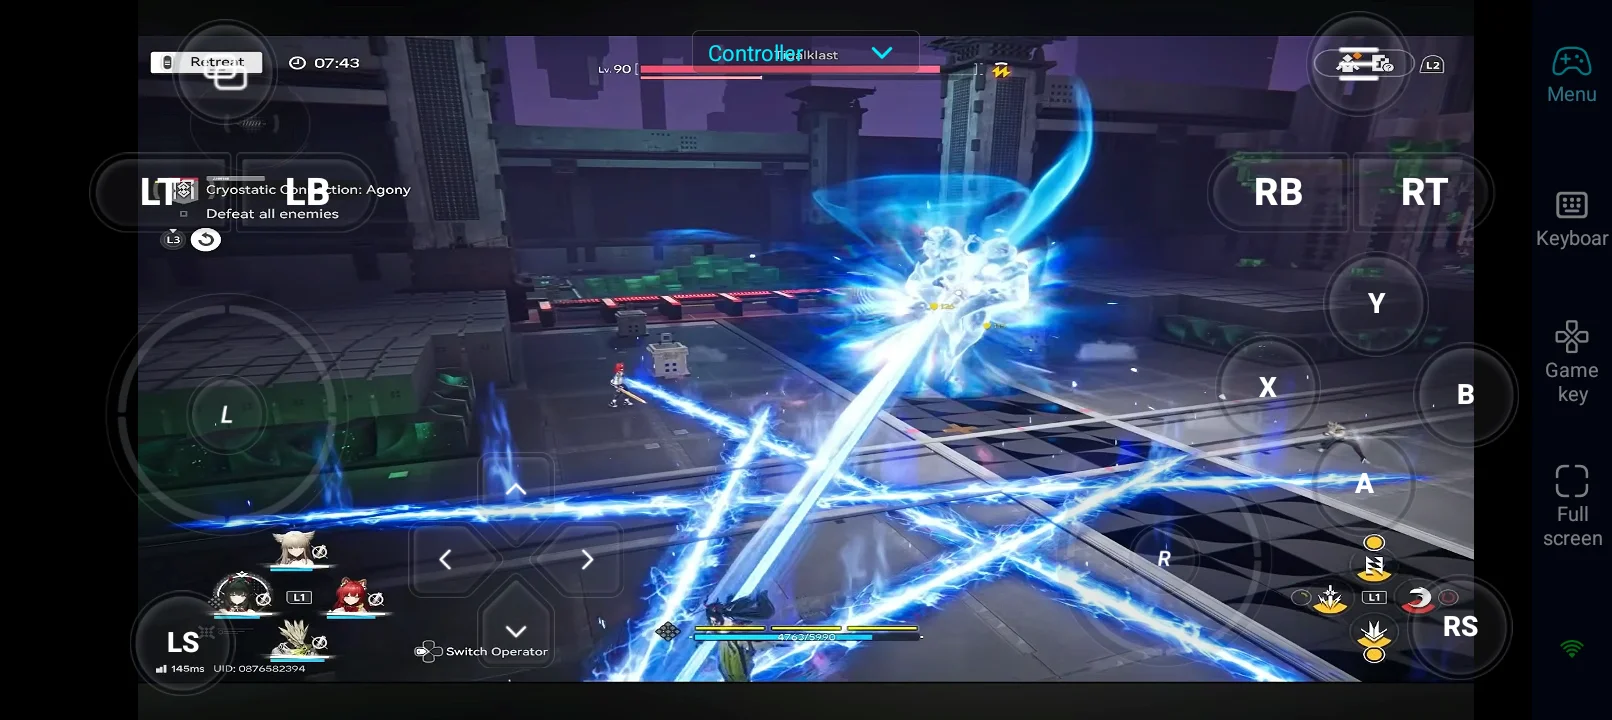
-
The Tidalklast boss is very tanky and uses powerful freeze-based attacks.
-
Some attacks can freeze your characters or deal massive damage.
-
The boss has a high stagger requirement.
Best Strategies to Complete the Stage
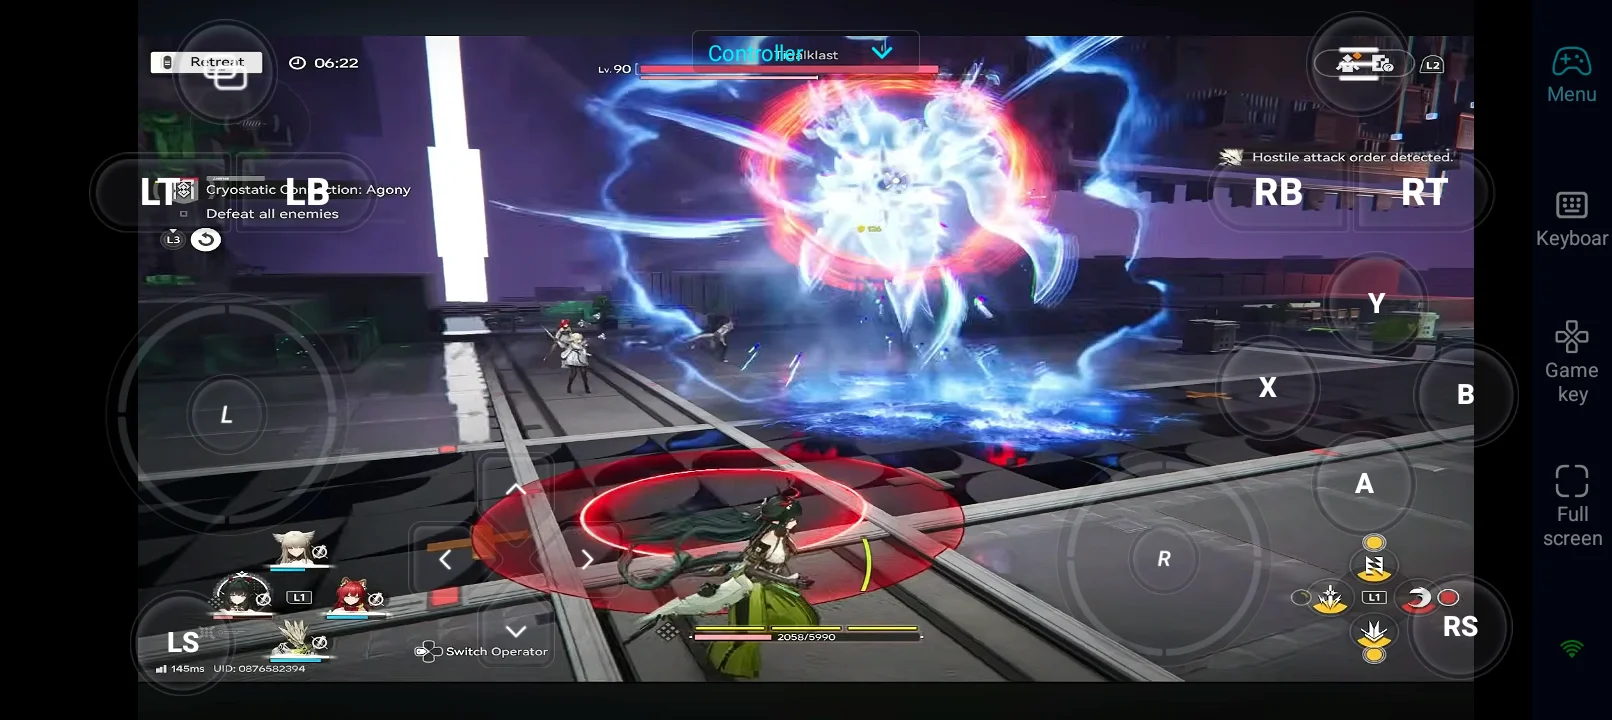
-
Dodge important attacks carefully - Avoid getting frozen whenever possible.
-
Focus on interrupts - Stop the boss’s charged attacks quickly using interrupt skills.
-
Manage positioning - Keep your main damage dealer at a safe distance when needed.
-
Save SP and skills - Use them during stagger and interrupt opportunities.
-
Use Cryo teams if possible - They can help deal with freeze-related mechanics more effectively.

 AFK Anywhere, Progress Anytime

Recommended Teams for Cryostatic Connection
Cryo Control Team (Best synergy)
|
Character |
Role |
Function |
|
Yvonne
|
Main DPS |
Ranged + Solidification |
|
Tangtang
|
Control |
Freeze + Enemy grouping |
|
Gilberta
|
Debuffer |
Damage amp |
|
Xaihi
|
Support |
Sustain |


This team offers strong crowd control, safe ranged damage, and reliable sustain.
Physical Stagger Team
|
Character |
Role |
Function |
|
Endministrator
|
Main DPS |
Drives combo chains and crystal control |
|
Chen Qianyu
|
Control |
Interrupts and staggers enemies |
|
Pogranichnik
|
SP Support |
SP generation |
|
Ardelia
|
Support |
Utility + damage amp |


This team offers high stagger potential, strong burst, and excellent SP sustain.
Rewards from Umbral Monument: Turbidity Manifest
Below are the Turbidity Manifest rewards you can obtain from defeating each stage of Umbral Monument: Turbidity Manifest in Arknights: Endfield:
|
Normal Mode Rewards |
Agony Mode Rewards |
|
T-Creds x24,000 Advanced Cognitive Carrier x3 Mark of Perseverance x1 Protohedron x8 Arms INSP Set x5 |
T-Creds x24,000 Advanced Cognitive Carrier x3 Mark of Perseverance x1 Protohedron x8 Arms INSP Set x5 |
Conclusion
This concludes the Umbral Monument: Turbidity Manifest guide in Arknights: Endfield. You can use this guide to build the right teams, improve positioning, manage crowd control, and apply the best strategies to clear all six stages without much trouble. If you want a smoother experience without being tied to your PC, you can use OSLink to play the Arknights: Endfield PC version remotely from your mobile for more enjoyable gameplay.
 Download