English
Hey, adventurers! Are you having trouble facing the ultimate five-headed dragon threat, Kuldra, in RuneScape: Dragonwilds? Kuldra, the God-Eater, is one of the toughest boss battles you’ll face and the ultimate endgame challenge. From deadly Hyperbeams and elemental attacks to poisonous Heart Worms, every battle phase tests your preparation and movement. So, having the right guidance can help you face the Kuldra boss fight more effectively without wasting time on more attempts.

Luckily, we’ve brought you the best RuneScape: Dragonwilds Kuldra boss guide, covering her location, requirements, attacks, strategies, and rewards to help you conquer Kuldra. Prepare the recommended loadout, follow our strategies, and get ready to defeat this powerful five-headed dragon. And if you feel tired of sitting in front of your PC all day, it’s time to use OSLink. It lets you play RuneScape: Dragonwilds 1.0 remotely on your phone, so you can keep an eye on your game and continue your adventure even when you’re away from your PC.
Who is RuneScape: Dragonwilds Kuldra Boss?
Queen Kuldra, also known as the God-Eater, is the final boss of the Scorned Wilderness Raid and the climax of the Kuldra Saga in RuneScape: Dragonwilds 1.0.
She is an ancient five-headed black dragon and the leader of the dragons ruling over Ashenfall. Kuldra serves as the High Queen for some of the Garou and stands as the ultimate threat in the story. The battle with Kuldra is not simply about dealing damage as you might think; you need to understand the mechanics and prepare early to defeat this boss and obtain the rewards.
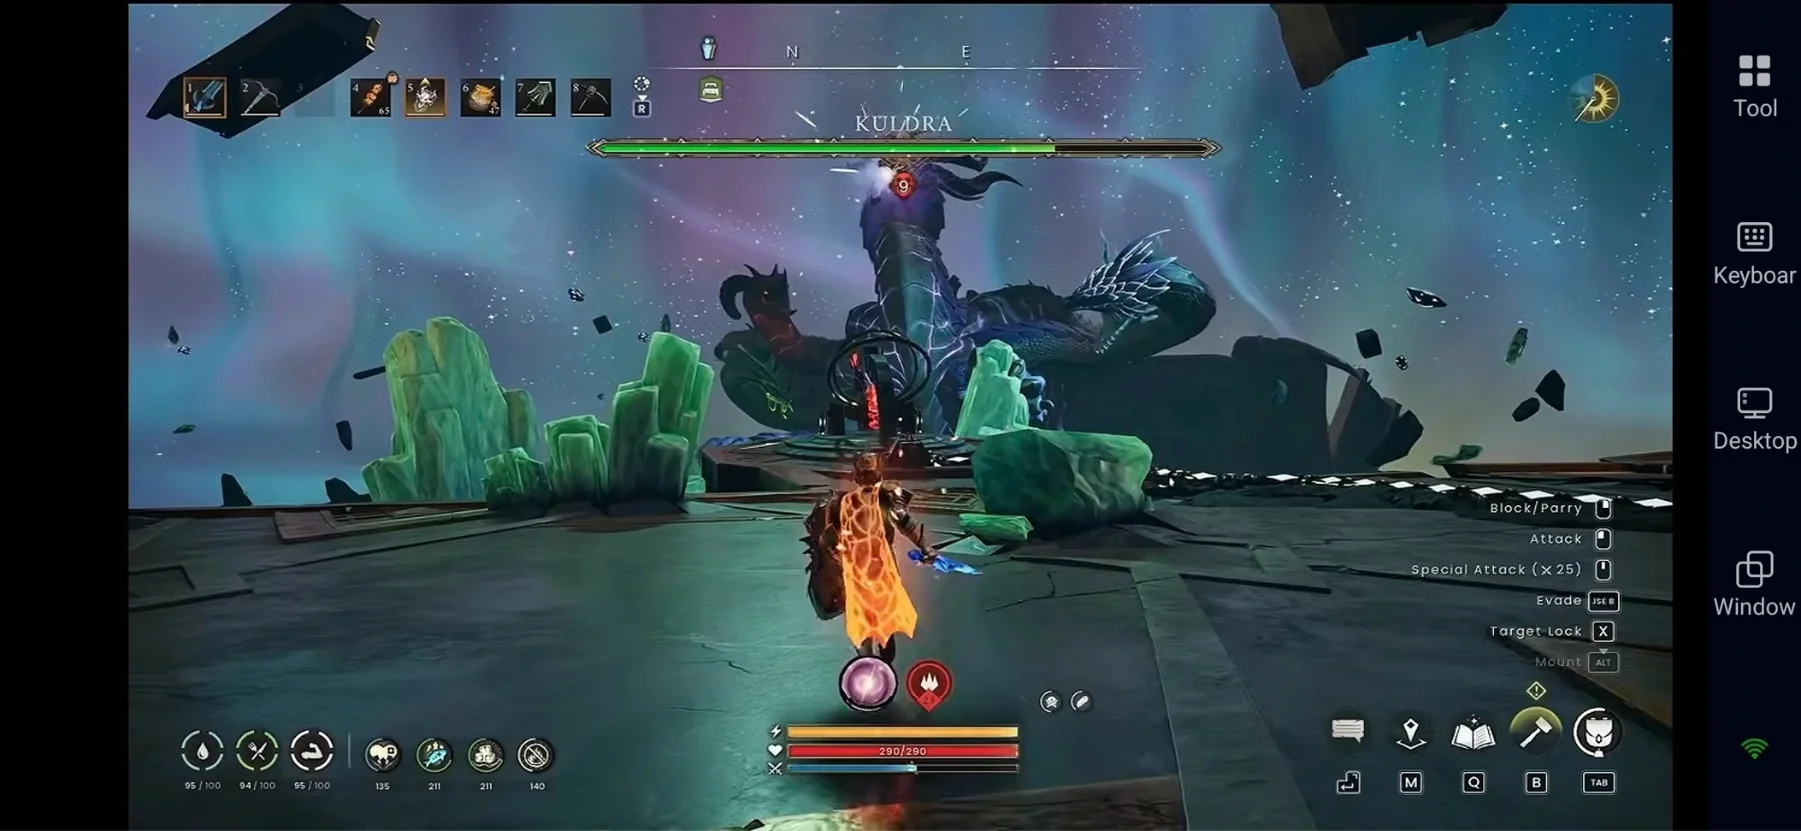
Kuldra Combat Stats and Location:
-
Kuldra Location: Kuldra’s Sanctum (end of the Scorned Wilderness Raid)
-
Health: 240,000
-
Power Level: Tier 9 endgame boss.
-
Combat Style: Aggressive
-
Weaknesses and Immunities: No listed elemental weaknesses, resistances, or immunities.
Requirements to Unlock Kuldra Boss
Before reaching the RuneScape: Dragonwilds Kuldra boss fight, it’s essential to complete the requirements to unlock the boss first. Here are the requirements for unlocking the boss:
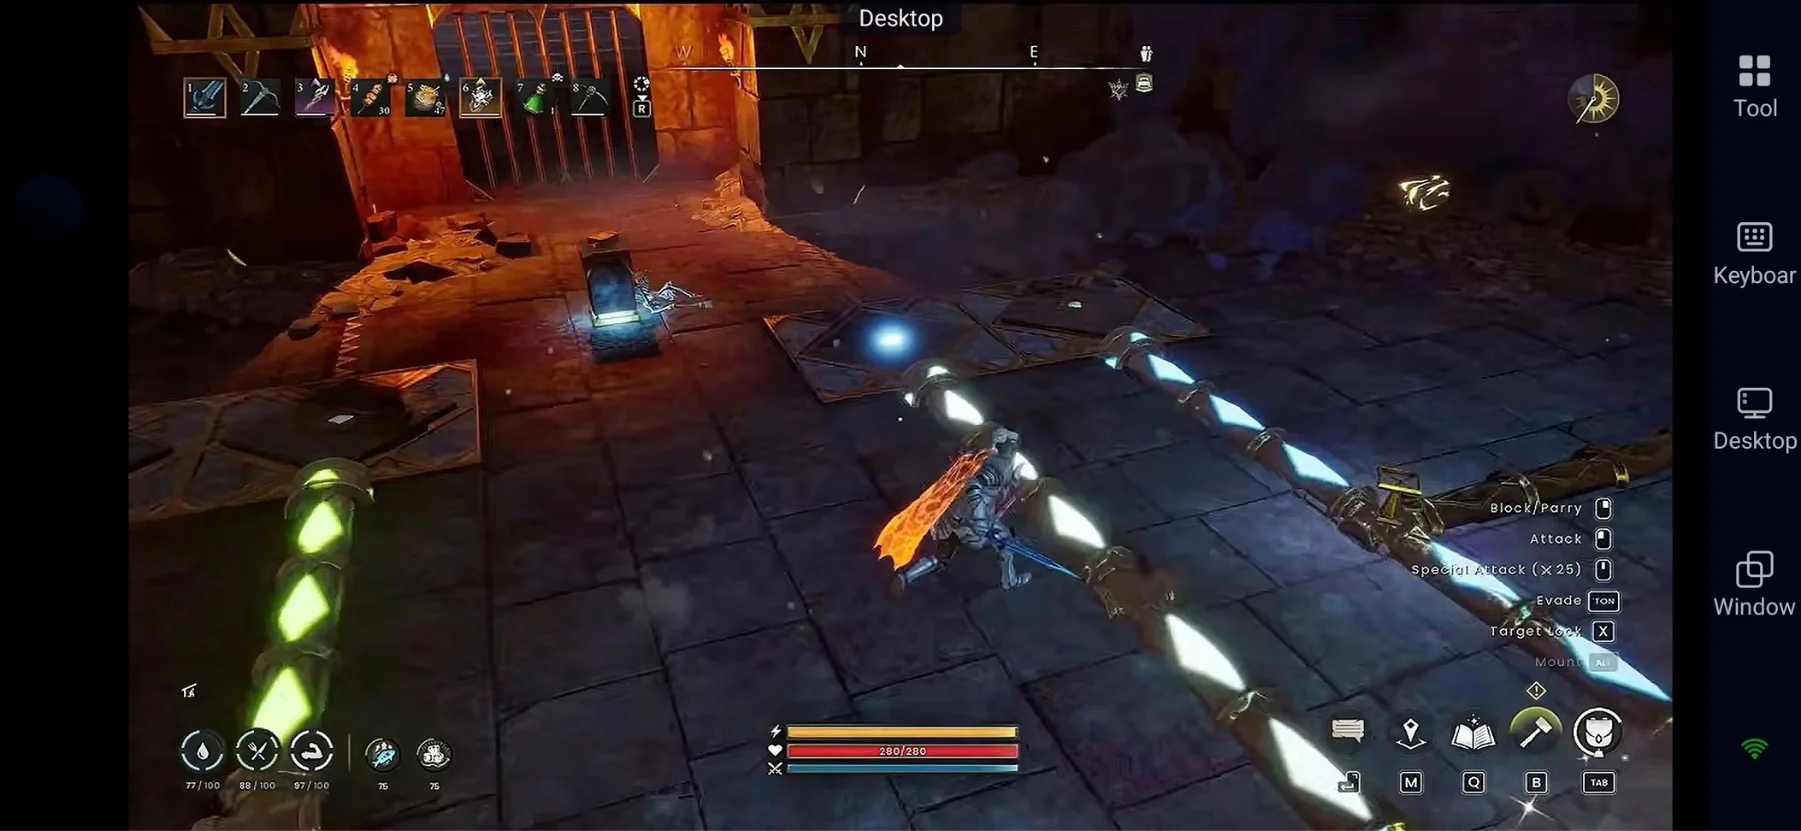
- Complete the main progression up to and including the defeat of Fuzan in Umbral Sands.
-
Reach the Dragon Gate northeast of the Fractured Plains. The gate requires the four elemental seals (Earth, Water, Air, and Flame) obtained through earlier regional progression.
-
Enter the Scorned Wilderness and speak with Commander Zilyana.
-
Clear the multi-stage Scorned Wilderness Raid route, including:
-
Dragontail Vines
-
Fragments of Ghornfell
-
Shattered Stronghold
-
Cataclysm Keep
-
Kuldra’s Sanctum
-
Within each of these locations in the raid route, there are extraction-point checkpoints. Remember to activate every extraction point you find. These allow you to leave, restock materials, repair your gear, and return to the latest checkpoint without replaying the cleared sections. Also, whenever you are defeated during the raid, you will return to the last activated stage.
Important Tip: It’s important to place a Lodestone near Commander Zilyana before starting the raid for efficient travel. If you die, your gravestone will be sent back to her, and she will be your point of re-entry.
Preparation – What to Bring for the Kuldra Fight
Before attempting the RuneScape: Dragonwilds Kuldra boss, proper preparation with reliable equipment, tools, and consumables makes the fight significantly easier and safer.
Remember that it’s better to equip the newly introduced Rune equipment (Tier 8 equipment) in RuneScape: Dragonwilds 1.0 to defeat the Kuldra Boss easily. However, strong Tier 7 gear from the Umbral Sands is enough for your first boss attempt. You can also upgrade key weapons during the Scorned Wilderness Raid itself using materials found along the way.
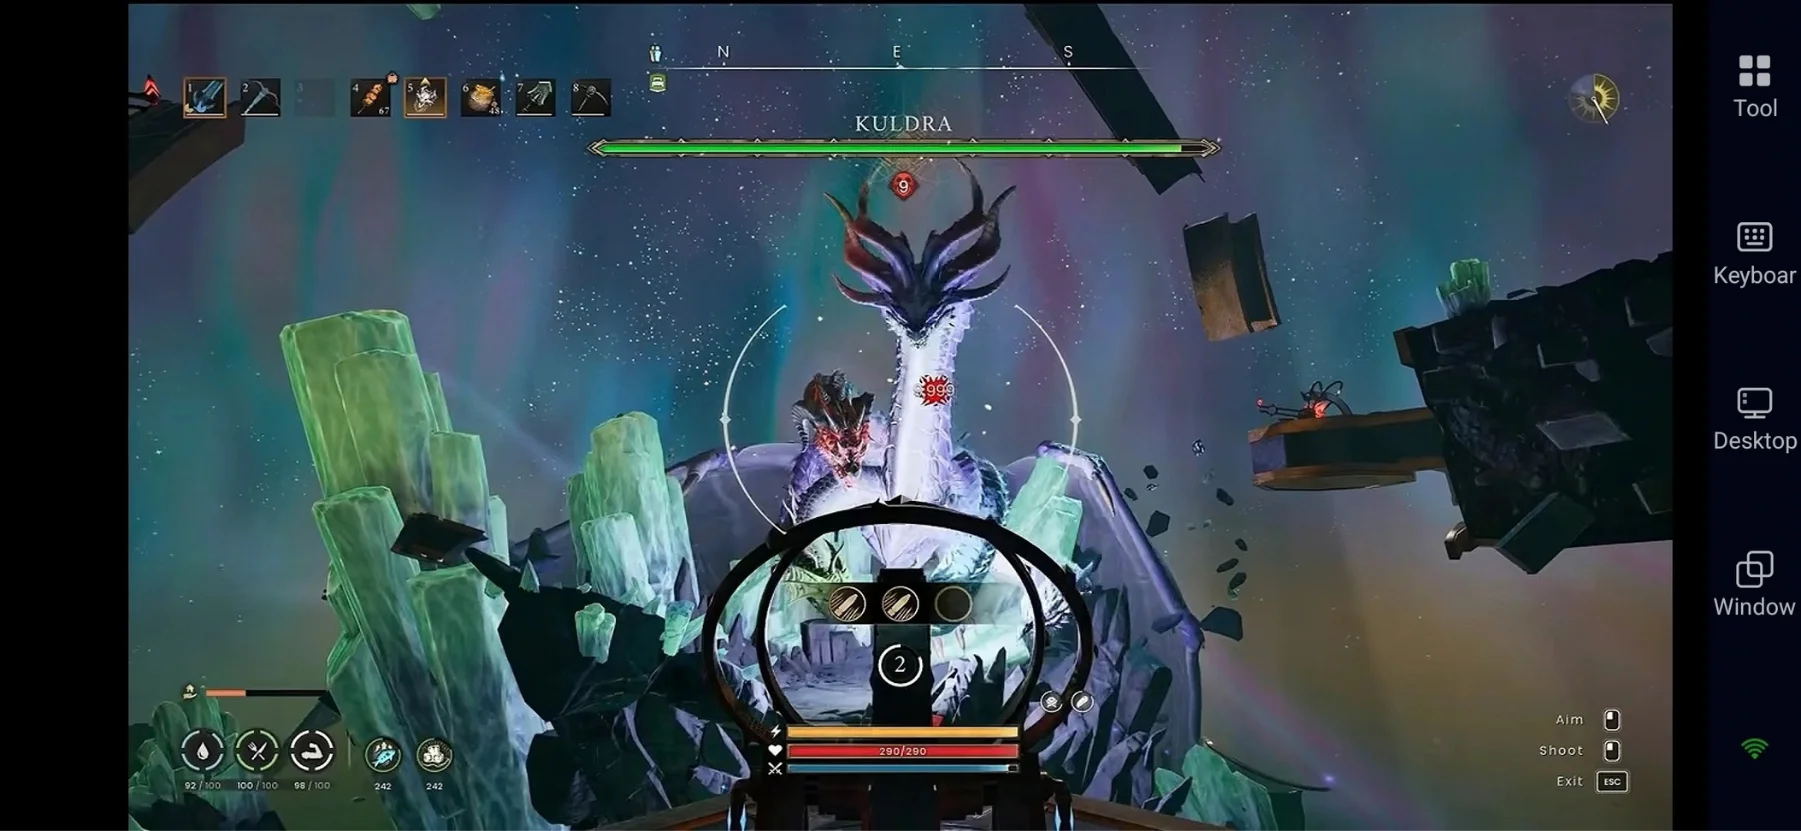
Focus on a hybrid setup (melee + ranged or magic) because the fight requires both close-range combat and safe ranged damage for hatchlings and the Heart phase. So, here are all the required weapons, armor, and other accessories you need to prepare:
Recommended Weapons:
|
Combat Style |
Recommended Weapons |
Why Useful |
|
Melee |
Abyssal Whip Zombie Axe Rune Sword |
Fast attacks and strong damage |
|
Ranged |
Rune Crossbow Dual Vision Crossbow Dorgeshuun Crossbow |
Great for hatchlings and safe attacks |
|
Magic |
Necromancer Staff Staff of Light |
Good for ranged and elemental attacks |
Tip: Always carry at least one reliable ranged or magic option even if you mainly use melee.
Recommended Armor:
-
Strong Tier 7 or Rune Armor Set – Good defence and durability
-
Black Dragonhide – Good mobility and ranged defence (best for ranged playstyle)
-
Ancestral Robes – Boosts magic defence and damage
Recommended Tools:
-
Adamant Pickaxe or better – Helpsr break walls and gather Runite/Luminite during raid
-
Rune Logging Axe – Clear obstacles and gather Magic Wood during the raid
Recommended Consumables (bring lots):
-
Anti-poison – Very important, especially during the final phase.
-
Antifire Potions – Protect against dragon fire.
-
Healing Food – Bring your best food, such as Monkfish Skewers.
-
Hydration + Pumpkin Spice Infusion – Useful for extra healing.
-
Optional – Whetstones, extra buffs, and water-enchanted weapons for the Heart phase.
Mobility: Wind Step and double-jump are very useful throughout the fight.
Understand Key Attack Patterns of Kuldra
When you are looking for how to beat Kuldra in RuneScape: Dragonwilds, it’s essential to understand Kuldra’s key attacks. Then, you can watch for these attacks, avoid them, survive longer, and defeat the boss. Below are the key Kuldra attacks and how to avoid them:
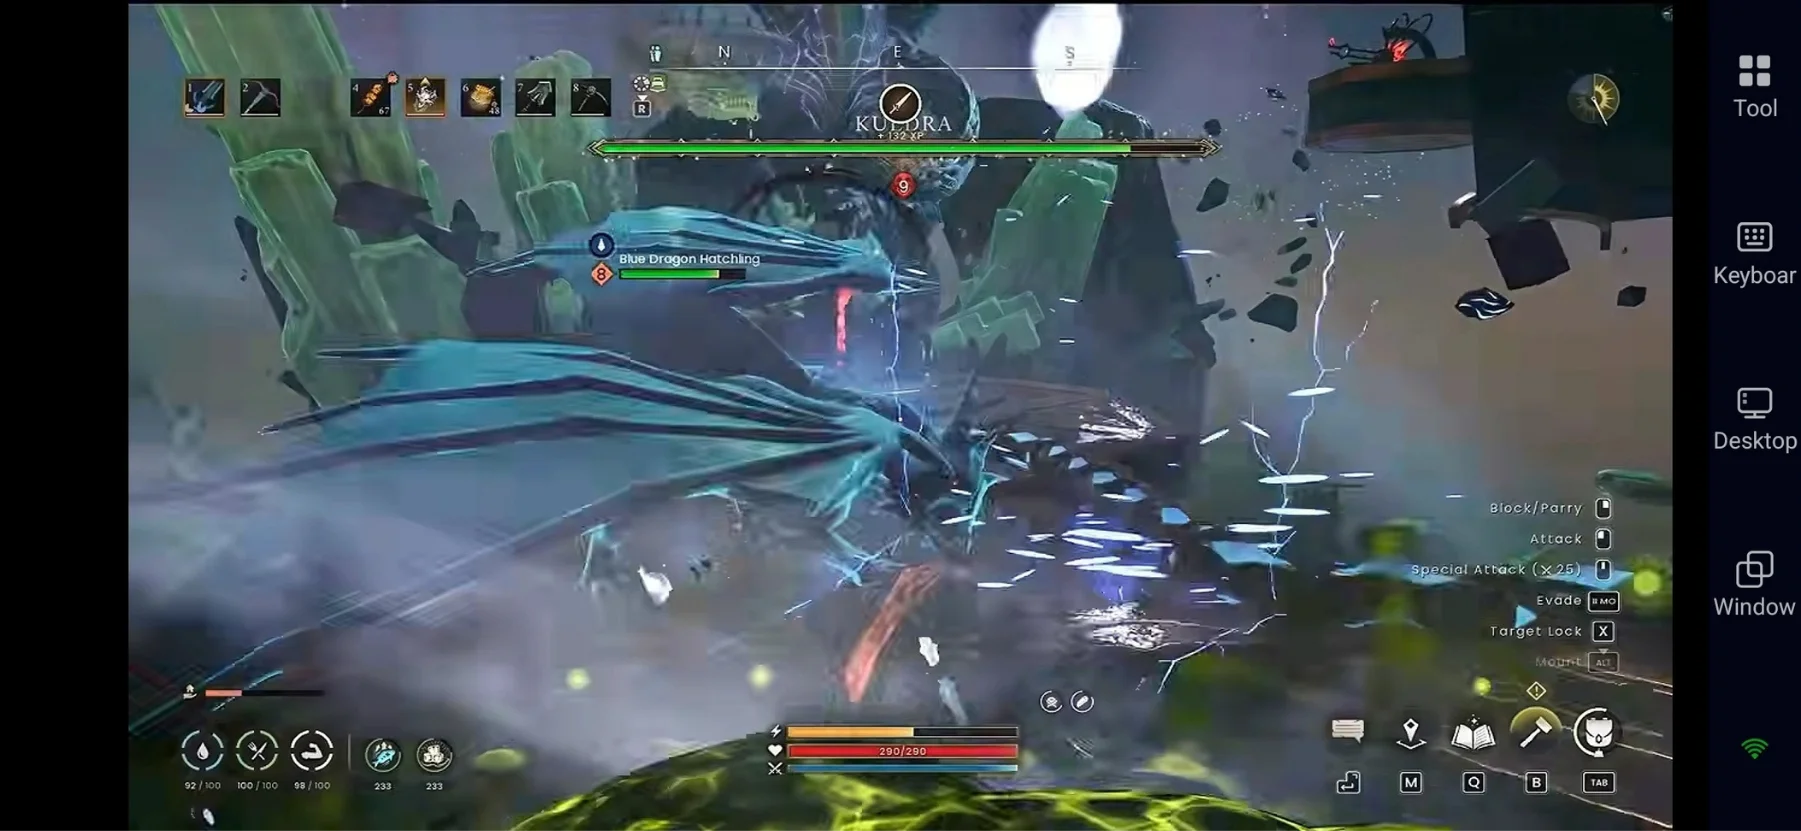
- Main Head Beam (Hyper Beam): This is Kuldra’s most dangerous attack. It’s a high-damage laser through Kuldra’s central head that can quickly kill you if you stay in its path.
-
-
→ Always prioritise avoiding it. Hide behind green crystals or move completely out of the beam’s path. Never stay locked into a Resonator interaction when this attack starts.
-
-
Elemental Ground Attacks: Kuldra uses poison, fire, ice, lightning, and other attacks with clear ground indicators.
→ Simply walk or dodge out of the marked areas. These attacks are heavily telegraphed and easy to avoid if you stay mobile.
-
Poison Attacks: Kuldra uses poison rain, poison meteors, and lingering poison zones throughout the fight, especially during the final phase.
→ Move out of the poison areas immediately and keep Anti-poison potions ready. In the Heart phase, poison pressure increases over time.
-
Dragon Hatchlings: Blue and red baby dragons spawn during the first three phases. They attack you and provide the Anima needed to progress.
→ Kill them quickly. Use a ranged or magic weapon if possible so you do not have to chase them around the arena.
-
Heart Worms + Rising Poison (Final Phase): Once inside Kuldra, Heart Worms spawn around the Heart while poison pressure steadily increases. The Heart also becomes more dangerous as its health drops.
→ Stay at range and use ranged or magic attacks for safety, or use melee carefully for faster damage. Keep Anti-poison potions ready and move away to heal if the pressure becomes too high. Escape immediately after destroying the Heart.


 Pre-set Keymaps for Easy Play

Boss Fight Phases and Strategies to Defeat Kuldra
The Kuldra boss fight has several phases, and each one requires you to use different mechanics. Remember to bring strong Tier 7 or Tier 8 gear, plenty of healing food, Anti-poison and Antifire potions, and a mix of melee and ranged weapons before starting the fight.
Here is a full Kuldra walkthrough, and the strategies on how to beat Kuldra in RuneScape: Dragonwilds on each phase:
Phase 1
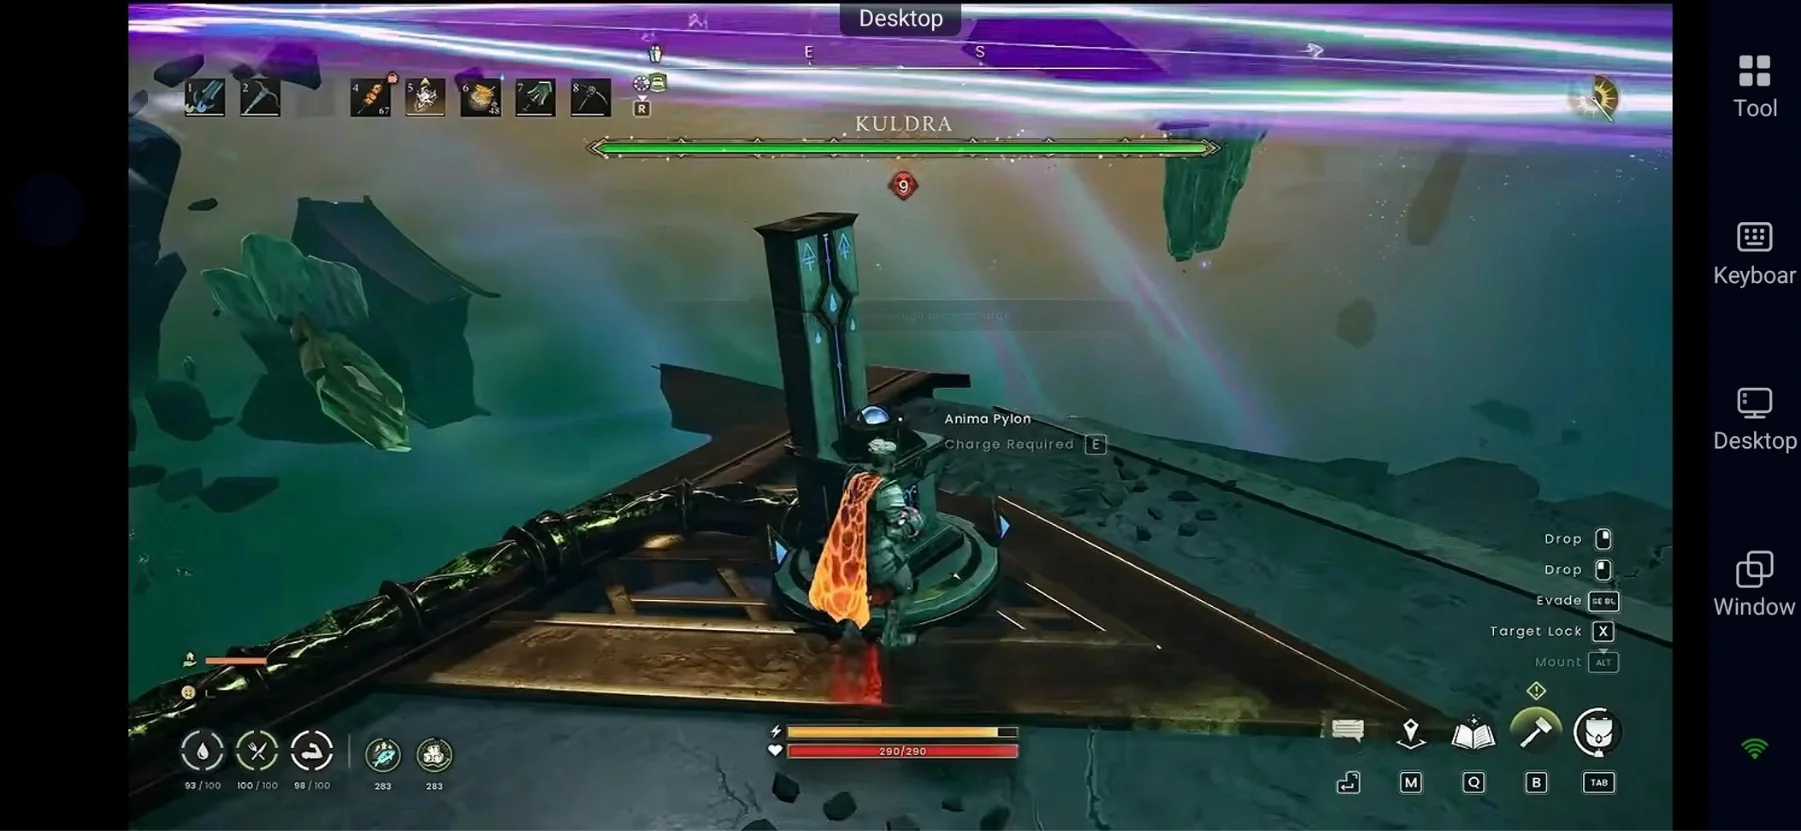
How Kuldra attacks:
-
Uses elemental attacks from her different heads, mainly poison, fire, and ice.
-
Most elemental attacks are heavily telegraphed on the ground, giving you enough time to move out of the danger zones.
-
The main head periodically charges and fires the Hyperbeam, a high-damage laser that can quickly kill you if you stay in its path.
-
A blue dragon spawns during this phase and assists her.
Strategies:
-
Focus on the core Anima loop: obtain Water (or Earth) Anima → power the pylon → create an Anima Orb → load the Harmonic Resonator → fire all three 9,999-damage shots.
-
Always prioritise avoiding the Hyperbeam over dealing damage or interacting with the Resonator. Hide behind green crystals or solid objects, or dodge completely out of the beam’s path.
-
Kill the blue dragon when it appears to gain the Water infusion needed for the pylons.
-
Clear any smaller adds quickly so they do not stack damage on you.
-
When Kuldra reaches around 75% health, Commander Zilyana appears and creates a protective barrier. Immediately run into her protective barrier for free healing and a reset window.
Phase 2
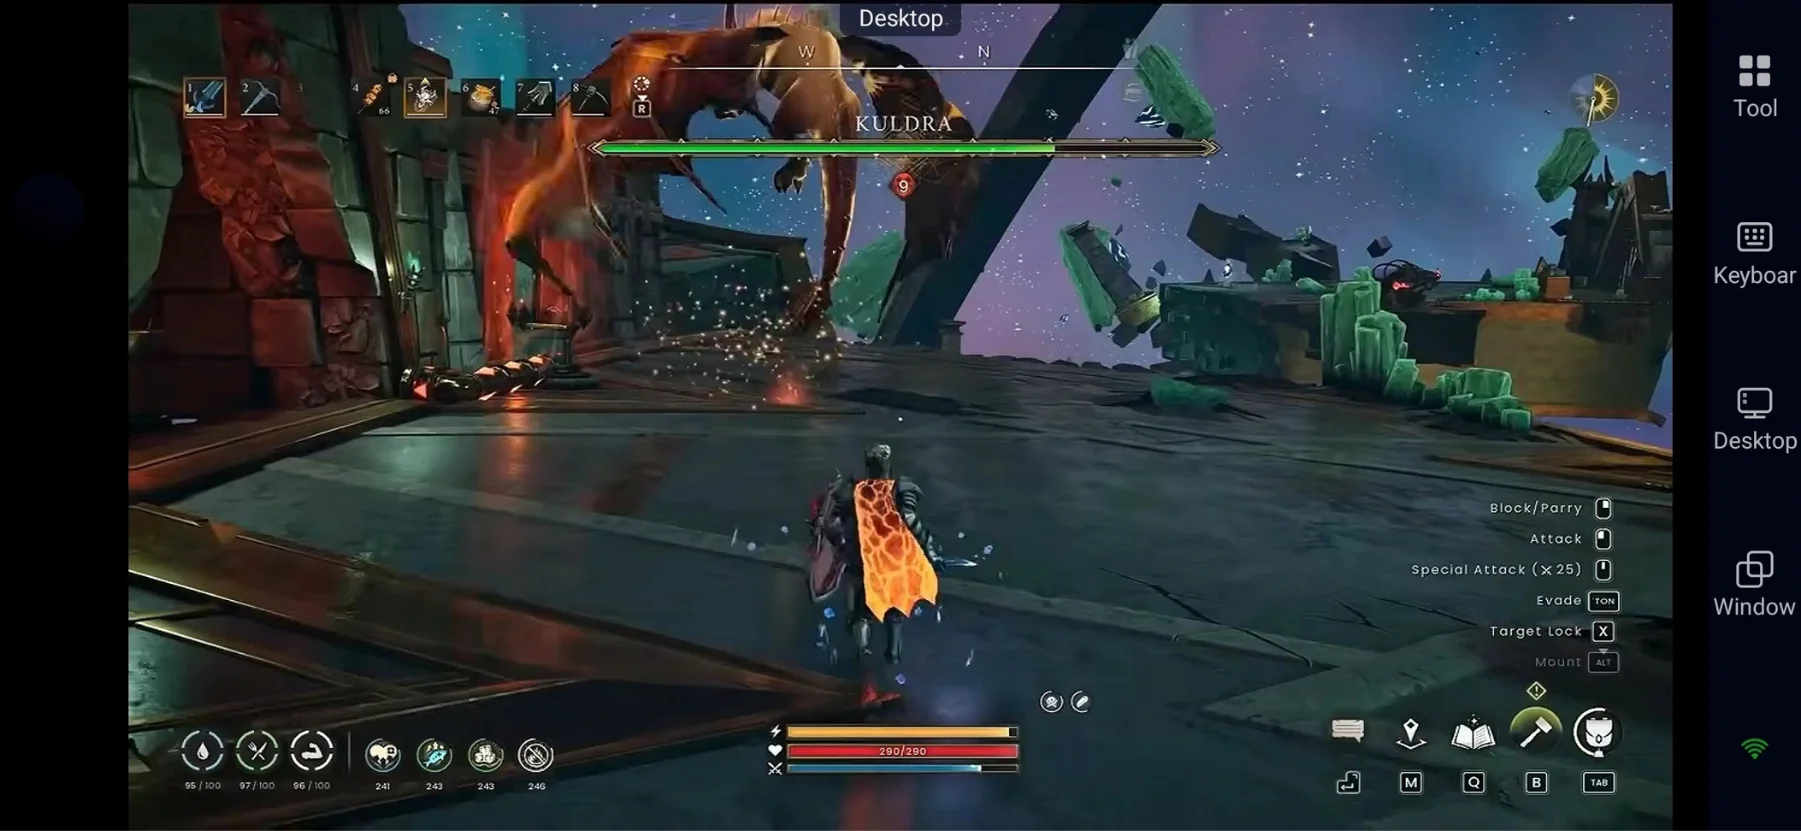
How Kuldra attacks:
-
Continues using the same elemental ground attacks along with the dangerous Hyperbeam.
-
The intensity is similar to Phase 1, but the arena layout changes slightly.
-
A red dragon hatchling appears and must be defeated.
Strategies:
-
The Anima Orb dispenser is locked behind a gate. Kill the red dragon hatchling to gain Fire Anima, then use it on the pylon to open the gate.
-
Once the dispenser is accessible, resume the same Resonator loop: get Anima → power the pylon → create the Orb → load the Resonator → fire all three shots.
-
Keep using the green crystals as cover against the Hyperbeam.
-
Maintain awareness of your positioning and keep watching Kuldra while using the Resonator, especially when Kuldra's main head starts charging the beam.
-
When Kuldra reaches 50% health, Zilyana appears again. Use her barrier to heal, rebuff, and get ready for Phase 3.
Phase 3
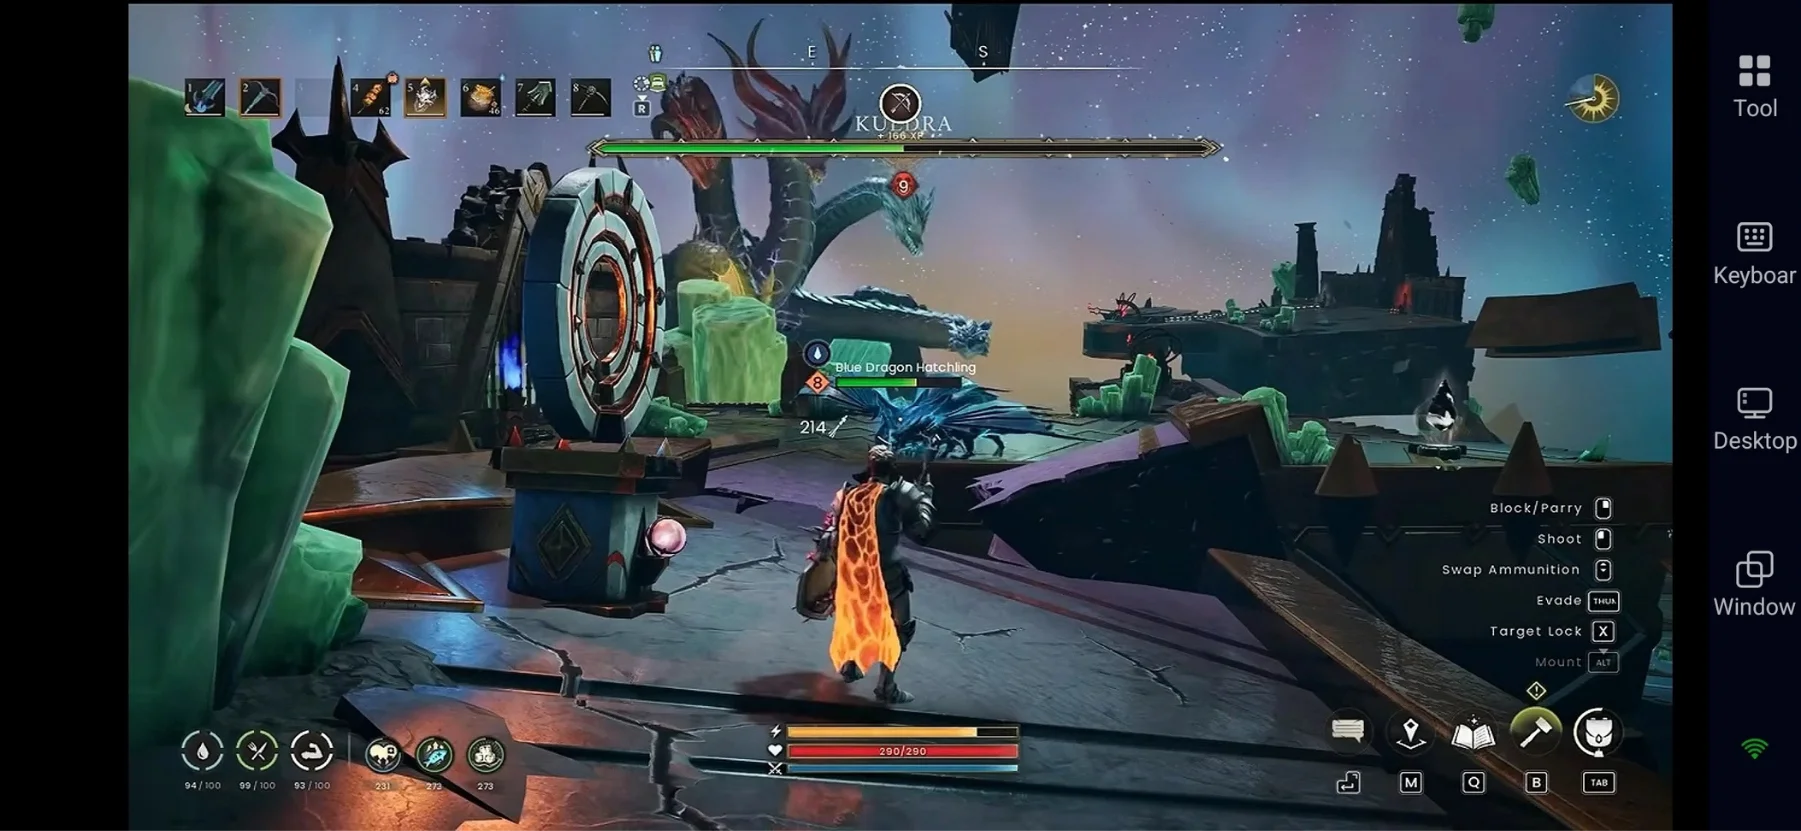
How Kuldra attacks:
-
Kuldra continues using the same elemental attacks, but the pressure becomes higher.
-
Both the red and blue dragons appear, adding more sources of damage and Anima.
-
The Hyperbeam is still the most dangerous attack.
-
The Resonator needs multiple pylons, usually Water and Fire, to be powered.
Strategies:
-
A green crystal is conveniently located near the Anima Orb dispenser. Use this position as your main safe spot to stay protected from the Hyperbeam. From here, you can attack the dragons from range while staying protected from the Hyperbeam.
-
Power the Water pylon using the blue dragon and the Fire pylon using the red dragon. Then load the Resonator and fire all three shots as quickly as possible.
-
Focus on staying alive instead of dealing maximum damage. Only interact with the Resonator when the hyperbeam is not a threat.
-
Continue the loop until Kuldra collapses and the bridge to Phase 4 appears.
Phase 4
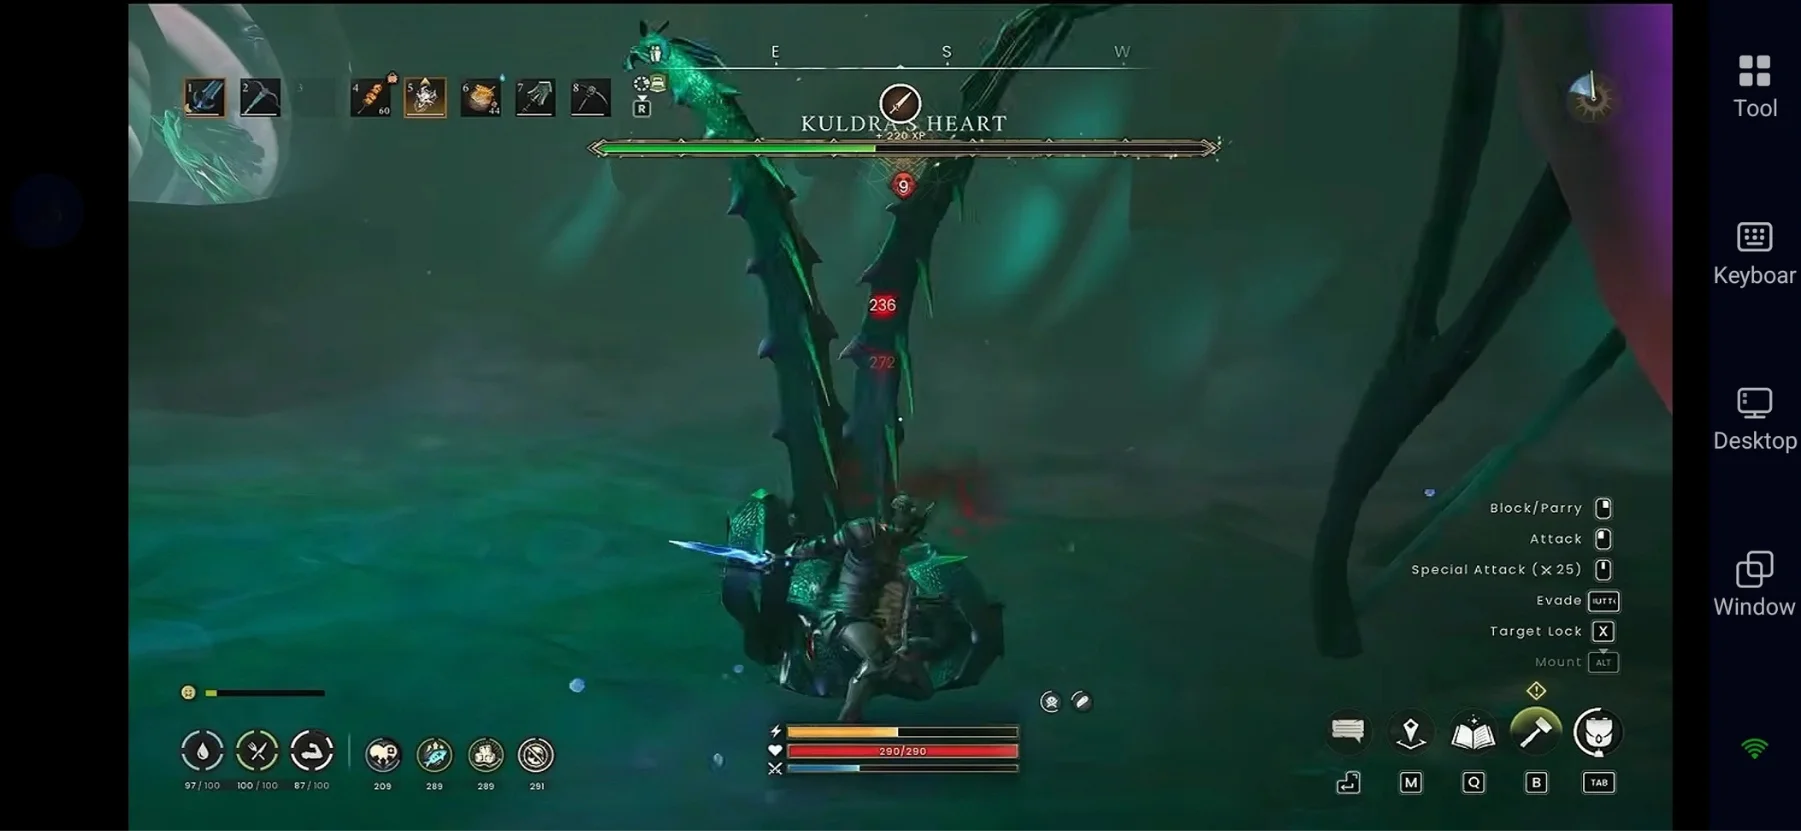
How Kuldra attacks:
-
You are now inside Kuldra and must fight her Heart.
-
Heart worms spawn and attack you from close range.
-
Heavy and persistent poison becomes the biggest threat, with poison clouds following you and becoming stronger as its Heart loses health.
-
As the Heart’s health gets lower, it beats faster and its attacks become more frequent and aggressive.
Strategies:
-
Safe method (recommended if you have low supplies): Stay at a safe distance and use ranged attacks on the Heart. Most enemies cannot reach you from a good position. This method is slower but safer.
-
Faster method: Move closer to the Heart to deal more damage. Use anti-poison potions often and consider using a water-enchanted weapon for passive healing.
-
Keep checking your poison meter and health. If the fight becomes too dangerous, immediately back away to regain control.
-
Do not rush. There is no time limit other than your own supplies.
-
When the Heart dies, you will be asked to escape. Quickly run back the way you came.
Rewards from Defeating Kuldra Boss
Here are all the Kuldra rewards from this RuneScape: Dragonwilds Kuldra boss guide:
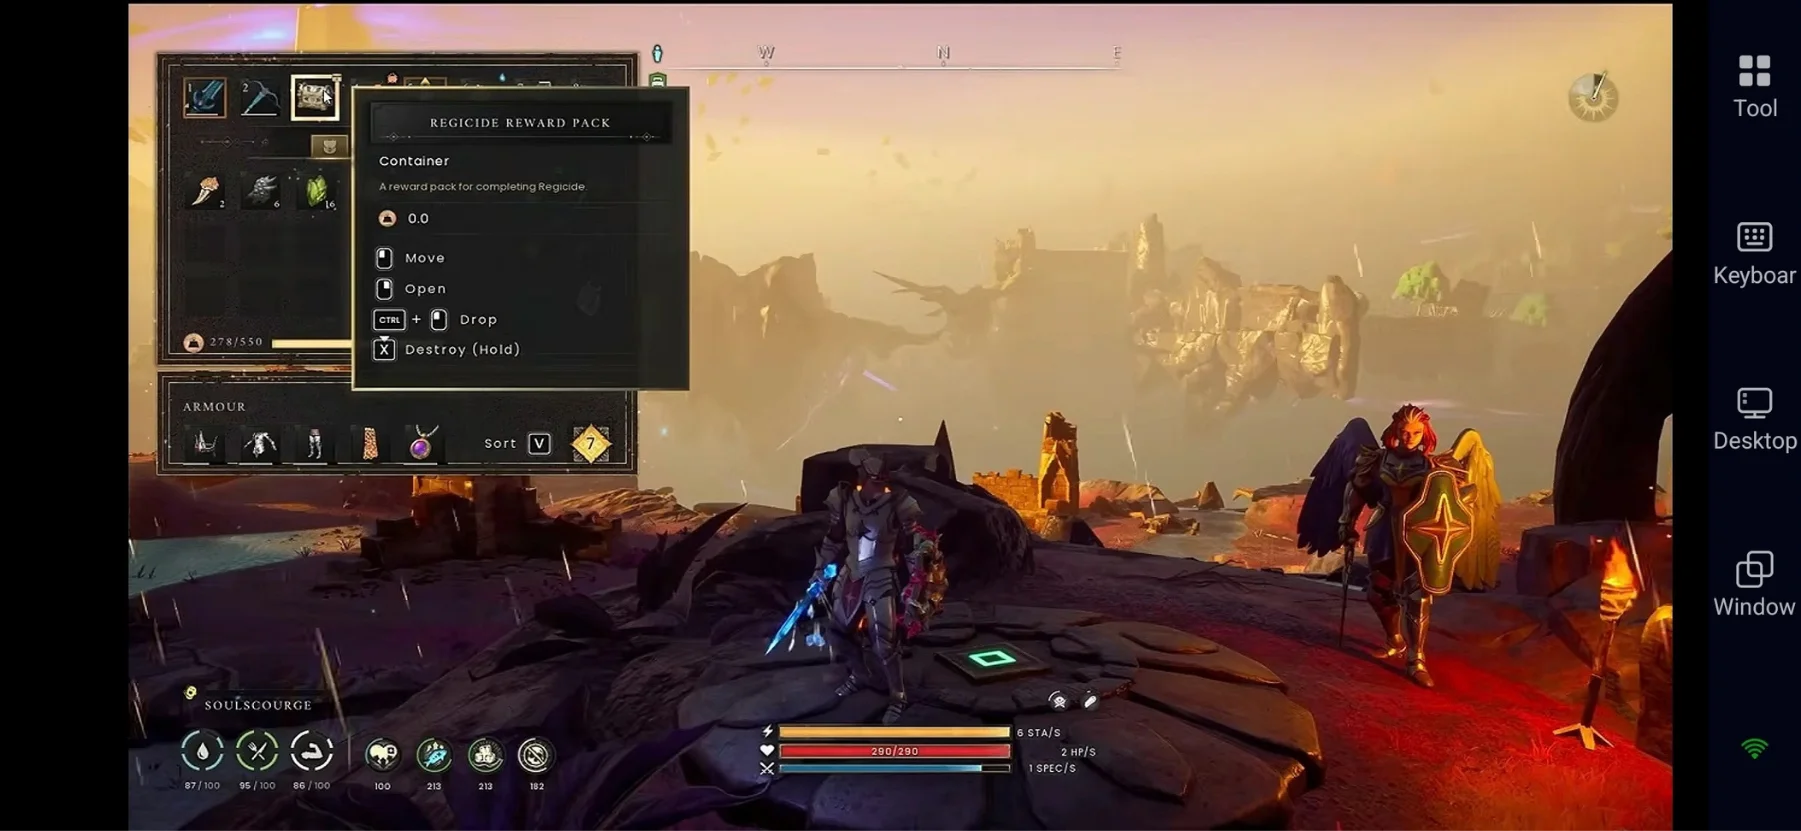
First Clear Guaranteed Rewards
On your first successful completion of the Scorned Wilderness raid (tied to the Regicide quest), you'll be teleported back to Commander Zilyana to obtain your first completion reward from the Regicide Reward Pack, including:
-
Dragon Kiteshield – A strong high-tier shield and one of the best defensive options available after the fight.
-
Dragon Slayer Cape – Provides +2 Melee Defence, +2 Ranged Defence, and +2 Magic Defence. It is a prestige cape with solid defensive stats.
Always Drops (Every Kill)
These items drop every time you defeat Kuldra:
Queenslayer’s Reward Pack – Contains one random rare Dragon-tier item, including:
-
Dragon platebody
-
Dragon platelegs
-
Dragon full helm
-
Dragon scimitar
-
Dragon crossbow
-
Kuldra’s Wrath
Note: After the first clear, you can farm Kuldra again for more Queenslayer’s Reward Packs to collect additional Dragon gear.
Conclusion
And that’s everything you need to know to defeat Kuldra from this RuneScape: Dragonwilds Kuldra boss guide. First, understand the boss’s attack patterns, then prepare your gear loadout and essential consumables before entering the fight. With these strategies, you can handle each phase, avoid deadly attacks, and take down the Kuldra boss more confidently. For a more comfortable gameplay experience, you can use OSLink to play RuneScape: Dragonwilds 1.0 remotely onyour phone. Then, you’ll have the freedom to continue your adventure wherever you go.
 Download