English
  Blog Game Guide Mortal Shell 2 Sariel Build Guide: Best Weapon, Sidearm & How to Play Sariel for Maximum Survivability
Sariel the Endless plays unlike most other Shells in Mortal Shell 2. Instead of relying purely on armor or avoiding every hit, his playstyle revolves around turning incoming damage into recoverable Pain, using Curse to punish enemies, and converting successful recovery into Trauma that can break their posture. In this Mortal Shell 2 Sariel build guide, we'll break down his abilities, the best weapon and sidearm, recommended Tarstones, skill priorities, and the combat loop that makes Sariel so difficult to bring down.
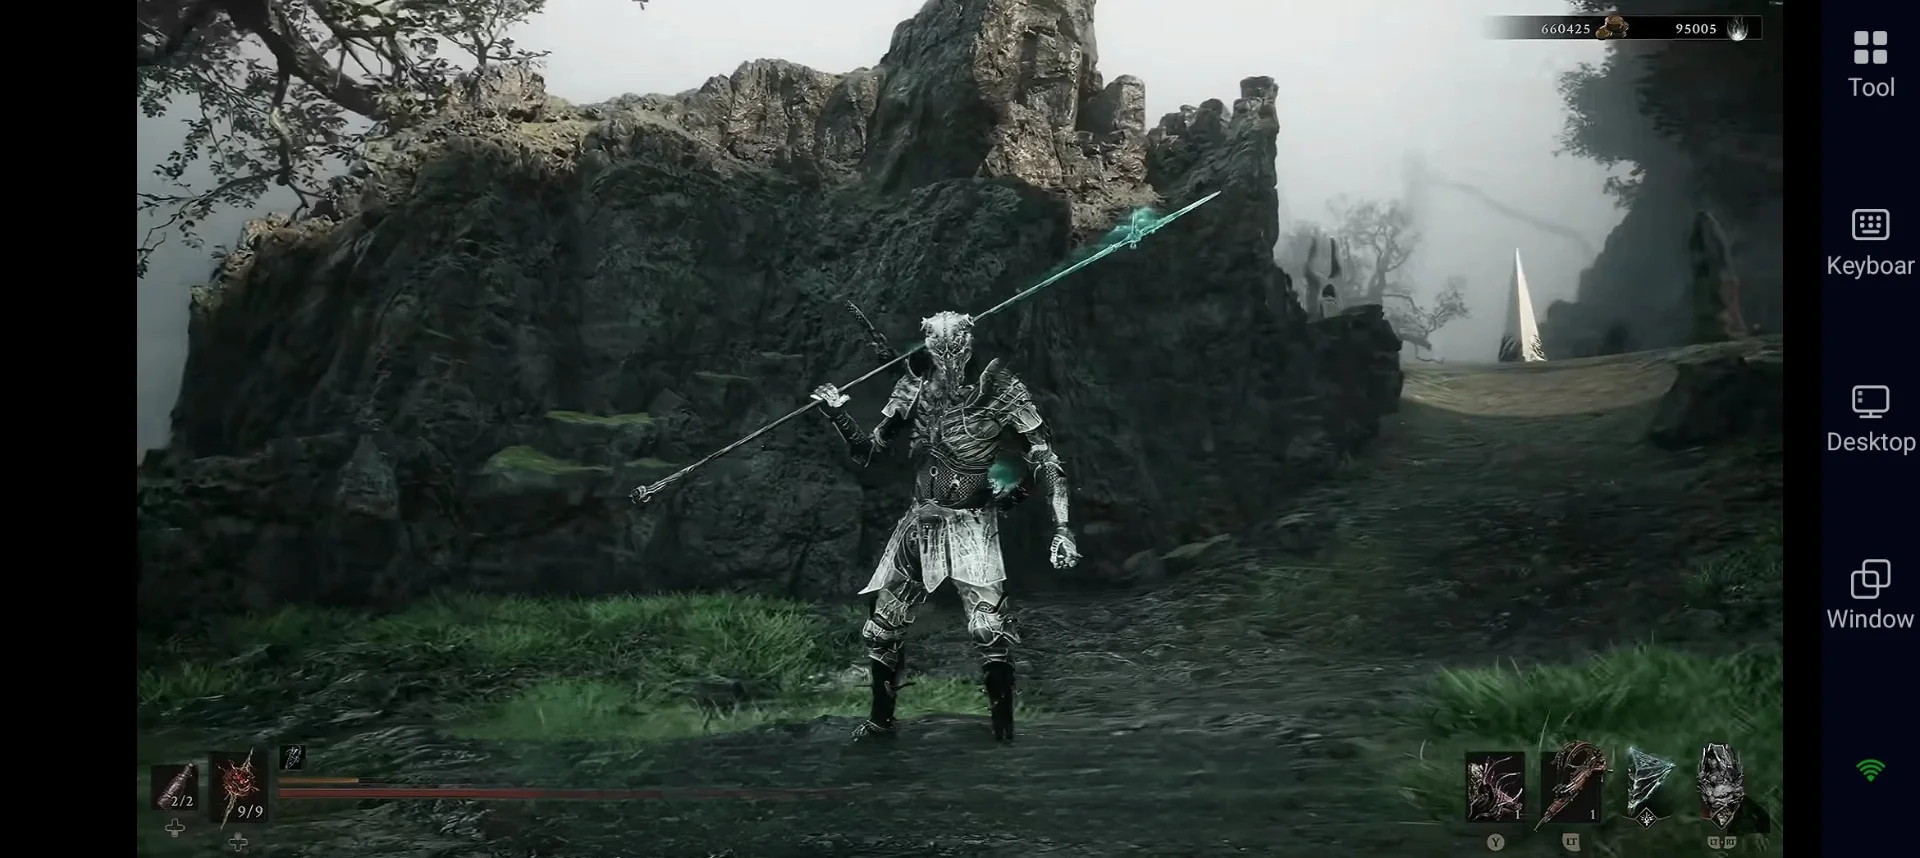
Once you understand how Sariel's Pain, Curse, and Trauma mechanics work together, the main challenge is learning to maintain that rhythm during longer fights. If you want to practice your Sariel build while you're away from your PC, OSLink lets you play your Mortal Shell 2 PC session from your mobile device, making it easier to continue exploring, farming, or practicing your combat loop wherever you are.
Mortal Shell 2 Sariel Overview
Sariel becomes available relatively late in the Ruins of Mammon region. Head to the Silent Steps beacon in the southeast, engage Sariel in the open, then pursue him into the Chamber of Becoming. Destroy the glowing stone plates around the arena to stop his resurrection cycle, finish the fight, claim the Clockwork Scythe, view the memory, and unlock the Shell itself along with the Caged Hystrix sidearm. Once you inhabit him, the real work begins: investing Glimpses to raise Bond Tier and spending Shell Points on the right abilities.
Understanding Sariel’s Core Mechanics
Sariel’s entire identity revolves around two resources that most players initially treat as drawbacks.
Pain converts a portion of your health into grey health (the classic rally system). Landing melee hits recovers that grey health. Taking a hit while any grey health remains wipes the entire grey portion. At maximum Pain your dodges become noticeably faster. Curse stacks applied by Exodus of Thorns eventually trigger a full Curse state: the enemy’s next melee attack against you is nullified and reflected.
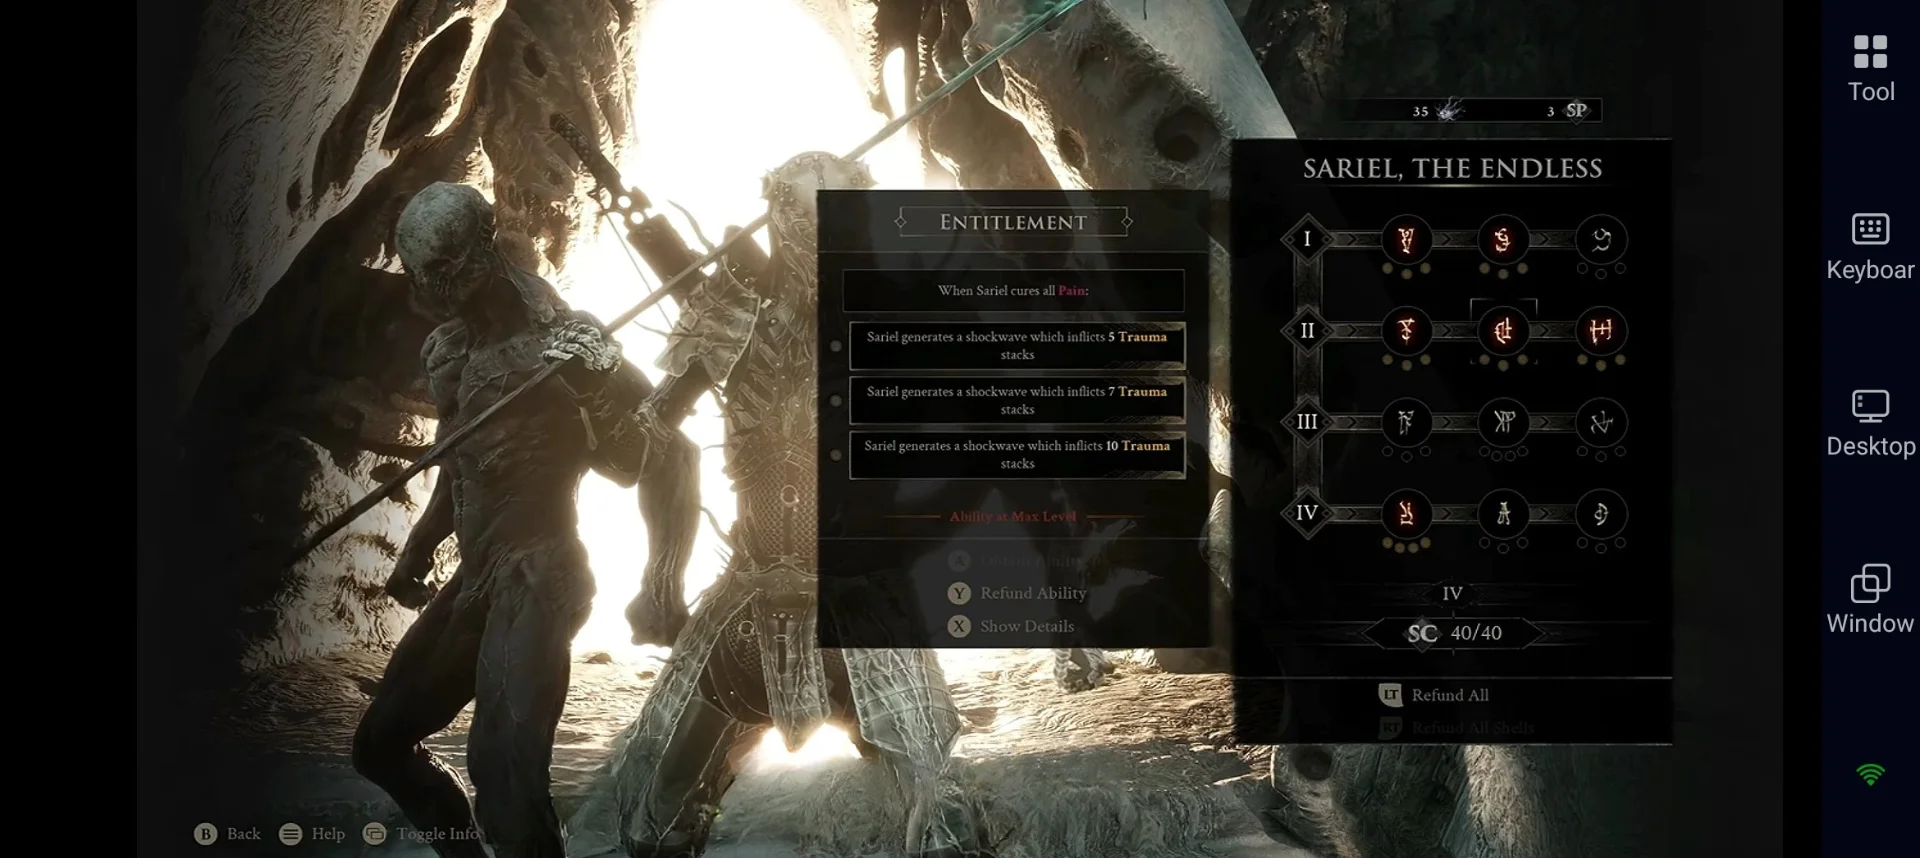
The passive Purge makes the system work. While you have no Pain, 50 % of incoming damage is converted into Pain instead of permanent loss. Higher investment in Frailty pushes that conversion even higher, up to 100 %. The active Exodus of Thorns launches tracking parasitic projectiles that apply Curse while simultaneously generating Pain on yourself. Every successful recovery of Pain can then trigger Entitlement for a shockwave of Trauma stacks that apply break damage over time, setting up devastating Ripostes.
Master these interactions and Sariel stops feeling fragile and starts feeling almost immortal against single targets and small groups.
Mortal Shell 2 Best Sariel Build Overview
The highest-performing setup right now is the Break-focused Trauma build. It turns Sariel’s natural Pain recovery into a consistent source of posture damage while still maintaining strong Curse application and survivability. The goal is simple: stay in the Pain loop, apply Trauma on every full recovery, and finish enemies with Ripostes or heavy weapon pressure.
Best Weapon for Sariel and Best Sidearm for Sariel
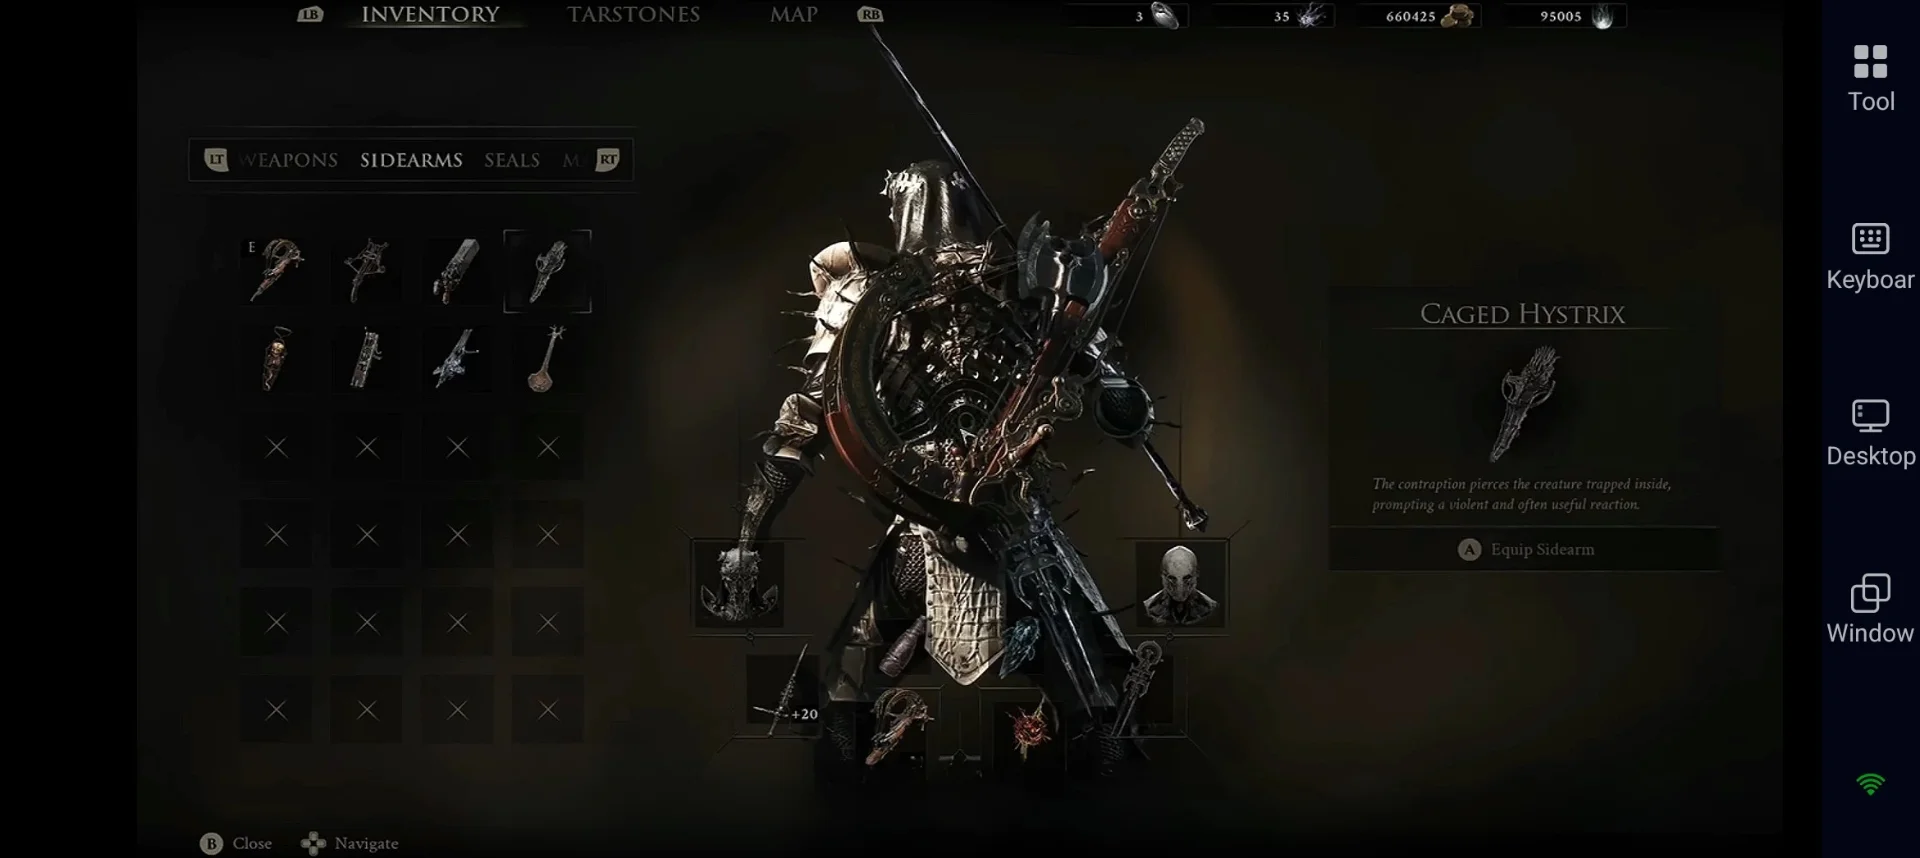
|
Slot |
Recommendation |
Why It Works |
|
Primary Weapon |
Veteran’s Battle Axe |
Solid damage, excellent stagger, accepts Curseblood Stone infusion cleanly, and its heavy attacks create space while you recover Pain. |
|
Sidearm |
Caged Hystrix |
Fast fire rate, generous ammo pool, excellent for chip damage and exploring while your thorns recharge. Obtained in the same Chamber of Becoming as the Shell. |
Strong Alternatives
-
Clockwork Scythe (thematic and has good reach)
-
The Iconoclast or Black Needle for faster Curse stacking if you prefer a more aggressive playstyle
Recommended Tarstones
For a best Mortal Shell 2 build guide, you should know the tarstones pretty soon to sip. It feels divine and here they are:
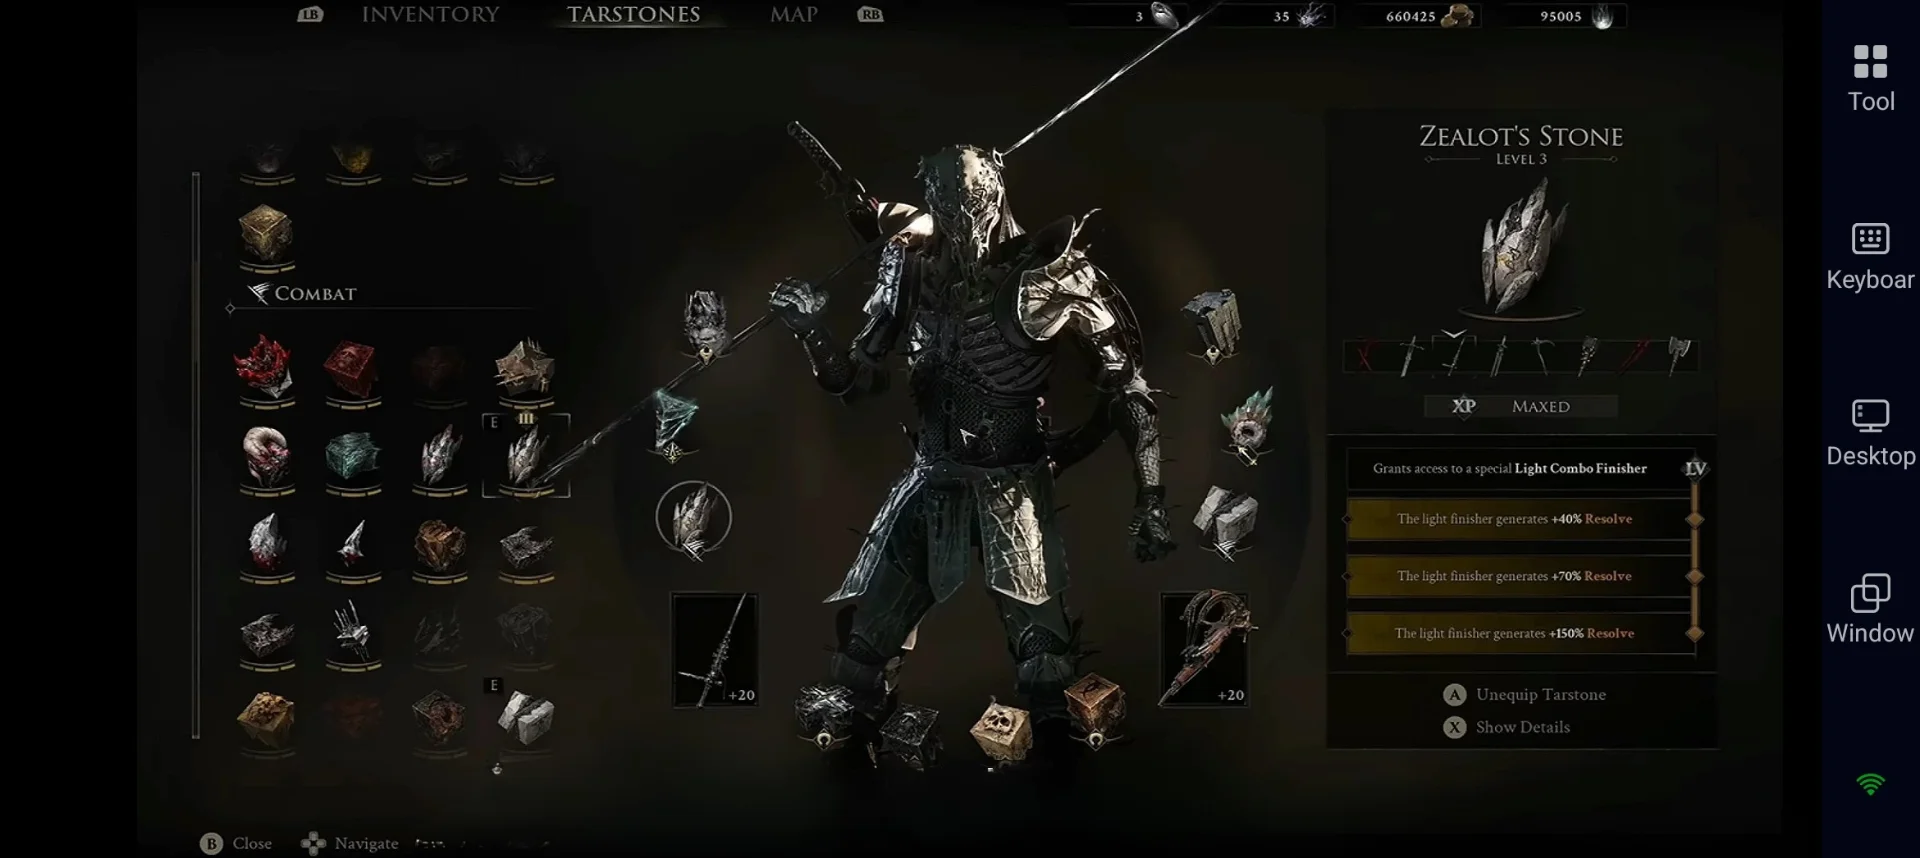
|
Weapon Tarstones |
Curseblood Stone (Infusion) – Keeps Curse flowing from every swing. Grudge Stone or Zealot’s Stone (Combat) – Guaranteed crits or improved light-combo finishers. Lost Clotstone (Ability) – Creates distance when enemies close in. |
|
Sidearm Tarstones |
Strange Remnant or Splitting Stone for multi-target clearing Hag Stone if you want additional Poison pressure |
|
Support Tarstones |
Auspicious Stone + Headsman’s Stone (or similar crit packages) for higher damage spikes once Trauma has broken the target |
Optimal Shell Ability Allocation (30 Shell Points)
Prioritize the abilities that reinforce the Trauma recovery loop:
-
Entitlement (Tier II) – Level 3: Full Pain recovery generates a shockwave that applies 10 Trauma stacks. This is the heart of the build.
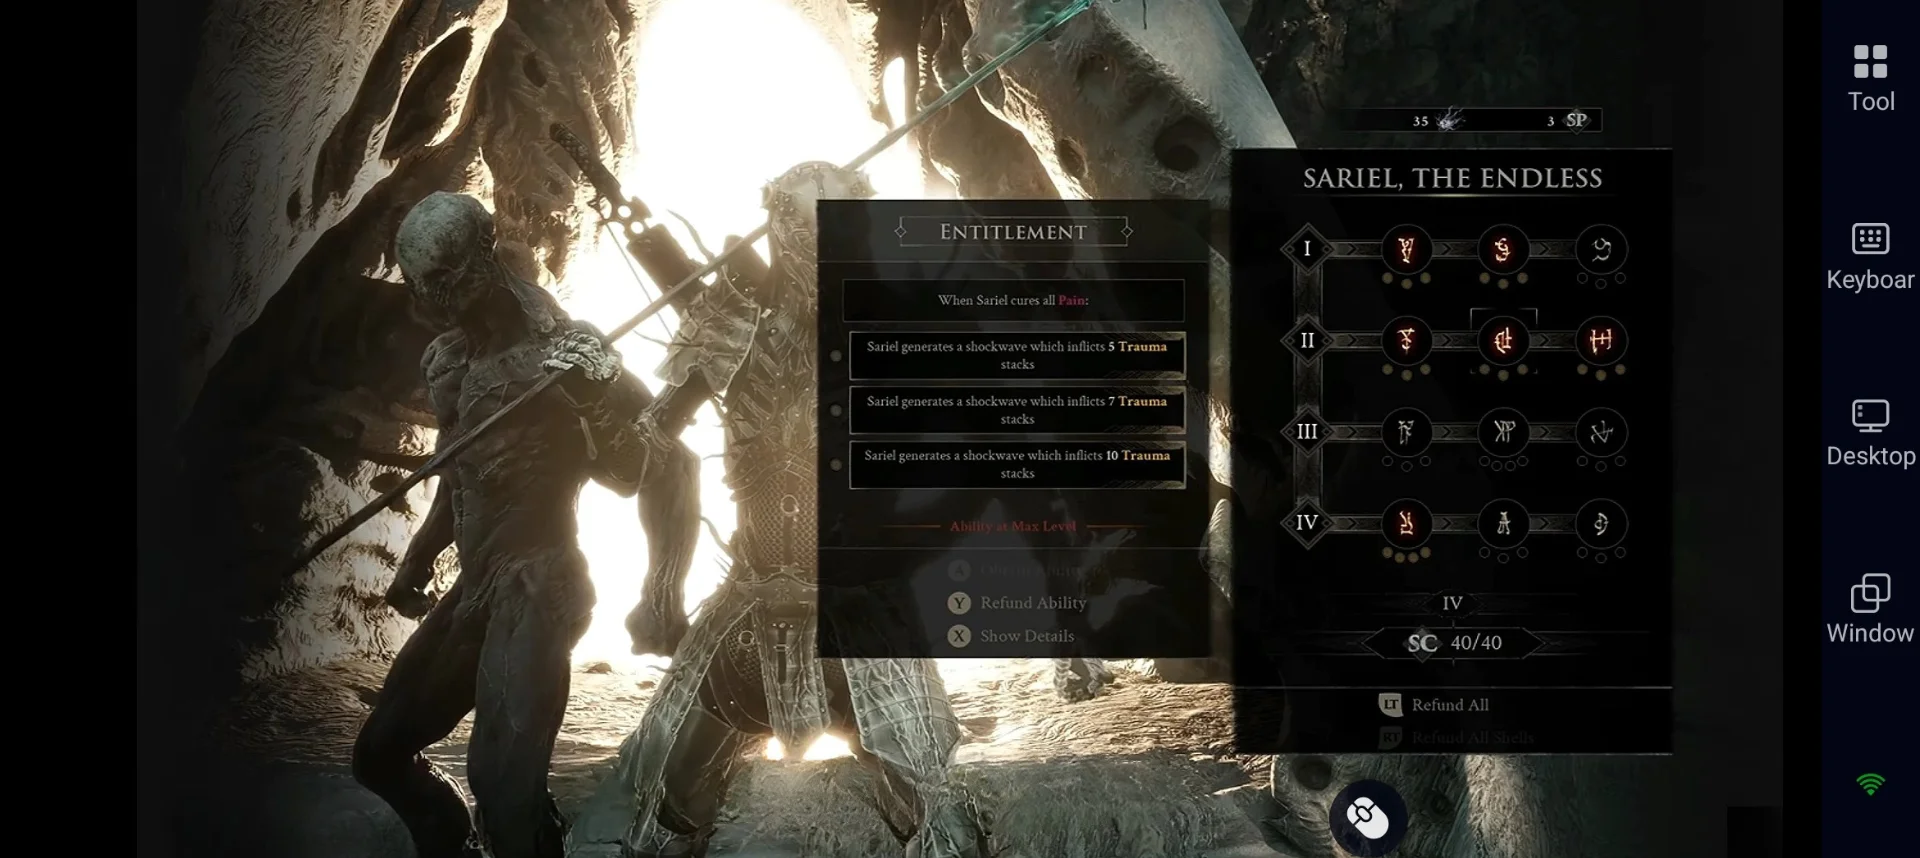
- Reaper (Tier I) – Level 2–3: Dramatically improves Pain recovery from damage (and eventually from ranged attacks).
-
Frailty (Tier II) – Level 2–3: Raises the percentage of incoming damage converted to recoverable Pain (up to 100 %).
-
Growth (Tier I) – Level 2–3: Increases Exodus of Thorns damage and eventually adds Perforation.
-
Torment (Tier III) – Level 2: Scales thorn damage and break damage based on current Pain.
-
Thornfall (Tier IV) – Level 2–3 when available: Extra thorn projectiles and splash damage for big Curse dumps.
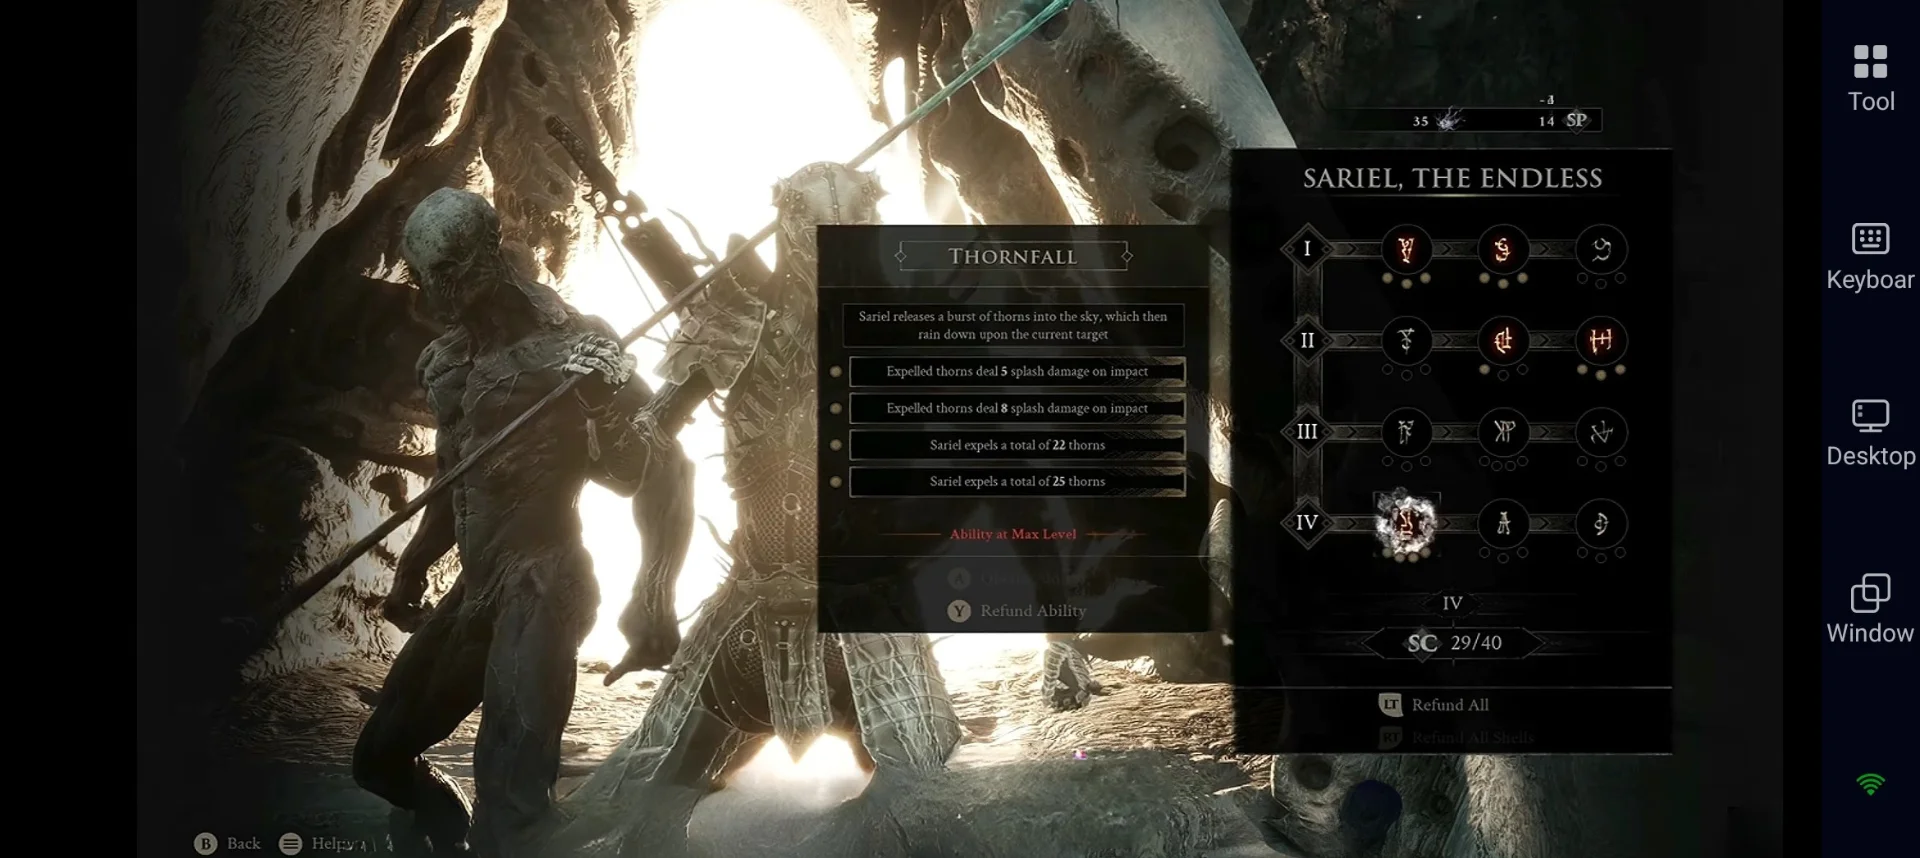
-
Synthesis – Level 2 for faster thorn regeneration.
Exact point distribution can shift slightly depending on your current Bond Tier, but Entitlement, Reaper, and Frailty should be maxed first. Higher Bond Tiers unlock the true power of the Shell; treat the early investment as the price of admission.
How to Play Sariel – The Combat Loop
-
Activate Curseblood Stone to infuse the Veteran’s Battle Axe.
-
Cast Exodus of Thorns the moment engagement begins—apply Curse and generate the first batch of Pain.
-
Aggressive but controlled melee pressure. Every hit recovers Pain.
-
When Pain fully recovers, Entitlement fires the Trauma shockwave.
-
Continue the cycle. At high Trauma stacks the enemy becomes vulnerable to Riposte for massive burst.
-
Use Caged Hystrix to maintain pressure during thorn cooldown or when you need to create space.
-
At maximum Pain, lean on the faster dodges and keep swinging and your recovery window is largest here.
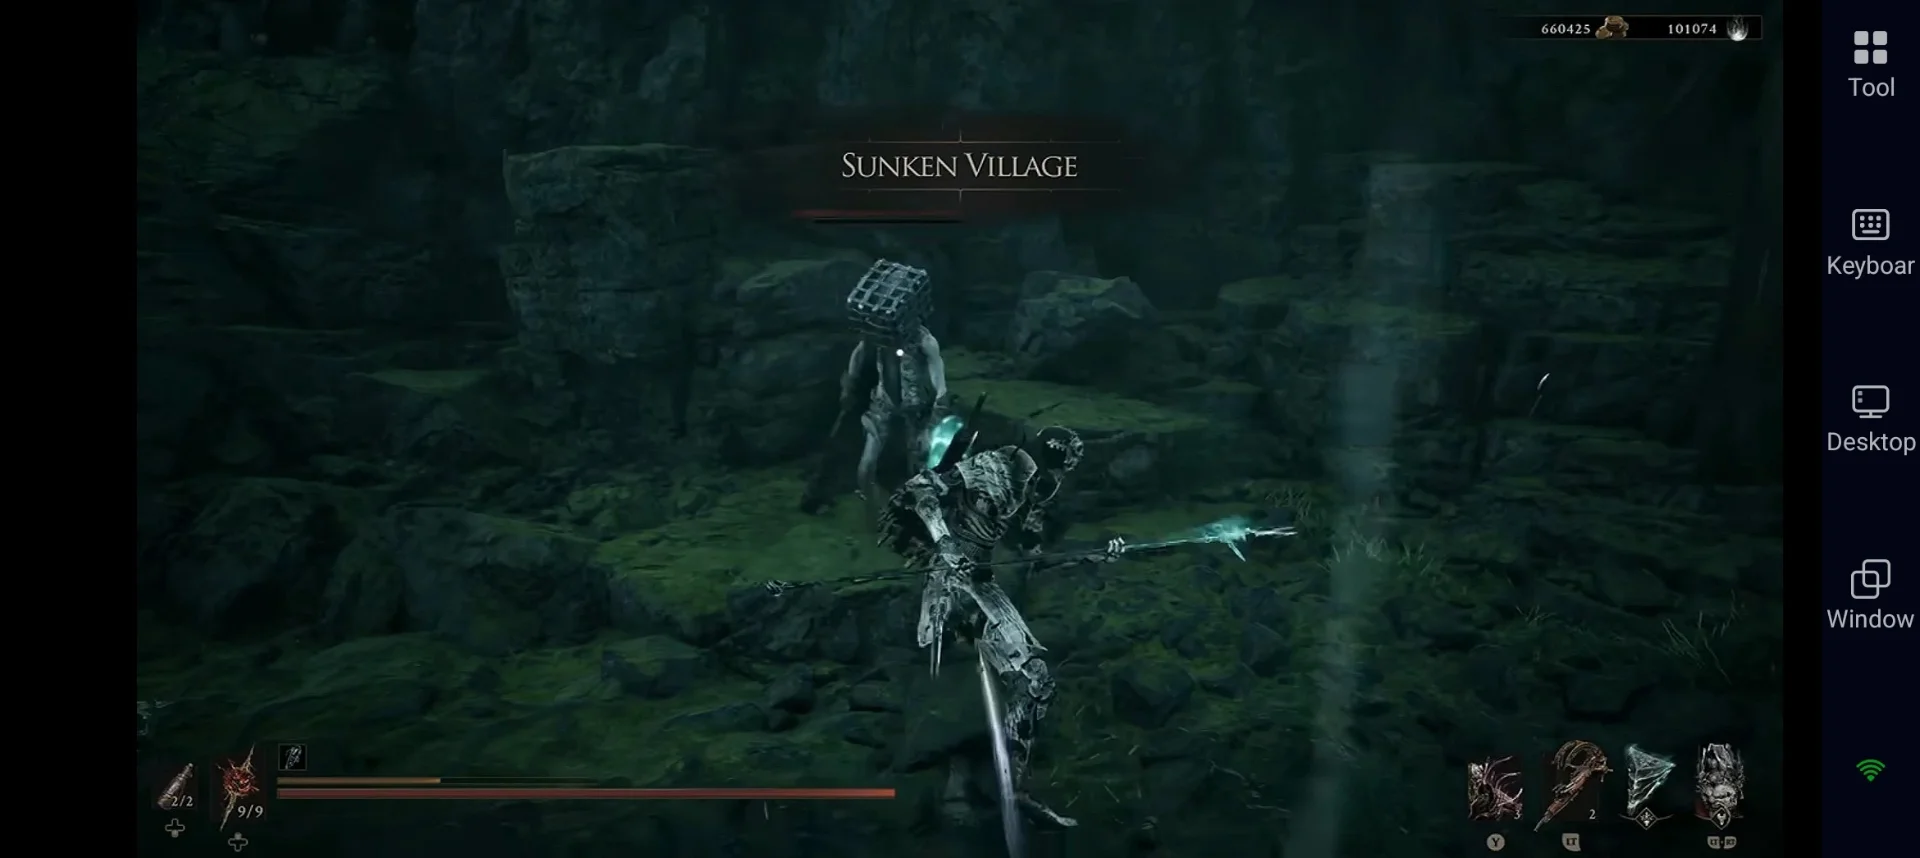
Against groups, prioritize the highest-threat target with thorns first so Curse reflects their attacks while you recover. Against bosses, the same loop still applies; simply be more deliberate with your dodges because a single unprotected hit can erase all grey health.
Early-Game vs Late-Game Adjustments
Early on (low Bond Tier) focus purely on Reaper and Frailty so you can survive long enough to farm Glimpses. Once you reach higher tiers, the Trauma and Thornfall investments turn Sariel into a posture-breaking machine. In pure exploration you can swap to more sidearm-oriented Tarstones and treat the Caged Hystrix as your primary damage tool while thorns handle Curse application.


 Pre-set Keymaps for Easy Play

Mistakes to Avoid If You Have to?
-
Casting Exodus of Thorns with no follow-up attacks leaves you with unrecovered Pain and no Trauma. Always plan the recovery swings.
-
Ignoring Frailty leaves too much damage as permanent health loss.
-
Over-committing to pure damage abilities before locking in the Pain-recovery loop. Survivability comes first; damage scales after.
-
Forgetting to destroy the stone plates in the Chamber of Becoming since Sariel will simply keep resurrecting.
Conclusion
Sariel becomes incredibly powerful once you stop treating Pain as a weakness and start using it as part of your damage and survivability loop. Keep your Pain recovery consistent, use Curse to control dangerous enemies, and turn each full recovery into Trauma to create openings for powerful Ripostes. With the right weapon, Tarstones, and Shell abilities, this Mortal Shell 2 Sariel build can carry you through difficult encounters while remaining one of the game's strongest sustain-focused options. And when you want to keep practicing or progressing away from your PC, OSLink lets you access your Mortal Shell 2 session from mobile so your Sariel journey doesn't have to stop when you're away from your setup.
 Download