English
Mortal Shell 2 takes you into a dark and dangerous world where every fight puts your combat skills to the test. But the real challenge begins when you face the powerful bosses waiting along your journey. Each boss brings unique attacks, tricky mechanics, and deadly patterns that can punish even a small mistake. Mastering when to dodge, parry, Harden, or strike is the key to victory. In this Mortal Shell 2 boss guide, we’ll cover every main boss, their locations, attacks, mechanics, and useful tips to help you defeat them.
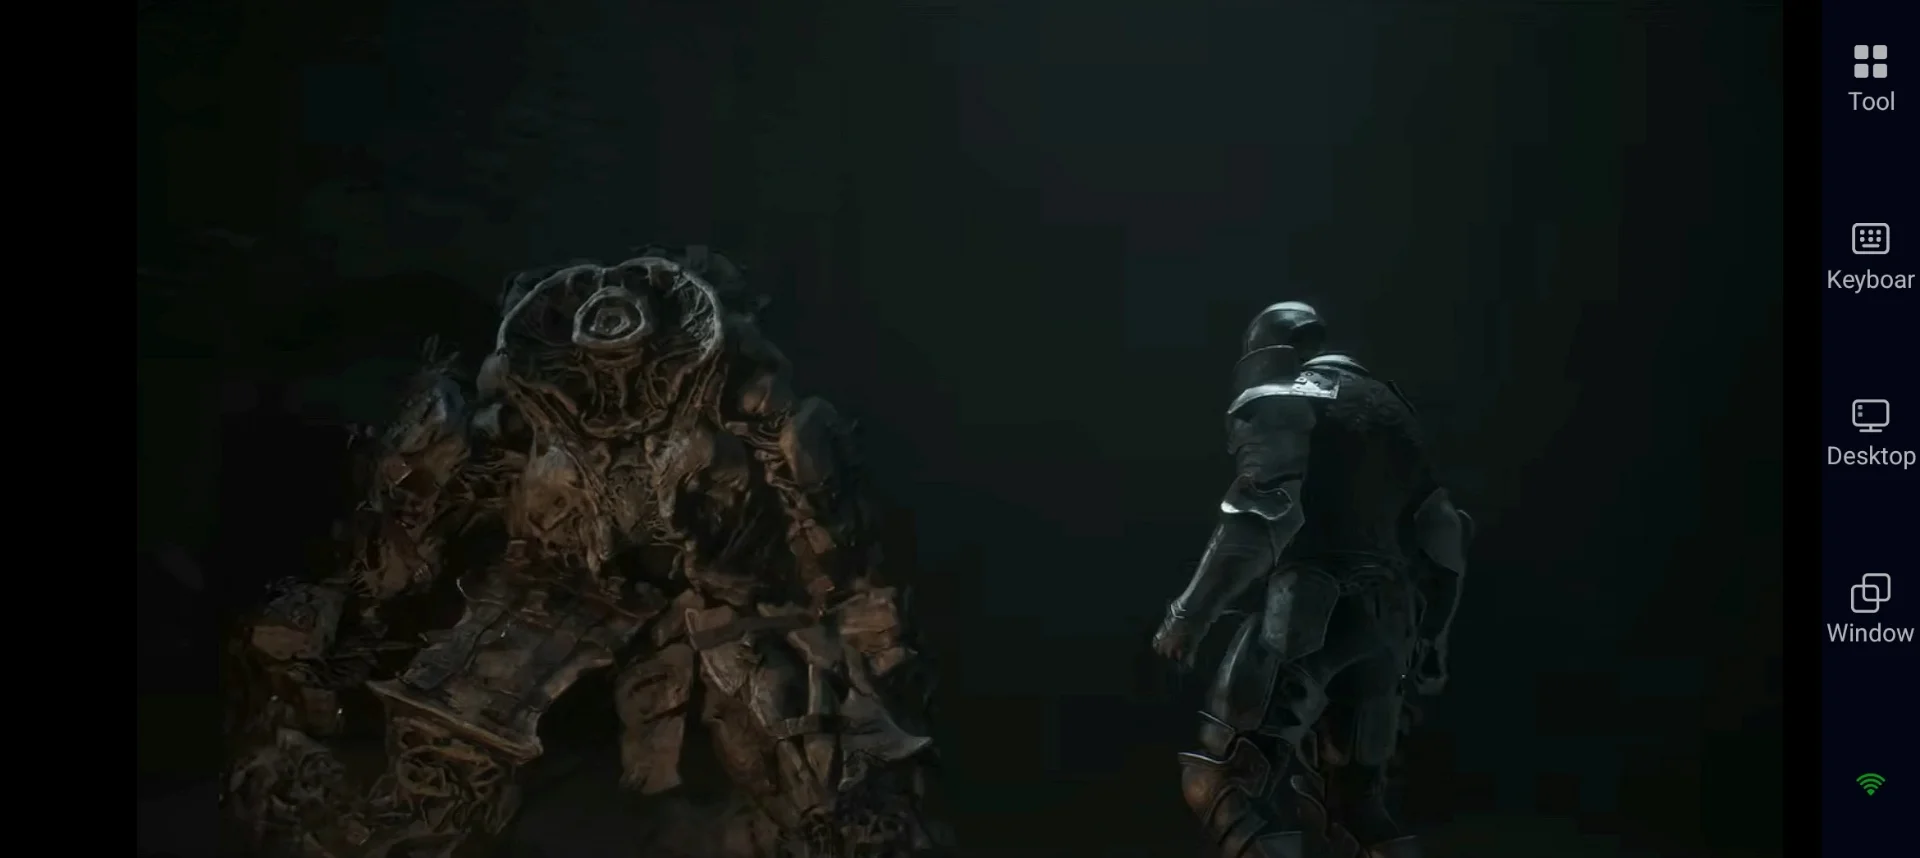
If you’re looking for a way to defeat tough bosses, progress through the game, and continue your adventure away from your PC, OSLink lets you remotely play Mortal Shell 2 on your PC from your mobile device. This lets you keep exploring the world, testing different strategies, and taking on challenging bosses whenever you have time for a quick gaming session.
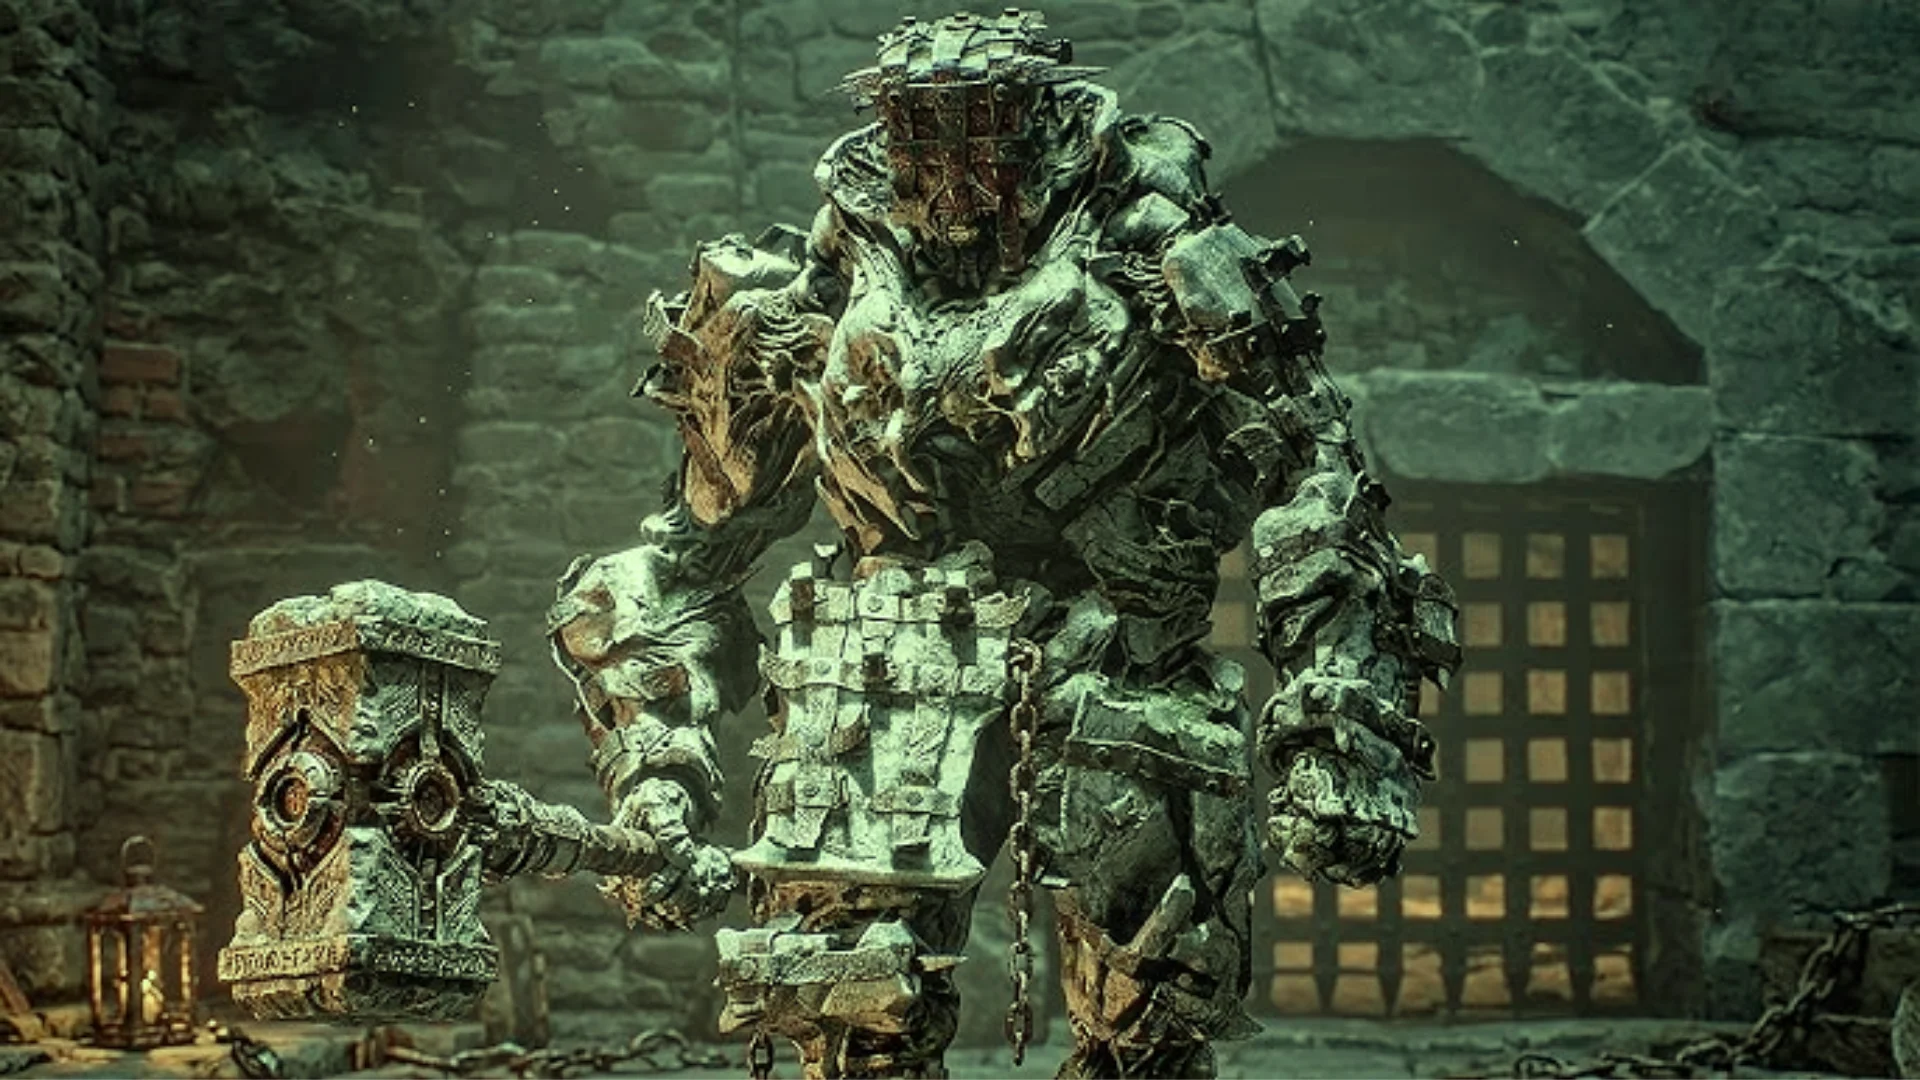
Tar Golem
Location
Near the Disciple’s Grotto Beacon during the Prologue, after the slope and giant Bone Gate.
Tar Golem is the tutorial boss that you gain as the first boss battle experience within your Mortal Shell 2 gameplay. You have to defeat this Boss to continue the story.
Key Boss Attacks
-
Leaps into the air and crashes down on your position with heavy unblockable force.
-
Delivers slow melee attacks covered in fire that can burn you.
-
Slams the ground and creates a shockwave and burst of fire around itself.
How to Beat Tar Golem
-
Keep moving and attack whenever you have a safe opening.
-
Parry its normal attacks to perform powerful ripostes.
-
Watch for the jump smash and quickly dodge or move away.
-
Equip the Burnt Effigy to reduce fire damage if you are struggling.
-
Avoid standing directly under the Golem when it jumps.
-
Keep attacking steadily to finish the fight before it times out.
Rewards
-
Defeating or progressing through the fight advances the story and rewards Gloom.
-
It is also connected to Vatra’s Seal progression.
Magdalena, Lady of the Woods
Location
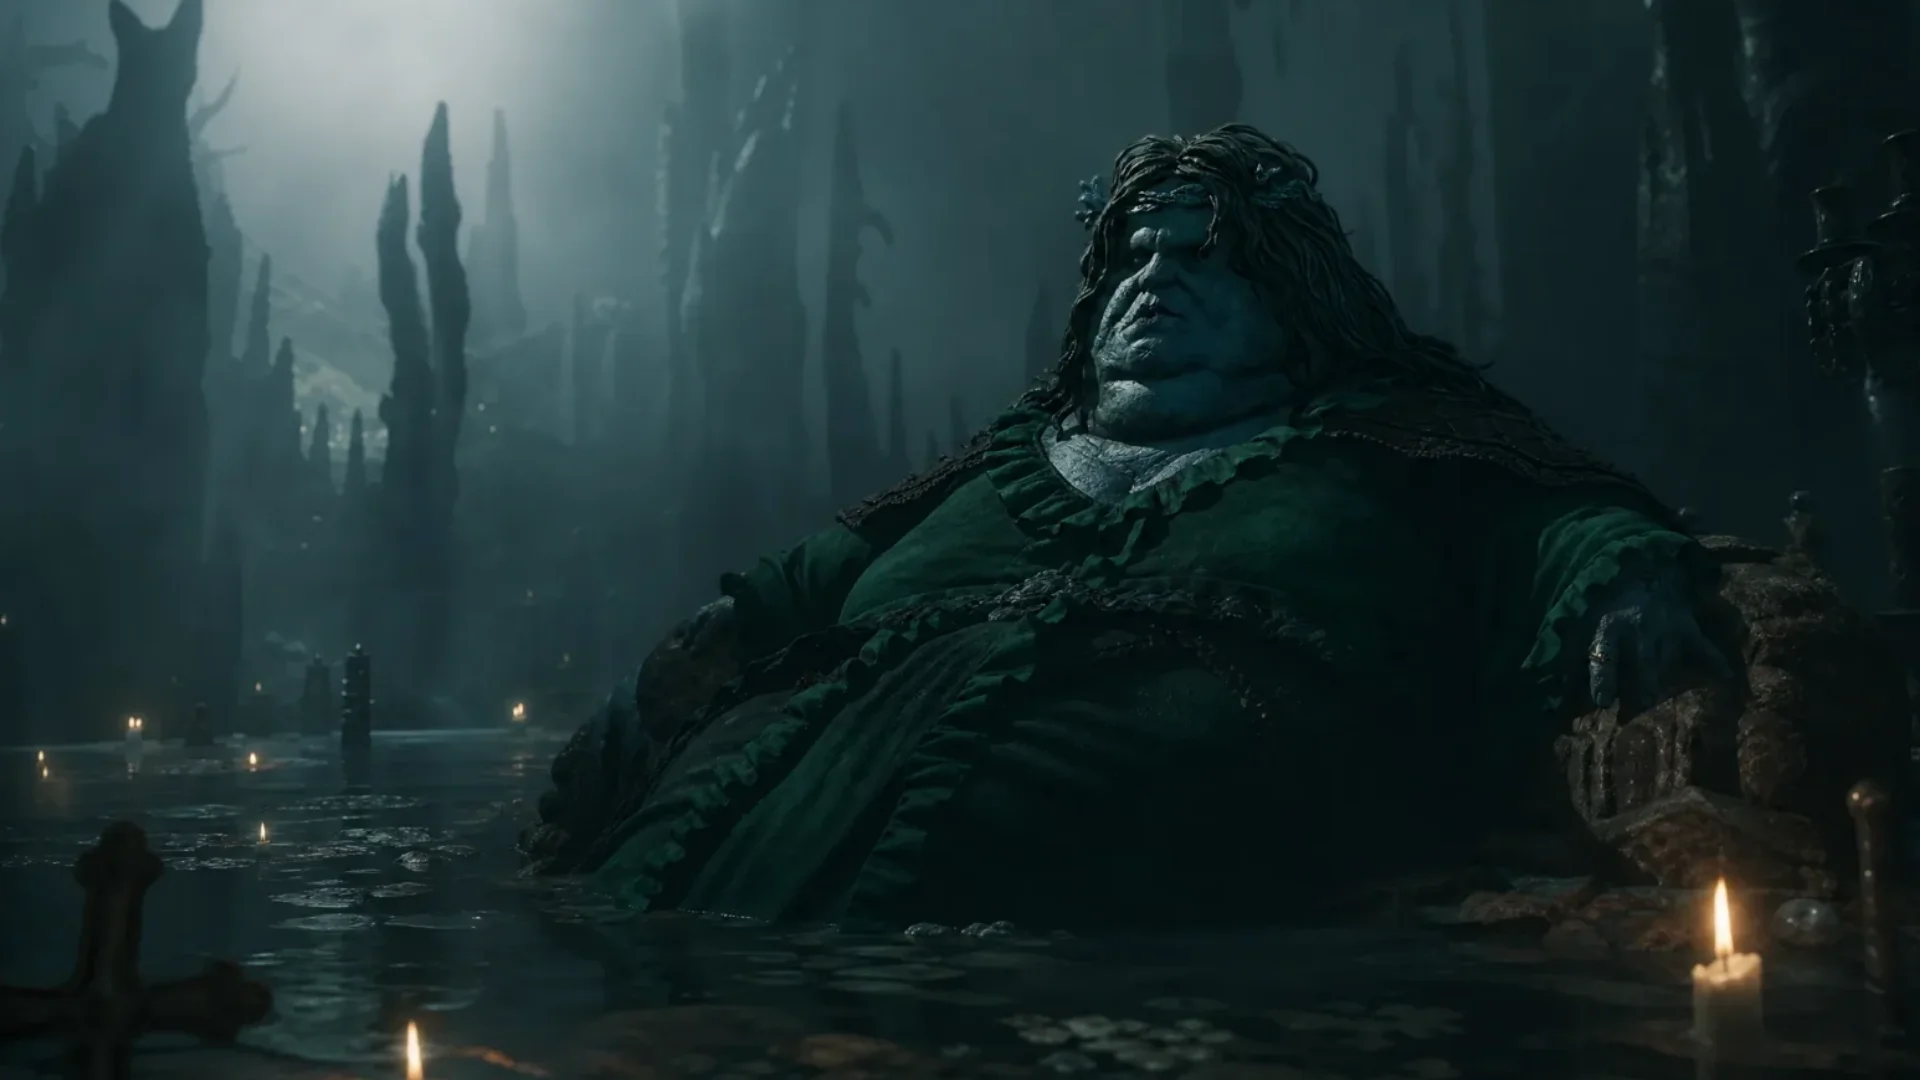
Glutted Mire Corrupted Gate dungeon in the Sunken Village area of Fainweald.
Magdalena is a dangerous boss within the main Mortal Shell 2 bosses. This Lady boss fights from a wheelchair with a spiked front roller. She uses charging attacks, fire, and explosive enemies to make the fight harder.
Key Boss Attack
-
Charges straight toward you at high speed.
-
Spins around and creates a ring of fire around her.
-
Summons Tar Babies that explode when they get close to you.
How to Beat Magdalena
-
Stay behind her whenever possible and attack the back of her chair to stun her.
-
Dodge her charges and fire spins, then attack with a combo while she is recovering.
-
Quickly defeat the Tar Babies when they appear around half health.
-
Move away from the wasp area instead of trying to fight inside it.
-
Keep your distance from the tracking projectile and dodge when it gets close.
-
Equip fire resistance items or perks like Burnt Effigy if you are taking too much fire damage.
-
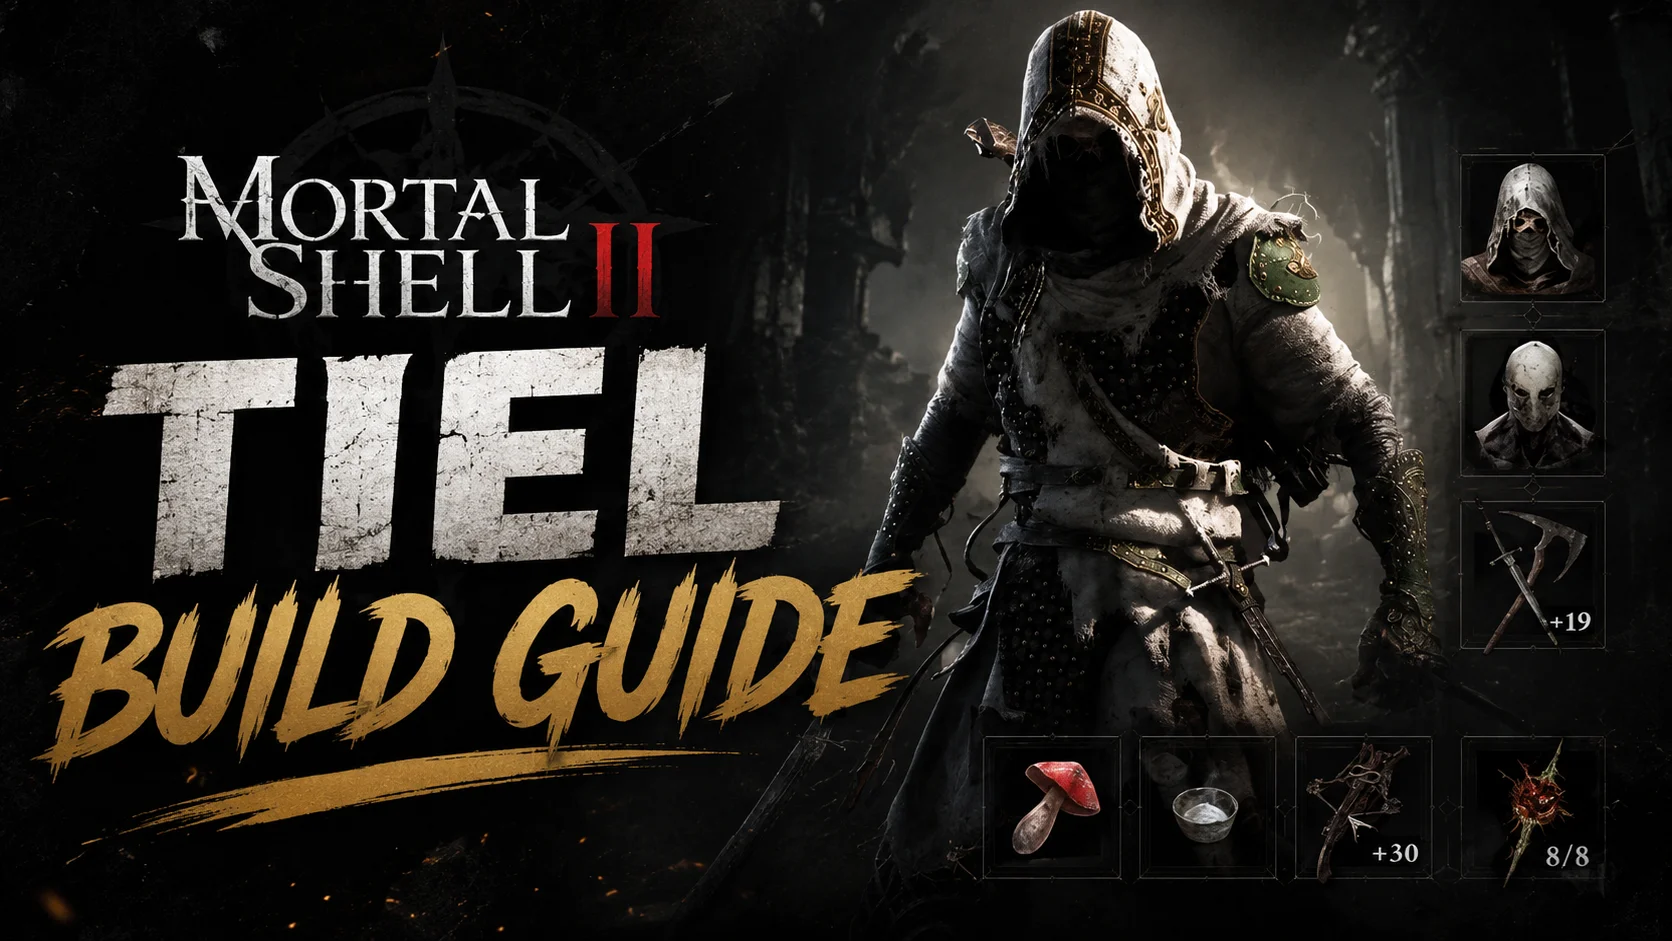
Shell Recommendation: Tiel is useful because of his mobility, while Smert can also help if available.
Rewards:
x1 Magdalena’s Memento and Glooms
The Lost Child
Location:
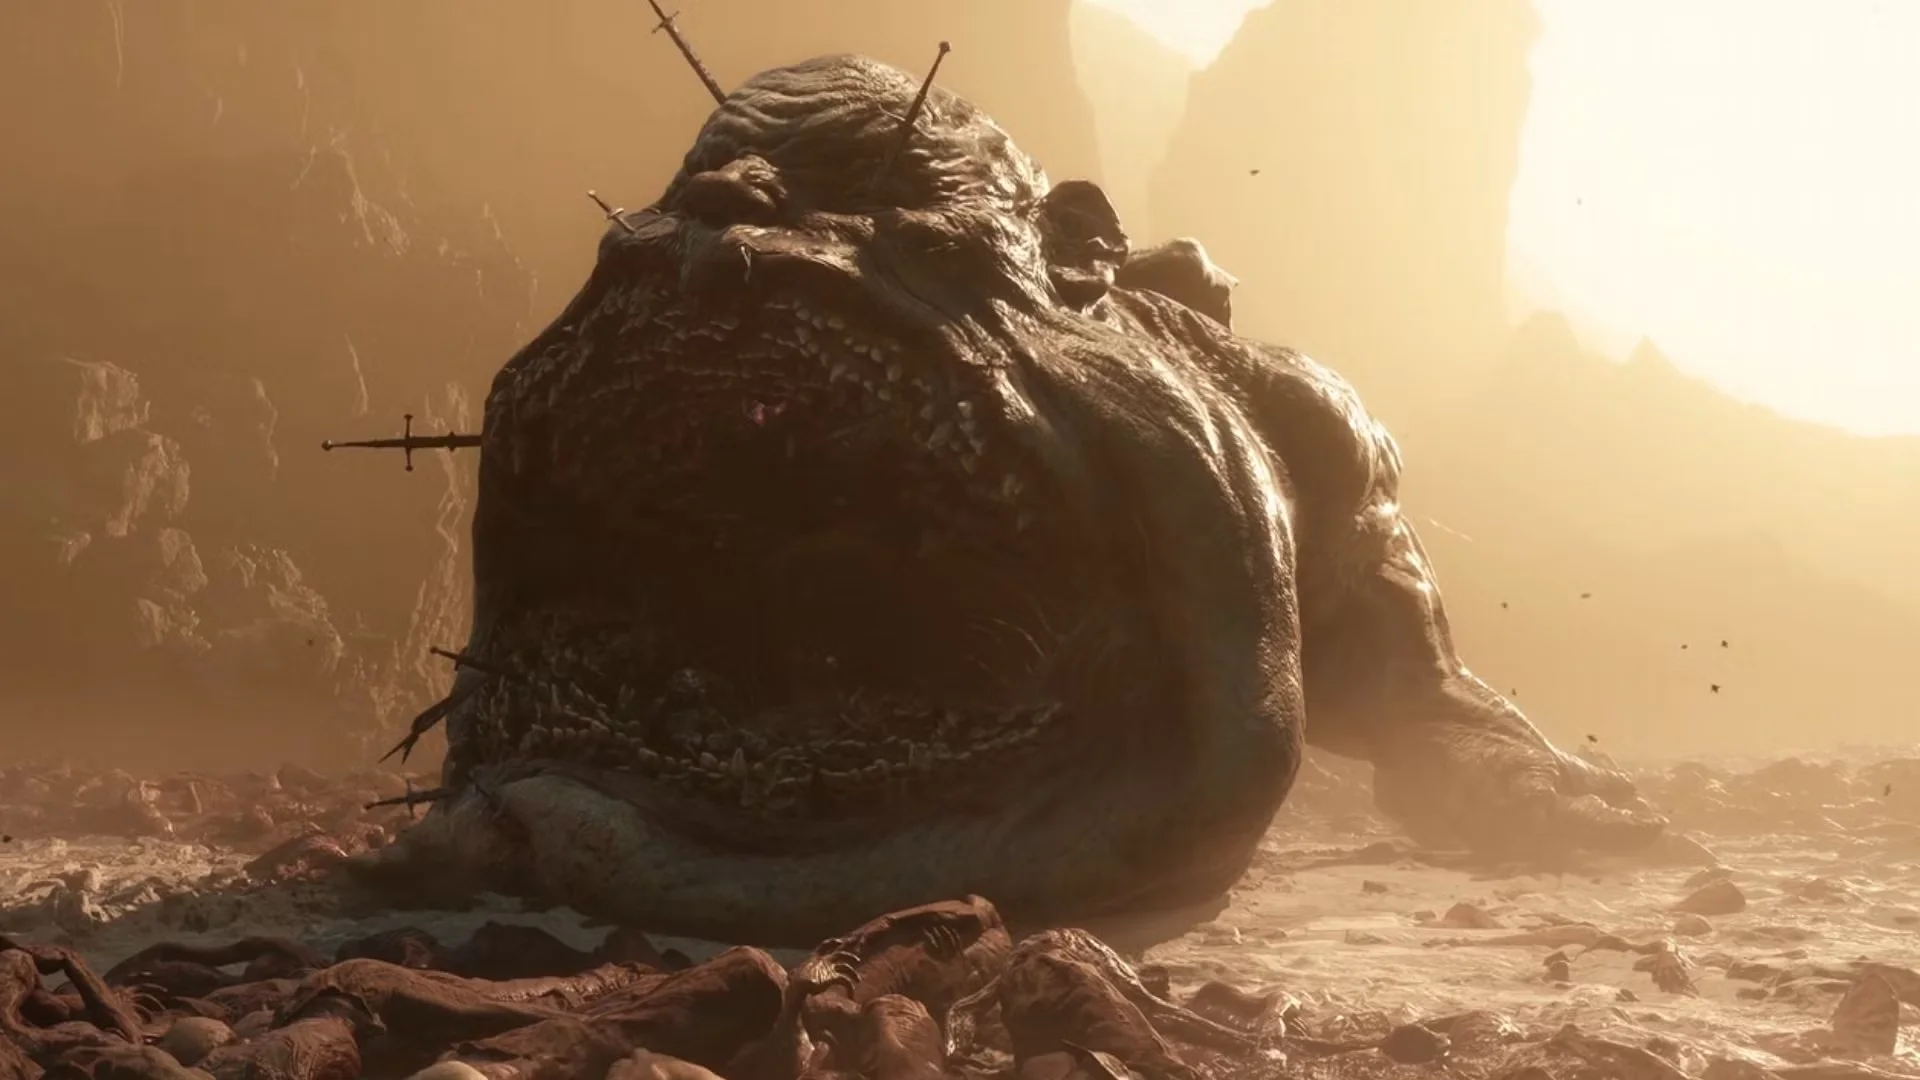
Near the Sanguine Caverns Beacon in Fainweald.
The Lost Child boss is a large blob-like creature with a huge mouth and long arms. It uses close-range attacks, ranged attacks, and a dangerous grab that can deal heavy damage.
Key Boss Attacks
-
Swings its long arms in a wide area.
-
Quickly bites up to three times in a row.
-
Jumps into the air and lands on your position.
-
Jumps away and sprays corrosive fluid from behind.
-
Grabs you, swallows you, and throws you out with heavy damage.
How to Beat The Lost Child
-
Avoid staying directly in front of the boss for too long.
-
Dodge or use Harden against its bites and arm swipes.
-
Keep dodging sideways when it uses Goop Spew.
-
Watch for the grab attack and quickly move away.
-
Be more careful when its health drops below half, as its attacks become faster.
-
Shell Recommendation: Summon Tiel before entering the arena for better mobility.
Rewards:
x1 Lost Clotstone and Glooms
Nameless Captive
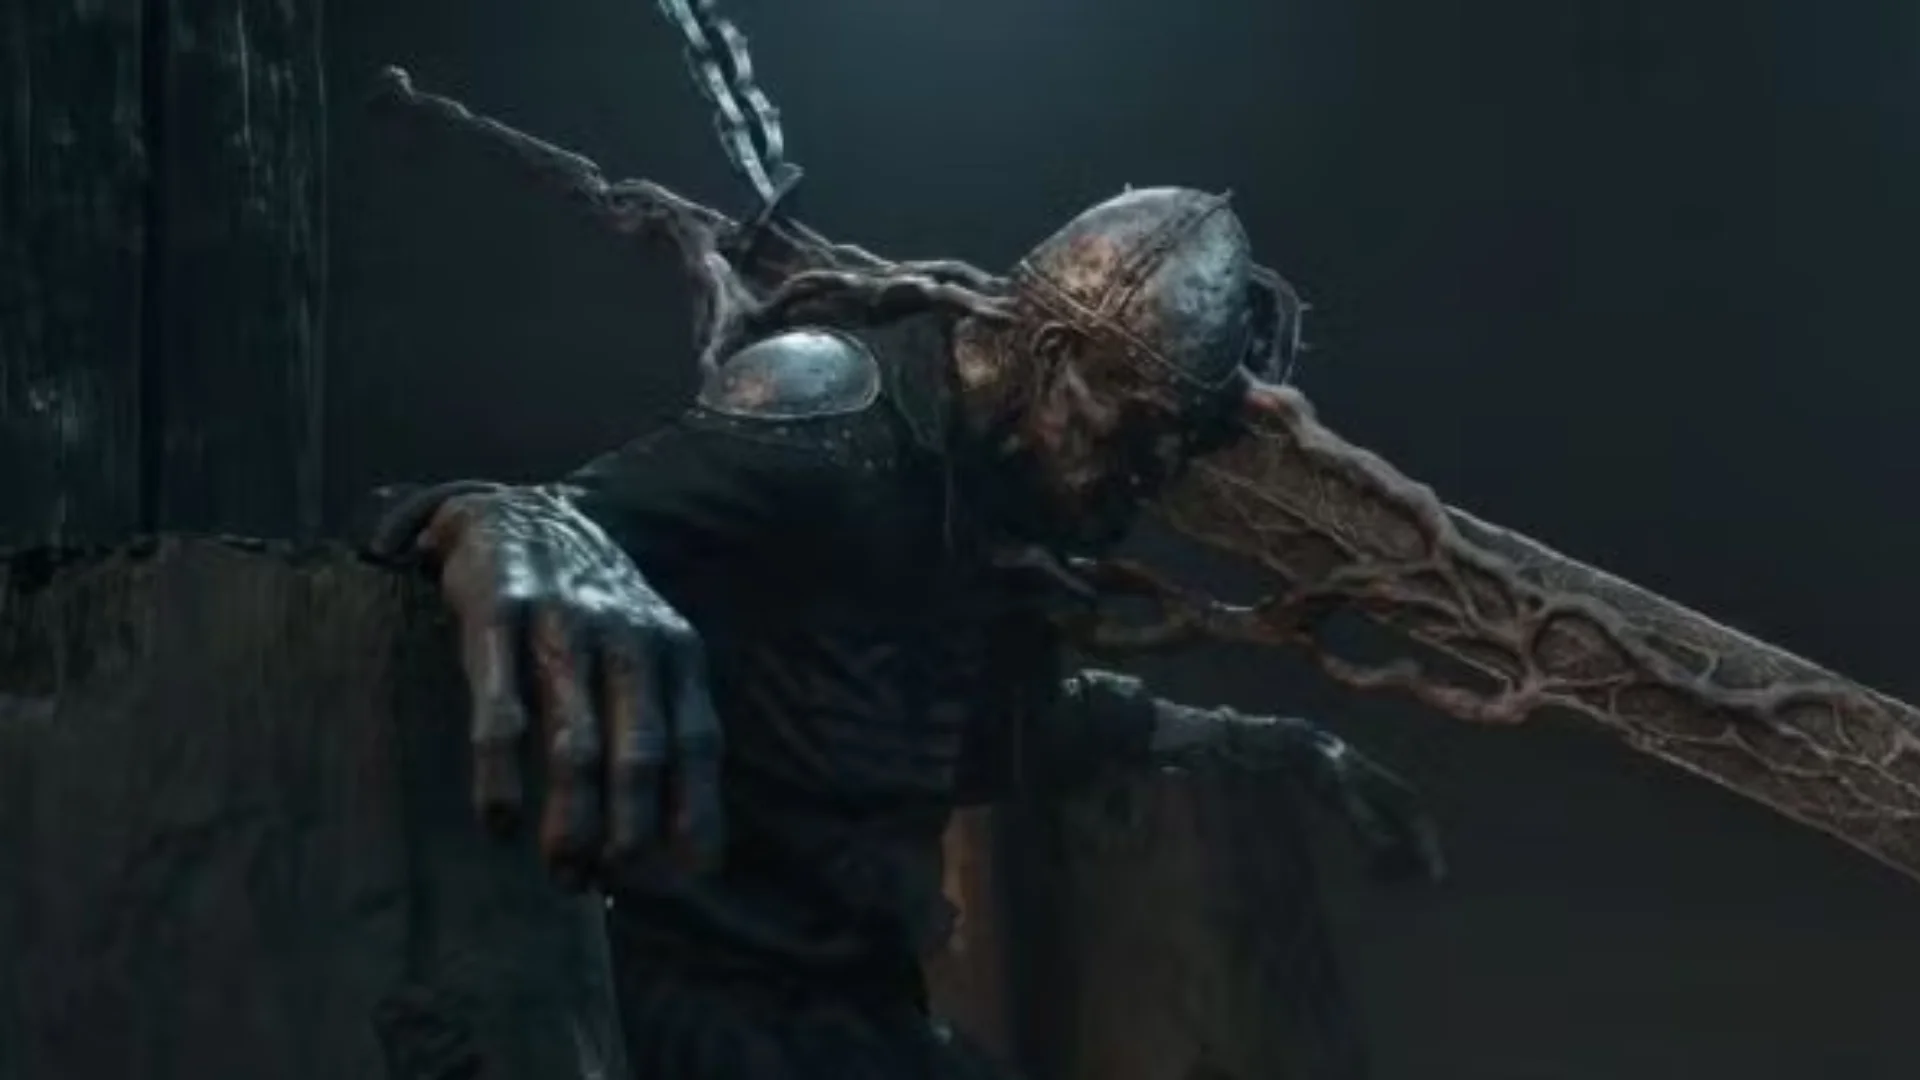
Location:
Prisoners’ Domain region, near the Executioner’s Pulpit beacon.
Nameless Captive is a large soldier-like boss with a huge blade stuck in its head. This boss fight is mainly a melee fight, so learning its attack patterns is important.
Key Boss Attacks
-
Repeatedly stabs the ground with the large blade.
-
Spins several times and attacks a wide area.
-
Slams its head into the ground one or three times.
-
Performs a fast seven-hit spinning attack with his huge blade in the second phase.
How to Beat Nameless Captive
-
Learn its attack patterns and parry or block its multi-hit strings.
-
Parry its four-hit combos and head smashes to stun the boss.
-
In the second phase, run away from the Seven-Hit Spin or parry every hit.
-
Stay patient and attack after successful parries.
-
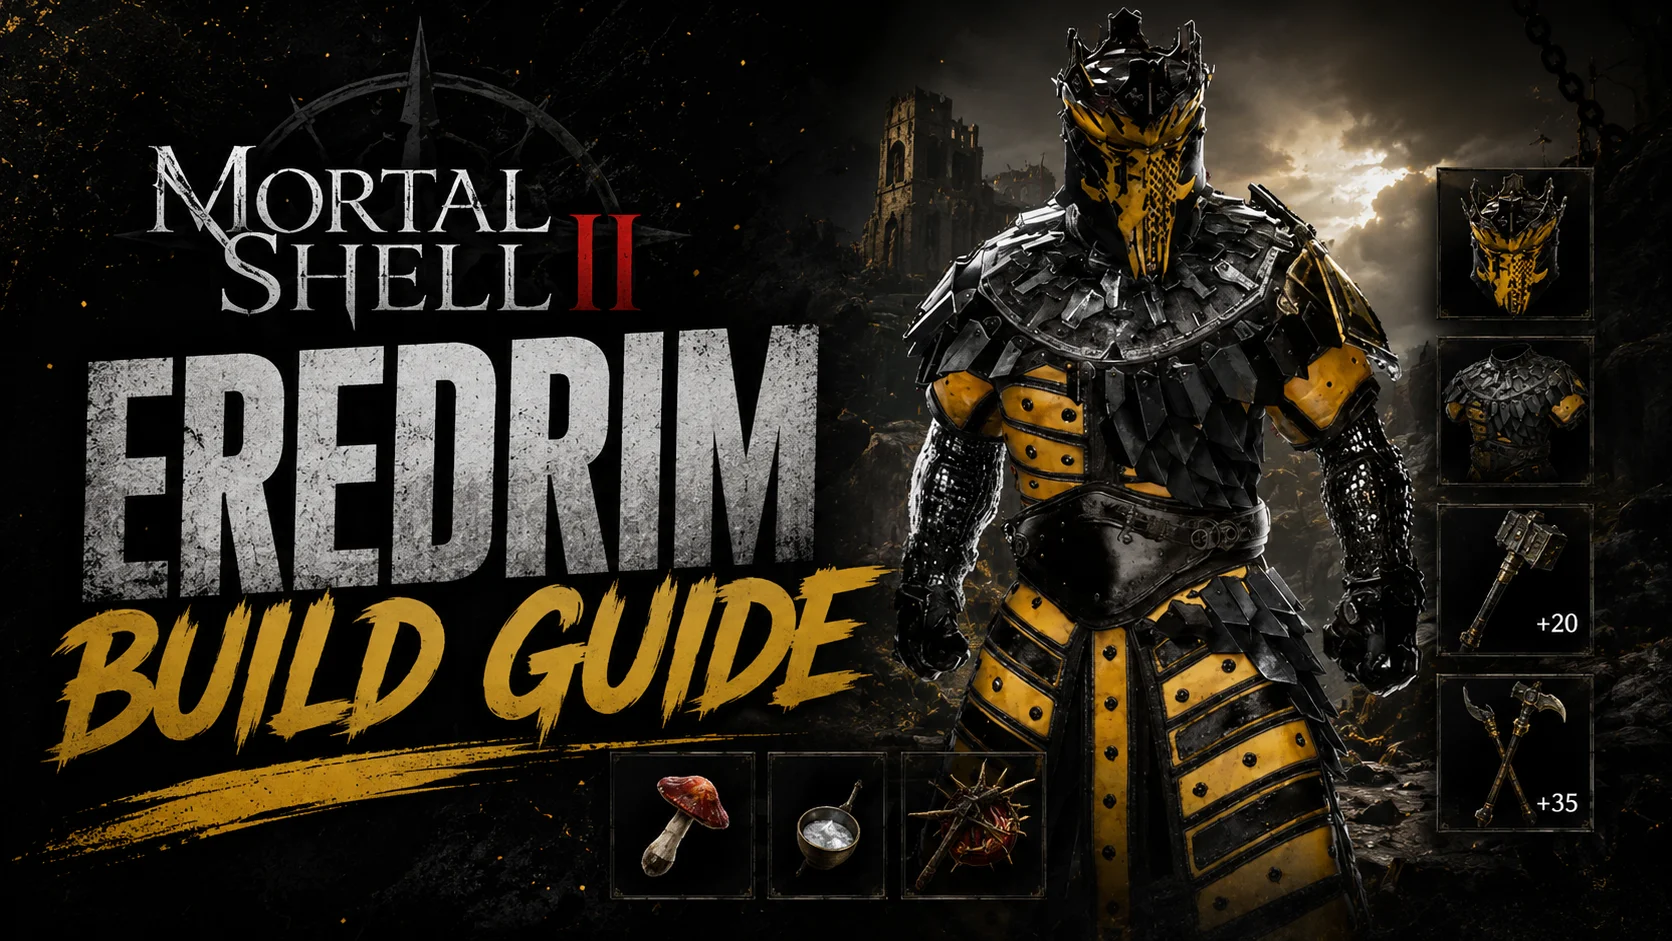
Shell Recommendation: Summon Eredrim if available to help during the fight.
-
Seal Recommendation: Use the Untarnished Seal to perform perfect Parries.
Rewards:
x1 Captive’s Scabstone and Glooms.
Droeg the Conquerer
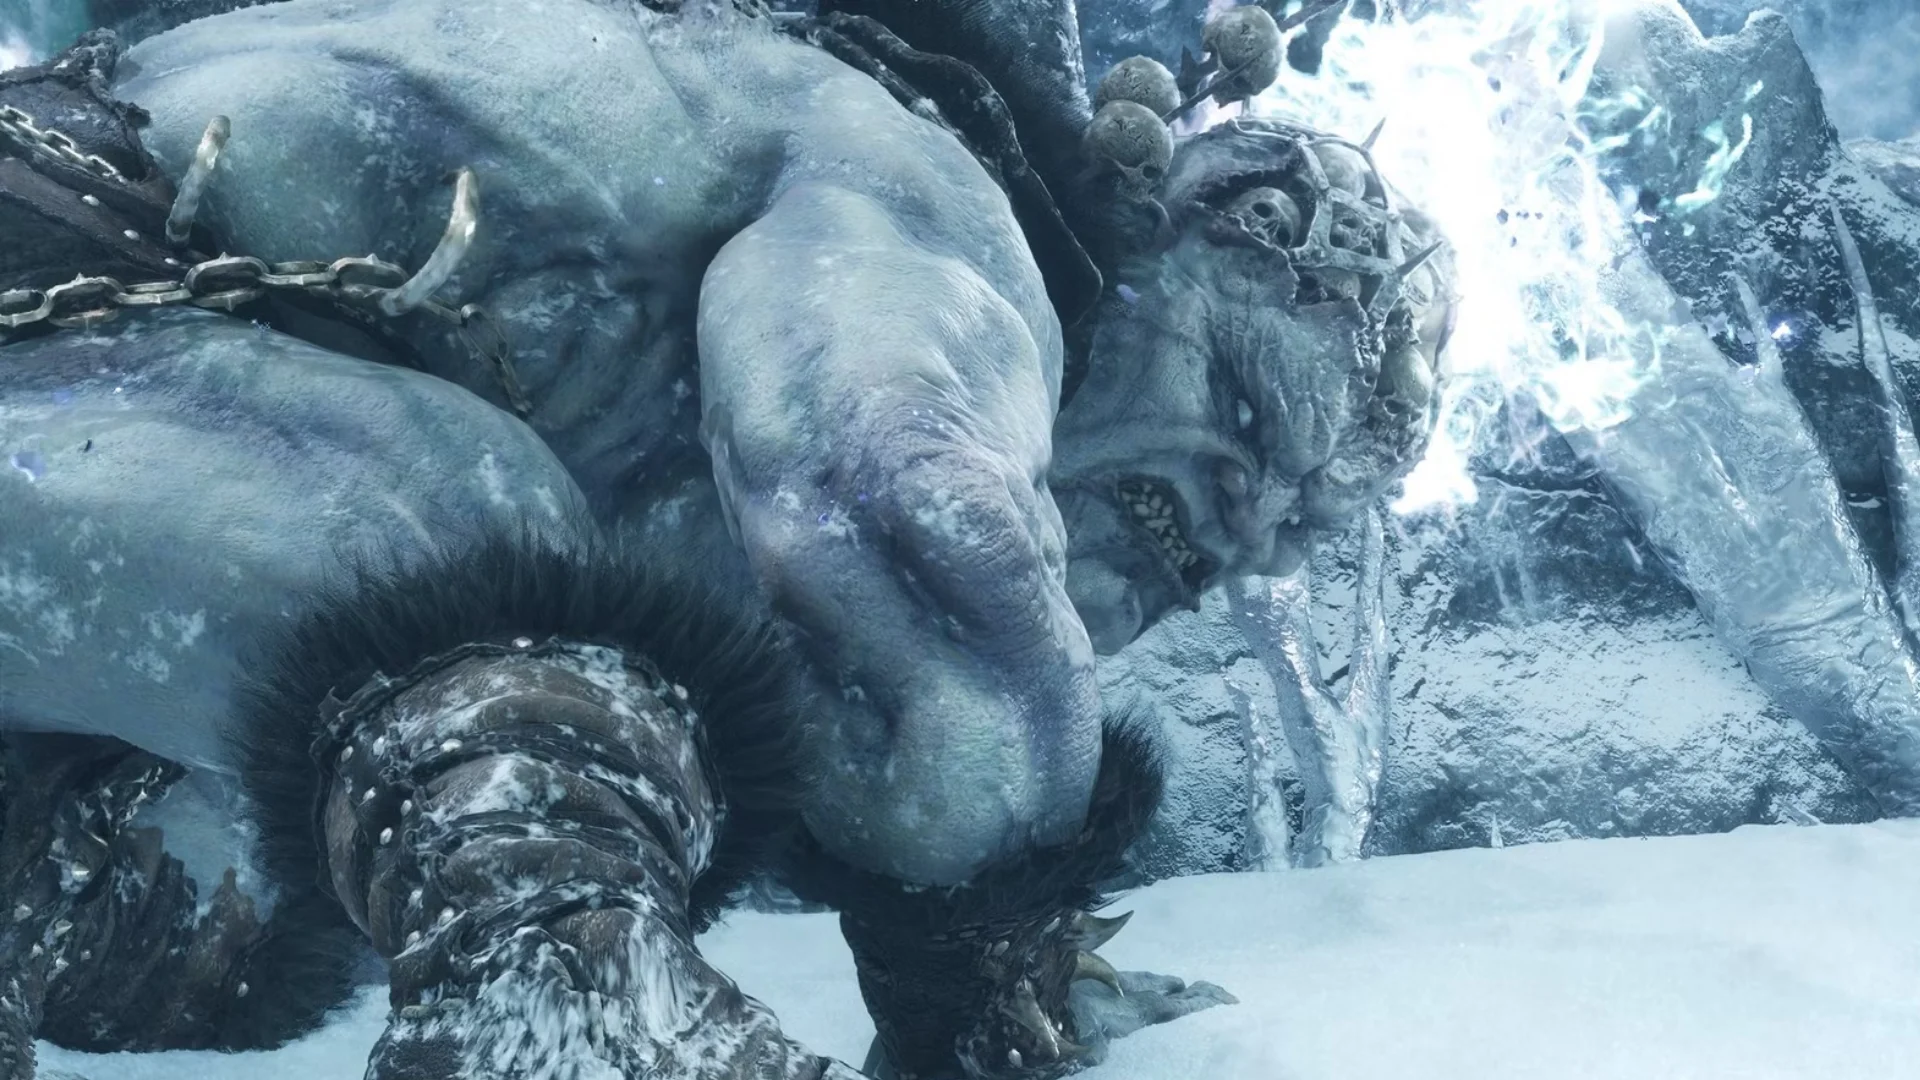
Location:
Conquered Temple Corrupted Gate in Mammon, near the Ovate's Chamber Beacon.
Droeg the Conquerer is the fifth boss you encounter as you progress through Mortal Shell 2. This boss is a large, ogre-like remnant of an ancient ruler who wields a giant bone club. He mixes heavy melee with frost damage and dangerous homing projectiles.
Key Boss Attacks
-
Slow, wide horizontal or overhead strikes with long reach.
-
Pounds the ground to create a frost shockwave.
-
Chains three heavy downward club attacks in a row.
-
Red glow appears; launches multiple homing fire-frost projectiles.
How to Beat Droeg the Conquerer
-
Parry or Harden most melee hits; dodge through or behind wide swings.
-
Circle behind during slow combos for free damage while he turns.
-
When the red glow appears, stop attacking and dodge the volley or hide behind arena cover.
-
Equip frost resistance such as Martyr’s Ash or matching shell perks.
-
Shell Recommendations: Summon Gragu if available.
Rewards:
x1 Conquerer’s Reward and Gloom
Hexapod
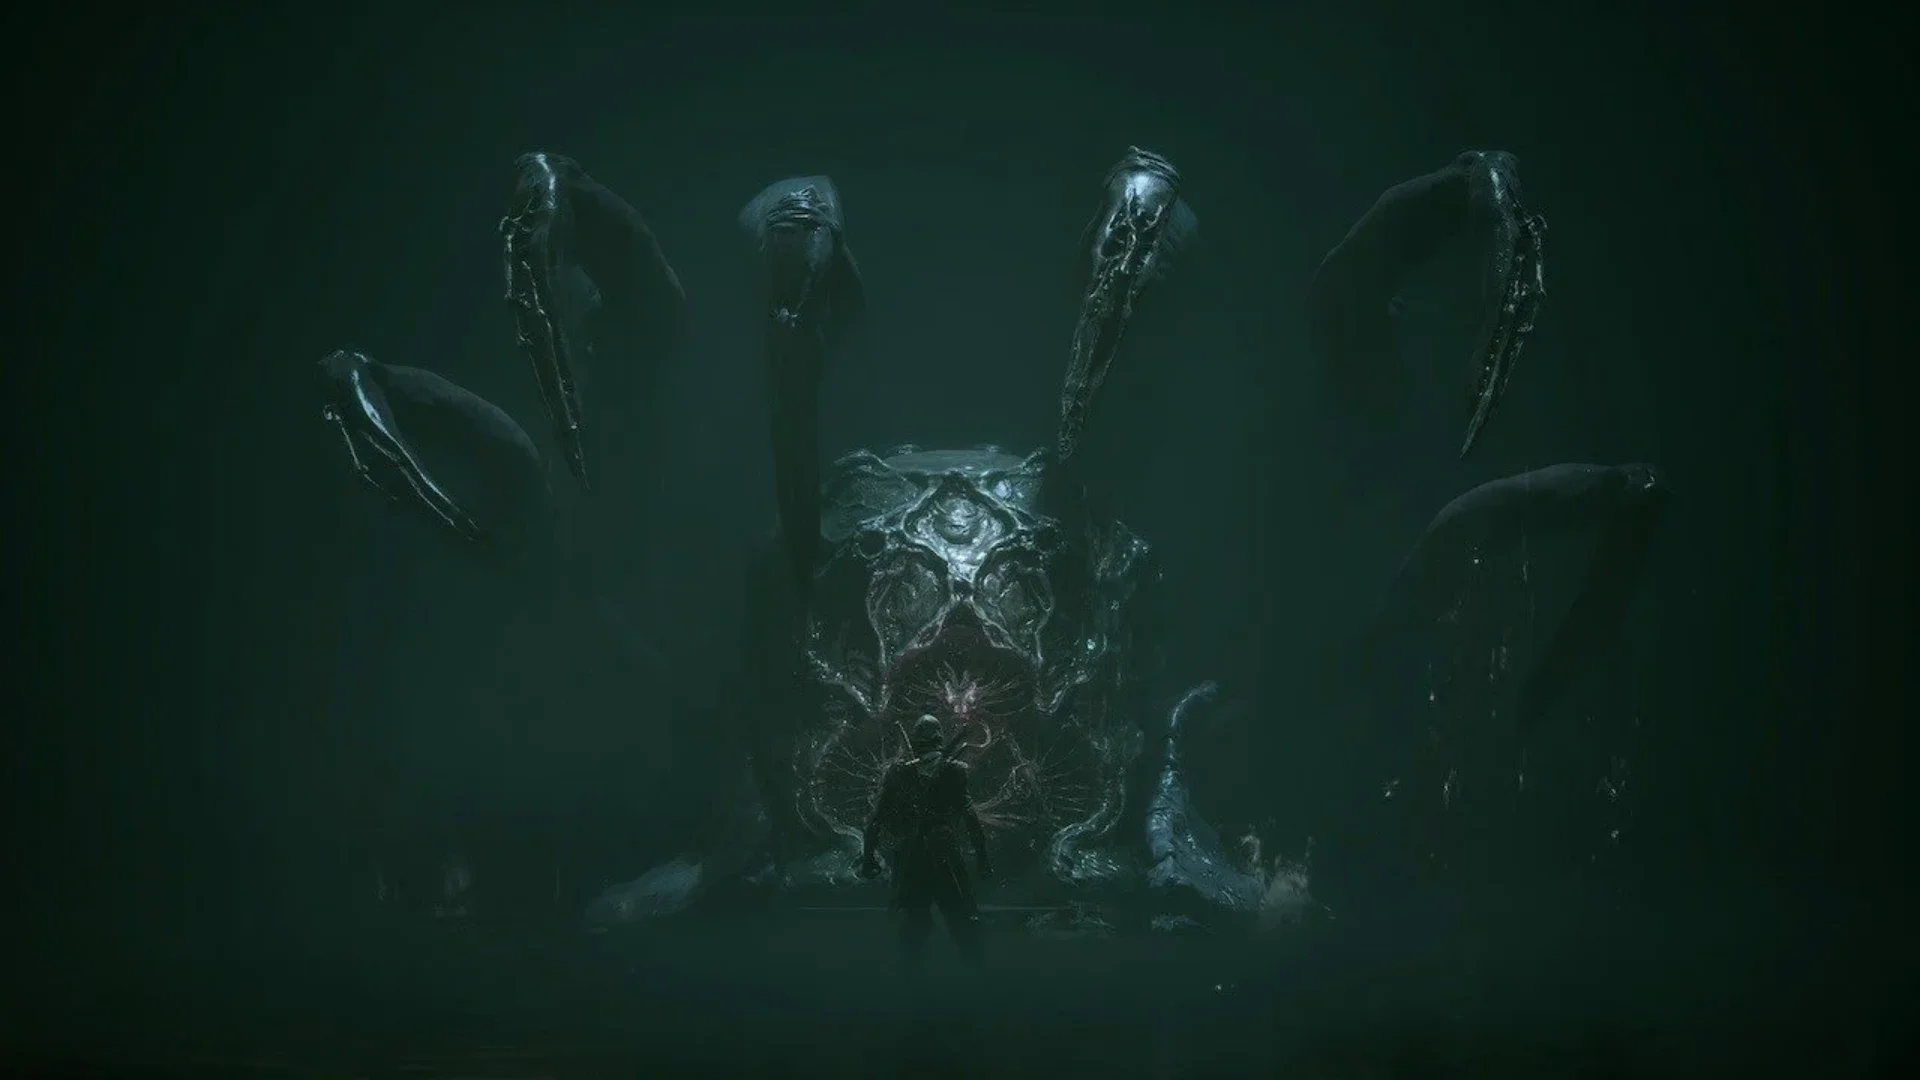
Location:
Withered Shoals Corrupted Gate in the Ruins of Mammon, near the Nameless Pass Beacon.
Hexapod is a large creature with multiple limbs. This big creature mainly uses its tentacles to attack from the front and is easy to defeat once you learn its attacking patterns.
Key Boss Attacks
-
Opens its body wide, exposes its head, then lashes with multiple limbs.
-
Jumps backward, shows a red warning, then rams forward in a charging rush.
-
Fires tracking projectiles from above its body during the second phase.
How to Beat Hexapod
-
Watch for the body opening wide; that is your window to attack the exposed head.
-
Dodge sideways when it prepares to charge.
-
Parry or use Harden against its tentacle attacks.
-
Use ranged weapons when its limbs are raised for safer damage.
-
In the second phase, dodge or use cover to avoid the homing projectiles.
-
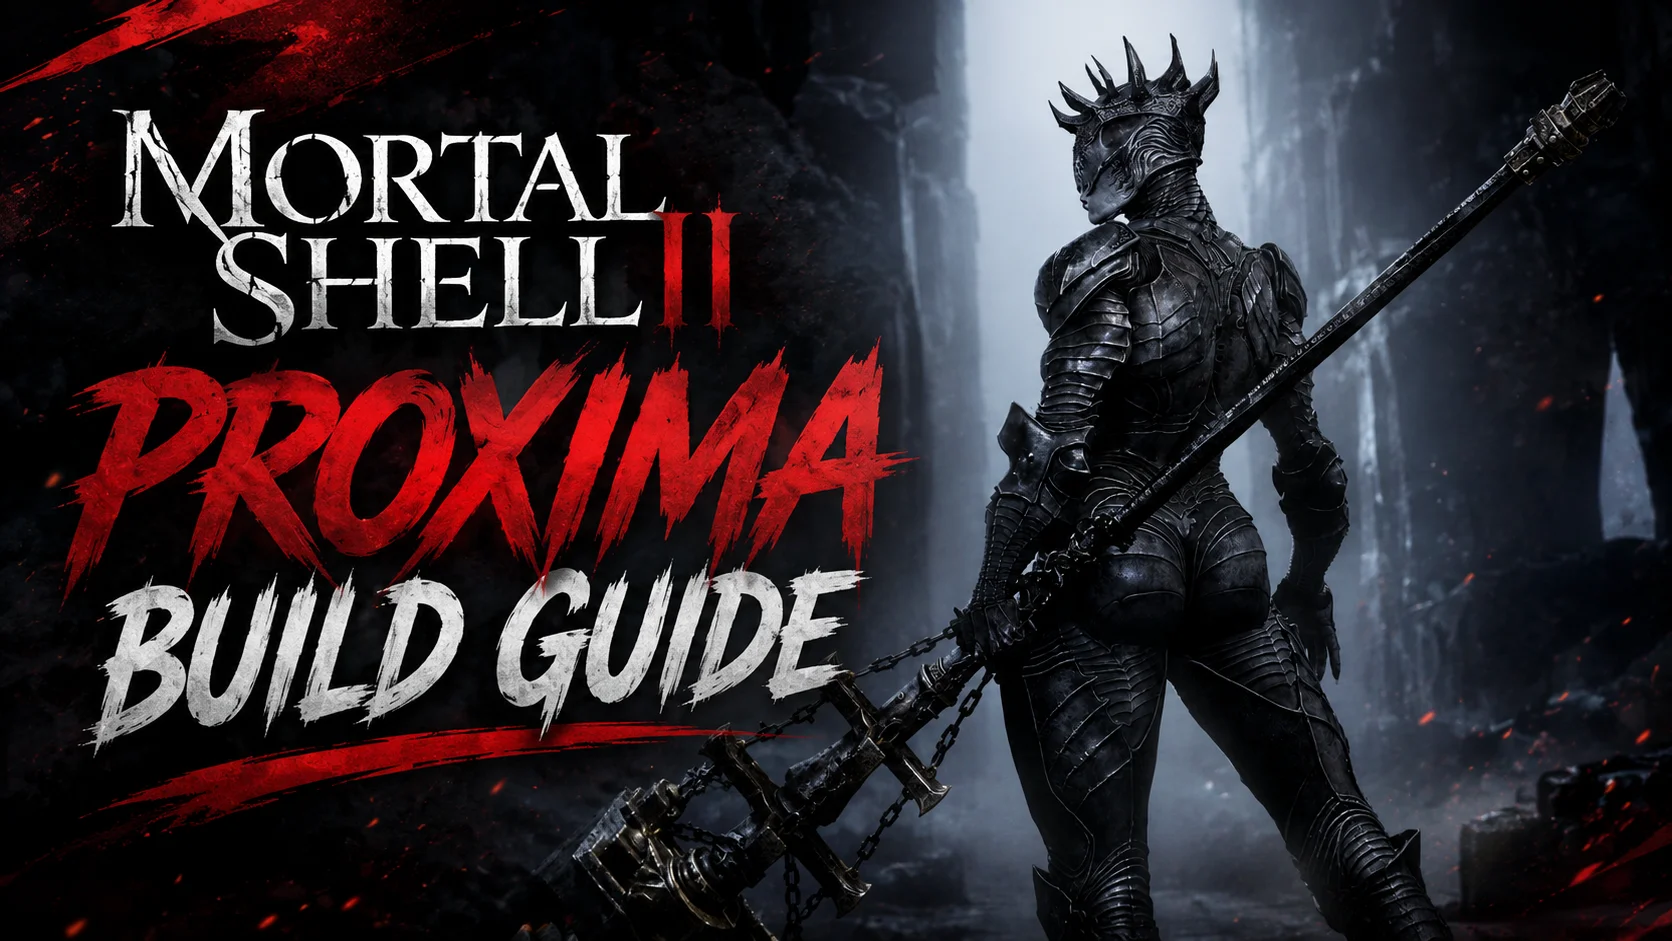
Shell Recommendations: Proxima is a good Shell choice, and frost damage works well against Hexapod.
Rewards:
x1 Hexapod Core and Gloom


 Pre-set Keymaps for Easy Play

Sir Isaac the Scholar-Prince
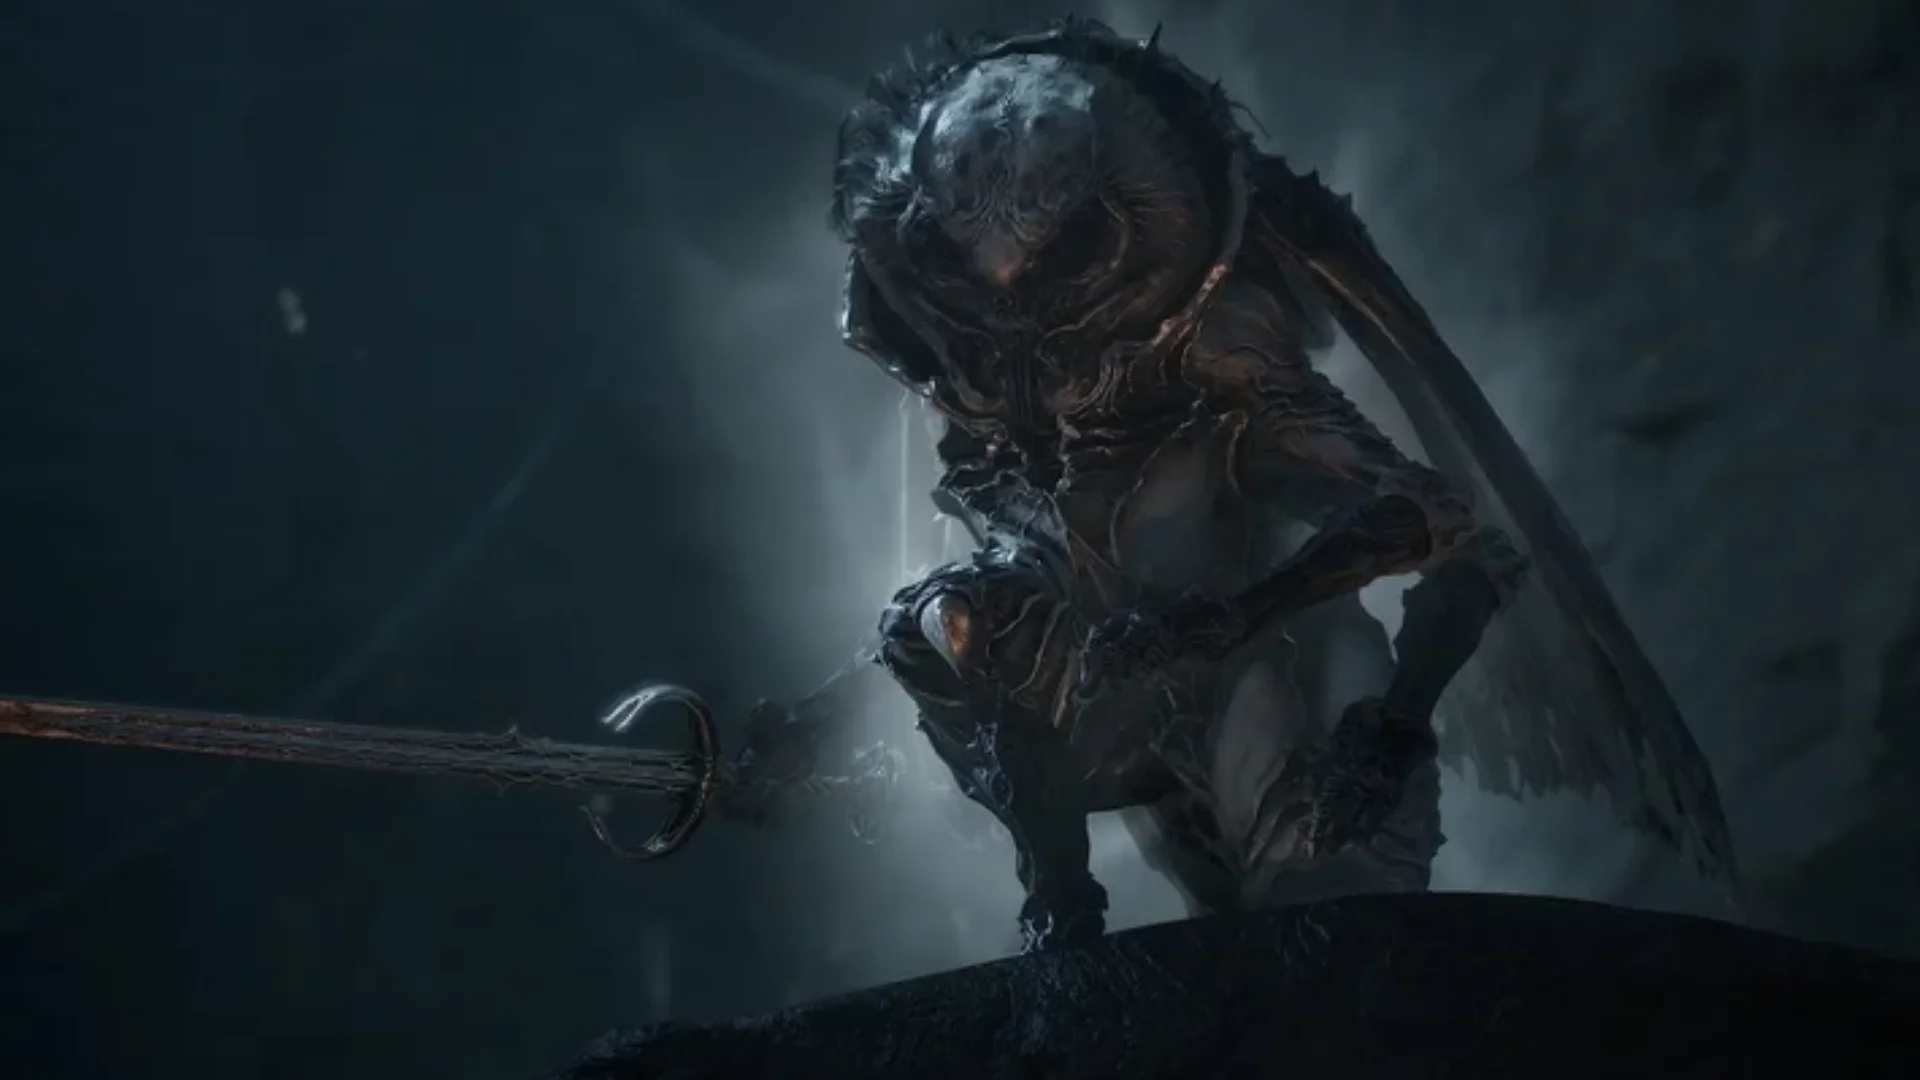
Location:
Faded Citadel Corrupted Gate in Mammon, at the Citadel Atrium Beacon.
Sir Isaac the Scholar-Prince is a mothman-like warrior within the boss list from our Mortal Shell 2 boss guide. This boss starts the fight with a shield and two rapiers. Once his shield is removed, he becomes faster and more aggressive.
Key Boss Attacks
-
Performs quick multi-hit rapier attacks that are easy to parry.
-
Quickly pushes forward with his shield when you get too close.
-
Jumps toward you with a long-range attack.
-
Repeatedly thrusts downward with both rapiers in a rapid sequence.
How to Beat Sir Isaac
-
Parry his basic sword combos during the first phase to stun him.
-
Avoid staying directly in front of him for too long to reduce shield bash risk.
-
After his shield breaks at half health, use Harden or keep your distance.
-
Keep attacking to prevent him from getting chances to cast.
-
Shell Recommendation: Use Tiel’s shadow clones or Genessa’s Faithful Doubles to create openings.
Rewards:
x1 Scholar’s Wormstone and Gloom
Orrem the Discarded Golem
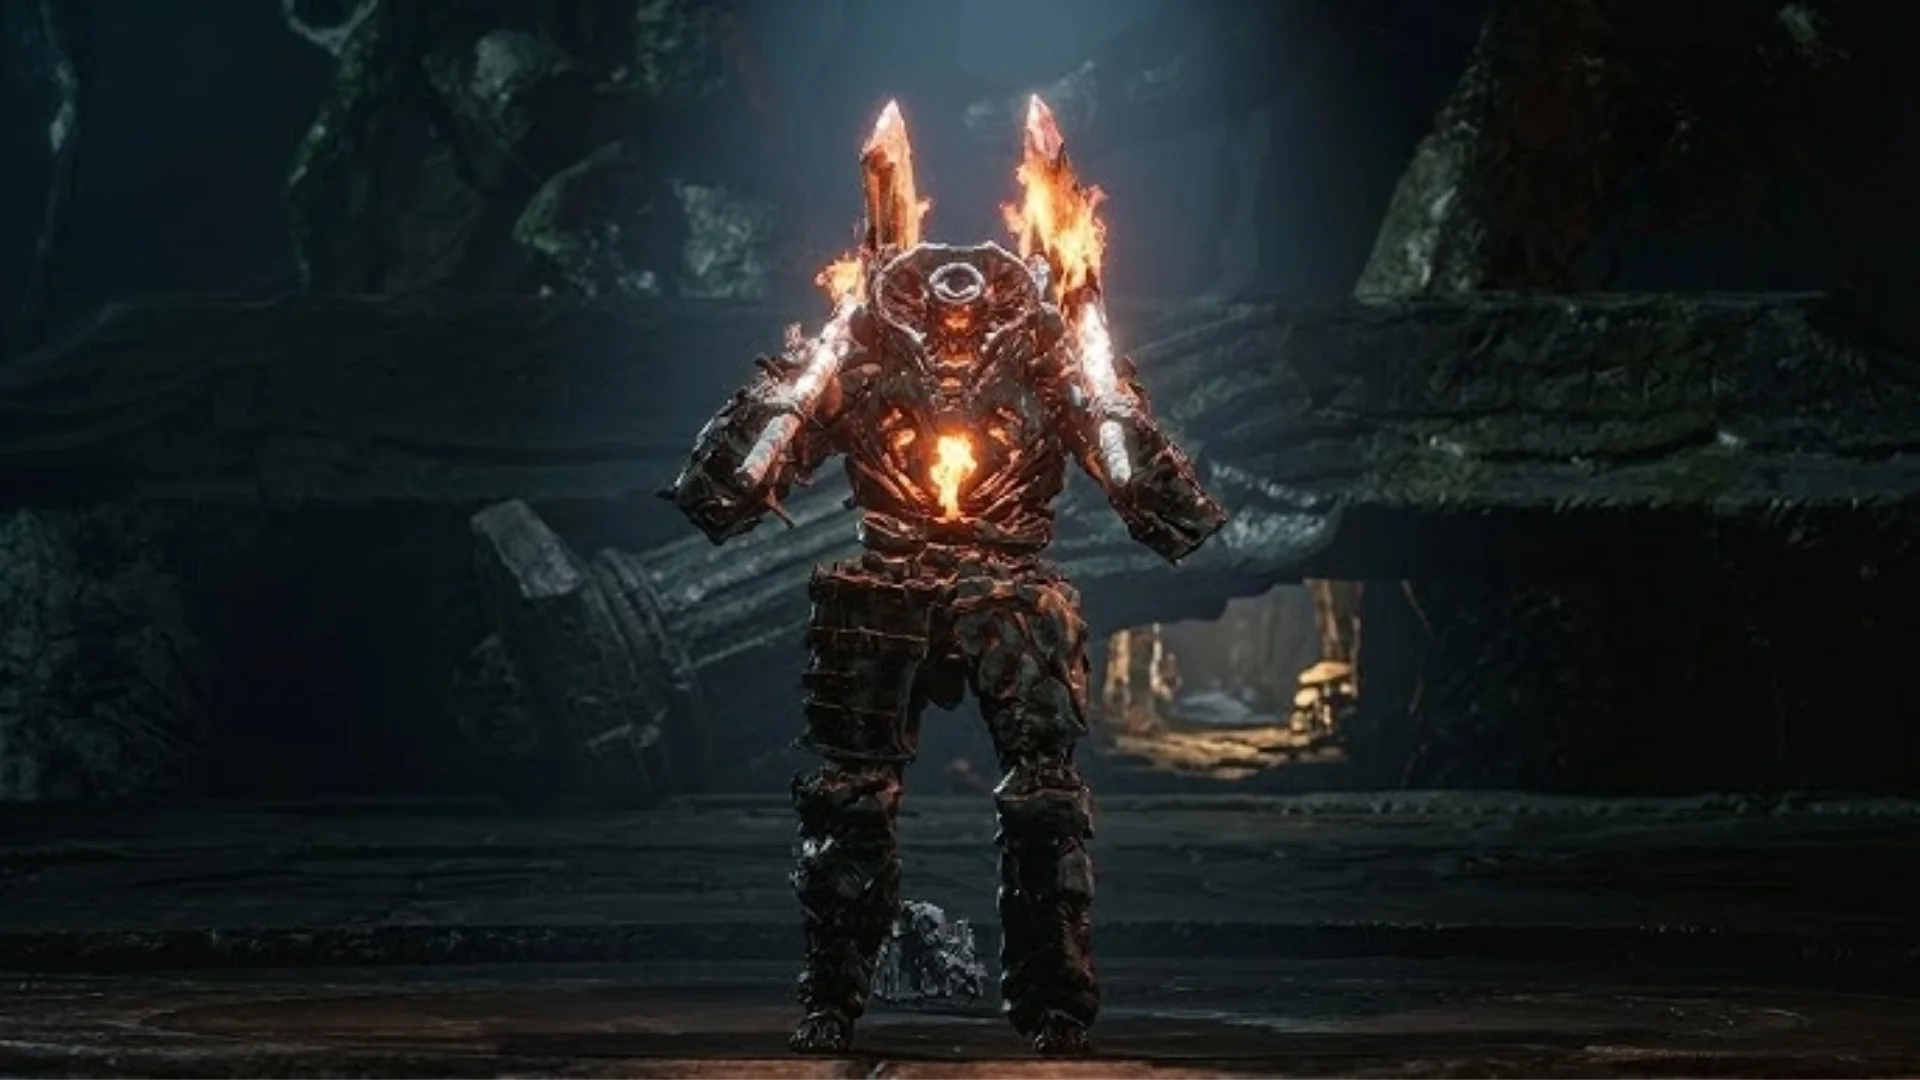
Location:
Found close to the Bridge of Procession Beacon.
Orrem is a stronger version of the Tar Golem you meet in the tutorial. During the battle, once you deplete its first health bar, it grows a tail, becomes faster and more aggressive, and is much harder to defeat, making it one of the harder Mortal Shell 2 bosses to defeat.
Key Boss Attacks
-
Performs a melee combo and leaves burning patches on the ground.
-
Leaps high into the air and crashes down with heavy force.
-
Swings its newly grown tail in wide arcs during the second phase.
-
Triggers fire bursts from a distance during the second phase.
How to Beat Orrem
-
Treat the first phase like a stronger Tar Golem. Dodge its jumps and attack after its combos.
-
Save your healing items for the second phase, because this boss gets faster during the second phase.
-
Understand the key mechanics of the boss, and keep your distance from the tail swings and fire explosions.
-
Stay mobile and keep dealing damage whenever you have a safe opening.
-
Shell Recommendation: Summon Sariel if available.
Rewards:
X1 Orrem’s Head and Gloom
The Monolith
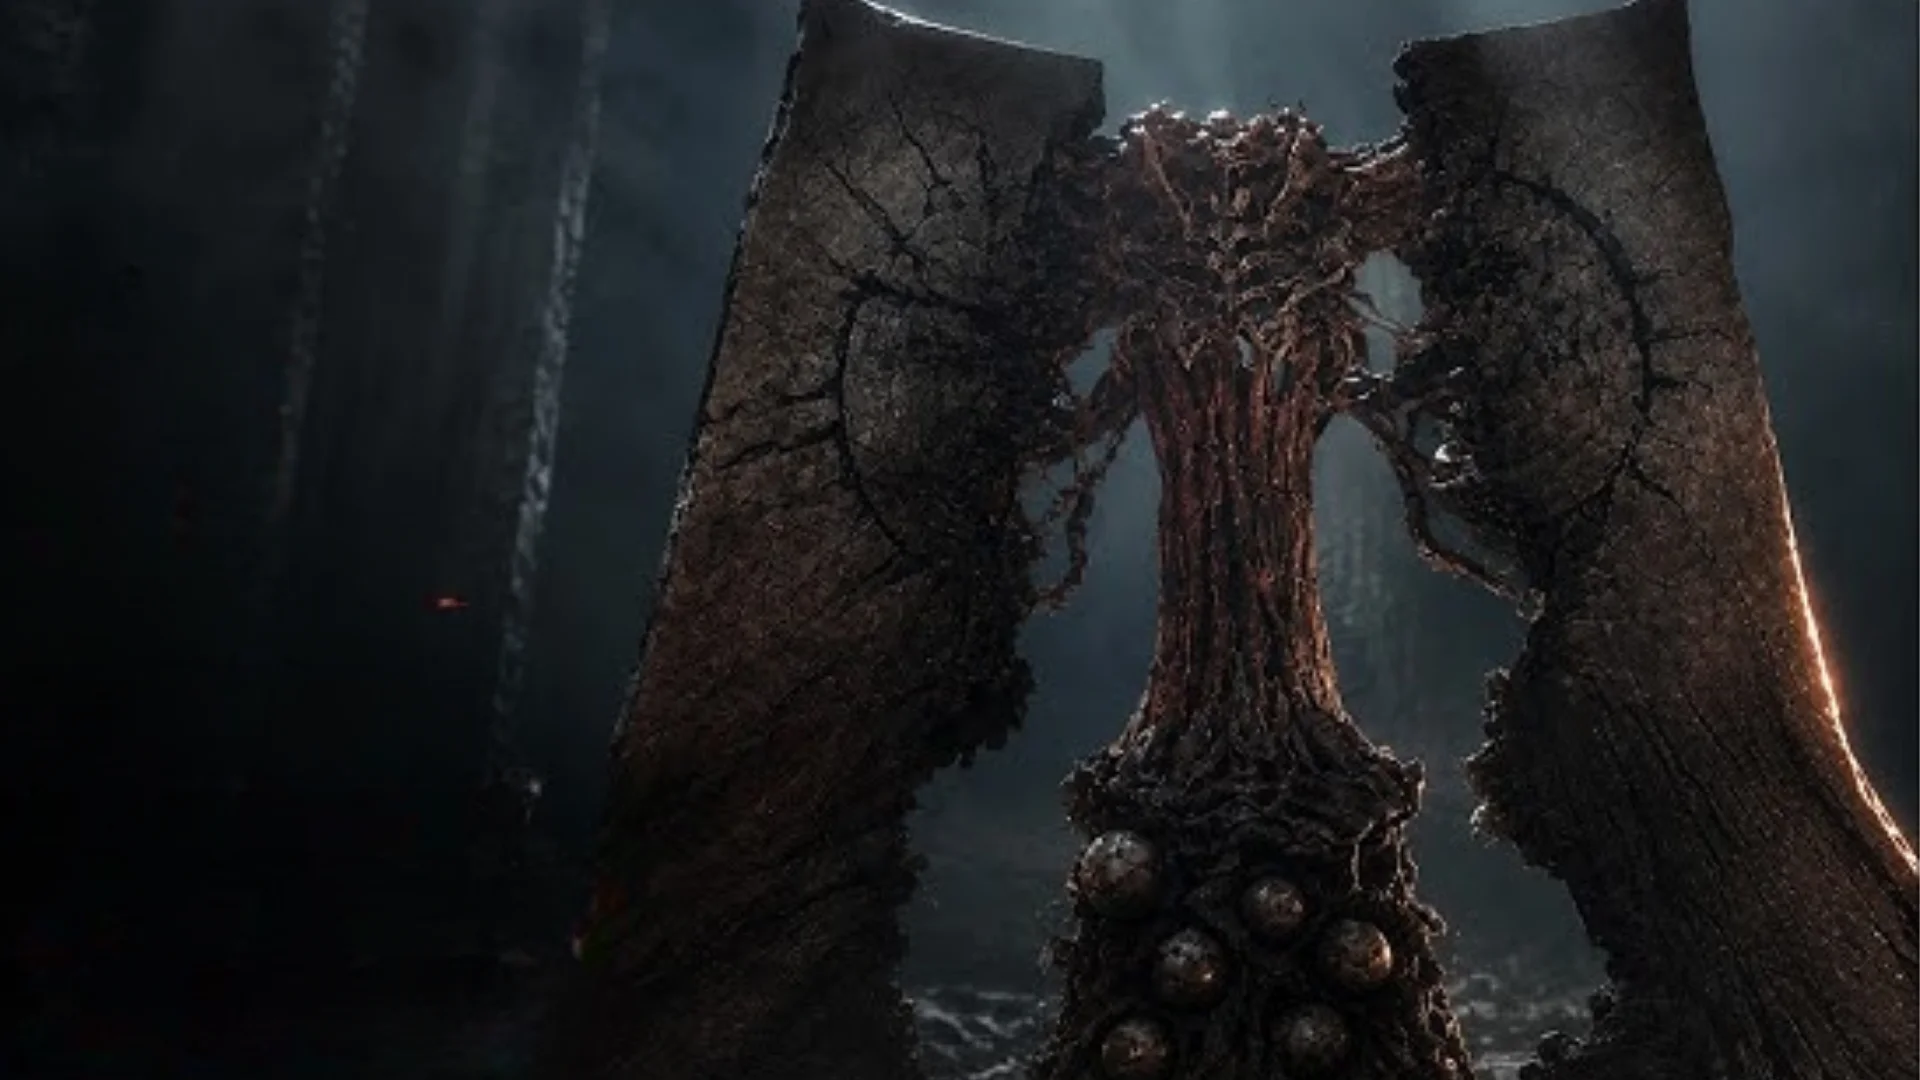
Location:
Found near the Obsidian Vault beacon.
The Monolith from our Mortal Shell 2 boss list is a huge moving stone boss with a lot of health. The only real damage spot is the dangling ball in the center between the two halves of the wall. The boss hits extremely hard, and missing a parry or dodge on several attacks can instantly kill you with lighter shells. This boss comes with 3 phases.
Key Boss Attacks
-
Hits the center ball once while standing still or twice while moving toward you.
-
Moves toward you and slams flat onto the ground.
-
Fires a laser that follows your movement.
-
Spreads flat on the ground and spins quickly around the arena in Phase 3.
-
Jumps high into the air and tries to land directly on you in Phase 3.
How to Beat The Monolith
-
Focus all your attacks on the dangling center ball.
-
Parry the two Ball Smashes for safe damage. When it uses Flat Slam, dodge backward.
-
When firing laser beams, dodge through the beam and run behind the boss for easy hits.
-
Dodge through the High Jump Crush as it lands.
-
Shell Recommendation: Tiel works very well because his Shadow Dodge and clones can distract the boss during ground attacks.
Rewards:
x1 Monolith Fragment and Glooms
Malborn Offspring
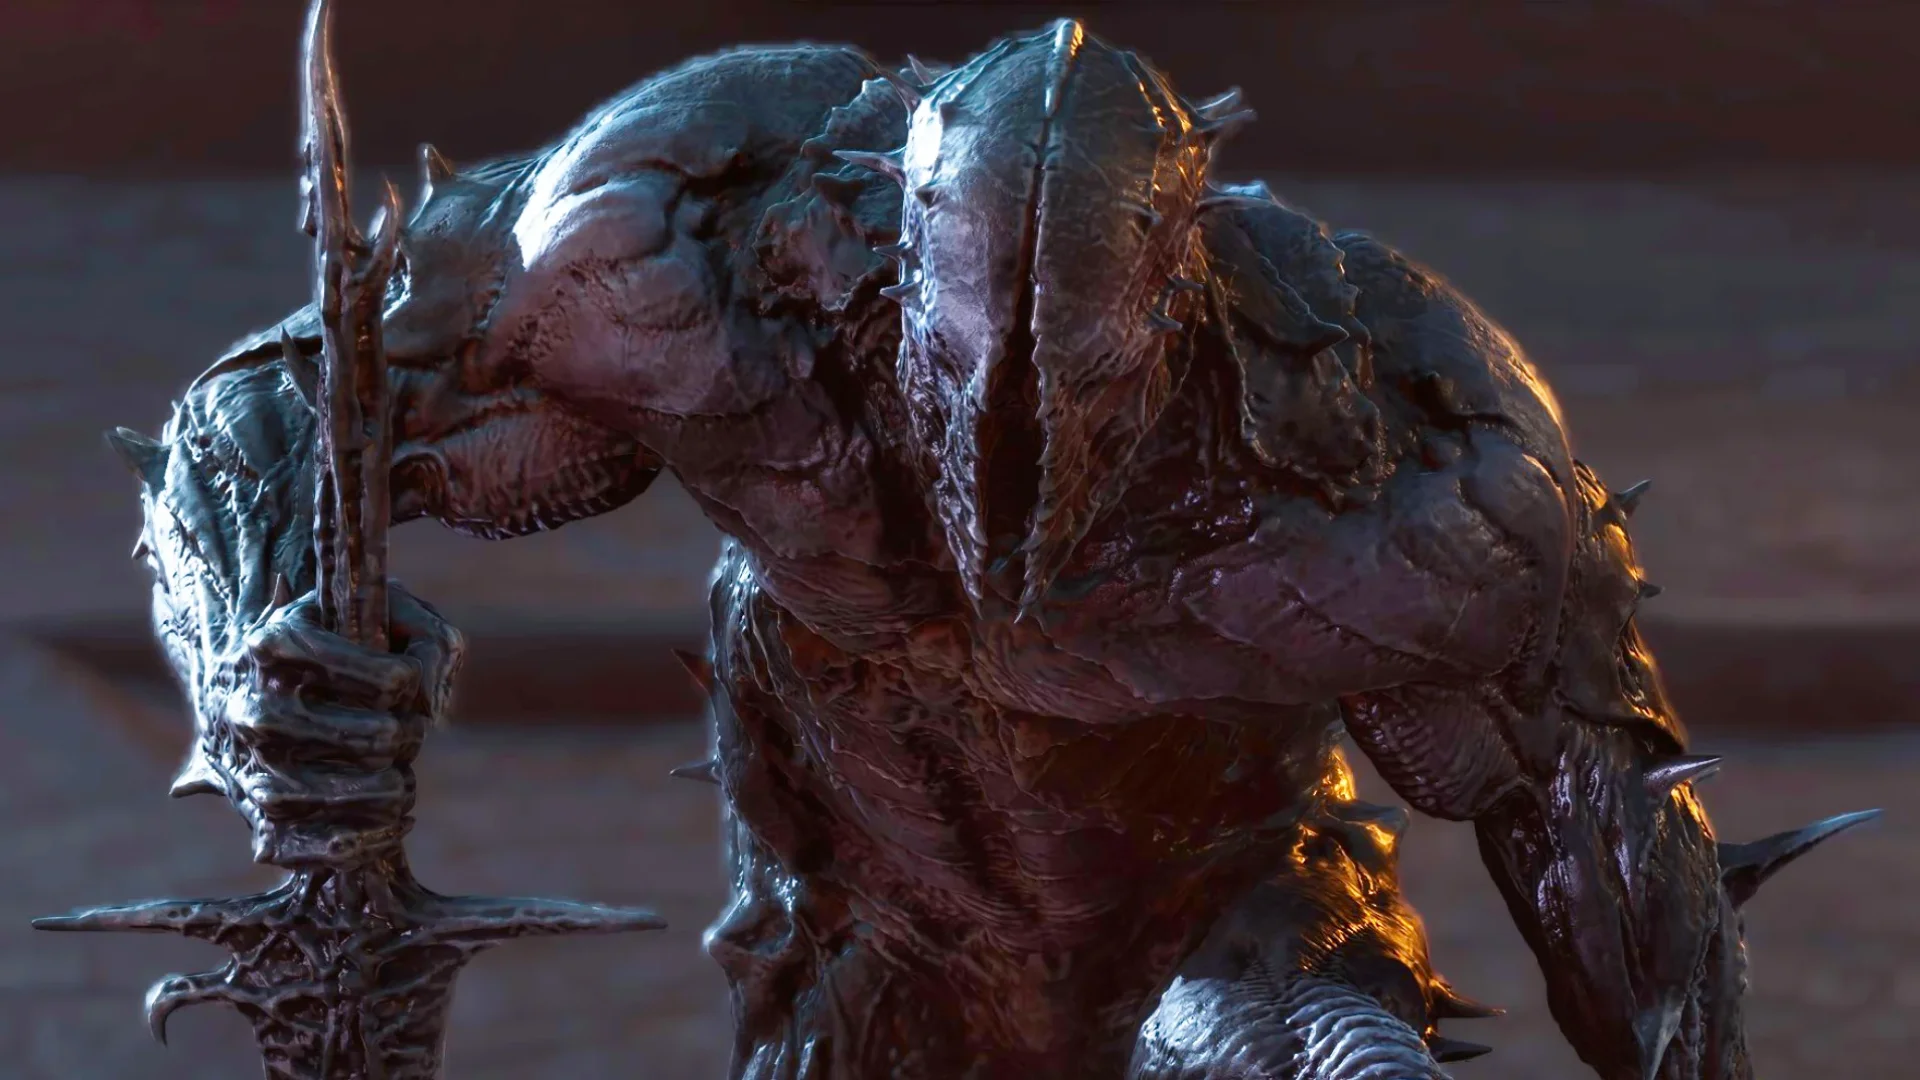
Location:
Unfound Path endgame area, near to the Faithful’s Shelter Beacon.
Malborn Offspring is one of the hardest Mortal Shell 2 bosses that you’re going to face in the final dungeon. It has two full health bars, long attack combos, and dangerous grabs, while its lightning-infused attacks in the second phase can make the fight much harder if you have not learned its attack patterns well.
Key Boss Attacks
-
Performs five or six sword chain attacks with different speeds and timings.
-
Lunges forward and grabs you, dealing heavy damage.
-
Throws electrified projectiles from a distance during the second phase.
-
After its resurrection, its melee attacks also deal lightning damage.
How to Beat Malborn Offspring
-
Learn the timing of its long combos and parry if you are skilled, otherwise rely on summons by using a Shell with ability to summon..
-
Attack aggressively during the short resurrection after the first health bar.
-
Keep your distance during the lightning revival and dodge its ranged attacks.
-
Shell Recommendation: Genessa is highly recommended. Her Faithful Doubles are great for creating safe openings.
Rewards:
x1 Offspring Trophy and Glooms
Zmey the Unbidden
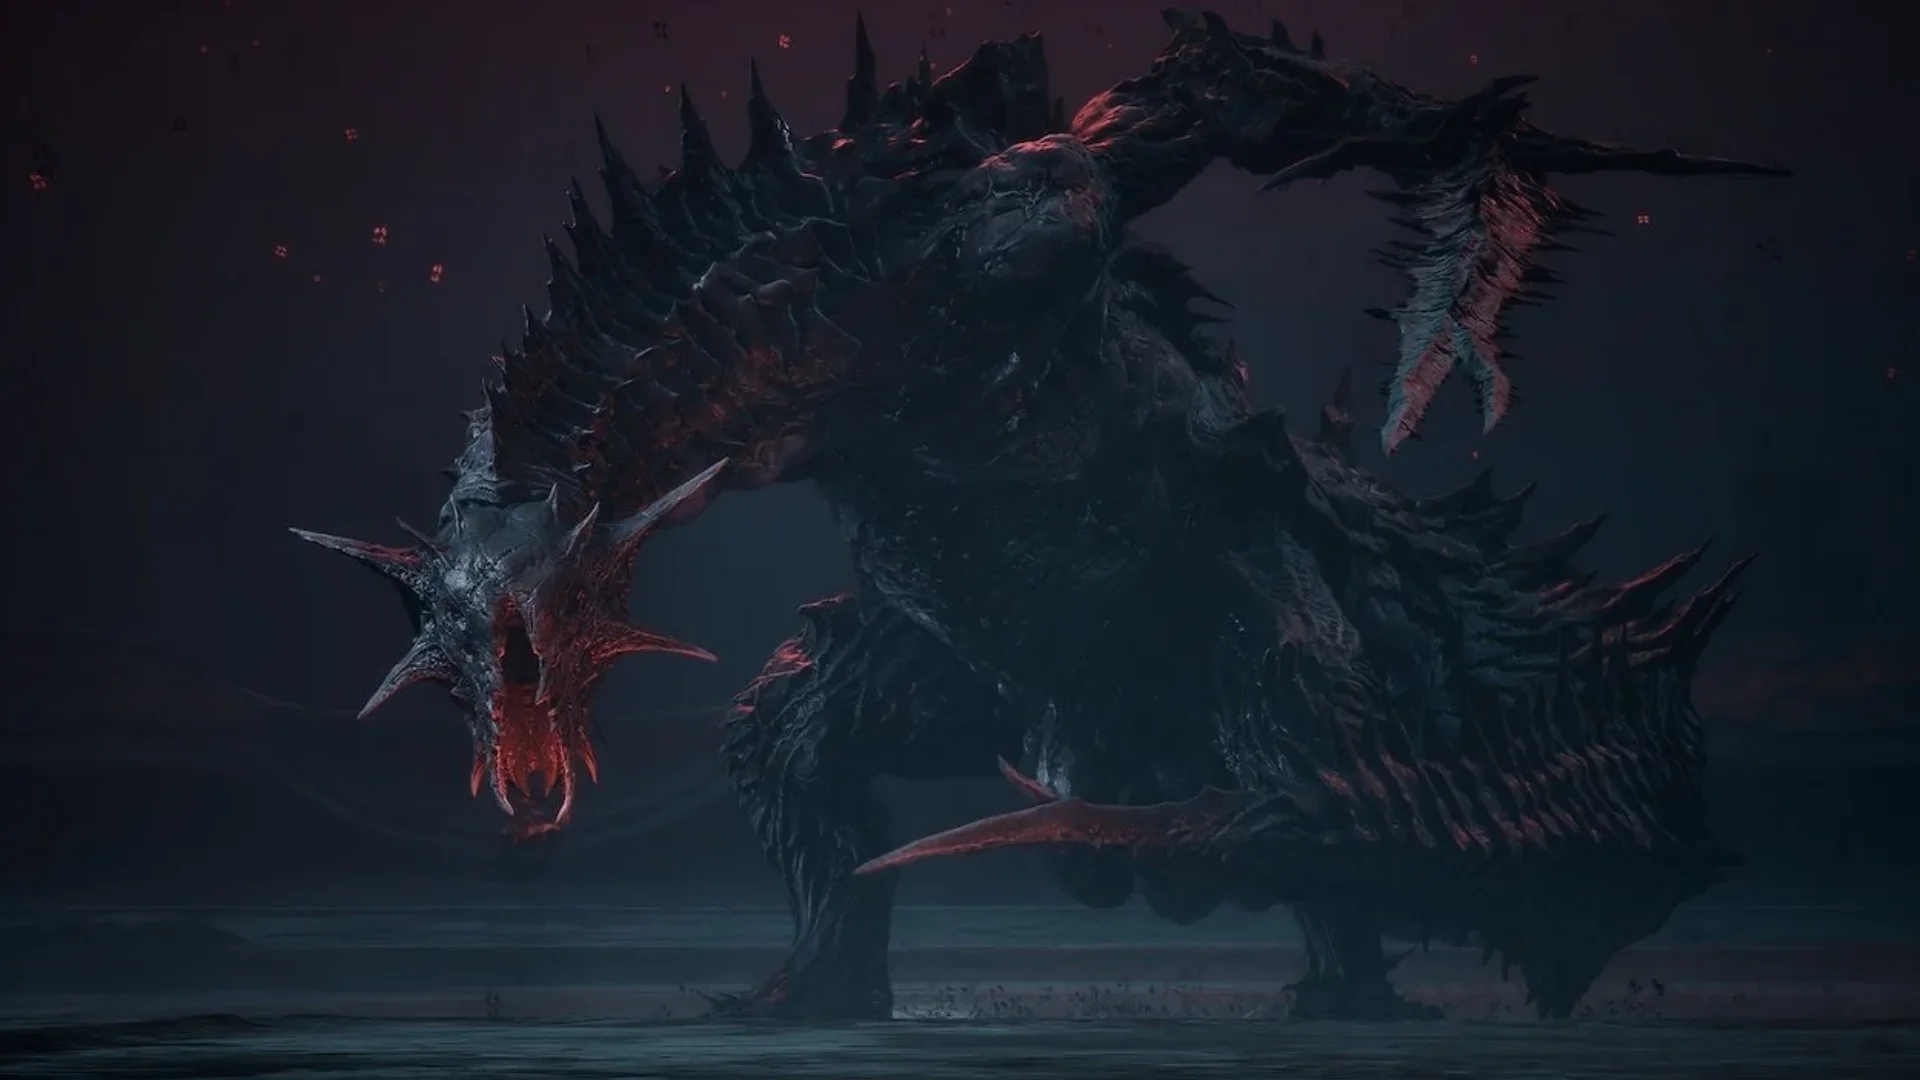
Location:
Unfound Path endgame area, near the Hidden Nave Beacon.
Zmey the Unbidden is the final boss that you are going to battle in Mortal Shell 2. This boss is like a huge dragon that uses powerful Cosmic Flame attacks and large area attacks. Its movements are easy to spot but they can deal heavy damage if you do not dodge them properly.
Key Boss Attacks
-
Slashes the ground and sends a Stasis wave toward you. It usually uses this attack twice.
-
Breathes Cosmic flames across the ground.
-
Performs a heavy unblockable slam that can be avoided only by dodging backward.
-
Swings its sword four times while moving backward.
-
Sends four waves of Cosmic damage outward during the second phase.
How to Beat Zmey the Unbidden
-
Equip Seedbearer’s Scripture for its 80% Cosmic Disease resistance.
-
At the start of the fight, stay between Zmey’s legs and attack from underneath.
-
When it breathes Cosmic fire, sprint forward and slightly to the side to get around the flames.
-
Dodge backward when Zmey uses its unblockable Ground Slam.
-
Shell Recommendation: Tiel is a great Shell choice because his Shadow Dash and Clones distract the boss.
Conclusion
And that’s everything you need to know from our Mortal Shell 2 bosses guide! We’ve covered all the bosses in Mortal Shell 2, along with their locations, attack patterns, unique mechanics, and useful strategies to help you overcome each challenging fight. And if you want to continue the fight away from your PC, OSLink lets you remotely play your Mortal Shell 2 PC sessions through your mobile, so the adventure can follow you wherever you go.
 Download