English
Choosing the right Aniimo can make a big difference as you progress through your Aniimo beginner journey. With different roles, elements, Break abilities, healing, support skills, and team synergies to consider, it can be difficult to tell which Aniimo are worth investing in and which ones are better suited to specific situations.
This Aniimo Tier List ranks the Aniimo covered in our guide from SS to B based on their overall usefulness in combat, including damage, Break potential, support, healing, and team utility. As you build your team and work toward stronger Aniimo, OSLink lets you remotely play the Aniimo PC version from your mobile, giving you a convenient way to continue exploring, catching Aniimo, and improving your team even when you're away from your PC.

Aniimo Tier List Overview
This Aniimo tier list ranks the Aniimo covered in our guide from SS to B based on their overall usefulness in combat. We consider damage, Break ability, healing, support, energy generation, survivability, and how well each Aniimo performs in different team setups.
SS Tier contains the strongest and most versatile choices, while S Tier includes highly effective Aniimo with some limitations. A Tier choices can still perform well in the right teams, while B Tier options are more situational.
Keep in mind that team composition and playstyle can change how useful an Aniimo feels, so use the rankings as a quick reference rather than a strict rule.
Aniimo Tier List
|
Tier |
Aniimo |
|
SS tier |
Somniwing, Irisalis, Rookey, Tromber, Blazen |
|
S Tier |
Lunara, Helion, Glacy, Inferlupa, Fragrancier, Fulmintis, Minespine, Magmarex, Pawney, Helgon |
|
A Tier |
Scorchhowl, Stellarys, Cornet, Tubster, Turbo, Dreaple, Shrubclaw, Flamerion, Eklue, Thornblade, Melloblum, Pomawk, Glynsera, Infergon |
|
B Tier |
Tuckin, Leafy, Geoclaw, Gracewing, Waleetle, Bouldus, Popota, Glameep, Gachapus, Malevsera, Grizbo, Coraliz |
SS Tier Aniimo
The SS Tier features Aniimo that can have a major impact on a team through exceptional damage, powerful support, or unique utility. Here are the characters that stand out the most in this tier and what makes each one valuable.
Somniwing
Element: Water
Role: Energy Support
Excels At: EP Recovery • Skill Rotation • Team Sustain

Somniwing stands out as a dedicated Energy Support Aniimo that helps keep the entire team supplied with EP, allowing other characters to use their skills more frequently and maintain their rotations for longer. This makes it especially valuable in teams built around frequent skill usage and sustained combat.
Its kit focuses heavily on EP recovery, while its ultimate can provide an additional burst of energy when the team needs it. The transcript identifies Somniwing as one of the game's S+ units because of how powerful this resource-generation role can become. Its ability to support a wide range of team compositions makes it one of the most impactful support-focused Aniimo to build around.
Irisalis
Element: Grass
Role: Legendary DPS
Excels At: Burst Damage • Clone Attacks • Long Fights

Irisalis is one of the roster's strongest offensive Aniimo, combining high Grass damage with a unique clone-based combat system. Her abilities allow clones to join the fight and mirror parts of her attacks, giving her strong burst potential. This makes her especially effective for players who can manage her attacks and abilities to maintain consistent offensive pressure.
Her clone can fire coordinated laser attacks after certain basic attack strings and abilities, while the Balloon Cluster passive can reduce the EP cost of her next skill, helping her maintain her clones more consistently. She also has a built-in second life that allows her to revive after being defeated. This combination of clone attacks, EP efficiency, high damage, and extra survivability makes Irisalis more versatile than a typical DPS-focused Aniimo.
Rookey
Element: Physical
Role: Defensive Breaker
Excels At: Shield Breaking • Counterattacks • PvP Defense
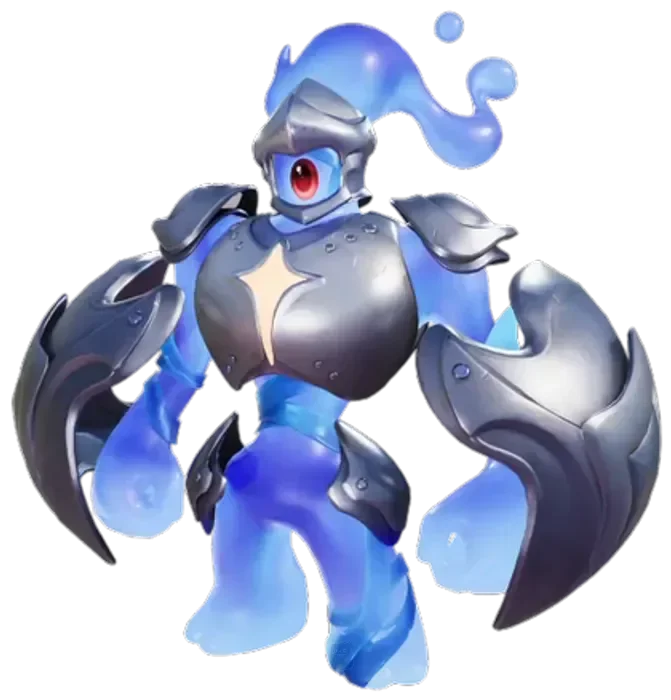
Rookey is a durable defensive Aniimo that combines high survivability with strong shield-breaking abilities. His kit allows him to stay in the fight while turning incoming attacks into opportunities for counterattacks, making him a solid frontline choice for players who want both durability and Break pressure.
His Guard Break Resonance increases shield-breaking efficiency based on his Physical Defense, while Ballistic Guard provides damage reduction and lets him counterattack when hit. Bouncy Sling adds further Break pressure and can increase the Break damage dealt by the team. Rookey is particularly valuable in PvP, where his defensive mechanics and counterattacks make him difficult to handle, while he also provides reliable Break utility in PvE.
Tromber
Element: Physical
Role: Critical Damage Support
Excels At: Teamwide Buffs • Critical-Hit Teams • Multiplayer

Tromber is a support-focused Aniimo built around one simple idea: making the entire team deal more damage. Instead of contributing through its own attacks, Tromber strengthens the party with a powerful Critical Damage buff, making it especially valuable in teams built around consistent critical hits. This allows it to complement a wide variety of damage dealers without being tied to a specific element or playstyle.
What makes Tromber stand out is Waltz, its defining support skill. The ability increases the team's Critical Damage, with the strength of the effect scaling from Tromber's maximum HP. This makes HP investment an important part of maximizing its support potential. The transcript also highlights how this scaling produced significantly stronger results during beta testing than the base value might suggest. With the right build, Tromber can turn a strong damage dealer into an even greater threat, giving the team a substantial boost in overall damage rather than simply improving one character.
Blazen
Element: Lightning
Role: Breaker / DPS Hybrid
Excels At: Critical Hits • EP Efficiency • Break Damage

Blazen is a unique hybrid that combines strong Break potential with surprisingly high damage output. His kit is built around critical hits, allowing him to maintain consistent offensive pressure while also reducing the energy required to use his abilities. This makes him a particularly efficient choice for players who want an Aniimo that can contribute meaningful damage without sacrificing its Break-focused role.
What makes Blazen stand out is his Overcharge mechanic. After landing enough critical hits, Blazen gains a significant reduction to his EP costs, allowing him to use his skills more frequently and maintain pressure throughout a fight. His signature skill deals unblockable damage and can restore EP when it critically hits, while his basic skills also provide additional Critical Rate. This creates a powerful cycle where critical hits help sustain his abilities, and those abilities give him more opportunities to keep attacking. The transcript also highlights his synergy with Dasmine, which can push his Critical Rate even higher and help maintain the energy discount.


 AFK Anywhere, Progress Anytime

S Tier Aniimo
S Tier represents the second-strongest Aniimo in our ranking. These choices stand out for their damage, powerful support abilities, Break utility, healing, energy generation, or overall value to the team. They can fill different roles, so an S Tier Aniimo isn't necessarily the highest-damage DPS; it can also be a character that makes the entire team stronger.
|
S Tier Aniimo |
Details |
|
Lunara
|
Best For: General teams, F2P players, DPS/Support Key Strength: Strong Holy damage, healing, EP recovery and Break utility Lunara is one of the most complete Aniimo in the ranking. Her kit combines strong damage with healing, energy recovery and Break utility, while her Fox Mark can reduce Light resistance and enhance her follow-up attacks. The source also highlights her ability to fit into many different teams. |
|
Helion
|
Best For: General teams, DPS, Break-focused teams Key Strength: Powerful enhanced attacks with healing, EP recovery and strong Break potential Helion combines strong Holy damage with a repeatable enhanced-skill mechanic. His kit also provides healing, EP recovery and Break damage, while his Light Bombardment offers full invulnerability during its animation. |
|
Glacy
|
Best For: Healing, general teams, multiplayer Key Strength: Strong healing with a team damage buff Glacy provides reliable healing while also gaining access to Glimmer Shot through its Prism form. That ability can provide a teamwide damage increase, giving Glacy value beyond simply keeping teammates alive. |
|
Inferlupa
|
Best For: Break teams, shield-heavy enemies, multiplayer Key Strength: High Break damage and powerful resistance/shield utility Inferlupa focuses heavily on breaking enemies and weakening their defenses. Its core skill can deal heavy Break damage while applying a debuff, and the source highlights its value in multiplayer because the debuff benefits the entire team. |
|
Fragrancier
|
Best For: Dark teams, Stellarys teams, Dark DPS setups Key Strength: Strong Dark support and additional attacks Fragrancier is one of the key Dark support options in the source. Its abilities improve Dark damage and can trigger additional attacks, while its synergy with Stellarys makes it especially useful for Dark-focused teams. |
|
Fulmintis
|
Best For: Lightning teams, Crit builds, DPS Key Strength: Crit-based EP generation and strong Lightning attacks Fulmintis gains EP whenever its attacks critically hit, allowing it to maintain its abilities more consistently. Its enhanced Lightning Blade also gains additional Critical Rate, giving it strong damage potential without requiring a complicated setup. |
|
Minespine
|
Best For: Earth Break teams, shield breaking Key Strength: Extremely strong Earth Break performance Minespine specializes in breaking Earth-related shields. Its Earth Affinity increases Break damage while underground, and its Seismic Wave provides sustained Break pressure with an additional shock wave after the upgrade. |
|
Magmarex
|
Best For: Fire Break, Fire-weak enemies Key Strength: Powerful repeatable Break attacks Magmarex is built around Fire Break damage. Its upgraded Lava Punch no longer consumes the required Fire stacks, allowing it to be used repeatedly, and the source notes that it can instantly shatter Fire-weak targets. |
|
Pawney
|
Best For: DPS, PvP, Broken or controlled enemies Key Strength: Large damage bonuses against controlled and Broken targets Pawney gains significant damage against controlled or Broken enemies and has additional bonuses against Broken targets through its ultimate. Its upgraded Shadow Cut also provides useful movement and crowd-control protection, making it effective in both PvE and competitive situations. |
|
Helgon
|
Best For: Break, tanking, Hollow Interlink Key Strength: Exceptional durability and Break efficiency Helgon is a defensive Break specialist that gains additional Break efficiency whenever it is hit. Its damage reduction and timed counter mechanics give it strong survivability, while the source specifically highlights its performance in Hollow Interlink raids. |





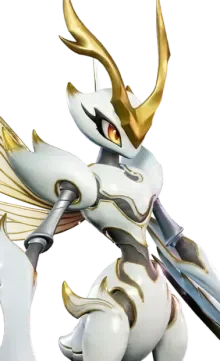



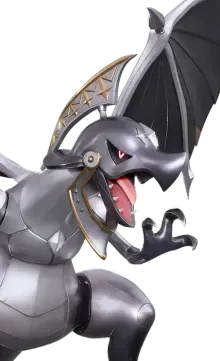
A Tier Aniimo
A Tier Aniimo are strong and dependable choices that can perform very well in the right teams. They may have slightly more specific requirements than S Tier options, but several can become excellent picks when their strengths are matched with the right team or game mode.
|
A Tier Aniimo |
Details |
|
Scorchhowl
|
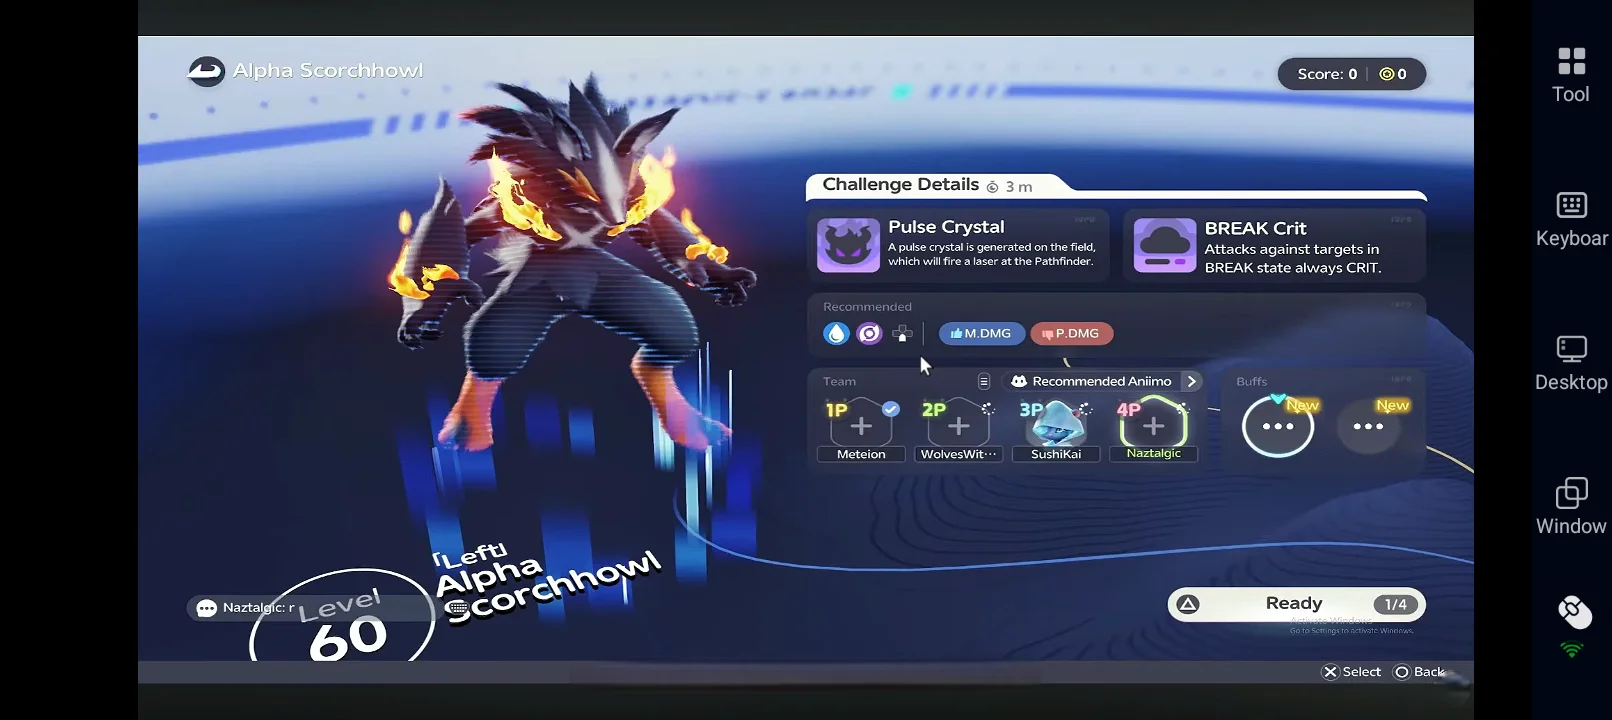
Best For: Fire DPS, general PvE, elemental-weak enemies Key Strength: High raw damage with bonus damage against elemental weaknesses Scorchhowl is a strong pure DPS option with excellent damage scaling. Its Scorching Flame passive increases damage against enemies with an elemental weakness, giving it especially good performance when its weakness bonus can be used consistently. |
|
Stellarys
|
Best For: Dark DPS, ranged combat, clone-based teams Key Strength: Clone attacks and stacking damage Stellarys combines ranged Dark damage with a powerful clone mechanic. Its passive improves basic attacks after using a skill, while its clone can copy attacks and skills. Its Homing Stars ability also builds damage through repeated hits. |
|
Cornet
|
Best For: Aerial DPS, mobile combat Key Strength: Increased damage while flying Cornet gains a 20% damage boost while airborne and can attack from above enemies that cannot easily reach it. Its aerial playstyle provides strong potential, although controlling it effectively requires more practice and can be affected by latency. |
|
Tubster
|
Best For: Break, defensive teams, shield-heavy enemies Key Strength: Shield generation and increased Break efficiency Tubster combines defensive mechanics with strong Break potential. Its defensive stance reduces incoming damage, while its shield can grow when it is attacked. Having the shield active also increases its shield-breaking efficiency. |
|
Turbo
|
Best For: Team support, multiplayer, Break-focused teams Key Strength: Team damage and Break-efficiency buffs Turbo becomes more valuable when supporting a team rather than fighting alone. Its Nimi Burst increases team damage and Break efficiency, while its basic-attack mechanic can prepare an enhanced skill. The source gives Turbo particularly strong multiplayer value. |
|
Dreaple
|
Best For: Dark teams, Dark support, control setups Key Strength: Sleep effect and Dark resistance reduction Dreaple can build Drowsiness stacks over time and put enemies to sleep after reaching the required number of stacks. The effect also reduces Dark resistance, while its ultimate provides additional Dark damage for the team. Its value increases considerably in group compositions. |
|
Shrubclaw
|
Best For: Break, Earth teams, resistance reduction Key Strength: Earth resistance shredding and repeatable Break attacks Shrubclaw is a specialized Break option with an underground mechanic that provides protection against attacks without the appropriate counter. It can also reduce Earth resistance and repeatedly use its upgraded Charge Strikes. |
|
Flamerion
|
Best For: Fire teams, Regen, Fire-debuff setups Key Strength: Fire debuffs combined with EP generation Flamerion provides both Fire debuffs and resource generation. Its Phantom Barrage can restore energy based on Fire stacks, making it more useful in teams that can consistently maintain Fire debuffs. |
|
Eklue
|
Best For: Wind teams, support, multiplayer Key Strength: Wind damage boost and Critical Resistance reduction Eklue provides useful offensive support by increasing Wind damage when its debuff condition is met and reducing an enemy's Critical Resistance. The source also highlights its synergy with Somniwing and its strong multiplayer value. |
|
Thornblade
|
Best For: Melee DPS, Grass teams, sustained combat Key Strength: Large basic-attack damage increase Thornblade builds Sword Dance stacks through active skills. At four charges, its basic attack receives a major damage increase, while its Critical Rate benefits make the form particularly effective as a melee carry. |
|
Melloblum
|
Best For: Grass teams, support, Critical Damage setups Key Strength: Grass Critical Damage buff and EP utility Melloblum rewards teams that frequently use basic attacks. After building its stacks, its next skill costs less EP, while Thorny Blessing provides additional coordinated attacks. Its ultimate creates a field that significantly increases Grass Critical Damage. |
|
Pomawk
|
Best For: Break, stun, crowd control Key Strength: High Break damage with stun and silence Pomawk can deal substantial Break damage while applying strong crowd-control effects such as stun and silence. Its timing-based mechanics can make it harder to use consistently, especially with latency, which keeps it below the more reliable Break specialists. |
|
Glynsera
|
Best For: Ice DPS, debuff-heavy teams Key Strength: Large damage boost from Ice debuff stacks Glynsera becomes stronger as Ice debuffs build on the target. Its Frost Tail Strikes can consume Ice stacks for a substantial damage increase, with the upgraded version requiring fewer stacks. |
|
Infergon
|
Best For: Fire DPS, Fire-debuff teams, multiplayer Key Strength: Fire debuff stacking and burst damage Infergon focuses on applying multiple Fire debuffs and then converting those stacks into burst damage. It is a strong Fire option, particularly in multiplayer, although the source places Scorchhowl ahead of it for pure Fire DPS. |













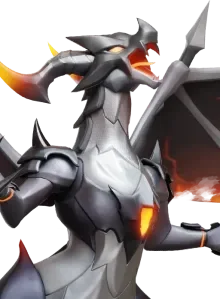
B Tier Aniimo
B Tier Aniimo are solid picks with useful abilities, but they tend to be more team-dependent, situational, or harder to get maximum value from. They're still worth investing in if they fit your playstyle or elemental team, but they generally don't have the same overall impact as higher-ranked Aniimo.
|
B Tier Aniimo |
Details |
|
Tuckin
|
Best For: Break teams, summons, defensive play Key Strength: Summons allies and provides defensive utility. Tuckin is a durable Break Aniimo that can summon helpers and provide healing or defensive support. It performs much better in longer fights and multiplayer than in fast solo PvE content. |
|
Leafy
|
Best For: Grass teams, co-op support, EP regeneration Key Strength: Grass terrain and team energy regeneration. Leafy shines in Grass-focused teams thanks to its EP regeneration and healing effects. It's much stronger in multiplayer or dedicated Grass compositions than as a standalone support. |
|
Geoclaw
|
Best For: Ice Break teams, large enemies Key Strength: Reliable Ice debuffs and tracking Break damage. Geoclaw specializes in applying Ice debuffs while dealing strong Break damage against larger targets. It works well in Ice teams but is more specialized than higher-ranked Break Aniimo. |
|
Gracewing
|
Best For: Healing, multiplayer support Key Strength: Continuous off-field healing. Gracewing provides reliable healing without staying on the field for long. It's a comfortable healer for co-op content, although Glacy offers stronger overall utility. |
|
Waleetle
|
Best For: Earth DPS, Broken targets Key Strength: Damage increases after movement and Break. Waleetle rewards aggressive movement and attacking Broken enemies. Once its movement gauge is filled, it gains a noticeable damage boost, making it a capable but setup-dependent DPS. |
|
Bouldus
|
Best For: Earth support, resistance shred Key Strength: Earth resistance reduction and crowd control. Bouldus creates rock formations that reduce Earth resistance and slow enemies. It works best when supporting Earth DPS like Waleetle instead of acting as a primary damage dealer. |
|
Popota
|
Best For: Water teams, support Key Strength: Water puddles and team Water damage buffs. Popota increases Water damage for allies while creating Water terrain. Its buffs become much more valuable when paired with Water-focused Aniimo. |
|
Glameep
|
Best For: Healing, Grass teams Key Strength: Healing, shields, and Grass resistance reduction. Glameep offers a balanced healing kit with additional shields and debuffs. It's a dependable healer, but Glacy provides stronger overall team value. |
|
Gachapus
|
Best For: Water DPS, basic attack builds Key Strength: High damage potential through jackpot mechanics. Gachapus can deal impressive damage when its random-roll mechanic activates, but the inconsistency makes it less reliable than other Water DPS options. |
|
Malevsera
|
Best For: Ice DPS, high-risk damage builds Key Strength: Damage scales with missing HP. Malevsera becomes much stronger as its HP decreases and gains additional damage during its transformation. The risk-reward playstyle keeps it below more consistent DPS choices. |
|
Grizbo
|
Best For: Earth DPS, sustained combat Key Strength: Rage meter increases attack speed and damage. Grizbo builds power over time through its Rage mechanic, increasing both attack speed and skill damage. It performs well in longer encounters but needs time to reach full potential. |
|
Coraliz
|
Best For: Earth teams, multiplayer support Key Strength: EP recovery and coordinated Earth damage. Coraliz restores EP when entering battle and can trigger delayed Earth attacks through its ultimate. It becomes much stronger in coordinated Earth team compositions than in general teams. |




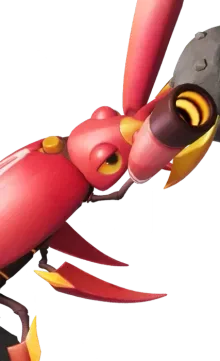
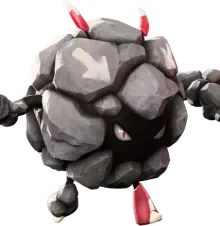






Best Aniimo Recommendations
Not sure which Aniimo to choose? Instead of looking only at the overall tier, you can narrow your choice down by the role or playstyle you need. Here are some of the strongest recommendations from our ranking:
|
If you want... |
Recommended Aniimo |
Why |
|
Best overall |
Lunara
|
Well-rounded damage, healing, EP recovery, and Break utility |
|
Strongest DPS |
Helion
|
High damage with enhanced attacks, healing, and EP recovery |
|
Best Break |
Minespine
|
Excellent Earth Break performance and shield-breaking ability |
|
Best healer |
Glacy
|
Reliable healing plus a teamwide damage buff |
|
Best support |
Tromber
|
Strong teamwide Critical Damage boost |
|
Best energy/EP support |
Somniwing
|
Exceptional team EP recovery |
|
Best Dark team |
Fragrancier
|
Strong Dark support and excellent Dark DPS synergy |
|
Best Fire DPS |
Scorchhowl
|
High raw damage and bonus damage against elemental weaknesses |
|
Best Lightning option |
Fulmintis
|
Strong Crit-based damage and EP generation |
|
Best multiplayer pick |
Helgon
|
Excellent durability, Break utility, and Hollow Interlink value |




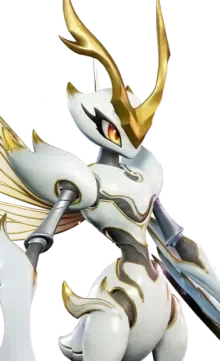
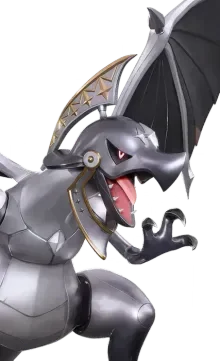
Conclusion
Overall, this Aniimo Tier List gives you a quick way to identify the strongest Aniimo and find options that fit your team, playstyle, and preferred combat role. While rankings can change with balance updates and new Aniimo, the right combination of DPS, Break, healing, support, and Regen can make progression much smoother. Once you've built your team, OSLink lets you remotely play the Aniimo PC version from your mobile, so you can keep catching Aniimo, exploring, and progressing even when you're away from your PC.
 Download