English
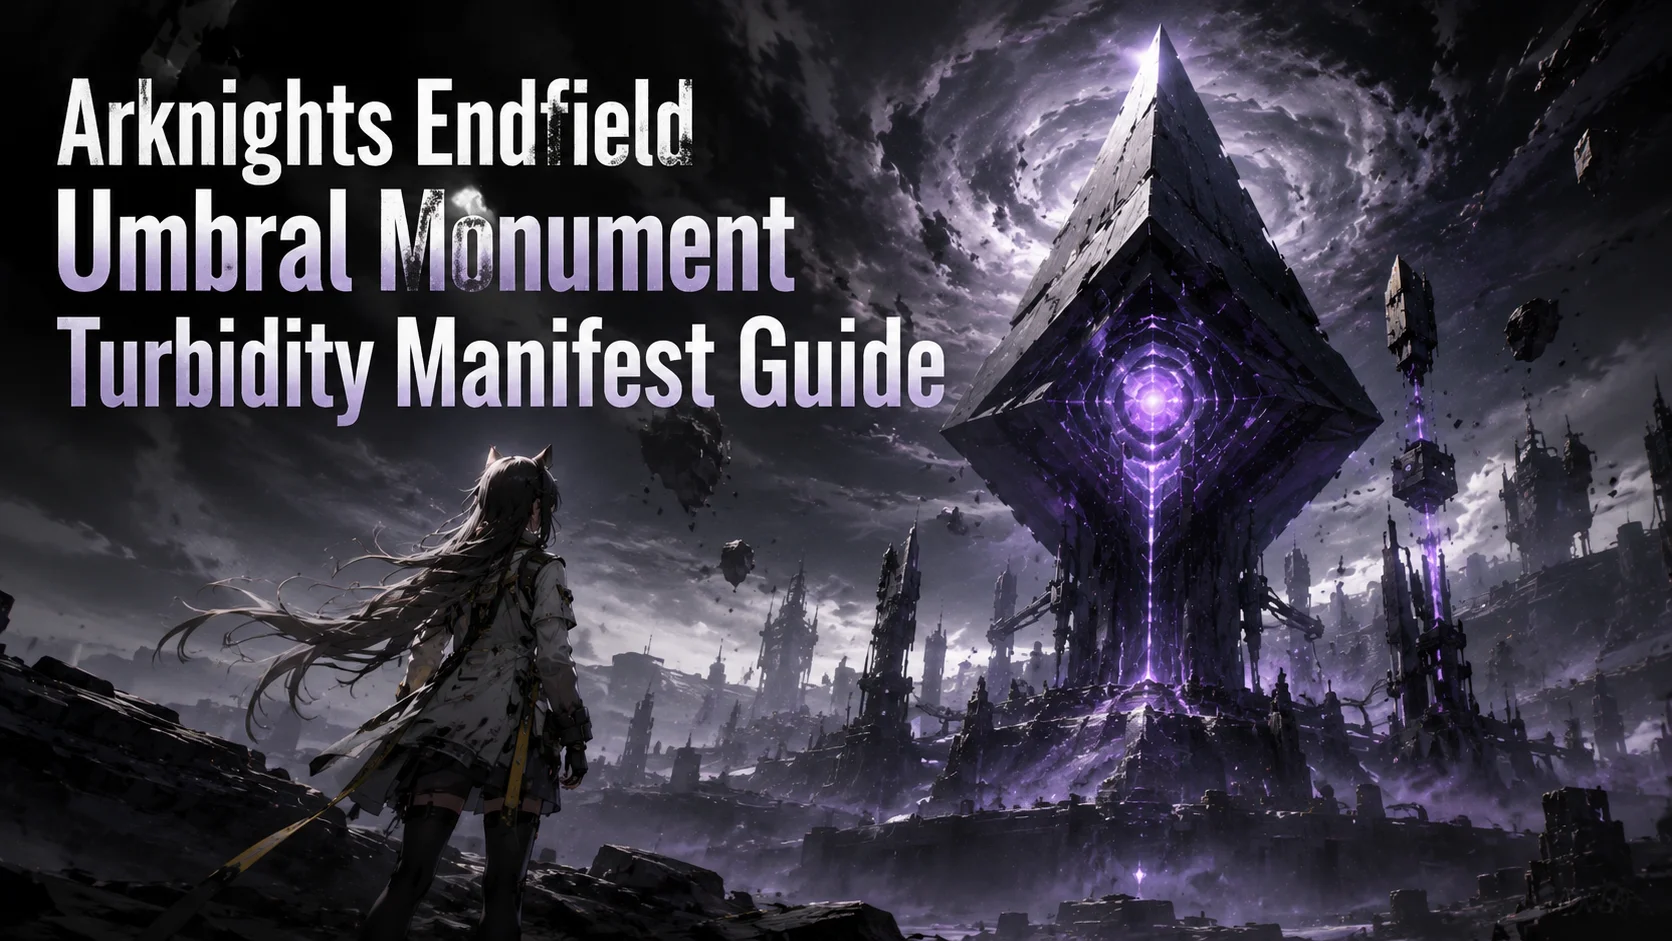
  Blog Game Guide Arknights: Endfield Umbral Monument (Searing Scars) Guide – Best Teams & Strategy
The Arknights: Endfield Umbral Monument continues to raise the difficulty with the Searing Scars update, bringing mechanics-heavy stages that test your positioning, timing, and overall combat strategy. With no elemental advantages and limited resources, success depends on understanding the mechanics and using the best teams of Umbral Monument to clear each stage efficiently.
This Searing Scars guide covers everything you need, including Umbral Monument unlock, Umbral Monument rewards, recommended team setups, and the best teams of Searing Scars for every stage.
Table of Content
- Umbral Monument Overview
- How to Complete Searing Scars Easily
- Stage 1 – Sea of Loathing
- Sea of Loathing Mechanics
- The Sea of Loathing Clear Strategy
- Recommended Team for Sea of Loathing
- Stage 2 – Melting Point of Flesh
- Positioning & Targeting Guide
- Recommended Teams for Melting Point of Flesh
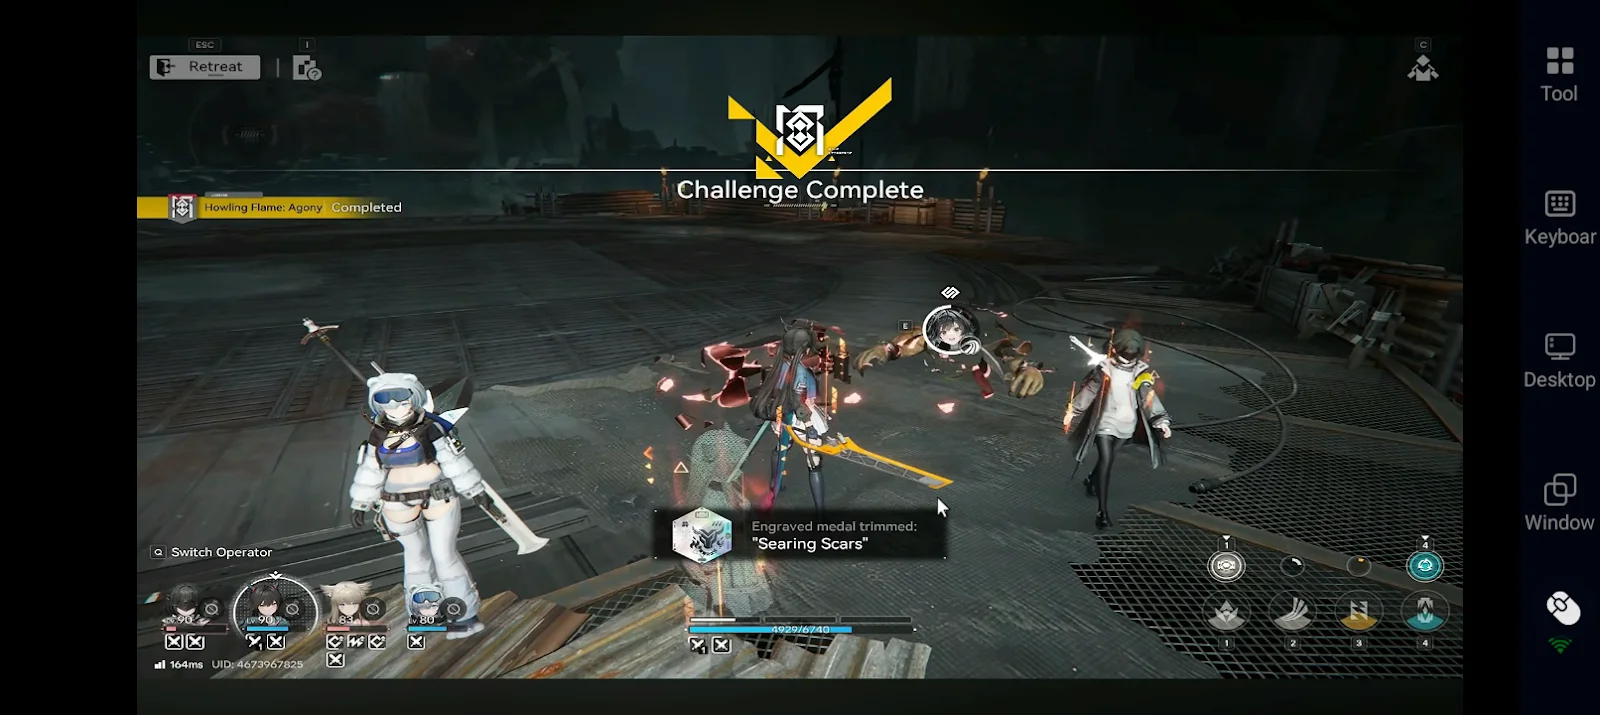
- Stage 3 – Howling Flame
- Howling Flame Mechanics
- Howling Flame Clear Strategy
- Recommended Teams for Howling Flame
- Conclusion
And if you want to experience smoother gameplay without device limitations, OSLink lets you run Arknights: Endfield on your PC and play remotely on your phone, so you can enjoy stable performance and continue your progress anywhere.
Umbral Monument Overview
Umbral Monument is endgame content with valuable rewards and replayable challenges.
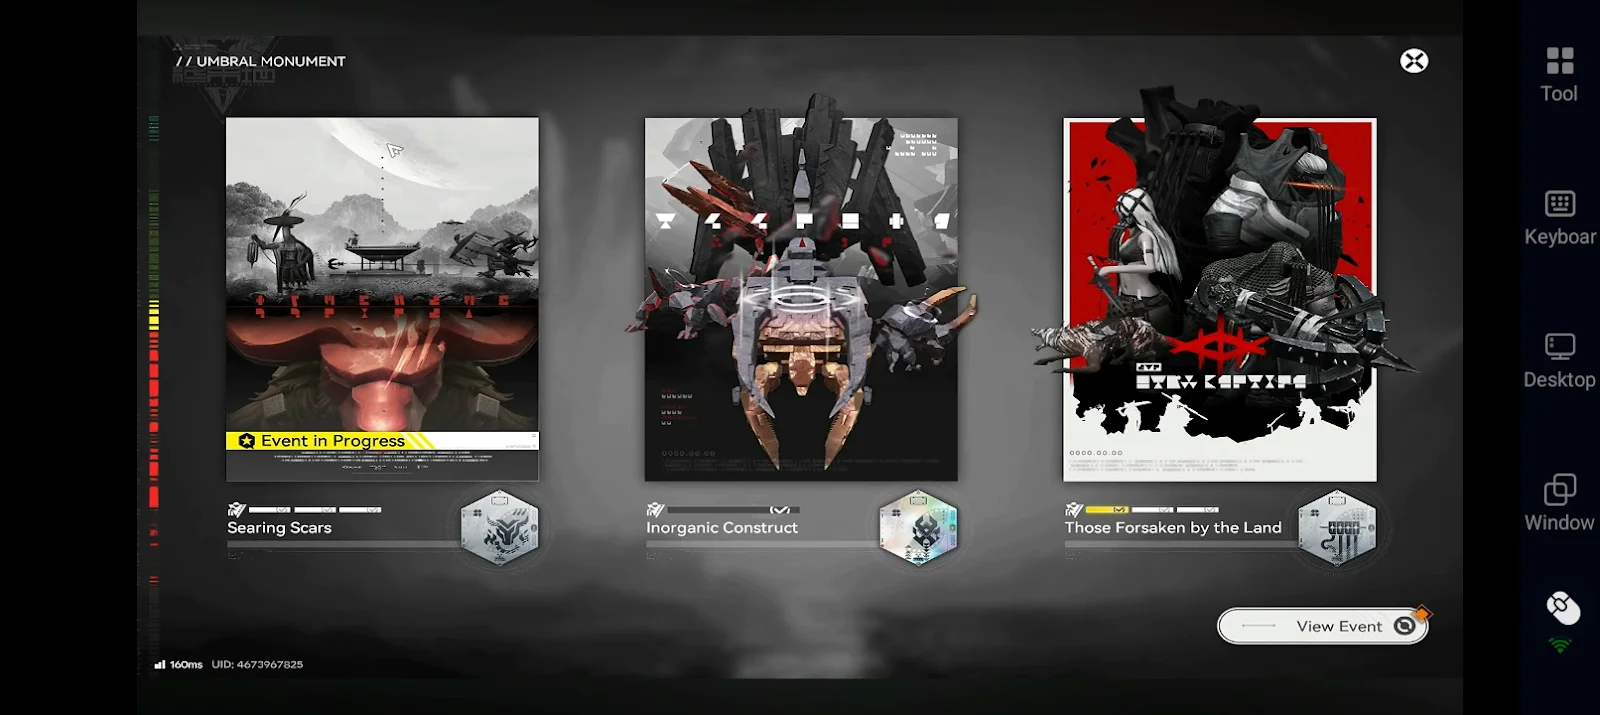
If you are an Arknights: Endfield beginner, Umbral Monument unlocks when you
-
reach Authority Level 30
-
clear Chapter I – Process II
Available Modes
-
Normal Mode → Standard difficulty, main rewards
-
Agony Mode → Hard mode, no consumables, extra challenge
Core Rules
-
No Tacticals / consumables can be used
-
Enemies have equal resistance to all elements
-
You can use a 4-Operator team to overcome it
Umbral Monument Rewards
When you clear this content for the first time you earn the following rewards.
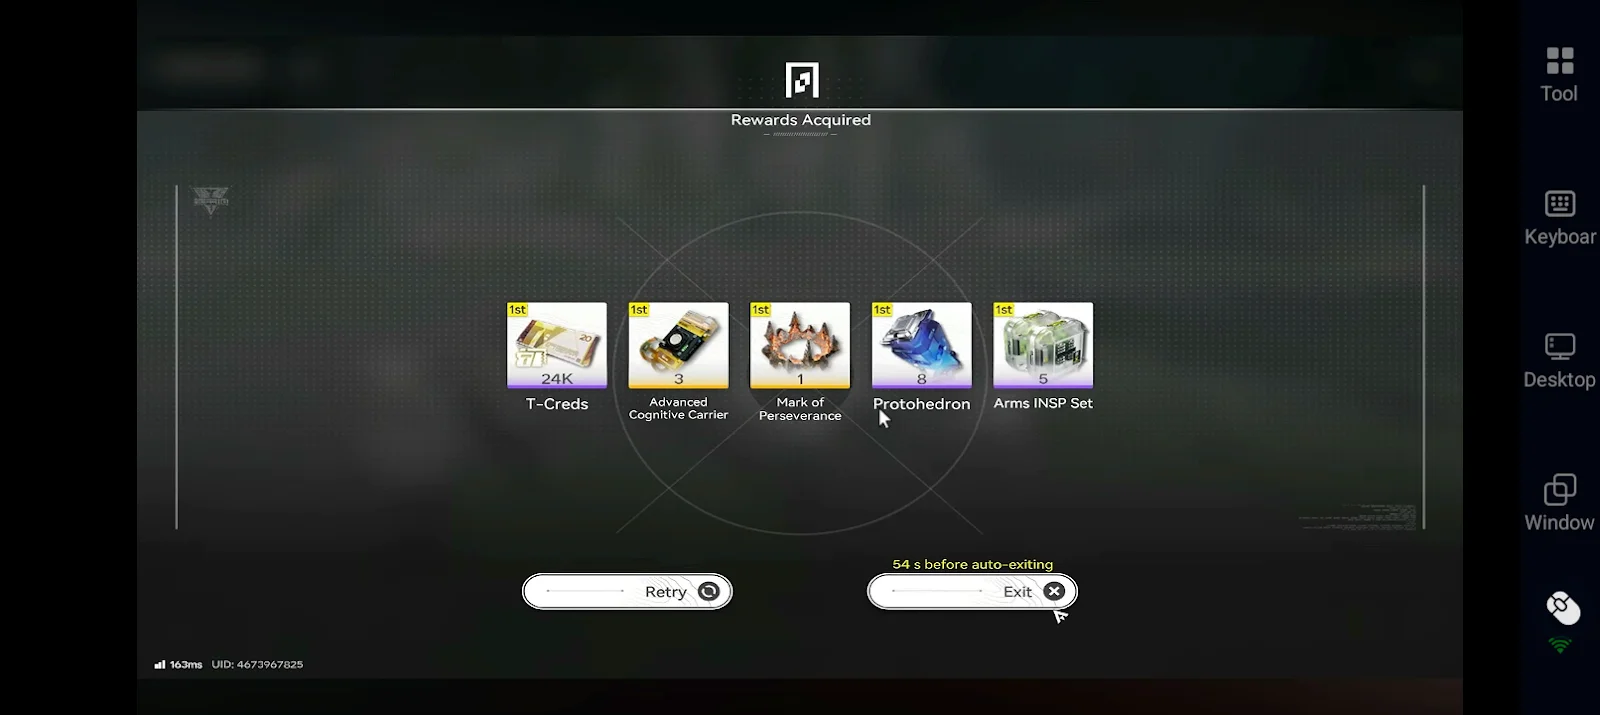
|
Reward Type |
What You Get |
|
Core Rewards |
Mark of Perseverance, T-Creds |
|
Upgrade Materials |
Advanced Cognitive Carrier, Arms INSP Set |
|
Currency |
Protohedron |
Additional Rewards
|
Category |
Condition / Type |
Rewards |
|
Medal Rewards |
Complete all stages (Normal) |
Engraved Medal |
|
Medal Rewards |
Complete all stages (Agony) |
Trimmed Engraved Medal |
|
Monumental Etching |
Limited-time event objectives |
Oroberyls + additional rewards |
How to Complete Searing Scars Easily
If you’re feeling stuck in the latest content of Umbral Monument, don’t worry. In this part of the Searing Scars guide, we’ll explain all the team building, mechanics, and tips to help you overcome it easily.
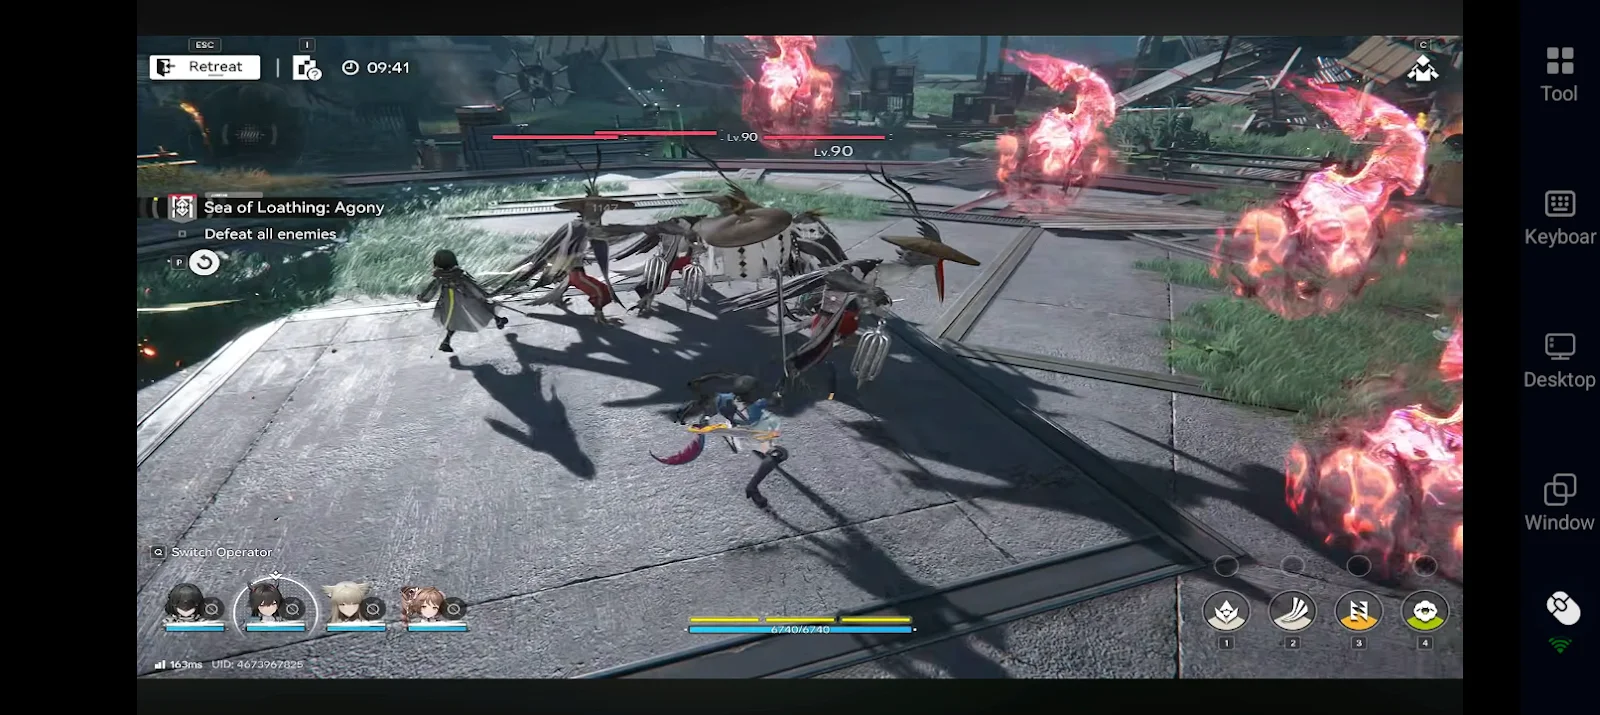
Stage 1 – Sea of Loathing
This stage features coordinated enemy behavior and heavy disruption mechanics that can quickly overwhelm unprepared players.
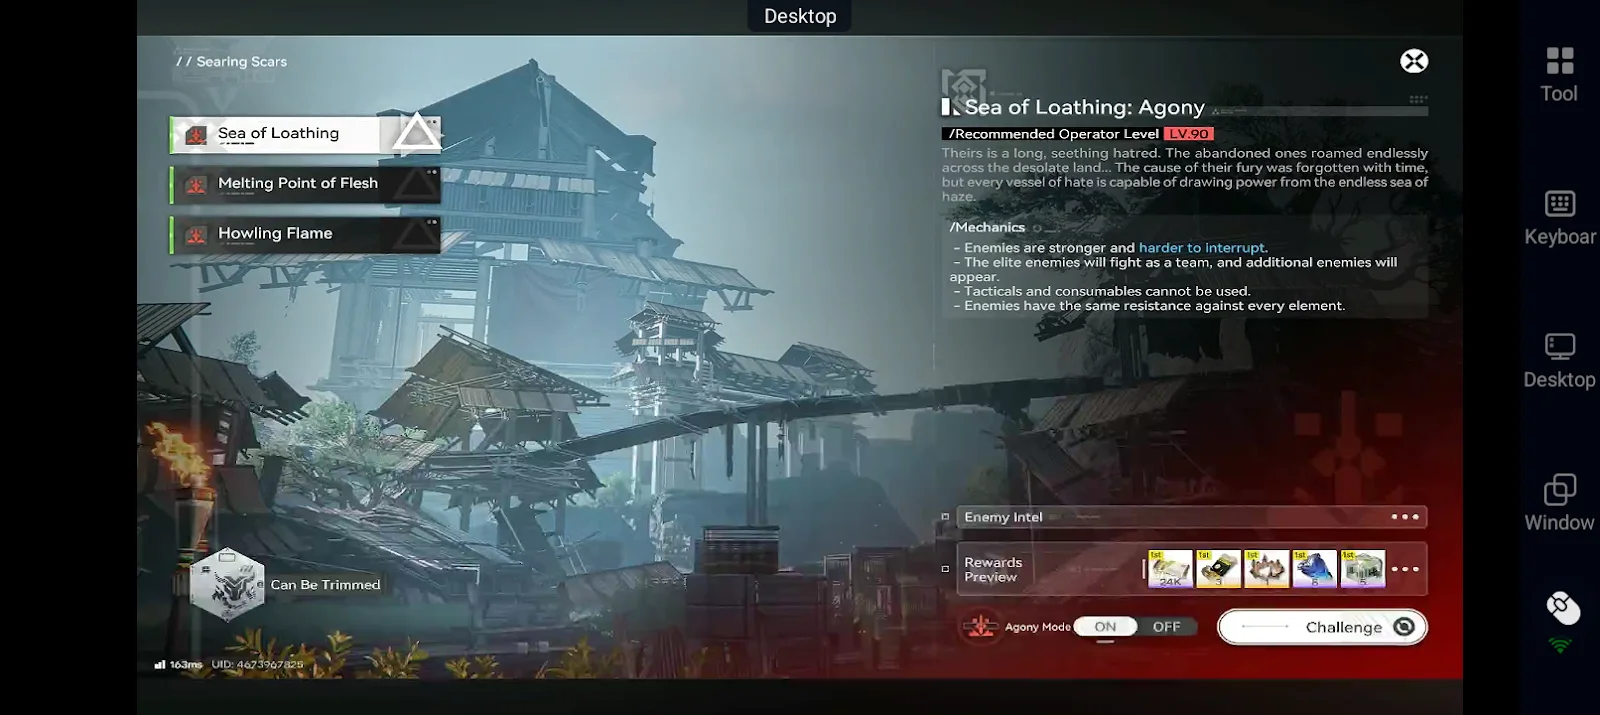
Sea of Loathing Mechanics
Instead of overcomplicating it, here’s what actually matters:
Breaking Gust (Main Threat)
-
Summons chains that stun your operator
-
Uses dash attacks that knock you back
If ignored, this enemy will lock your character and get you killed.
Cloud Stalker (Disruption Unit)
-
Creates gray smoke → slows movement + disables dodge
-
Creates green smoke → heals enemies
This is what makes the stage feel “impossible” for many players.
The Sea of Loathing Clear Strategy
By following the steps below, you can clear the Sea of Loathing more easily and quickly.
Step 1: Kill Cloud Stalkers FIRST
This is the most important decision because:
-
They slow you
-
They block your dodge
-
They heal enemies
If you ignore them you will NOT be able to deal with chains properly.
Step 2: Stay Mid-Range (Don’t Chase)
-
Don’t run all over the map
-
Keep enemies in front of you
-
Let them come to you
This makes:
-
Chain breaking easier
-
Dodging safer
-
Positioning more controlled
Step 3: Break Chains Immediately
When chains appear:
-
Stop everything
-
Break them ASAP
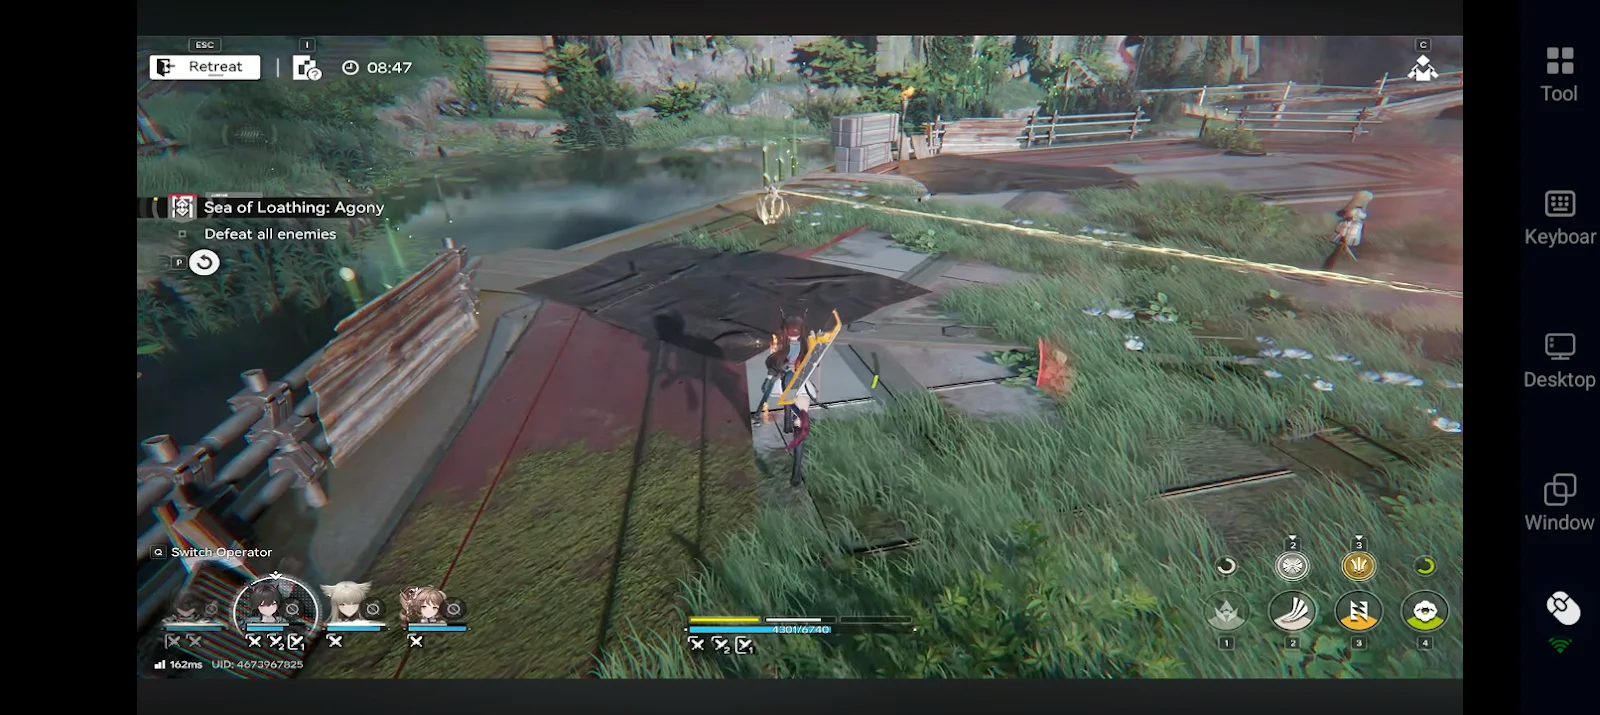
This is where most players struggle, and it’s not about speed, it’s about positioning. Most players panic, run everywhere, try to break all chains at once, and get stuck in smoke. Instead, focus on controlling the situation early.
Tips: Fight in open space, keep enemies in front of you, avoid green smoke, and reposition early before things get out of control.
Step 4: Dodge Breaking Gust Dashes
-
Watch for red indicators
-
Dodge sideways, not backwards
This keeps your positioning stable.
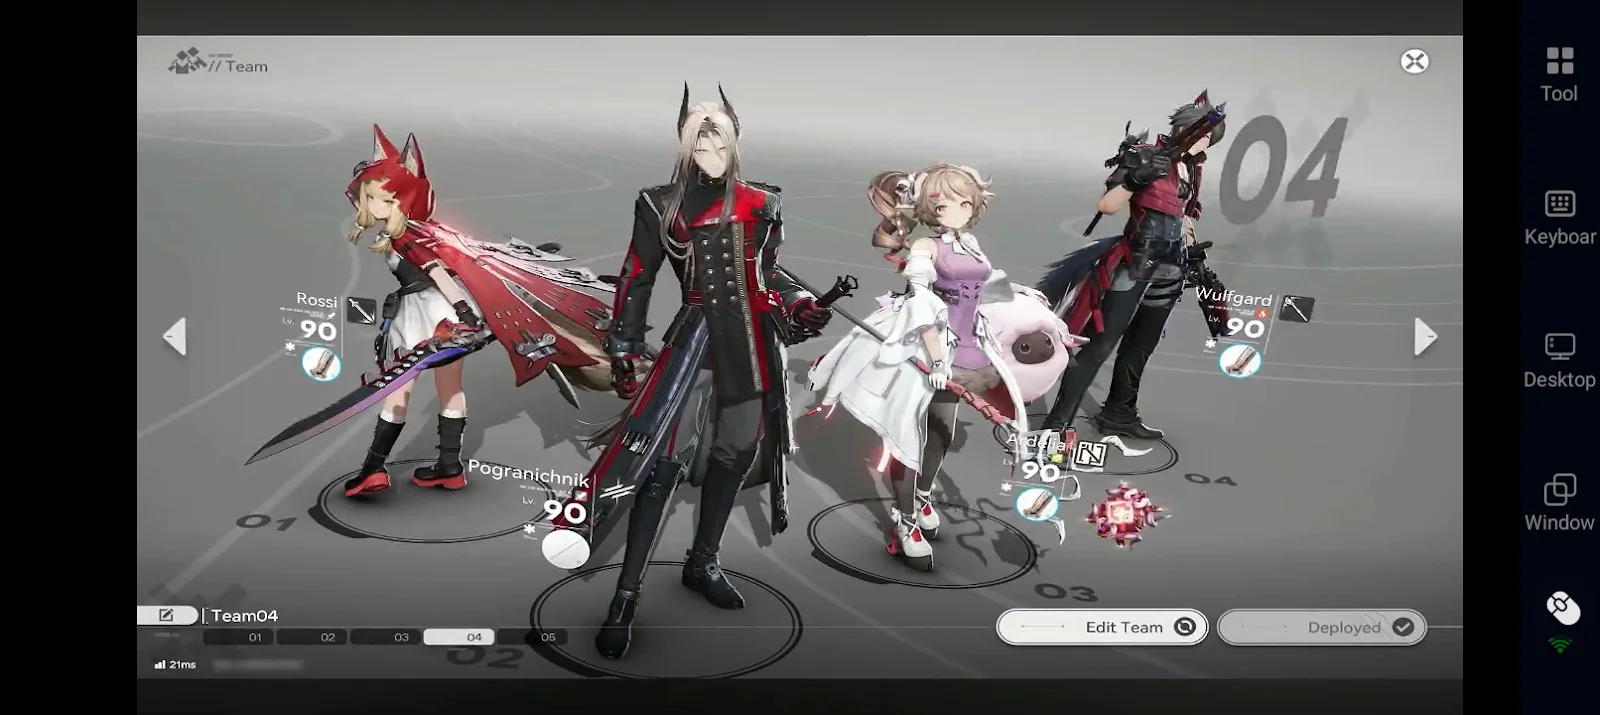
Recommended Team for Sea of Loathing
Here are the best teams of Searing Scars’ Stage 1 and why they work:
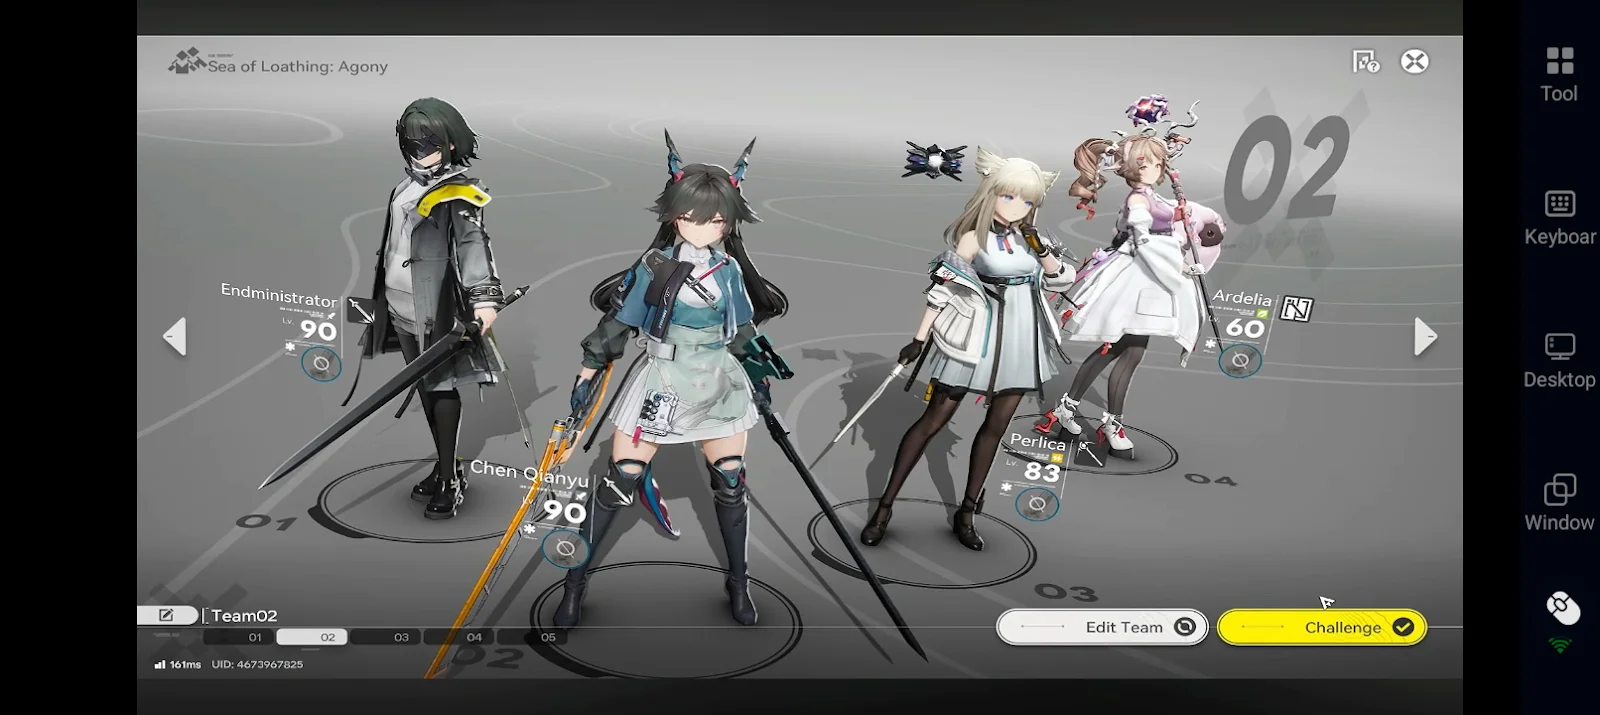
Cryo Control Team
|
Character |
Role |
Function |
|
Yvonne
|
Main DPS |
Ranged damage, safely hits enemies and chains |
|
Tangtang
|
Control |
Groups enemies and sets up AoE damage |
|
Gilberta
|
Debuffer |
Applies susceptibility, boosts team damage |
|
Xaihi
|
Support |
Sustain + improves damage uptime |


This team offers:
-
Strong crowd control
-
Safe ranged damage
-
Easy to manage chaos
Best for consistent clears and beginners
Heat Team
|
Character |
Role |
Function |
|
Laevatain
|
Main DPS |
High AoE damage, fast enemy clearing |
|
Wulfgard
|
Buffer |
Energy generation + boosts DPS output |
|
Akekuri
|
SP Support |
Enables frequent Ultimate usage |
|
Ardelia
|
Support |
Utility + increases team damage |


This team offers:
-
High AoE burst damage
-
Fast enemy clearing
-
Strong chain-breaking from range
Requires good dodging and SP management
Electric Team
|
Character |
Role |
Function |
|
Avywenna
|
Main DPS |
AoE damage + triggers Electric reactions |
|
Arclight
|
Sub DPS |
Applies Electric effects, supports burst |
|
Perlica
|
Support |
Enables Electrification + team synergy |
|
Gilberta
|
Debuffer |
Groups enemies + increases damage |


This team offers:
-
Strong AoE and stagger potential
-
Good enemy grouping
-
High burst damage
Great balance between control and damage
Stage 2 – Melting Point of Flesh
This stage shifts from control-heavy gameplay into high-pressure execution, where positioning, timing, and target focus become critical.
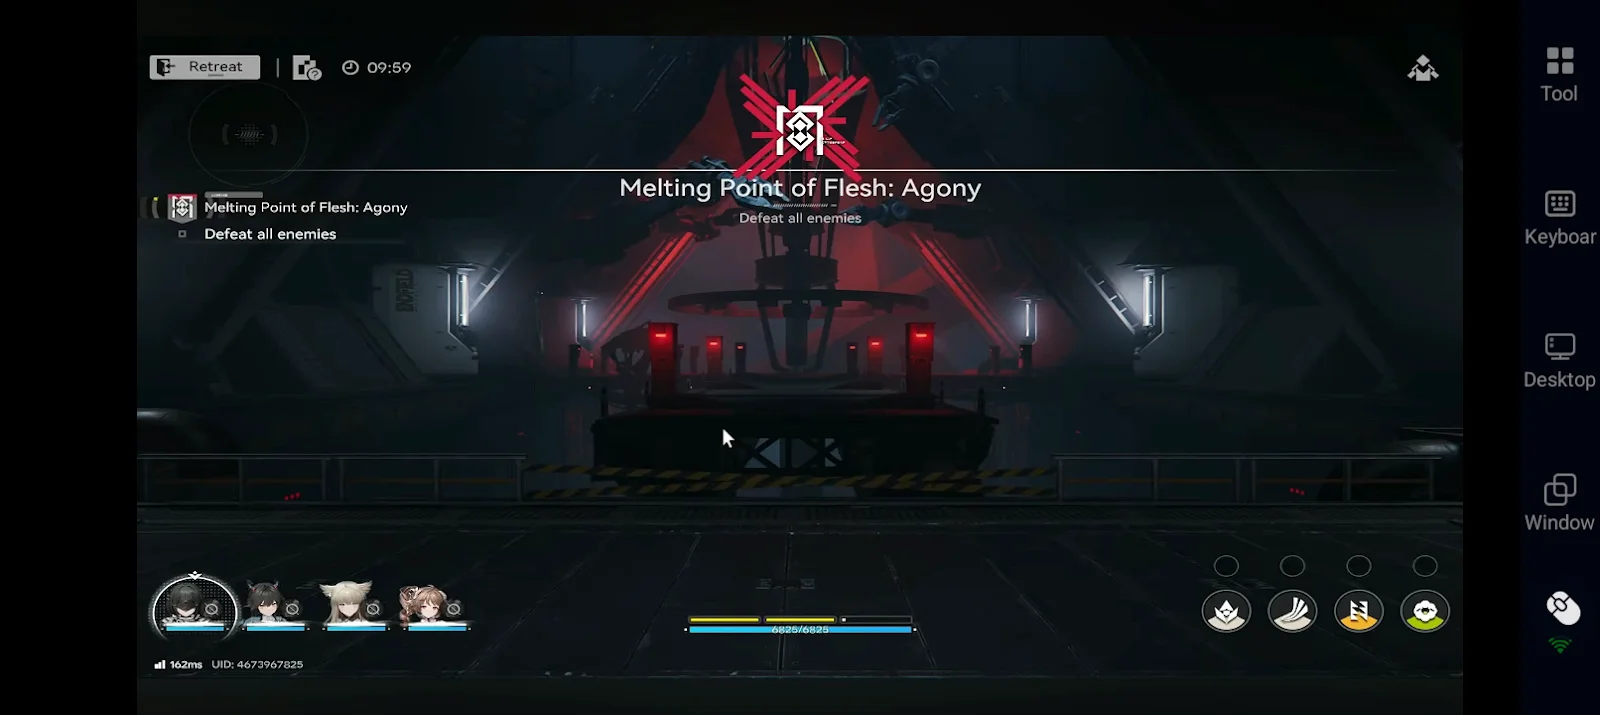
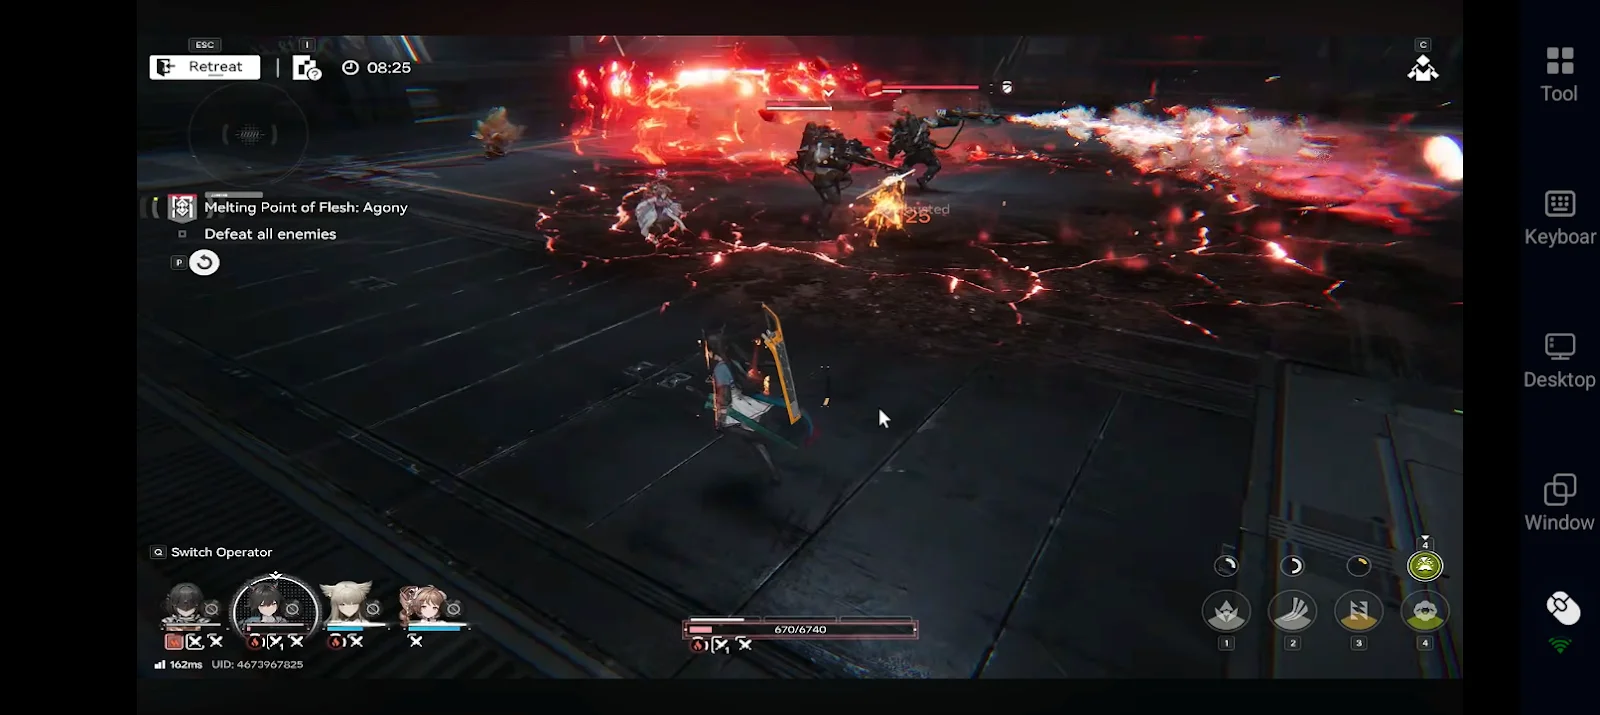
Melting Point of Flesh Mechanics
In this stage Bonekrusher Arsonist is the main enemy.
-
Deals heavy fire damage
-
Applies Combustion (DoT)
-
Becomes extremely dangerous when both are active
Exploding Firemist Slugs
-
These Slugs Spawn throughout the fight
-
Explode on contact → deal massive damage
These are the reasons players feel like they “randomly lose HP”
Agony Mode Adds:
-
Two Arsonists active
-
No Perfect Dodge
-
No consumables
This removes your ability to rely on dodge-based recovery and combo flow.
Melting Point of Flesh Clear Strategy
With the steps below, clearing Melting Point of Flesh becomes much easier and faster.
Step 1: Stagger the First Arsonist IMMEDIATELY
At the start:
-
Focus everything on the first Arsonist
-
Stagger it before the second one appears
This gives you a huge advantage early on.
Step 2: Stay on One Side of the Map
-
Do NOT move to the opposite side
-
Fight where the first Arsonist spawned
Why this works:
-
Prevents early pressure from the second Arsonist
-
Keeps positioning predictable
Step 3: Focus ONE Target Only
Once both are active:
-
Commit to one Arsonist
-
Do NOT split damage
Splitting damage = longer fight = more chaos
Step 4: Control Your Movement
-
Move only when necessary
-
Avoid panic repositioning
-
Watch for explosion zones before committing
Less movement = more control
Positioning & Targeting Guide
This fight becomes overwhelming when your positioning and target priority fall apart—not because of damage or mechanics.
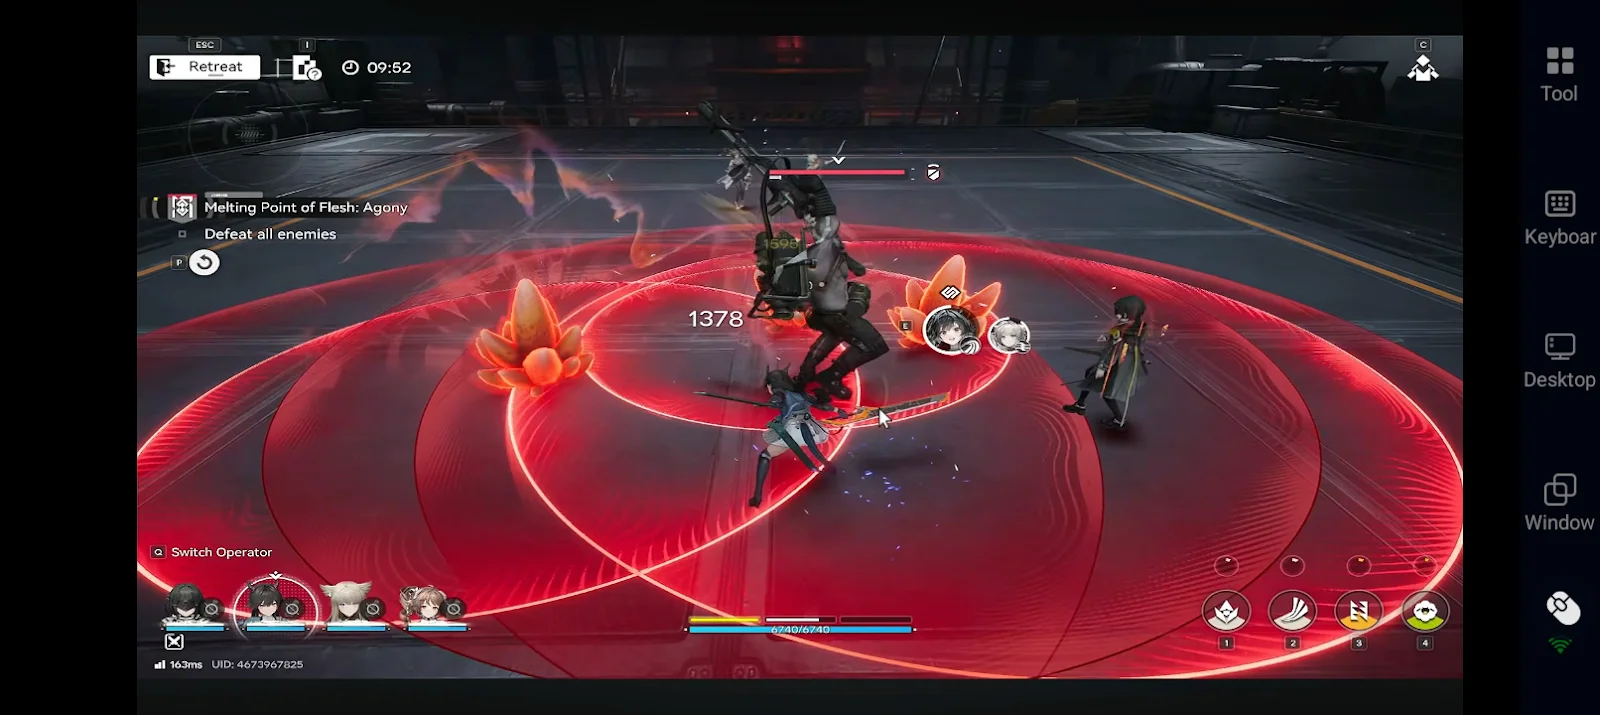
Stay slightly away from explosion zones and always keep both enemies within your view. Avoid standing between both Arsonists, as this is the fastest way to get overwhelmed. If the center area gets too crowded, don’t force the fight there, reposition to a safer, more open space before things spiral out of control.
When it comes to targeting, keep things simple. In the first phase, focus on bursting down one Arsonist as quickly as possible. In the second phase, commit to a single target and stick with it. Only switch targets if the other Arsonist is about to use a dangerous ability that needs immediate attention.
Simple Rule: If you feel overwhelmed, you’re either moving too much or standing in the wrong place.
Recommended Teams for Melting Point of Flesh
Here we will introduce you to the best teams of Searing Scars’ stage 2.
Cryo Control Team
|
Character |
Role |
Function |
|
Yvonne
|
Main DPS |
Ranged attacker that safely damages and controls enemies |
|
Tangtang
|
Control |
Groups enemies and enables consistent stagger |
|
Gilberta
|
Debuffer |
Increases damage and helps control enemy flow |
|
Xaihi
|
Support |
Sustain support, replaces survivability from no consumables |


This team offers:
-
Strong crowd control
-
Safe ranged gameplay
-
High survivability
Best and most consistent option for this stage
Physical Team
|
Character |
Role |
Function |
|
Endministrator
|
Main DPS |
Consistent damage + crystal control |
|
Lifeng
|
Burst DPS |
Heavy AoE damage during stagger windows |
|
Chen Qianyu
|
Control |
Lifts enemies and interrupts attacks |
|
Pogranichnik
|
SP Support |
Ensures constant skill uptime |


This team offers:
-
High stagger uptime
-
Strong burst damage
-
Excellent SP generation
Great alternative if you lack Cryo units
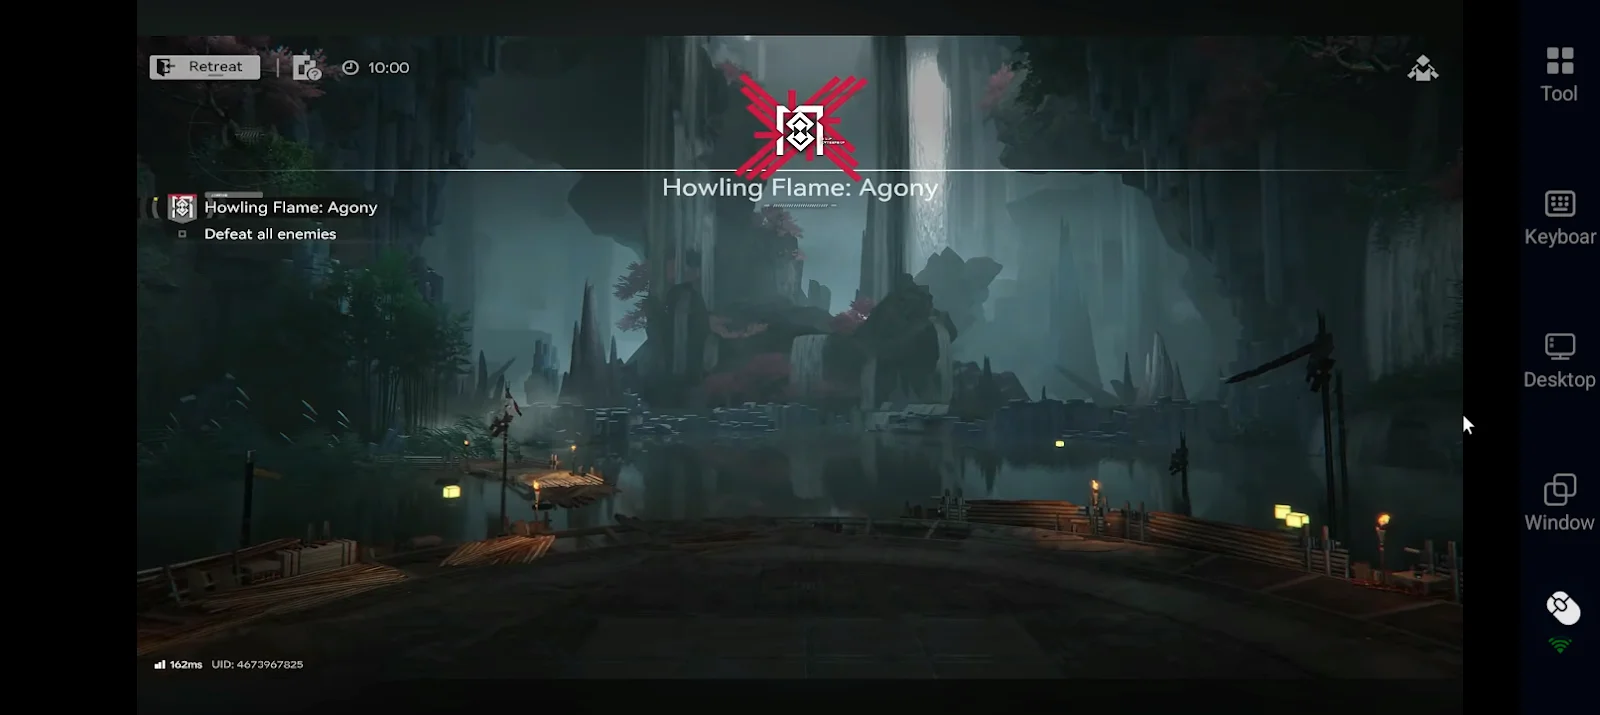
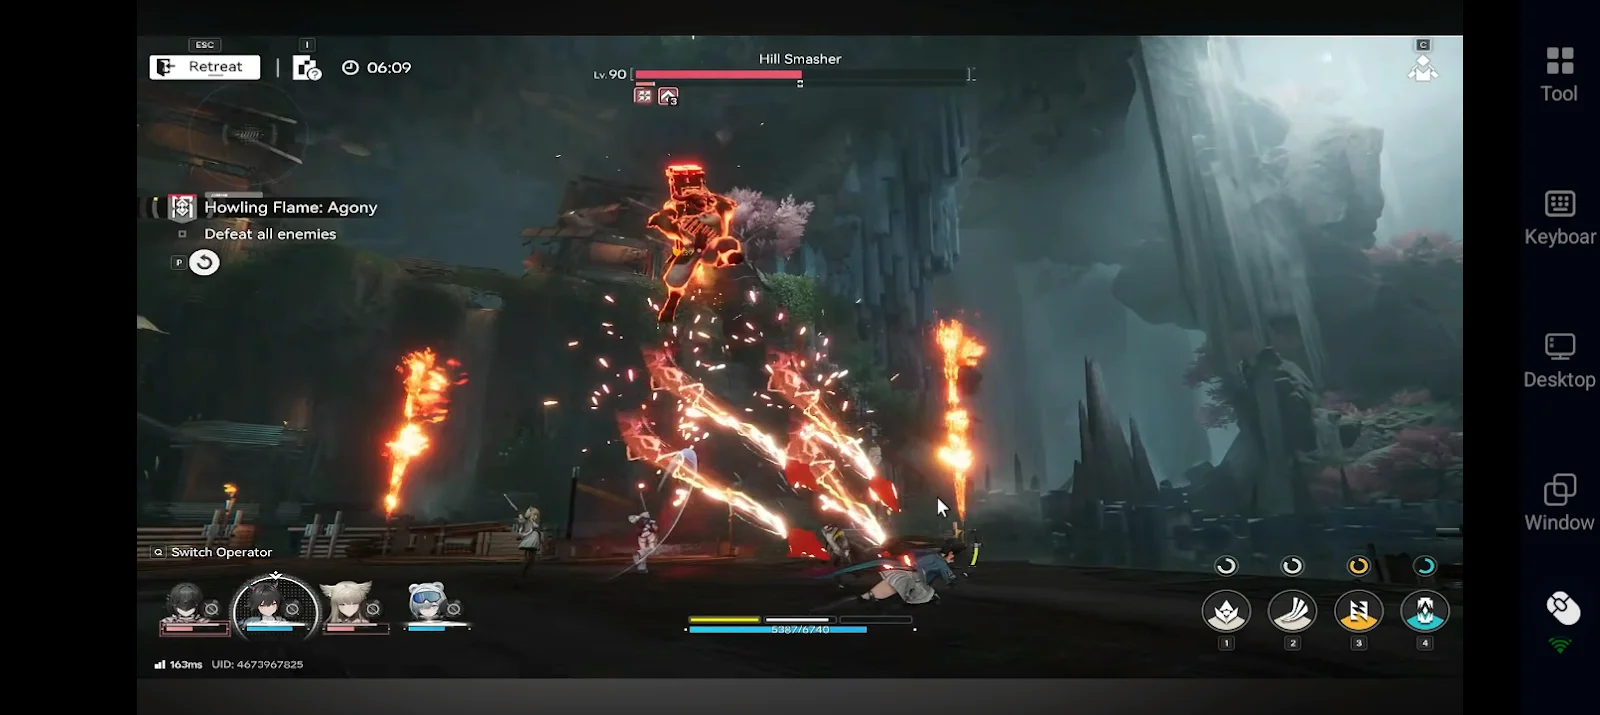
Stage 3 – Howling Flame
This stage introduces a unique Enrage system that heavily punishes poor resource management and forces players to adapt their playstyle.
Howling Flame Mechanics
Enrage System
-
Enemy constantly gains Heat Infliction stacks
-
Each stack gives: ATK increase and Damage Reduction to the boss.
That means the longer the fight goes, the harder it becomes. Also, in Agony Mode during enrage, you will not be able to naturally generate SP, so you cannot spam skills and you have to rely on:
-
dodging
-
timing
-
proper rotations
Howling Flame Clear Strategy
Follow the steps below to clear the Howling Flame stage faster and with less difficulty.
Step 1: Control Heat Infliction Stacks
-
Do NOT let stacks build freely
-
Use: Arts reactions and characters that consume stacks
This reduces:
-
enemy damage
-
damage reduction
Step 2: Manage SP Carefully
-
Don’t spam skills early
-
Save SP for important moments
Think of SP as a limited resource.
Step 3: Use Dodge → Final Strike Loop
When Enrage is active:
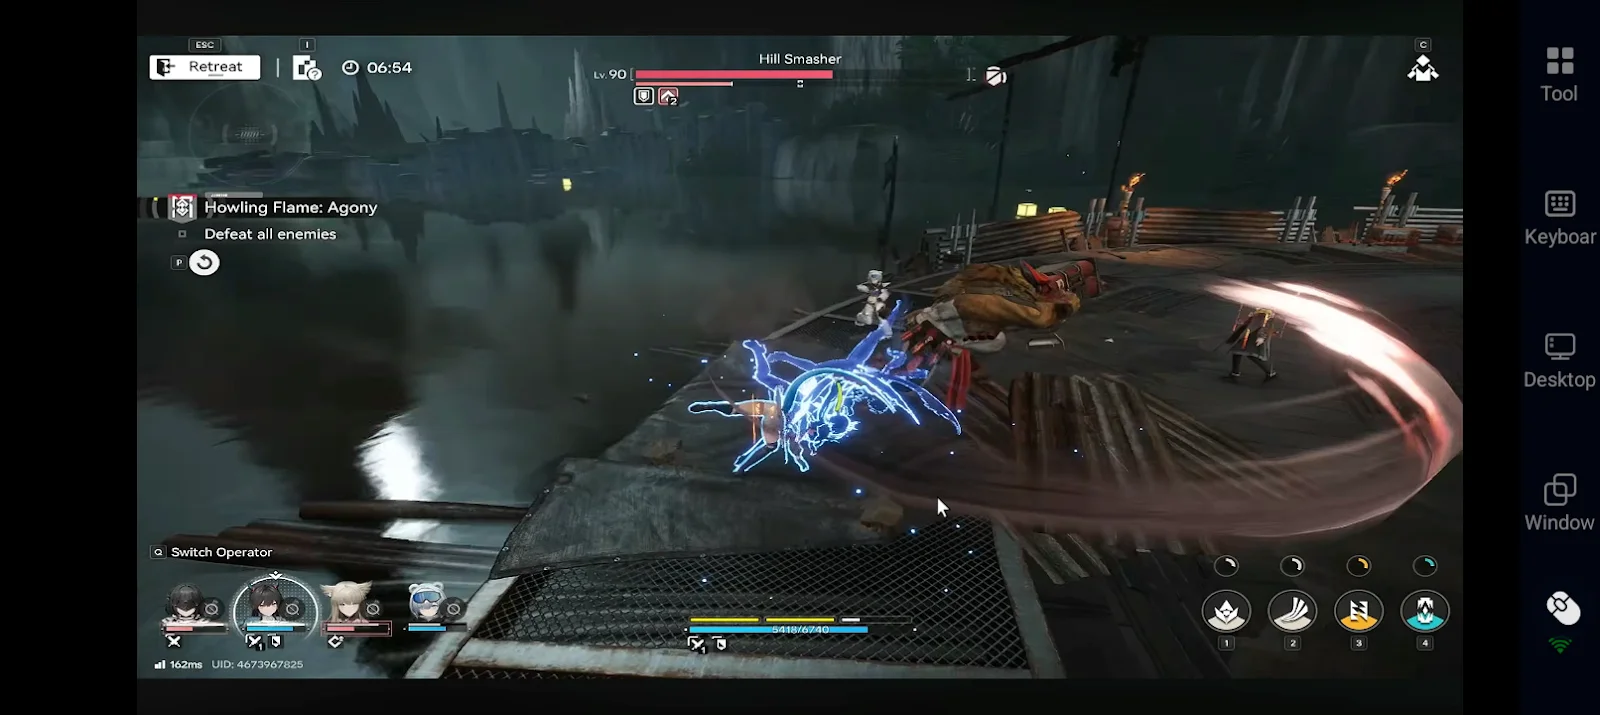
-
Dodge attacks
-
Trigger Final Strikes
-
Recover SP
This is your main way to sustain rotations
Step 4: Play Slower, Not Faster
-
Don’t rush damage
-
Wait for safe openings
-
Attack during controlled windows
-
Build SP before committing to damage
Also using characters that consume Heat stacks (e.g. Laevatain) or trigger reactions to remove stacks will make your life so much easier in the Howling Flame stage.
Recommended Teams for Howling Flame
Here we will introduce you to the best teams of Searing Scars for stage 3.
Laevatain Hypercarry Team
|
Character |
Role |
Function |
|
Laevatain
|
Main DPS |
Consumes Heat stacks to gain enhanced damage |
|
Akekuri
|
SP Support |
Helps maintain Ultimate uptime |
|
Ardelia
|
Support |
Boosts damage and stabilizes rotations |
|
Tangtang
|
Control |
Provides crowd control and safer damage windows |


This team offers:
-
Strong synergy with stage mechanics
-
High sustained damage
-
Efficient Heat stack control
Best-performing team for this stage


 AFK Anywhere, Progress Anytime

Shatter Team
|
Character |
Role |
Function |
|
Endministrator
|
Main DPS |
Drives combo chains and consistent damage |
|
Alesh
|
SP Generator |
Restores SP through Shatter effects |
|
Chen Qianyu
|
Control |
Interrupts and staggers enemies |
|
Estella
|
Reaction Trigger |
Enables constant Solidification procs |


This team offers:
-
High stagger potential
-
Strong SP sustain
-
Good control over enemy pressure
Great option if you lack Heat-based teams
Electric Team
|
Character |
Role |
Function |
|
Avywenna
|
Main DPS |
Delivers burst damage through Electric reactions |
|
Arclight
|
Sub DPS |
Applies Electric effects and supports combos |
|
Perlica
|
Support |
Enables Electrification and boosts damage |
|
Ardelia
|
Support |
Improves team consistency and overall output |


This team offers:
-
High burst damage potential
-
Strong reaction-based damage
-
Flexible playstyle
Requires careful timing and skill management
Conclusion
These strategies and recommended team setups highlight some of the best teams of Umbral Monument in the current update. Once you understand each stage’s mechanics and refine your combat strategy, even the toughest Searing Scars challenges become manageable. Take your time, improve your execution, and build teams that suit your playstyle. And if you want to keep progressing without being tied to your setup, OSLink lets you play Arknights: Endfield remotely on your phone with PC-level performance, so you can enjoy the game anytime, anywhere.
 Download