English
 Blog Game Guide Castlevania: Belmont's Curse Best Weapon Tier List, Rankings, and Relic Recommendations

The sheer variety of weapons in Castlevania: Belmont's Curse can leave even veteran hunters second-guessing which options are worth using. With different weapons offering different advantages in combat and exploration, choosing the right loadout can make a real difference when facing tougher enemies or navigating tricky platforming sections. This Castlevania: Belmont's Curse best weapons guide breaks down the strongest options to help you find the weapons that suit your playstyle and make the most of their strengths.
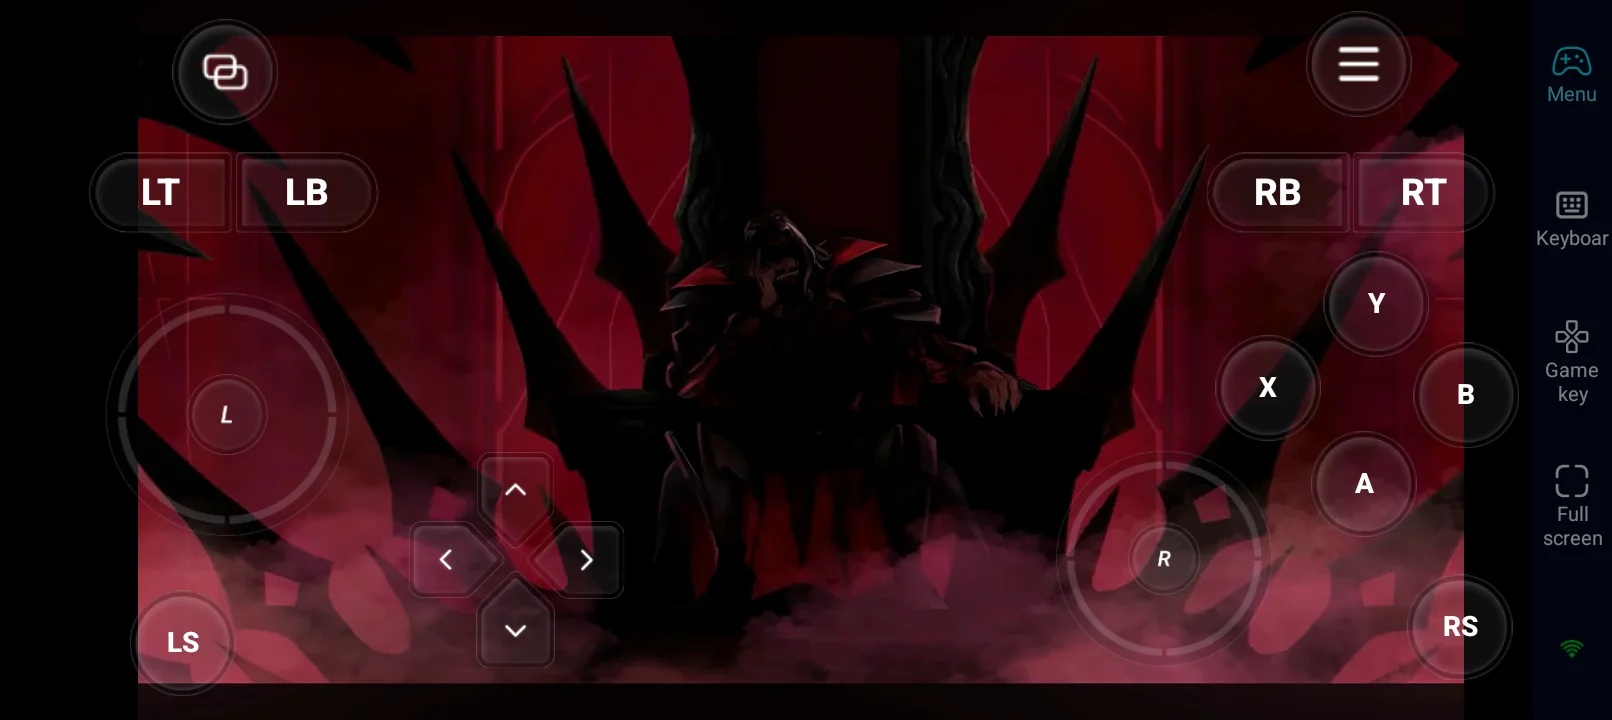
Finding your ideal loadout takes experimentation, especially when you're testing weapon combinations, practicing Arcana abilities, and learning how to handle tougher encounters. If you want to keep playing when you're away from your PC, OSLink lets you remotely access your PC and play Castlevania: Belmont's Curse on your mobile device. You can try different weapons, practice your combat techniques, and tackle challenging sections without being tied to your usual PC setup.
Castlevania: Belmont's Curse Weapon Tier List Overview
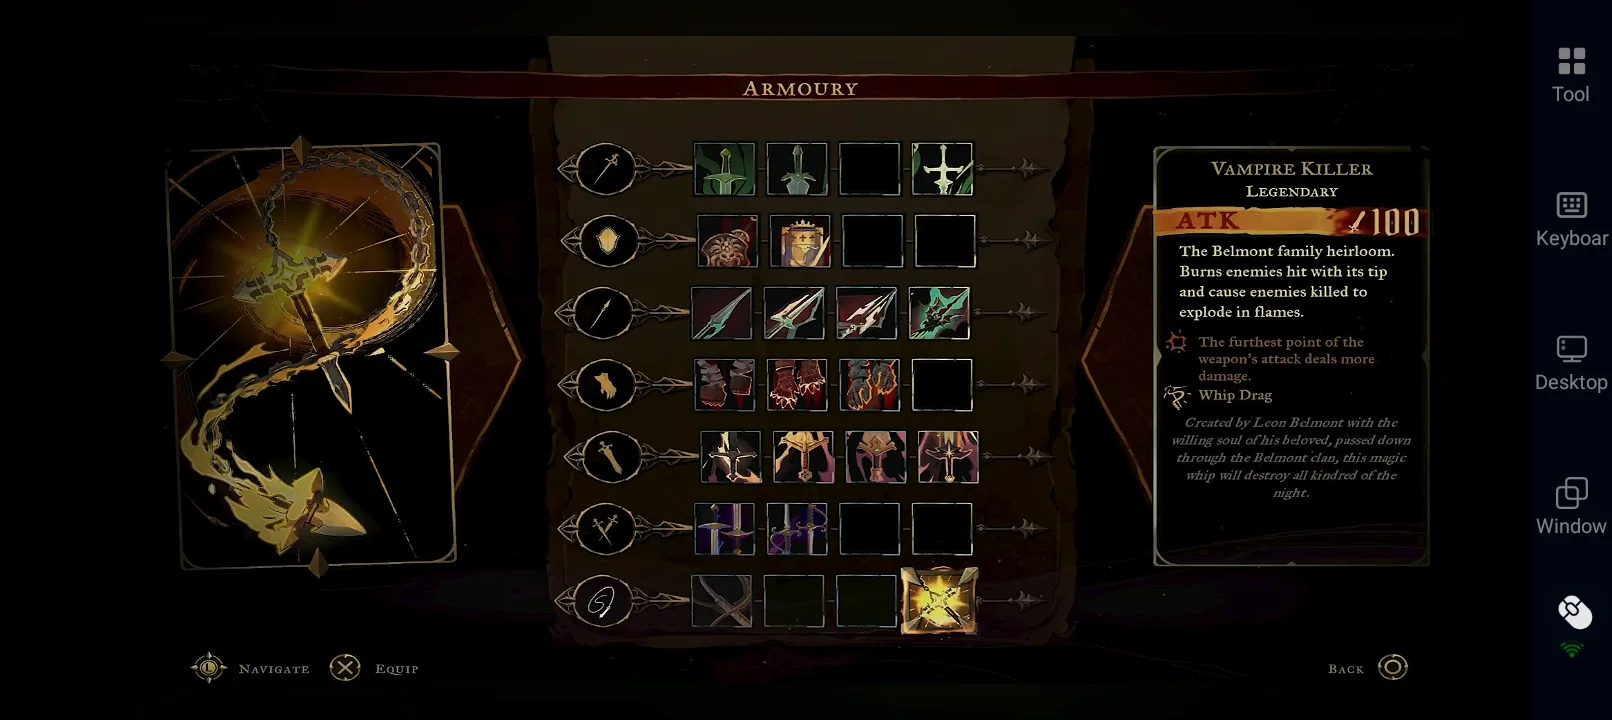
The best weapon in Castlevania: Belmont's Curse depends on more than damage alone. Range, attack speed, defensive utility, and how well a weapon performs across different encounters all affect its overall value. This tier list considers these factors alongside each weapon's versatility in both combat and exploration.
-
S Tier represents the strongest overall options, offering exceptional effectiveness or utility across a wide range of situations.
-
A Tier weapons are powerful but may require more precise timing, positioning, or a specific approach to reach their full potential.
-
B Tier weapons remain viable choices, though their overall versatility or effectiveness is more situational.
Castlevania: Belmont's Curse Weapon Tier List
|
Tier |
Weapon category |
Main strength |
|
S |
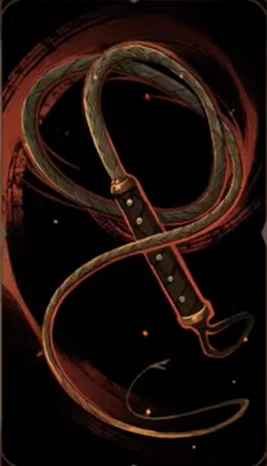
Whip
|
Long reach, tip-strike damage, and traversal |
|
S |
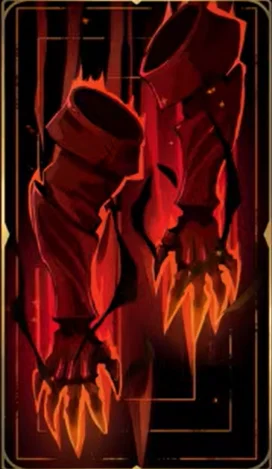
Cestus
|
Consecutive-hit damage and close-range pressure |
|
A |
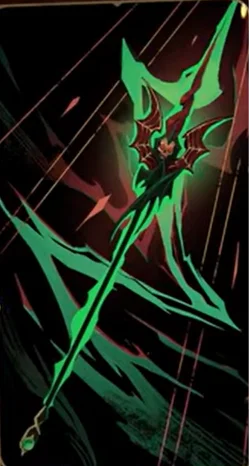
Spear / Lance
|
Reach, spacing, and thrown attacks |
|
A |
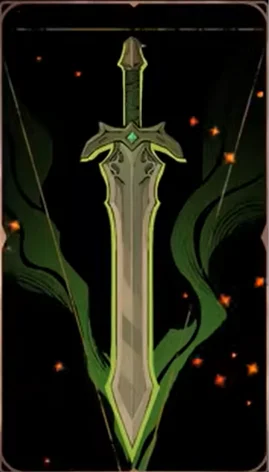
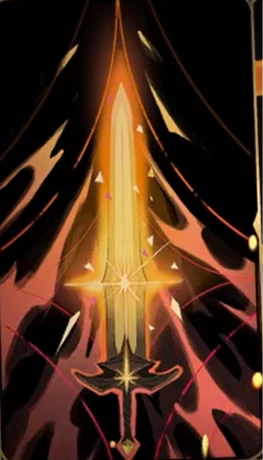
Great Sword
|
Heavy hits and wide attacks |
|
B |
Longsword
|
Balanced combat and mobility |
|
B |
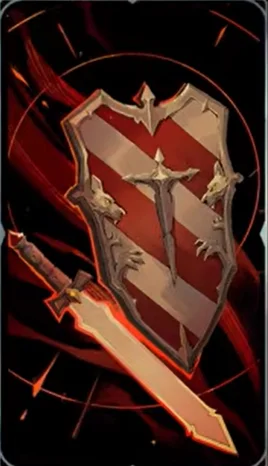
Sword and Shield
|
Defensive options and counterattacks |
|
B |
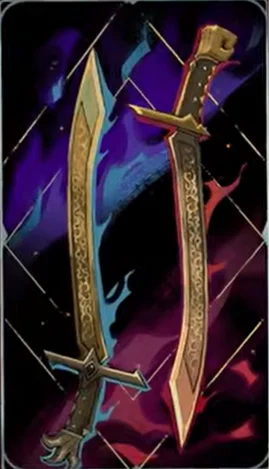
Dual Swords
|
Fast attacks and timed combos |
Castlevania: Belmont's Curse Weapon Rankings and Analysis
These rankings provide a general starting point rather than a strict rule. Individual weapon variants, upgrade levels, and personal playstyle can influence performance. With that in mind, let's take a closer look at each weapon's strengths, weaknesses, and overall combat potential.
1. Whip — S Tier
-
Best for: General exploration, safe melee combat, and airborne enemies.
-
Advantages: Long attack range, powerful tip strikes, and versatile grappling attacks.
-
Weaknesses: Getting the most out of its damage requires proper spacing and accurate tip strikes.
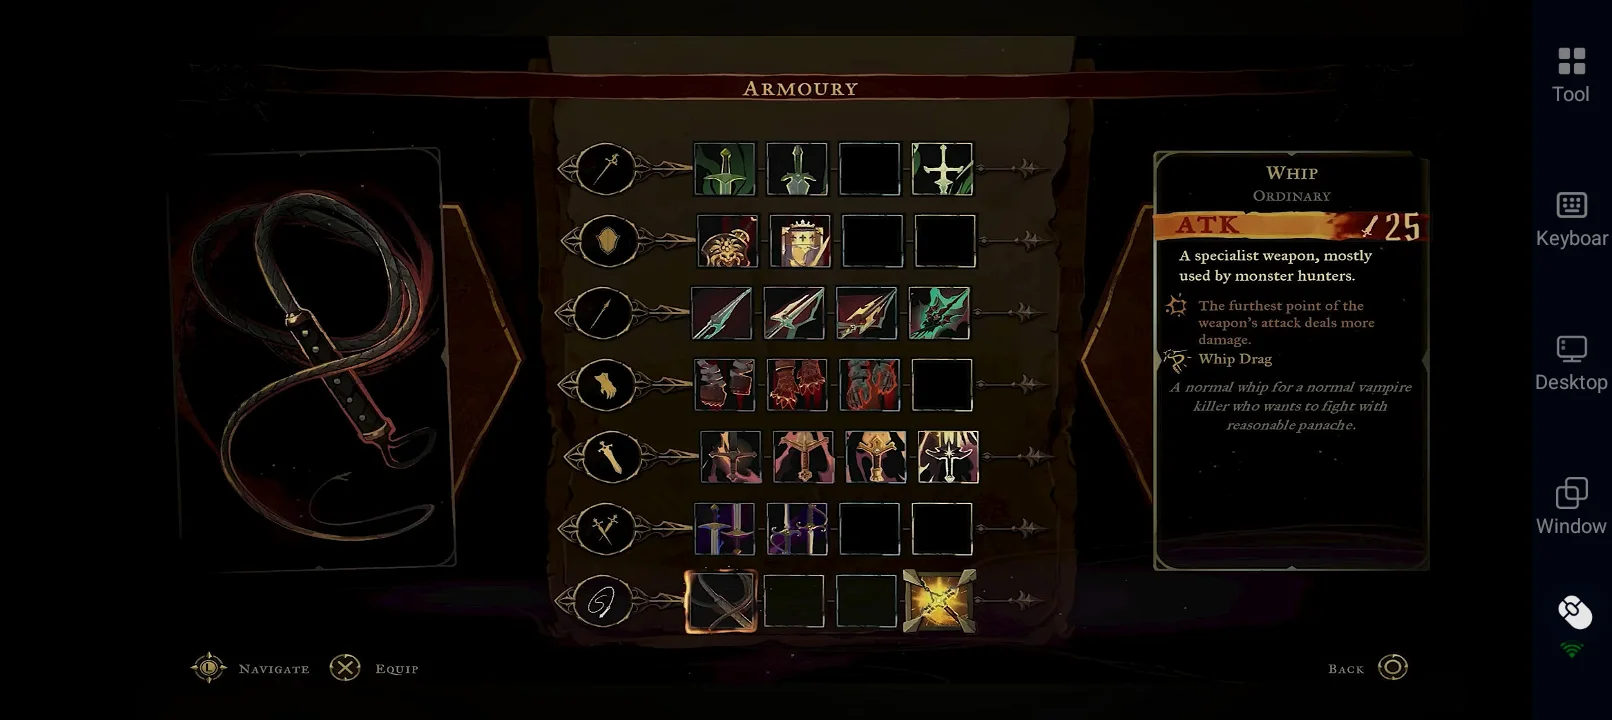
The Whip stands out as one of the most versatile weapon categories in Castlevania: Belmont’s Curse. Its long reach lets Rose attack enemies from a safer distance, while its diagonal combo aim helps deal with airborne targets. Landing attacks with the tip also rewards careful positioning with increased damage.
Beyond regular attacks, the Whip's grappling moves make it useful for both traversal and combat follow-ups. This combination of range, damage potential, and mobility makes it a strong all-around choice for players who want a weapon that remains useful across different encounters.
2. Cestus / Fists — S Tier
-
Best for: Aggressive close-range combat, one-on-one fights, and boss damage windows.
-
Advantages: Consecutive hits increase damage, while charged attacks and aerial follow-ups add offensive potential.
-
Weaknesses: Short range makes it harder to handle groups or enemies that punish close approaches.
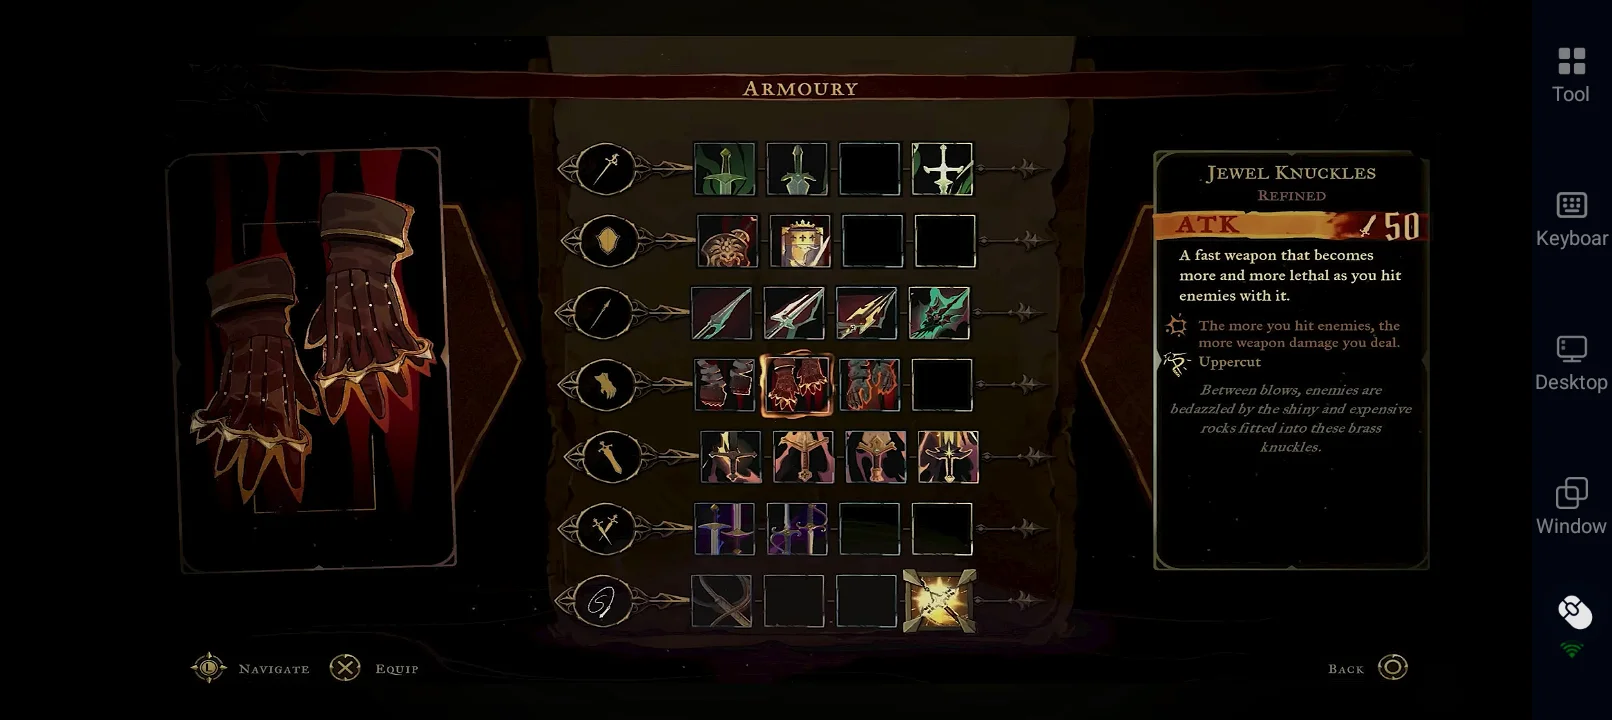
The Cestus rewards players who stay close to their targets and maintain an uninterrupted offensive rhythm. Its damage increases with consecutive hits, making sustained attacks particularly effective against bosses and other enemies that leave openings. Charged attacks can also stun enemies, creating opportunities to continue applying pressure.
Its grappling attack launches Rose and her target into the air, allowing follow-up strikes that can extend an offensive sequence. However, the Cestus demands more commitment than longer-range weapons. Players need to recognize attack patterns, dodge effectively, and use parries when appropriate to avoid losing momentum.
3. Spear / Lance — A Tier
-
Best for: Keeping enemies at a distance and dealing with airborne or hard-to-reach targets.
-
Advantages: Long reach and charged projectile attacks provide flexible ways to apply pressure.
-
Weaknesses: Gaps in its normal attack sequence can leave Rose vulnerable to interruption.
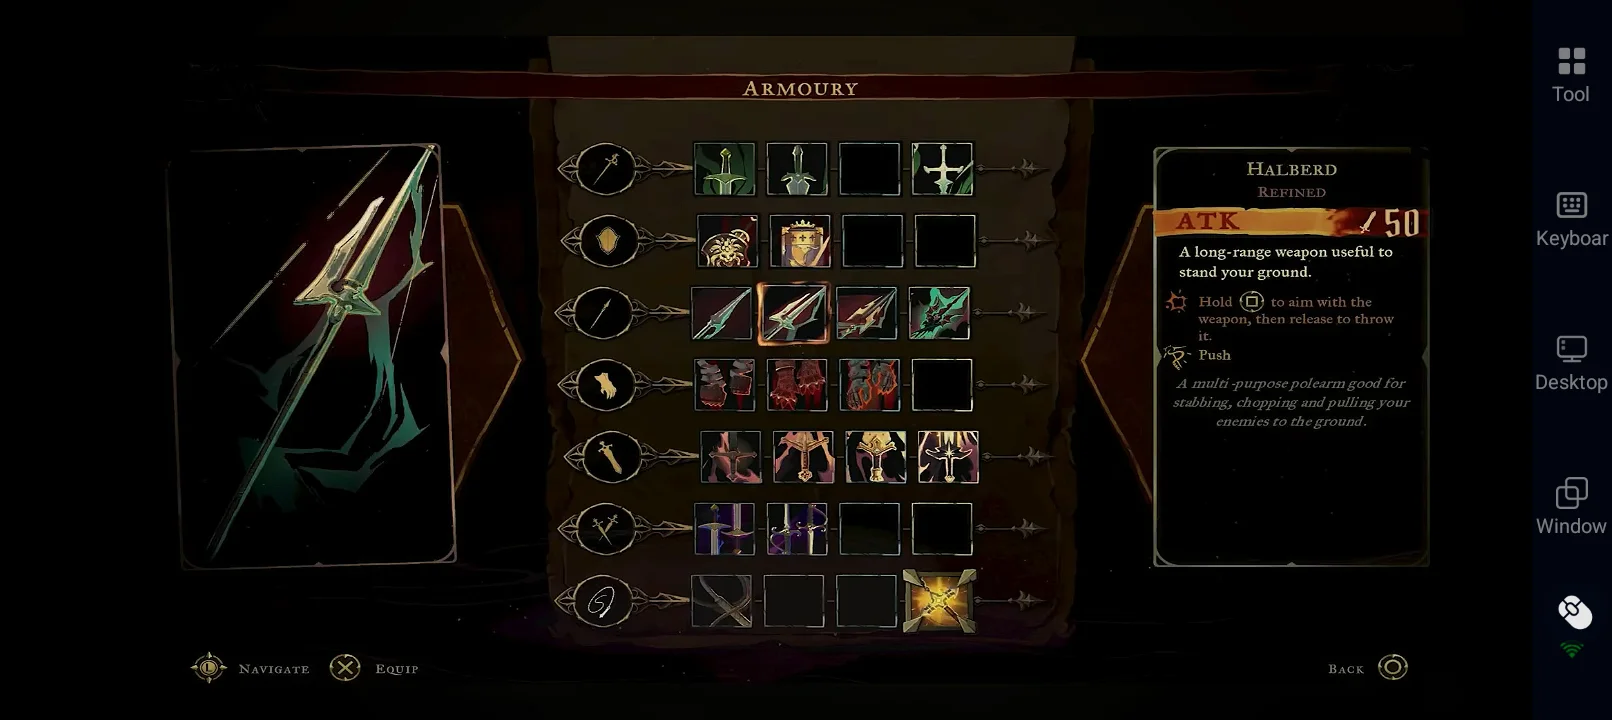
The Spear offers a strong balance between reach and direct damage. Its long attacks help Rose engage enemies without getting as close as she would with the Cestus, while its charged throw adds a ranged option against flying enemies and opponents that are difficult to approach safely. These qualities make it especially useful when spacing matters more than maintaining constant close-range pressure.
However, the Spear still requires careful timing. The gap during its second combo hit can leave Rose open to counterattacks, and its grappling attack pushes enemies away rather than keeping them within immediate melee range. Players who manage their spacing and choose their openings carefully can make excellent use of its reach and projectile utility.

 Pre-set Keymaps for Easy Play


4. Greatsword — A Tier
-
Best for: Groups of enemies, heavy damage, and punishing clear attack openings.
-
Advantages: Powerful, wide-reaching attacks and charged strikes that provide protection against interruption.
-
Weaknesses: Slow attack speed makes positioning and timing especially important.
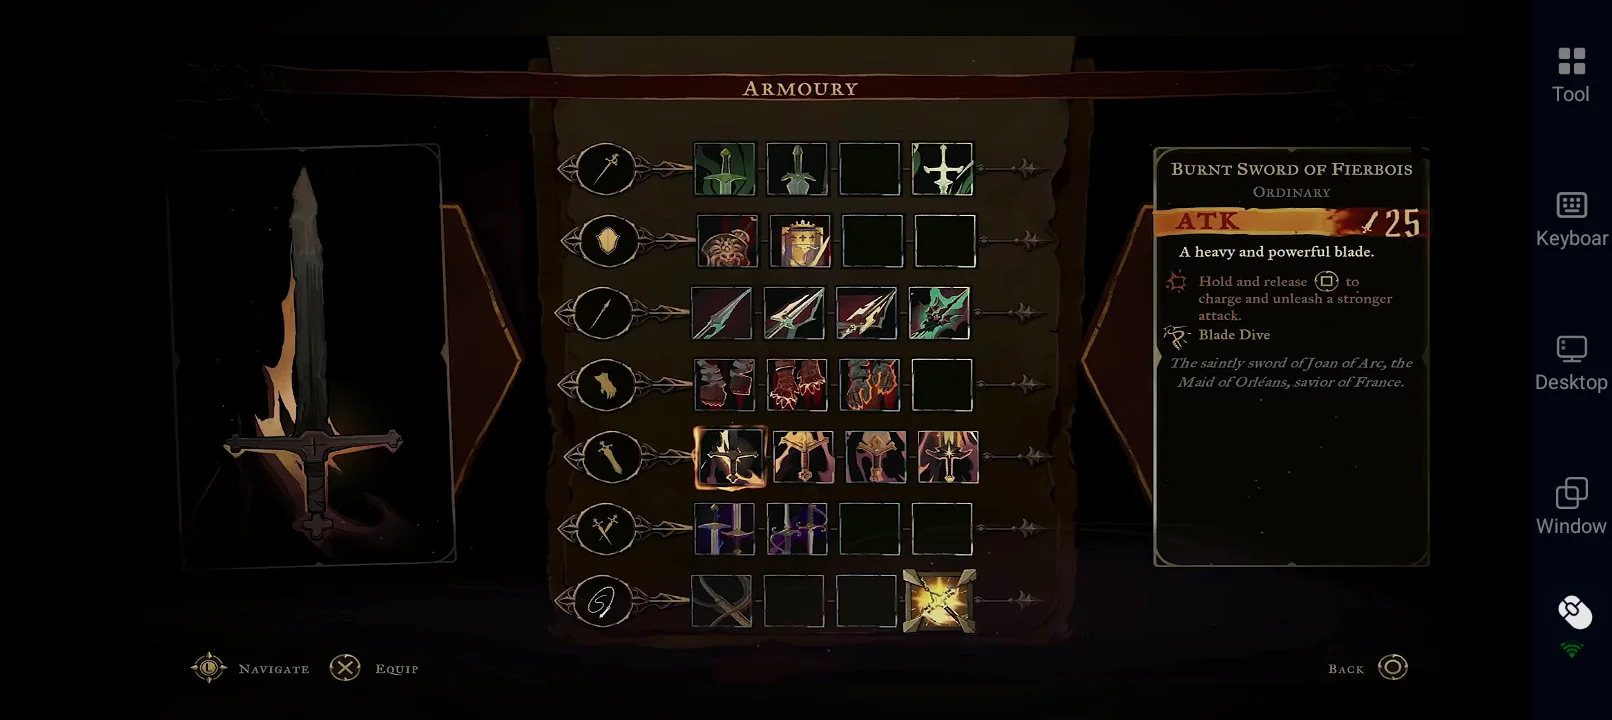
The Greatsword trades speed for impact, delivering powerful attacks across a wide area. Its two-hit normal combo is straightforward, while charged attacks can provide armor that helps Rose avoid being interrupted during the swing. This makes it effective against groups and enemies that leave enough room to commit to a heavier attack.
Its aerial grappling attack also covers a 360-degree area, giving it another option when surrounded. However, the Greatsword's slower moveset means careless attacks can leave Rose exposed. Rather than repeatedly swinging, players should look for clear openings, position themselves to catch multiple enemies, and use charged attacks when the risk of interruption is manageable.
5. Long Sword — B Tier
-
Best for: General combat, early-game progression, and players who prefer a balanced moveset.
-
Advantages: A straightforward three-hit combo, a potential stun on the final hit against weaker enemies, and useful dash-through attacks.
-
Weaknesses: Less specialized than weapons that excel at long-range pressure, heavy damage, or defensive play.
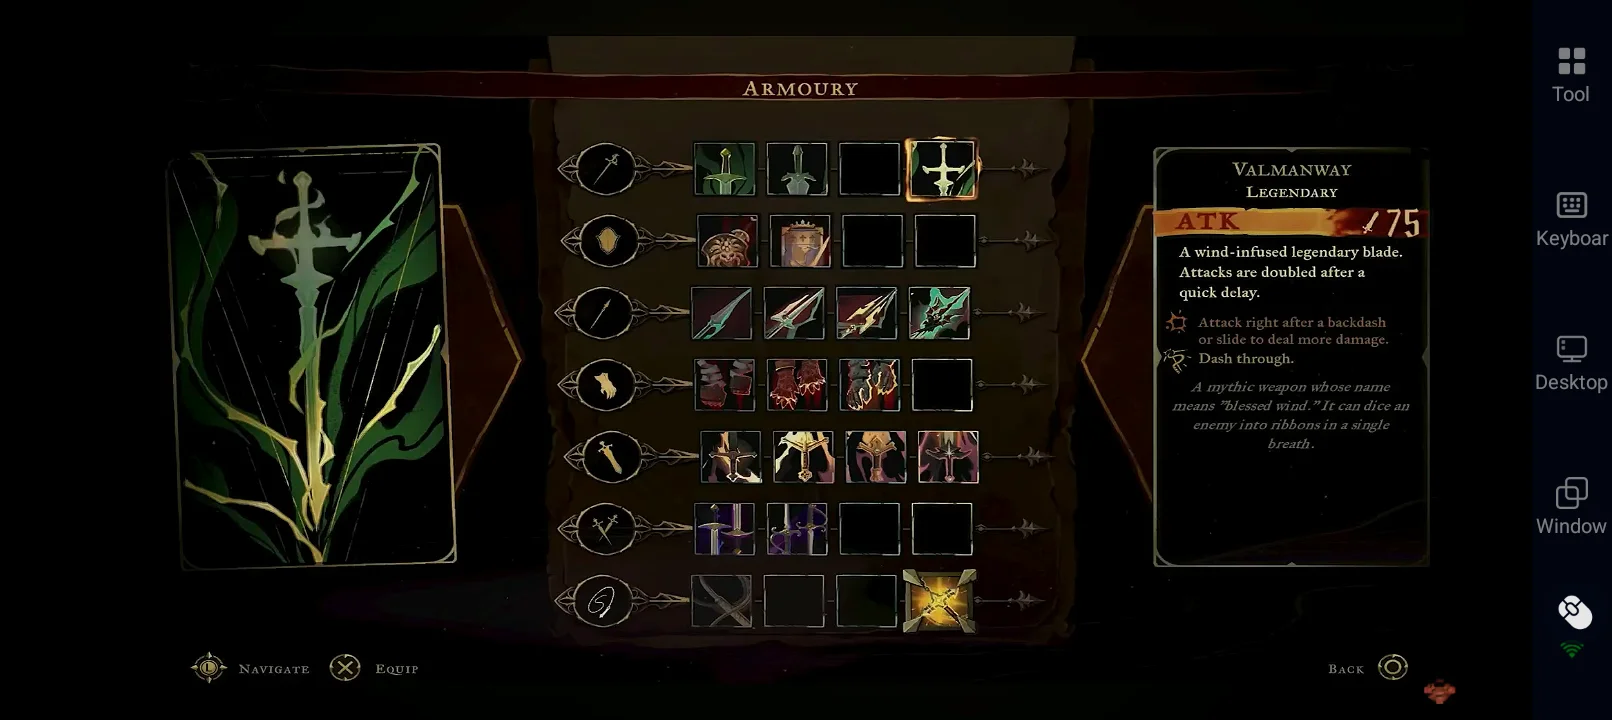
The Long Sword is a reliable option for players who want a balanced weapon without committing to a specialized combat style. Its three-hit combo is easy to use, and the final strike can stun weaker enemies. Its grappling attack also passes through a target and positions Rose behind them, creating opportunities to attack from an advantageous angle.
The Long Sword's mobility gives it additional flexibility, particularly when using a dash attack after dodging. However, it does not offer the same reach as the Whip or Spear or the sustained close-range damage of the Cestus. It remains a solid general-purpose choice, especially while learning enemy patterns and progressing through the early game.
6. Sword and Shield — B Tier
-
Best for: Players who prefer defensive options, blocking, and counterattacking.
-
Advantages: The only weapon category with a block, plus counterattacks and a charged shield bash.
-
Weaknesses: Blocking reduces incoming damage rather than completely negating it, and slower attacks can limit offensive pressure.
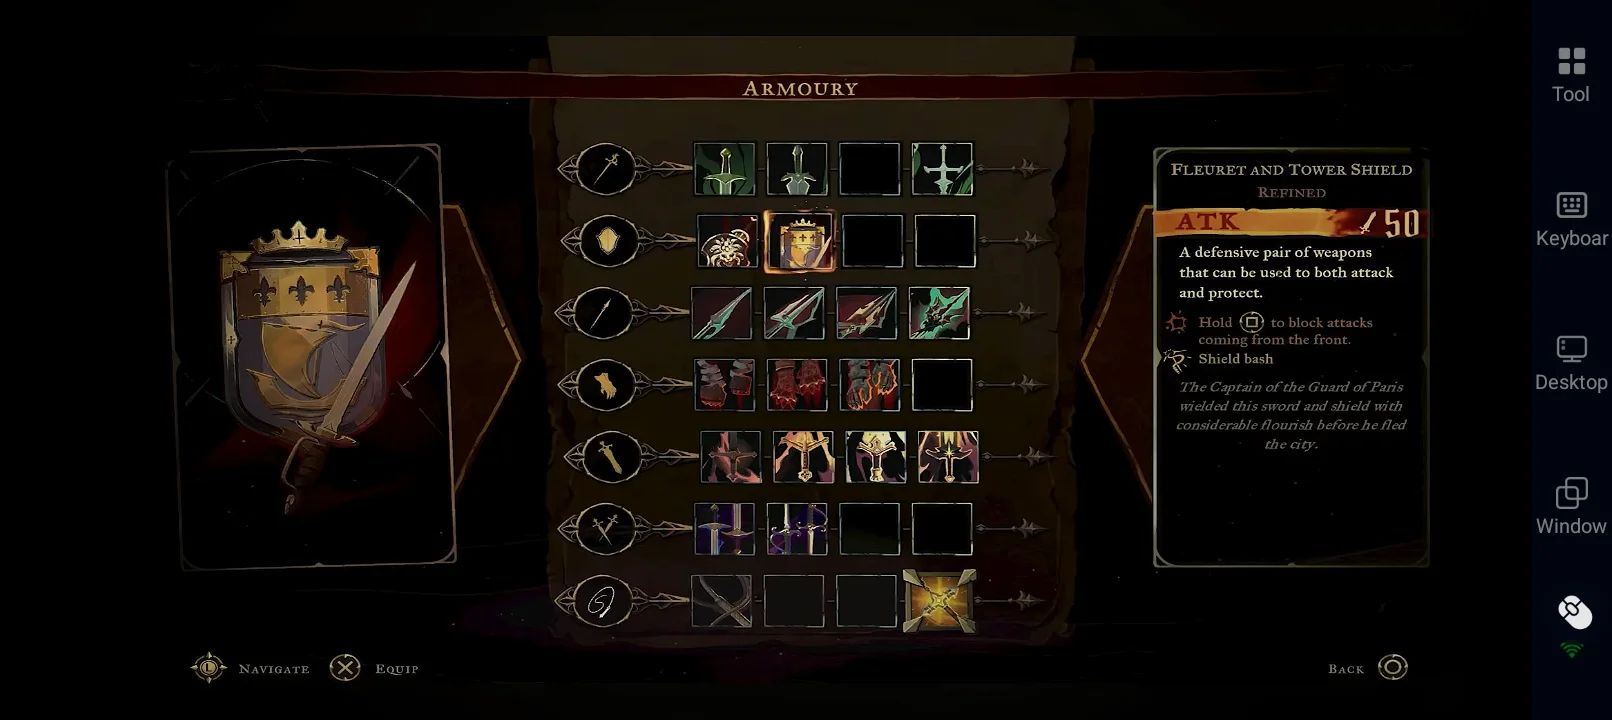
The Sword and Shield combines melee attacks with defensive options that other weapon categories cannot replicate in the same way. Blocking helps reduce incoming damage, while releasing the block after defending allows Rose to counterattack. Its charged shield bash can also clash with an enemy strike, giving well-timed defensive play an offensive payoff.
Despite its defensive utility, the shield does not make Rose invulnerable, so players still need to manage incoming attacks carefully. Its slower offensive pace can also make encounters take longer than with more damage-focused weapons. The Sword and Shield is therefore a reasonable choice for players who value a more measured approach, particularly when learning unfamiliar enemy attack patterns.
7. Dual Swords — B Tier
-
Best for: Fast offensive play and punishing bosses during brief openings.
-
Advantages: Timed attack inputs unlock rapid stabbing sequences and spinning attacks with high damage potential.
-
Weaknesses: Requires precise timing and can leave Rose vulnerable when attacks are interrupted.
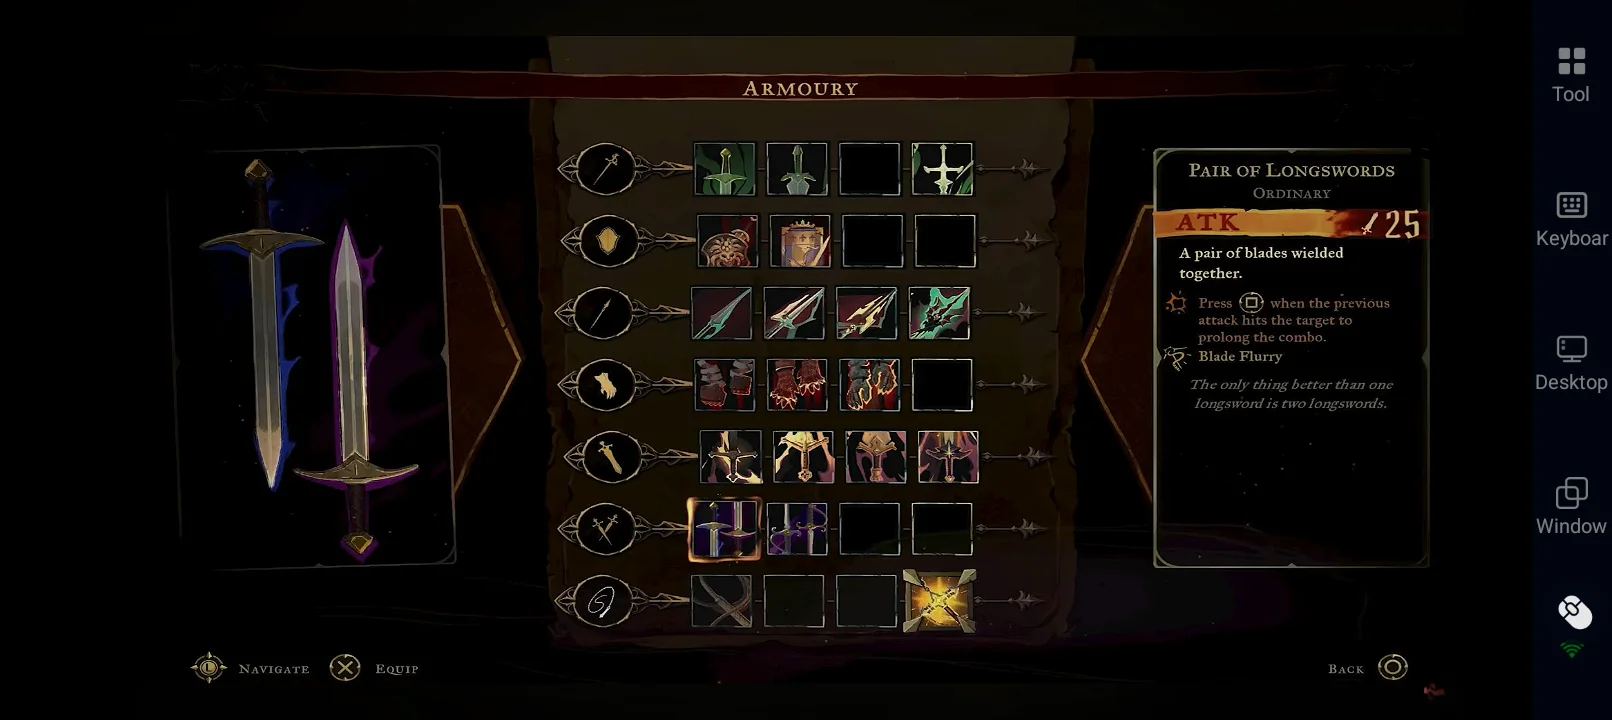
Dual Swords reward timing rather than simply mashing the attack button. Following the weapon's visual prompts helps Rose perform additional attacks, including rapid stabs and spinning strikes. When a boss is recovering from an attack, these sequences can deliver substantial damage within a short window.
The challenge is maintaining that offensive rhythm without getting interrupted. The initial attack is comparatively weak, and committing to a longer sequence can be risky when surrounded or facing an enemy that attacks quickly. Dual Swords can be effective in the right hands, but their reliance on timing and openings makes them less forgiving than more versatile options.
How the Weapon System Works in Castlevania: Belmont’s Curse
Weapons in Castlevania: Belmont’s Curse differ in their attack patterns, charged abilities, range, and combat perks. Choosing the right category is only the first step; weapon variants, upgrades, relics, and Arcana also influence how effectively Rose handles different encounters.
-
Weapon variants and upgrades: Each weapon category has different variants and strength levels. A stronger version can improve your overall performance, so consider both the weapon's tier and its moveset when choosing your equipment.
-
Equipment and traversal: Rose equips a primary weapon, while the Whip also plays an important role in exploration. Grappling points, pulling toward enemies, and aerial follow-ups make whip techniques useful beyond ordinary attacks.
-
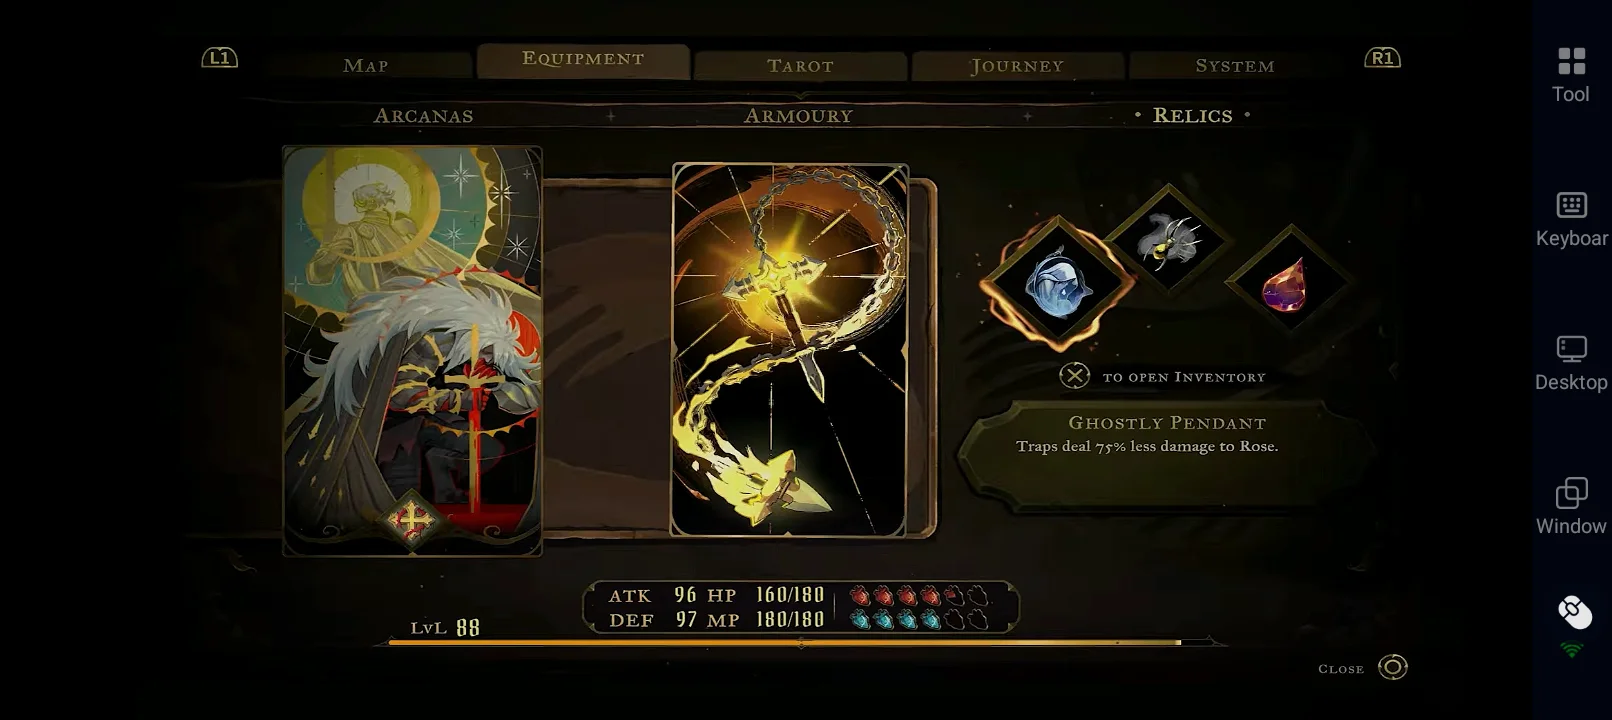
Relics: Relics provide additional effects that complement your combat style. You can equip up to three relics, so prioritize combinations that support your weapon's strengths or help compensate for its weaknesses.
-
Arcana: Bosses unlock Arcana that provide spells and special actions. These abilities add another layer to combat, letting you complement your weapon with effects suited to the encounter.
A strong loadout brings these systems together. Once you've chosen a weapon that suits your playstyle, the next step is to select relics that make it more effective.
Best Relics for Each Weapon in Castlevania: Belmont’s Curse
Relics can significantly change how a weapon performs, from increasing damage during specific openings to improving survivability or helping Rose maintain her resources. Since you can equip up to three relics, choose effects that complement your weapon’s moveset rather than stacking bonuses that rarely activate.
|
Weapon |
Recommended Relics |
Why They Work |
|
Whip |
Twilight Gem, Raven’s Feather, Witch’s Knot |
Twilight Gem boosts damage by 30% for three seconds after casting a spell, while Raven’s Feather increases damage by 25% while fighting in the air. Witch’s Knot makes each healing potion restore full health. |
|
Cestus / Fists |
Obsidian Fang, Ebony Claw, Witch’s Knot |
Obsidian Fang grants 45% more damage for three seconds after breaking an enemy’s guard. Ebony Claw extends guard-break stuns by 50%, potentially giving you more time to capitalize on openings. |
|
Spear / Lance |
Twilight Gem, Sinister Rune, Witch’s Knot |
Twilight Gem supports spell-and-attack combinations, while Sinister Rune increases damage against enemies at full health by 40%. Witch’s Knot provides reliable healing during longer encounters. |
|
Great Sword |
Obsidian Fang, Forsaken Ring, Witch’s Knot |
Obsidian Fang rewards guard breaks with a temporary damage boost, while Forsaken Ring increases damage by 25% at full health. Witch’s Knot helps restore full health with a potion when you need to recover. |
|
Long Sword |
Vile Trinket, Twilight Gem, Witch’s Knot |
Vile Trinket increases damage from behind by 25%, making it a natural match for the Long Sword’s grappling attack, which moves Rose behind her target. Twilight Gem adds another damage window after casting a spell. |
|
Sword and Shield |
Cursed Coin, Grim Token, Haunting Relic |
Cursed Coin increases damage by 30% for three seconds after a parry, while Grim Token restores five mana per parry. Haunting Relic increases defense by 60% for four seconds after Rose takes a hit. |
|
Dual Swords |
Twilight Gem, Obsidian Fang, Raven's Feather |
Twilight Gem creates a short damage window after a spell, while Obsidian Fang rewards guard breaks. Raven's Feather adds 25% damage while fighting in the air, if your attacks take advantage of aerial combat. |
Relic Tips for Stronger Loadouts
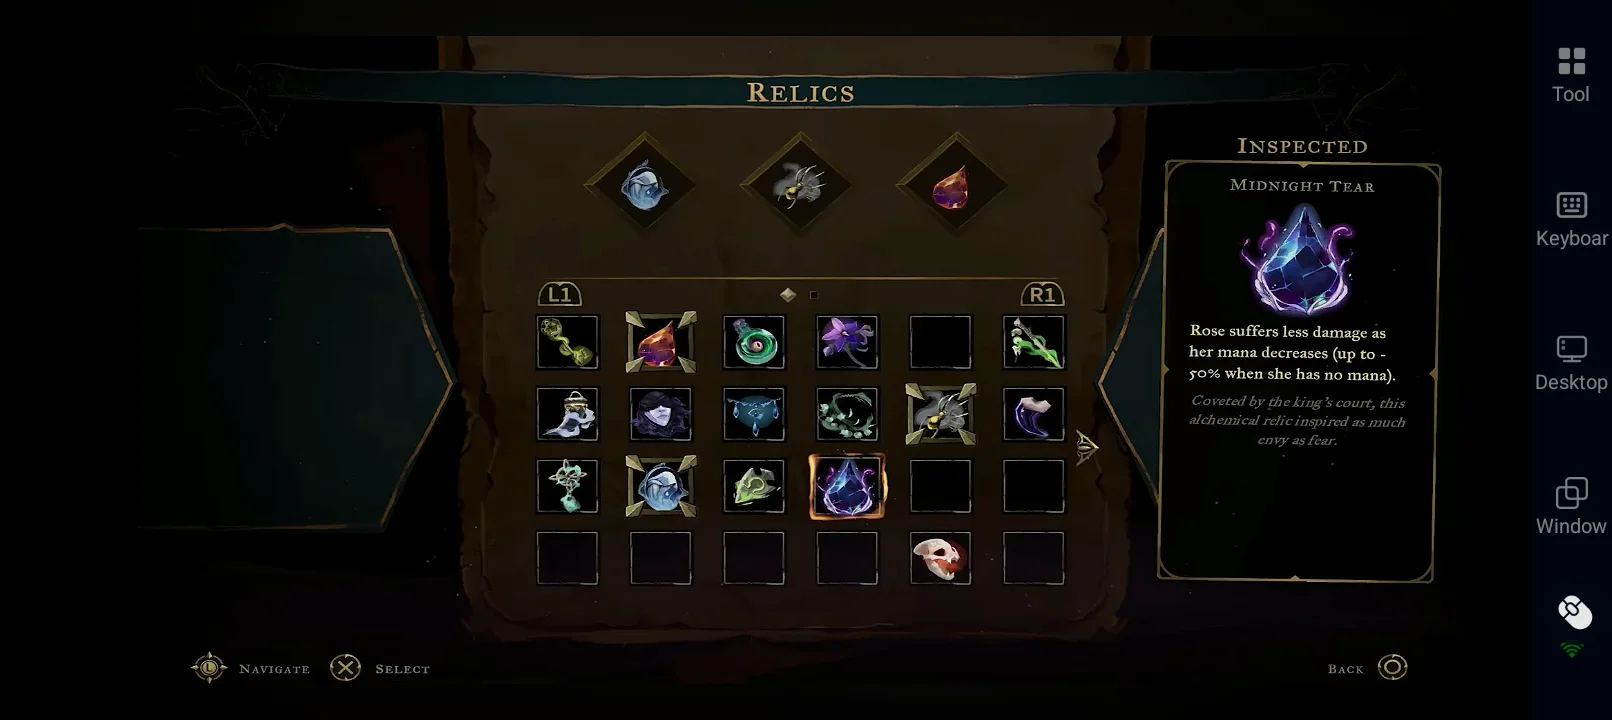
-
For consistent healing: Witch's Knot is a strong general-purpose choice because each potion restores 100% of Rose's health.
-
For spell-and-weapon combinations: Twilight Gem is particularly useful when you can cast an Arcana spell and follow up with weapon attacks within its three-second damage window.
-
For parry-focused combat: Pair Cursed Coin with Grim Token to gain both a temporary damage boost and mana whenever you parry successfully.
-
For exploration: Swap in Crypt Key when opening chests, as it fully restores health and mana. It is more useful for exploring than for a boss fight where no chests are available.
The best combination ultimately depends on the encounter and your playstyle. Treat these pairings as starting points, then adjust your three relic slots to suit the enemies, Arcana, and weapon techniques you use most often.
Conclusion
That wraps up our Castlevania: Belmont's Curse best weapons guide ! Start with the Longsword, grab the Arcane Whip and Cestus when available, and explore thoroughly to upgrade your weapons. The fully upgraded Vampire Killer family remains the best overall choice for most players, but don't be afraid to experiment with different weapons, relics, and Arcana. If you want to keep testing loadouts and practicing combat when you're away from your PC, OSLink lets you remotely access your PC and play Castlevania: Belmont's Curse on your mobile device, so you can continue your adventure wherever you go.
 Download