English
  Blog Game Guide Gears of War: E-Day Boss and Special Enemy Guide - All Bosses and Enemy Types
Emergence Day throws a wide range of Locust enemies at you, from fast Wretches and tactical Drones to heavily armored units, special creatures, and massive bosses. Each enemy has different attacks, weaknesses, and behaviors, so knowing what you're facing can make difficult encounters much easier to manage.
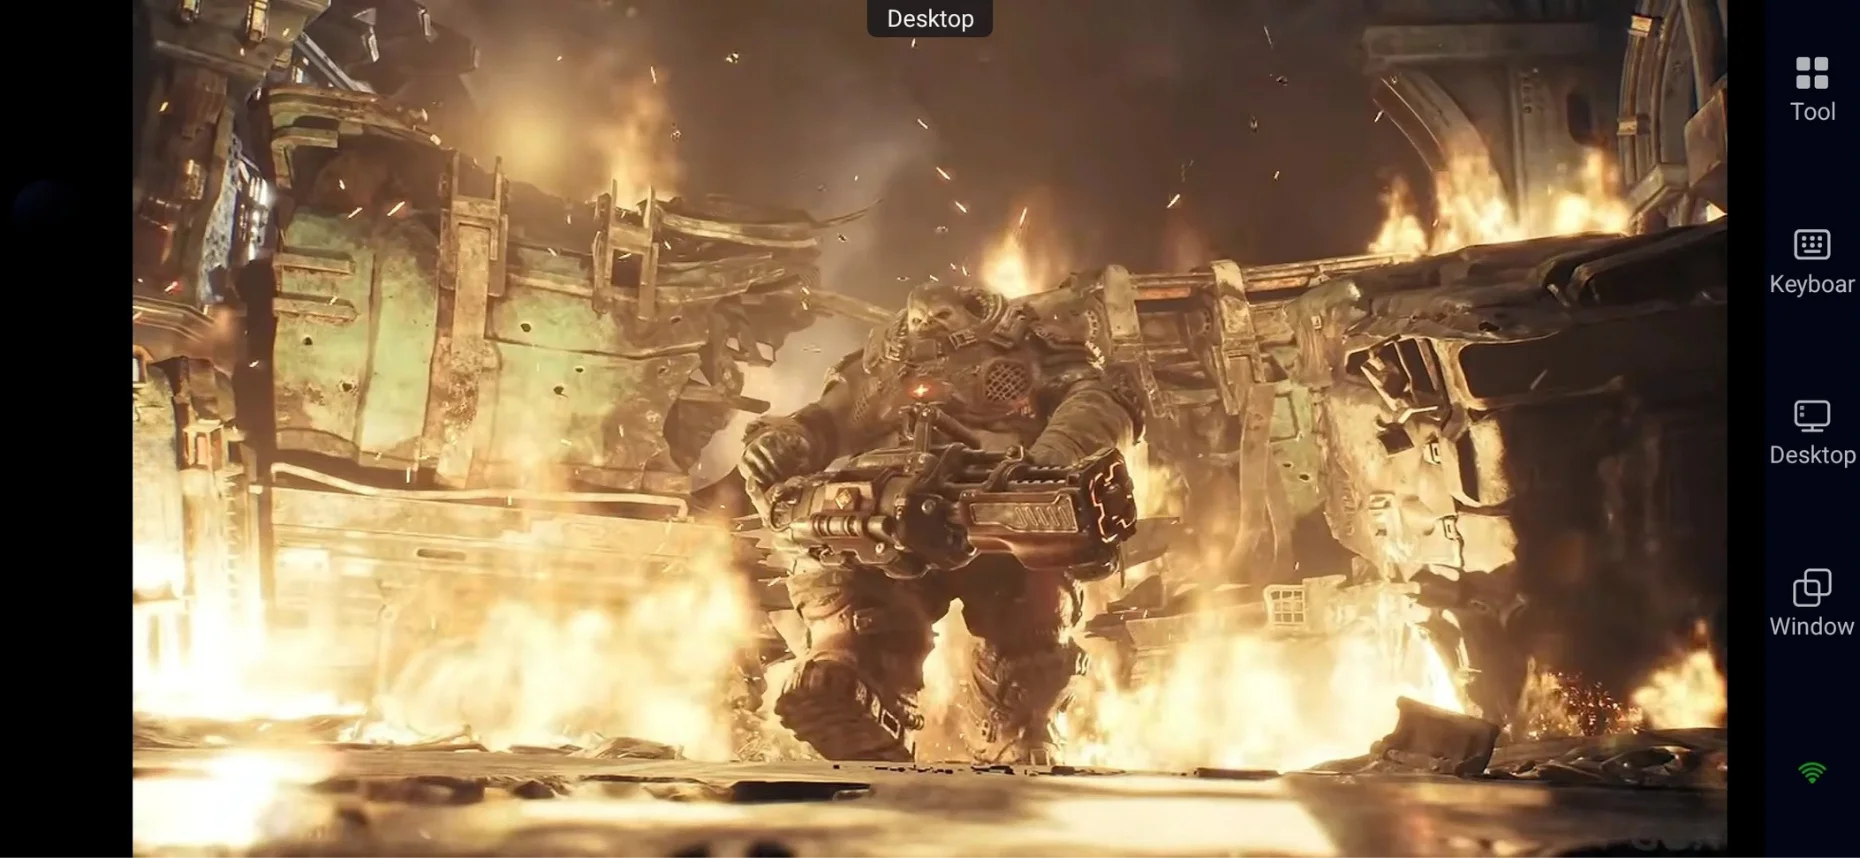
This Gears of War: E-Day boss and special enemy guide covers the major enemy types and bosses you'll encounter, including their attacks, weak points, and the best ways to deal with them. If you want extra practice between sessions, OSLink also lets you remotely access the PC version from your mobile device, giving you more flexibility to jump back into tougher encounters.
Gears of War: E-Day Enemies at a Glance
Before jumping into each enemy in detail, it helps to have a quick idea of what you’re up against. Here’s a quick look at the main enemies you’ll encounter:
| Enemy | Type | Best Approach |
|
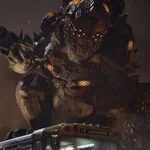
Brumak
|
Boss | Keep moving and attack when you have a clear opening. |
|
Weaponized Brumak
|
Boss | Strip its armor and deal with its mounted weapons. |
|
Scoria
|
Boss | Focus on one target at a time and avoid its aerial attacks. |
|
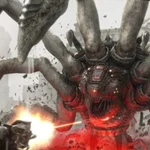
Corpser
|
Boss | Bait its charges into the arena pillars. |
|
Vraahk
|
Final Boss | Keep moving, avoid grenades, and clear enough reinforcements. |

How Enemy Encounters Work in Gears of War: E-Day
The Locust get tougher as you move through the campaign. Early fights mostly involve fast Wretches and small enemy groups. Later, you’ll face smarter Drones, heavy enemies, special threats, and huge bosses.
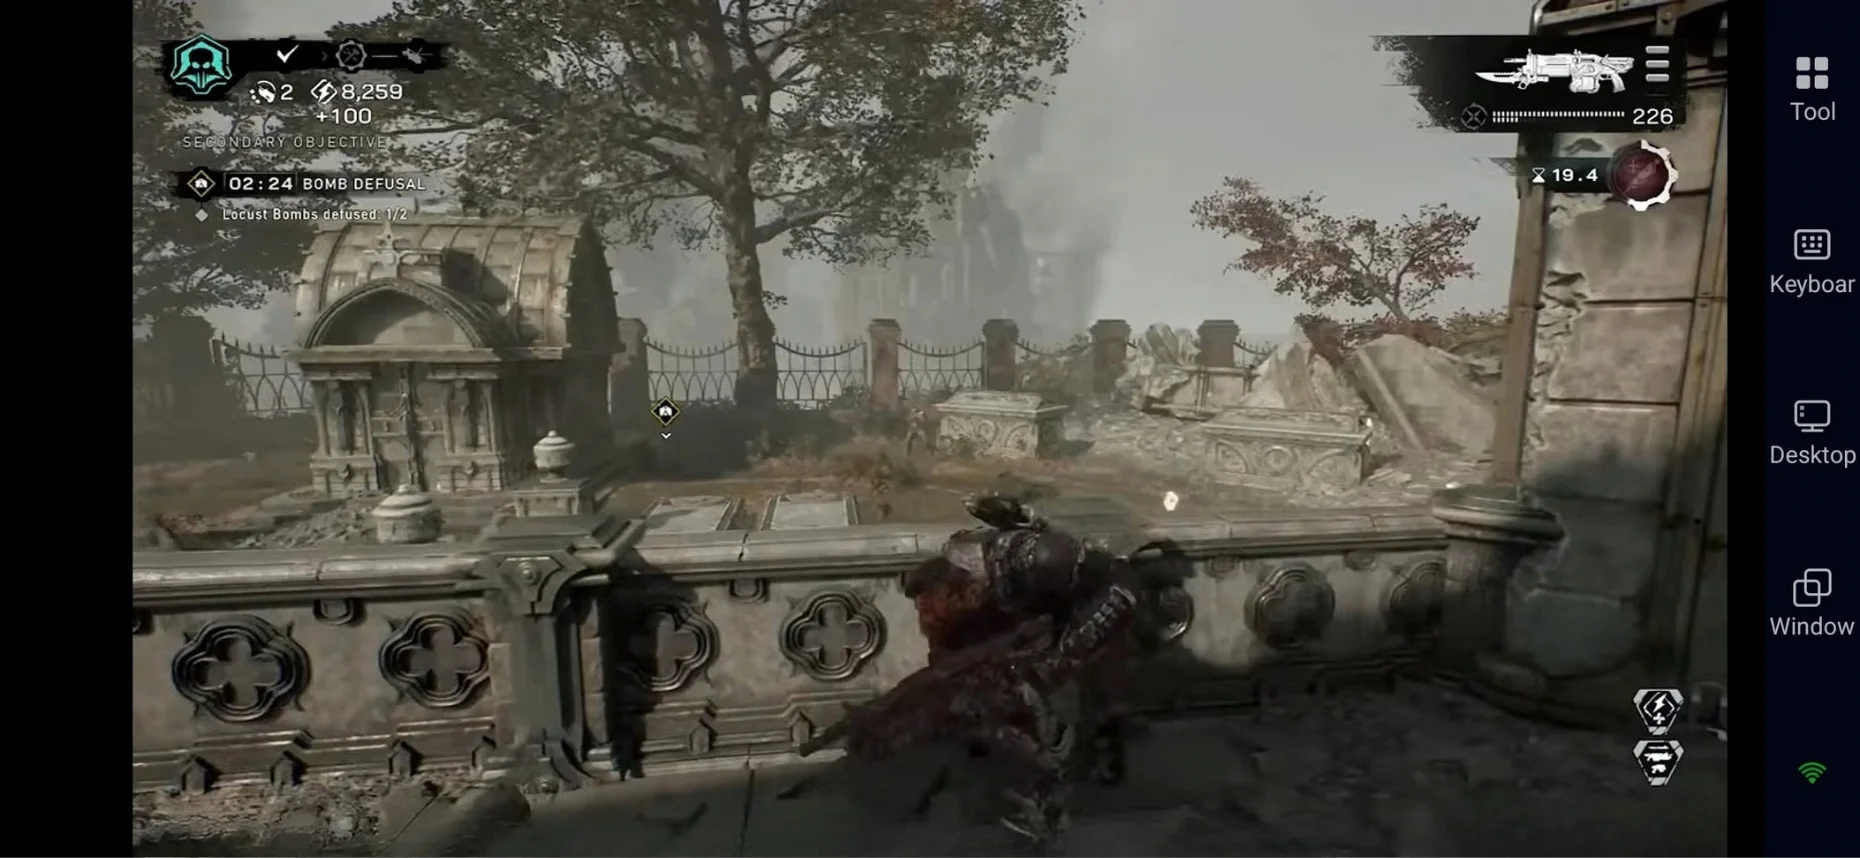
Keep these simple points in mind:
- Early fights: Watch for fast Wretches that rush you in groups.
- Drones: They use cover, flank you, and attack when you're reloading.
- Heavy enemies: Boomers deal heavy damage, while Seeders can push you out of cover.
- Reavers: They can bring more enemies into the fight.
- Emergence Holes: Use Frag Grenades to close them when possible.
- Bosses: Watch their attacks and look for safe moments to deal damage.
- Keep moving: Don't stay in one spot for too long, especially during bigger fights.
- Watch your sides: Enemies can attack from different directions, so don't focus only on what's in front of you.
All Gears of War: E-Day Enemy Types
Gears of War: E-Day features a wide range of Locust enemies, from fast melee attackers and tactical infantry to heavily armored units and unusual creatures. Each enemy type requires a slightly different approach, so learning how they move and attack can make encounters much easier to manage.
For this guide, the enemies are grouped into three categories: Regular Enemies, Heavy Enemies, and Special Enemies. Regular enemies are usually dealt with through standard combat, while heavy and special enemies can require more careful positioning, stronger weapons, or a change in strategy.
Regular Enemies
Regular enemies make up most standard encounters throughout the campaign. They may not have the firepower of heavy units, but they can quickly become dangerous when they attack in groups or catch you outside of cover.
Wretches
Wretches are some of the first enemies you'll learn to watch for in Gears of War: E-Day. They are fast, aggressive, and usually attack in groups. They can also climb walls and ceilings, making them difficult to track during busy fights.
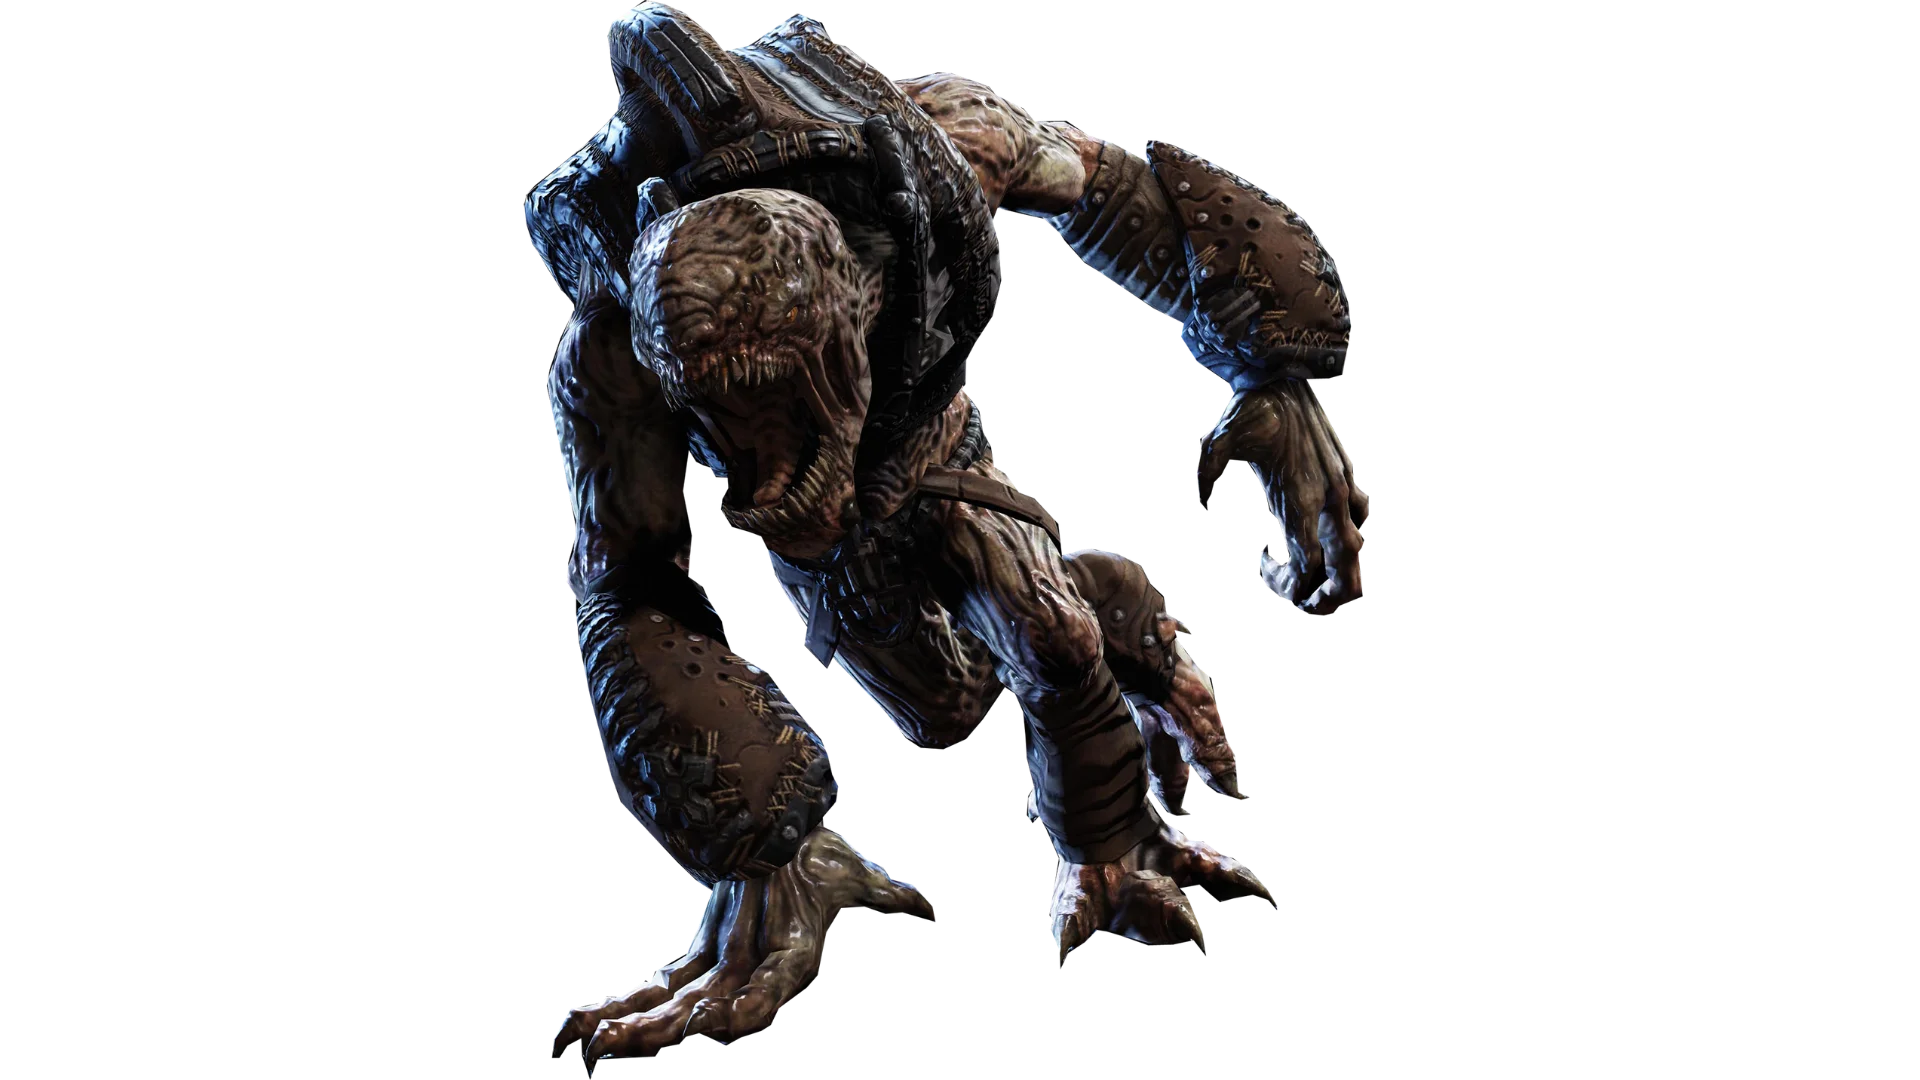
Feral Wretches
Feral Wretches are the more common early-game version. They rush players quickly and can surround your squad if you don't deal with them early.
Best ways to deal with Feral Wretches
- Keep your back against a wall when possible.
- Use the Gnasher when they get close.
- Use fire or other crowd-control attacks against groups.
- Take them out before they surround your team.
- Don't let them push you away from useful cover.
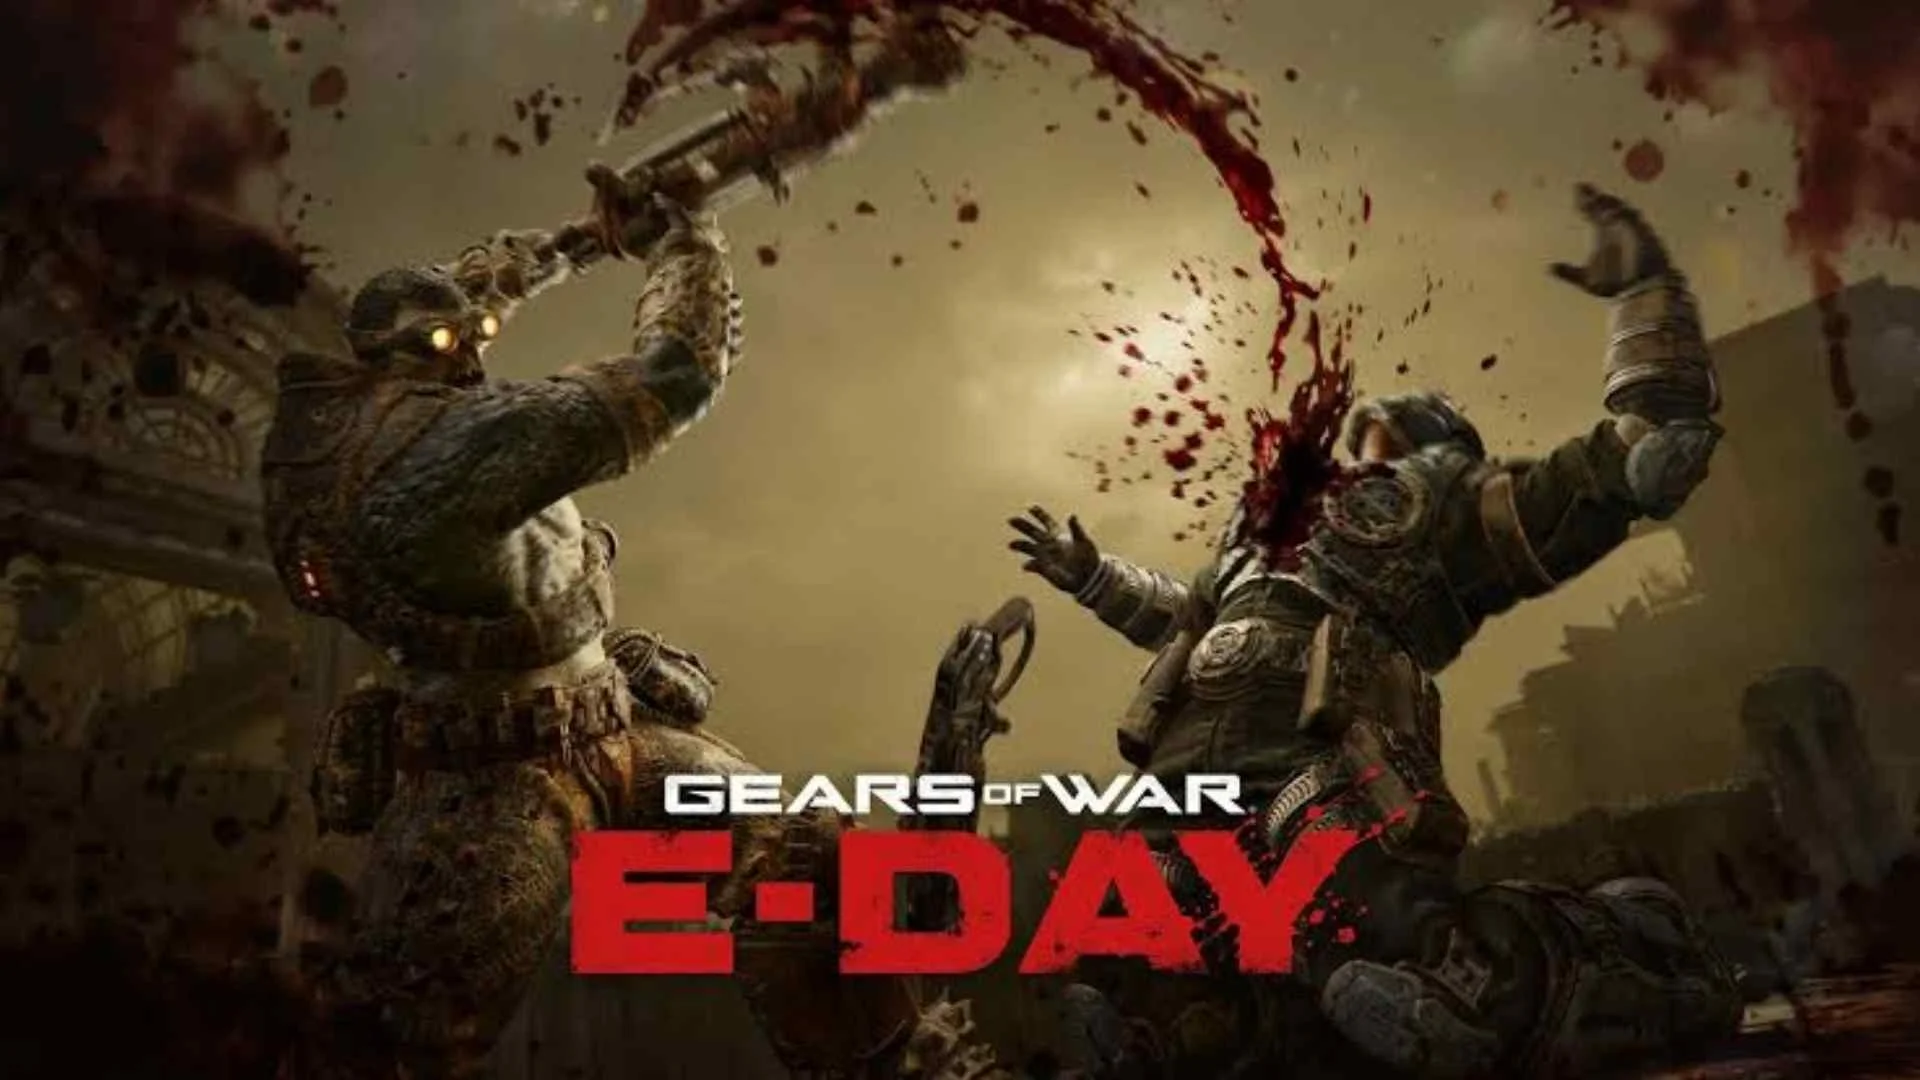
Armored Wretches
Armored Wretches appear later and are harder to bring down. Their armor gives them more protection, while their scream can disorient players and make the fight harder to control.

 AFK Anywhere, Progress Anytime

When fighting Armored Wretches:
- Take them out quickly when they appear.
- Don't ignore them during larger fights.
- Keep some distance when possible.
- Be ready for their disorienting scream.
- Avoid letting them reach the middle of your squad.
Locust Drones
Drones are the main infantry units of the Locust army. Unlike Wretches, they fight more like trained soldiers. They use cover, move around your position, and attack when you're vulnerable.
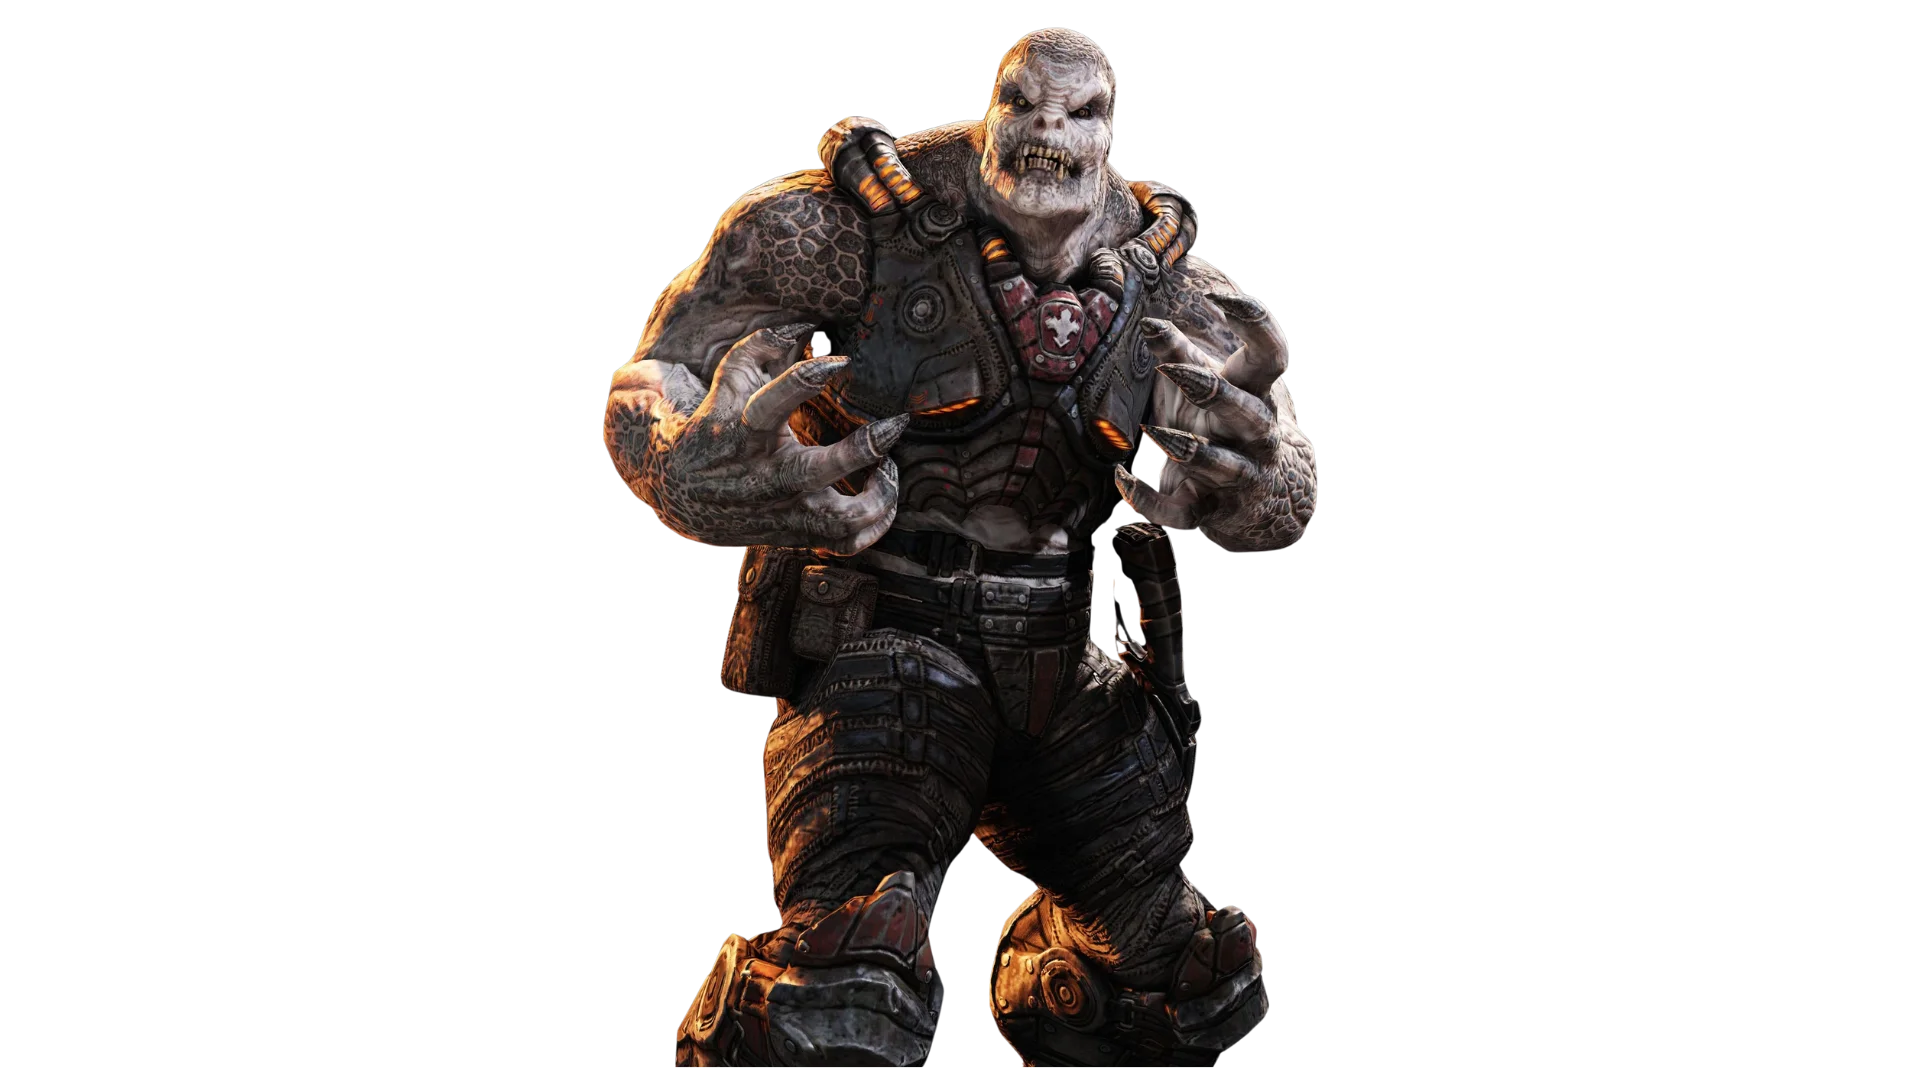
You'll encounter different Drone variants, including Rushers, Snipers, and Grenadiers. Their smarter behavior means you need to pay attention to where they move instead of simply shooting the closest enemy.
How to Defeat Drones
Headshots are usually the easiest way to deal with standard Drones. Accurate weapons such as the Longshot can also help when you have a clear angle.
Watch for:
- Flanking movements
- Grenades
- Smoke
- Snipers
- Rushers pushing your position
- Drones attacking while you're reloading
Don't focus on one Drone for too long if another enemy is moving around your side. Keeping the squad from getting surrounded is often more important than securing a quick kill.
Juvies and Hollow Creatures
Juvies and other smaller Hollow creatures can appear during enemy waves and boss encounters. They may not be dangerous on their own, but they can quickly become a problem when you're already dealing with a powerful enemy.
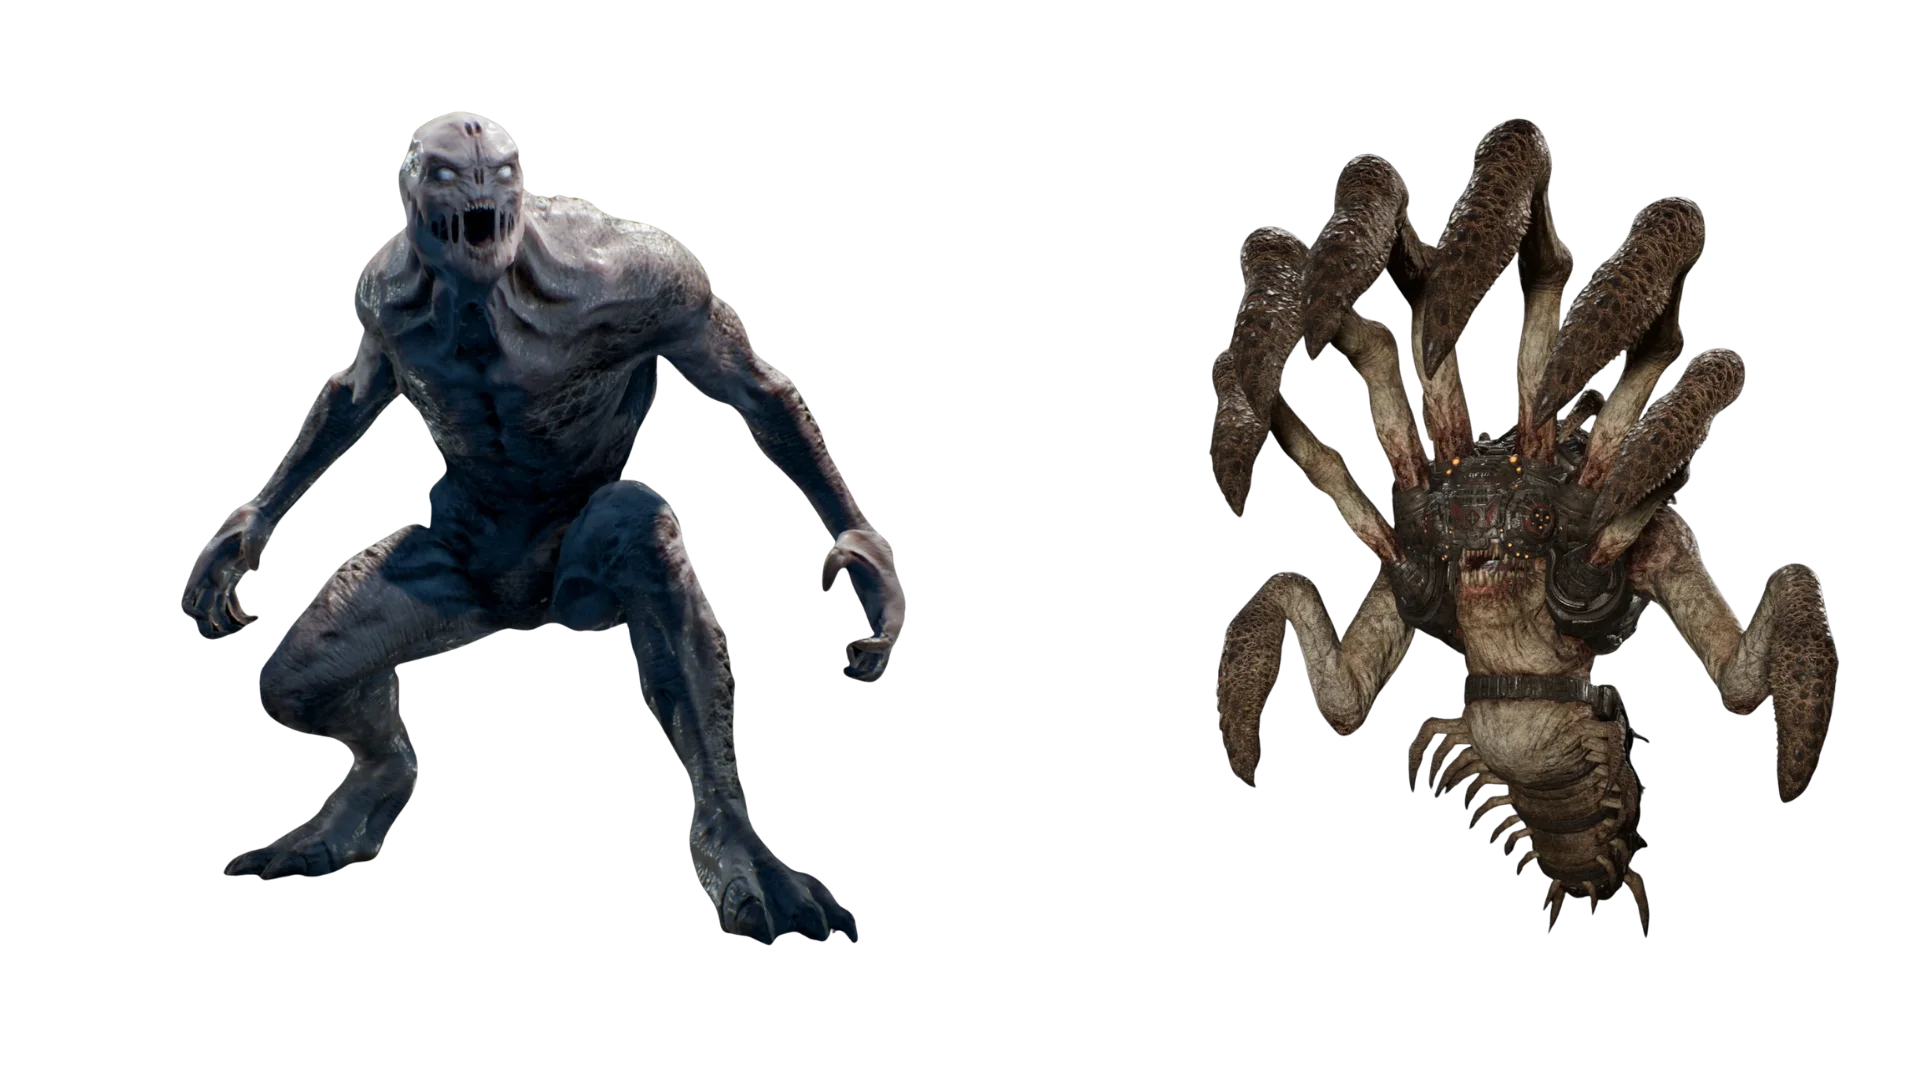
When they appear:
- Clear them if they block your movement.
- Don't let them surround the squad.
- Keep an escape route open.
- Focus on them when they start closing the distance.
- Don't waste too much time chasing them if a bigger threat needs your attention.
Heavy Enemies
Heavy enemies are slower and tougher than standard Locust units, but they can deal significantly more damage or control large areas of the battlefield. They should usually be treated as priority targets, especially when combined with regular enemies.
Boomers
Boomers are heavy Locust units with strong armor and powerful weapons. They are slow, but their firepower can punish you quickly if you stay exposed.
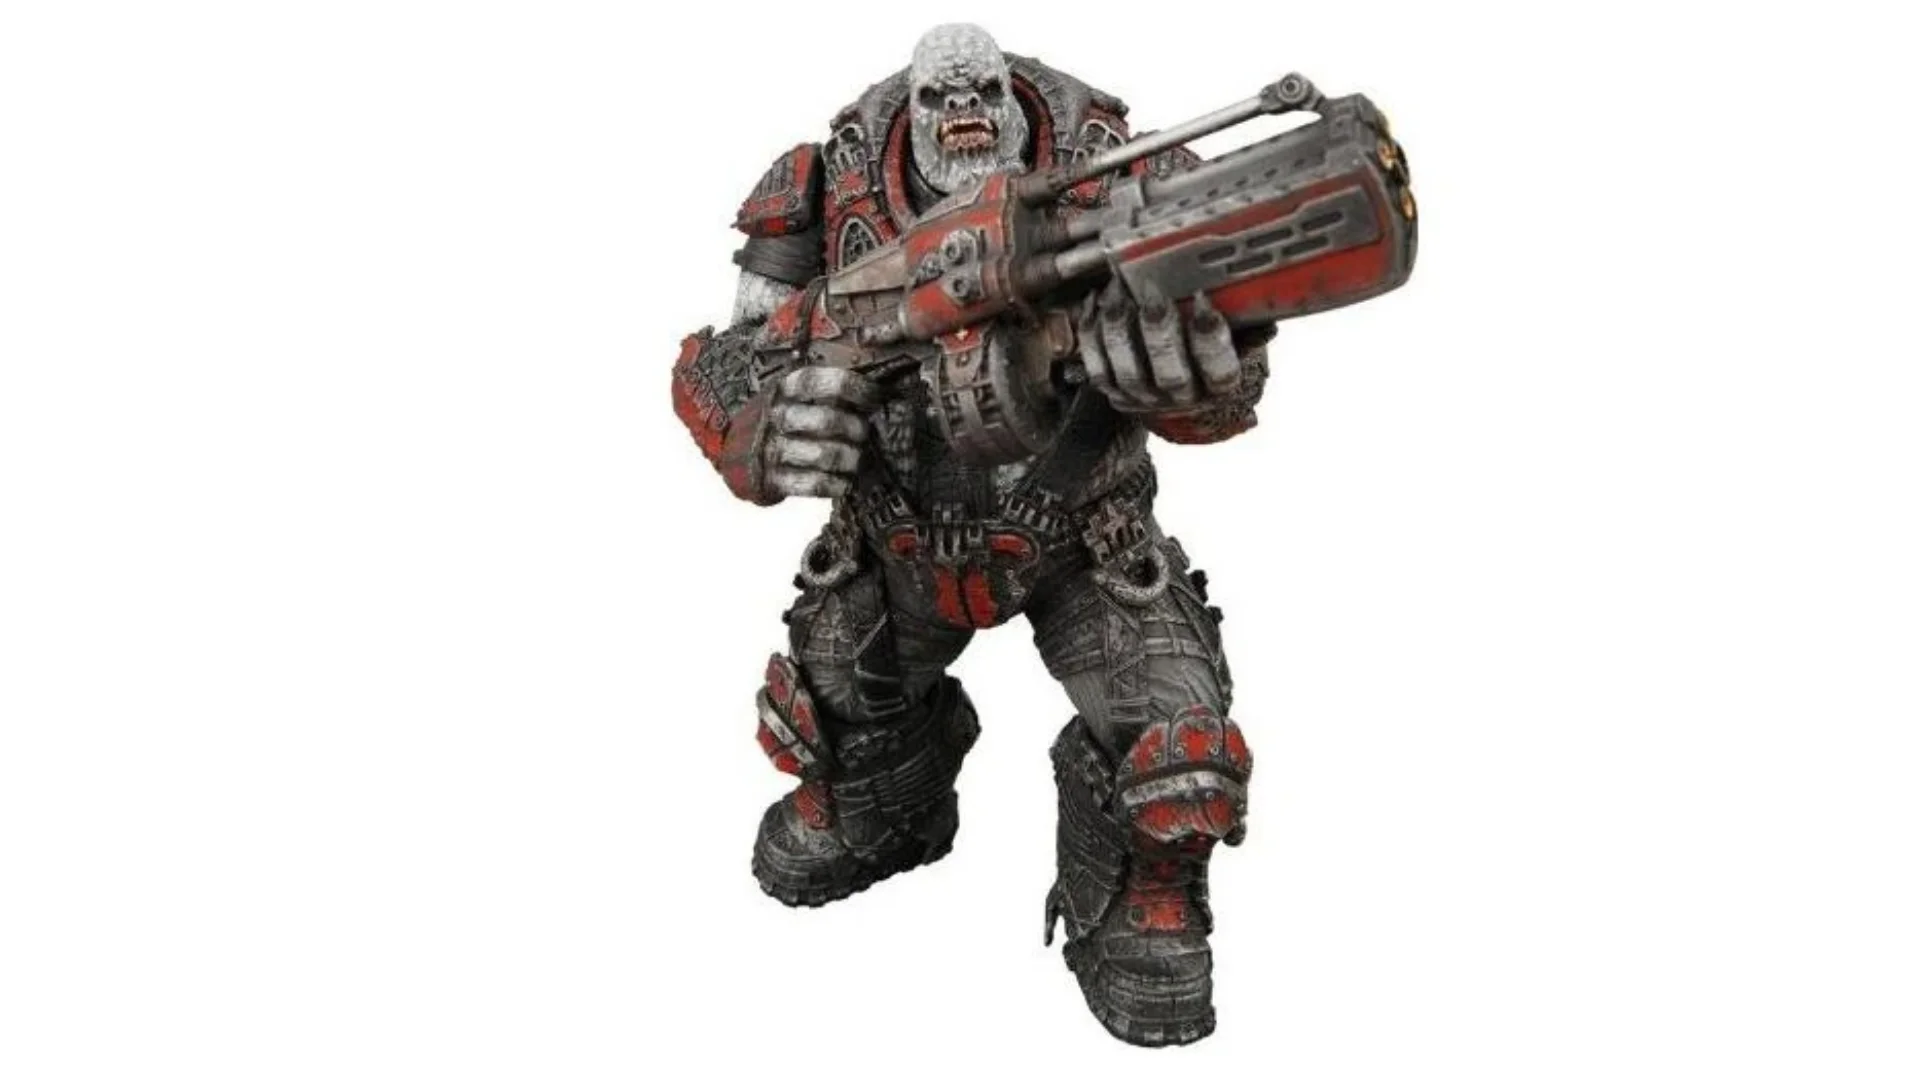
The best approach is to use cover and wait for an opening instead of trying to trade damage in the open.
How to Defeat Boomers
Their slower movement gives you time to reposition. Their attack and reload cycles can also give you short windows to deal damage.
Try to:
- Target the head when it is exposed.
- Attack during reload windows.
- Stay behind cover while the Boomer is firing.
- Use high-damage weapons when available.
- Save heavy weapons for difficult encounters.
- Use the Prototype Lancer chainsaw when the Boomer is vulnerable.
Also keep an eye on the rest of the battlefield. A Boomer can keep you busy while other Locust move around your position.
Seeders
Seeders are battlefield-control enemies that can act like mini-bosses during certain encounters. They launch Nemacyst attacks from protected positions, forcing you to leave cover.
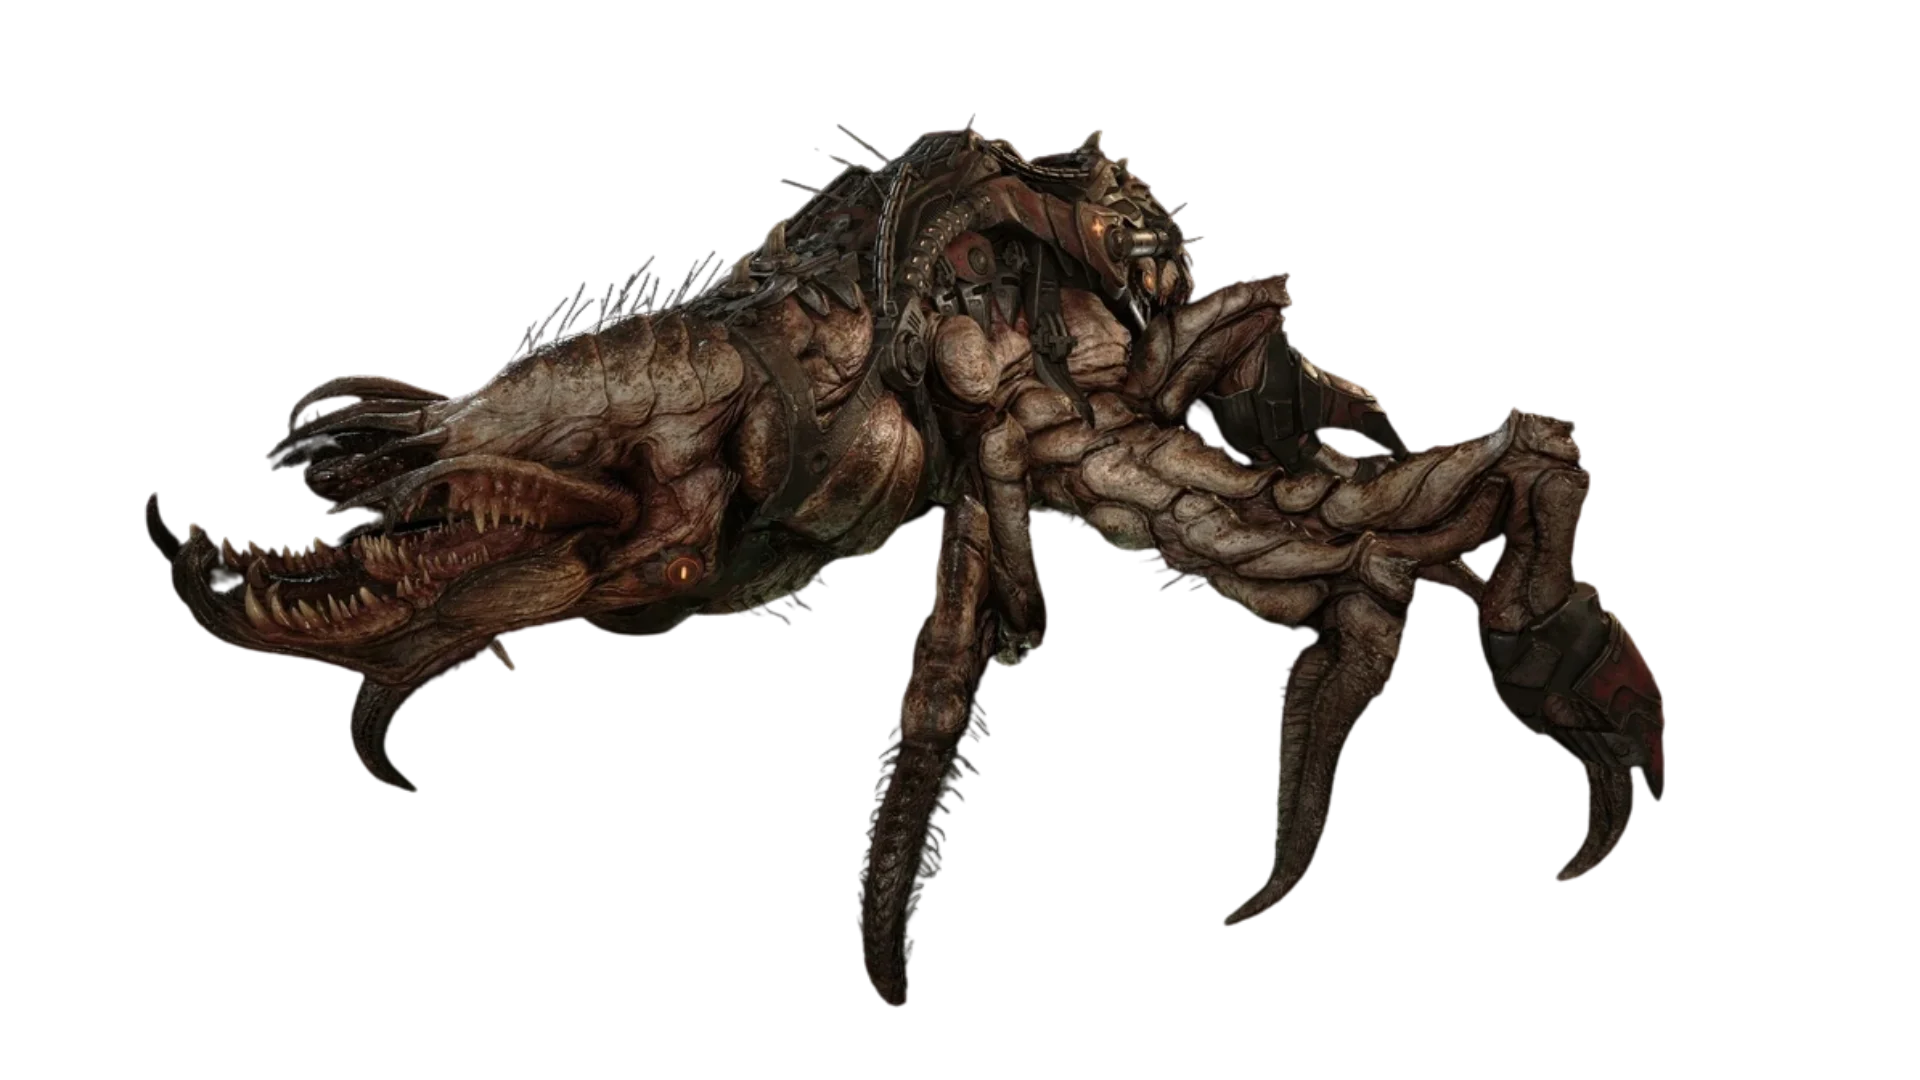
This makes them especially dangerous when Drones or other enemies are attacking at the same time.
How to Defeat Seeders
Getting close to a Seeder can make it easier to disrupt its position. Frag Grenades are useful for knocking it over or exposing its vulnerable area.
The basic strategy is:
- Get close enough to pressure the Seeder.
- Use explosives to knock it over or expose its weak point.
- Attack the exposed area with your strongest weapons.
- Move away from the bombardment once the Seeder becomes active again.
- Don't stay beside an active Seeder while fighting other enemies.
Reavers
Reavers are large aerial threats that can also carry and deploy Locust troops. This makes them dangerous for two reasons: you have to deal with the Reaver while also watching the enemies it brings into the fight.
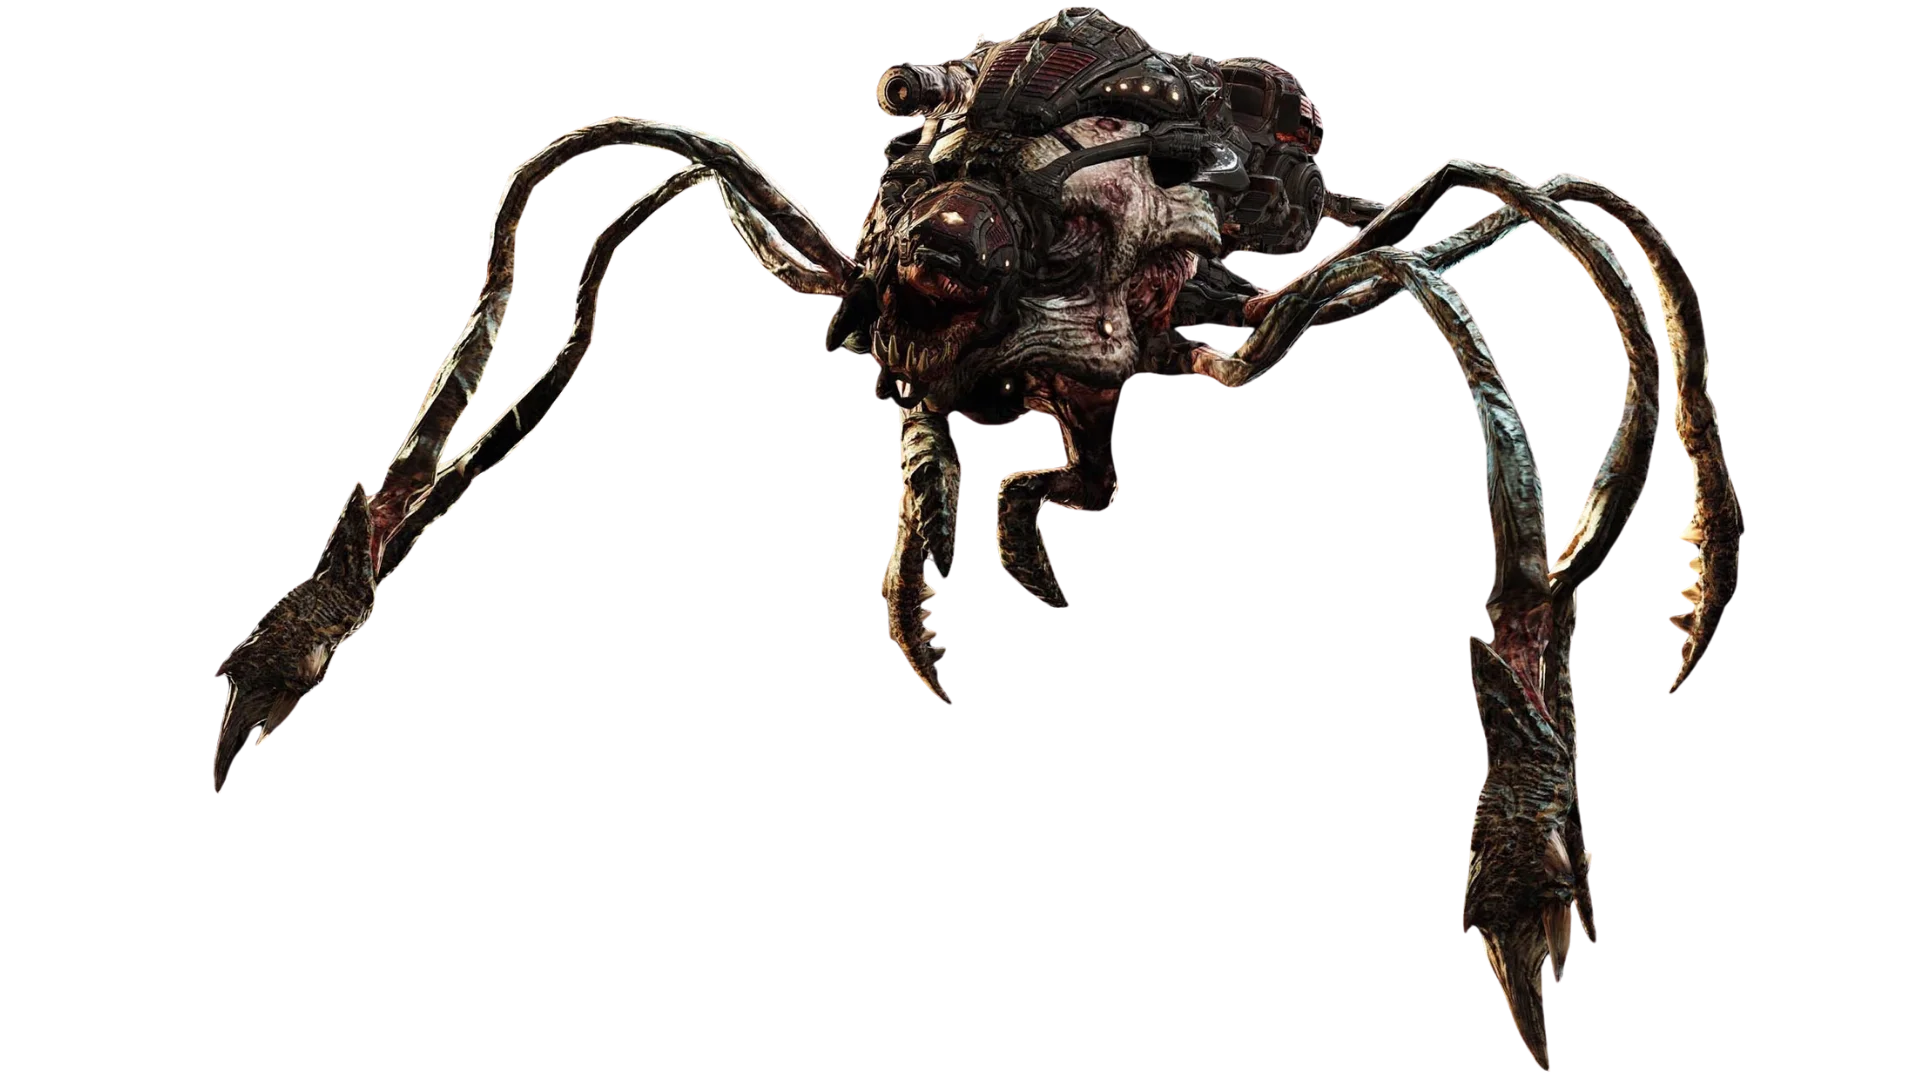
How to Defeat Reavers
Keep track of both the Reaver and any troops it deploys. If you get a clear chance to bring the Reaver down, taking it out can stop the fight from becoming even more crowded.
Keep these points in mind:
- Watch the sky for Reaver attacks.
- Track the troops it deploys.
- Prioritize the Reaver when it creates a major threat.
- Use heavy weapons when it becomes vulnerable or grounded.
- Don't let the deployed Drones surround your squad.
Scorched Legion
The Scorched Legion is a more dangerous group of Locust enemies connected to Vraahk. They are tougher and more aggressive than standard infantry, making them a bigger threat during late-game encounters.
Treat them as priority targets instead of regular Drones. Their aggressive behavior can quickly force you out of cover or put pressure on the rest of your squad.
How to Fight Scorched Legion Enemies
- Keep your distance when possible.
- Focus fire with your squad.
- Don't let one close the gap while you're fighting weaker enemies.
- Use cover to avoid unnecessary damage.
- In co-op, have one player draw attention while another attacks from the side.
Special Enemies
Special enemies don't always fit neatly into the standard Locust hierarchy. They often have unusual attacks or mechanics that can disrupt your positioning and make larger encounters more difficult.
They are particularly dangerous when a boss, heavy unit, or large group of enemies is already keeping your attention elsewhere.
Bilefrogs
Bilefrogs use acid-based attacks and have a glowing mouth that also serves as their main weak point.
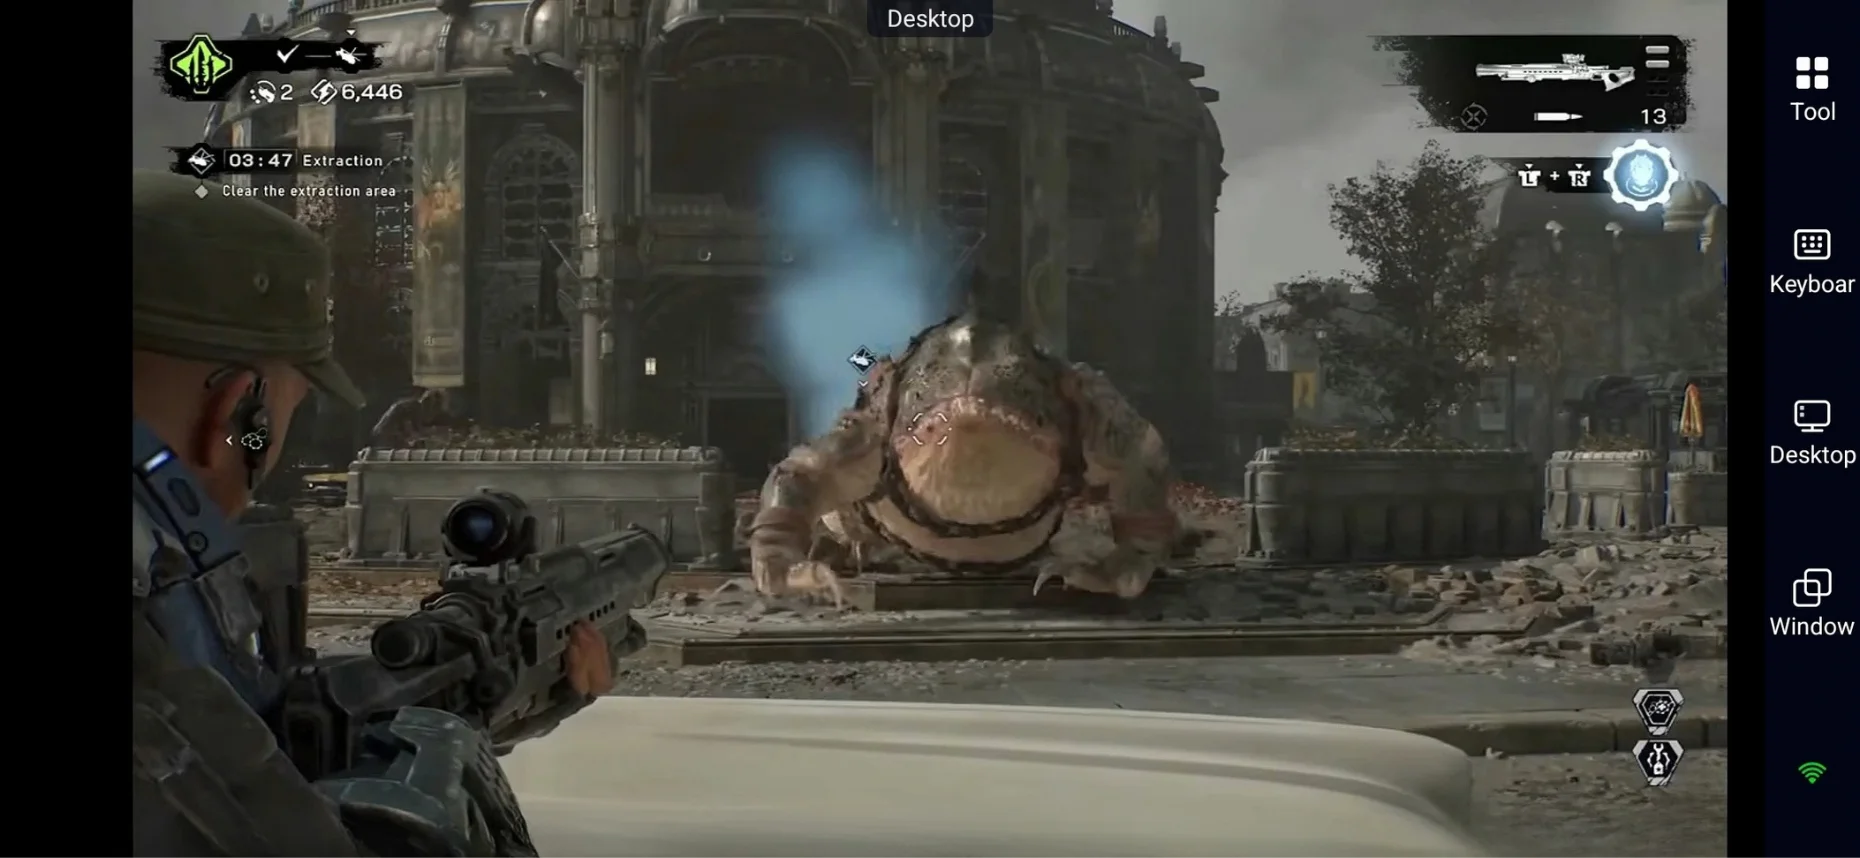
How to deal with Bilefrogs:
- Aim for the glowing mouth.
- Avoid standing directly in front of its attacks.
- Use the Gut-Puncher when available.
- Keep moving if the battlefield is crowded.
Spore Matron
The Spore Matron is an airborne threat that releases spores that chase players. Leaving it alone can quickly create more pressure during a fight.
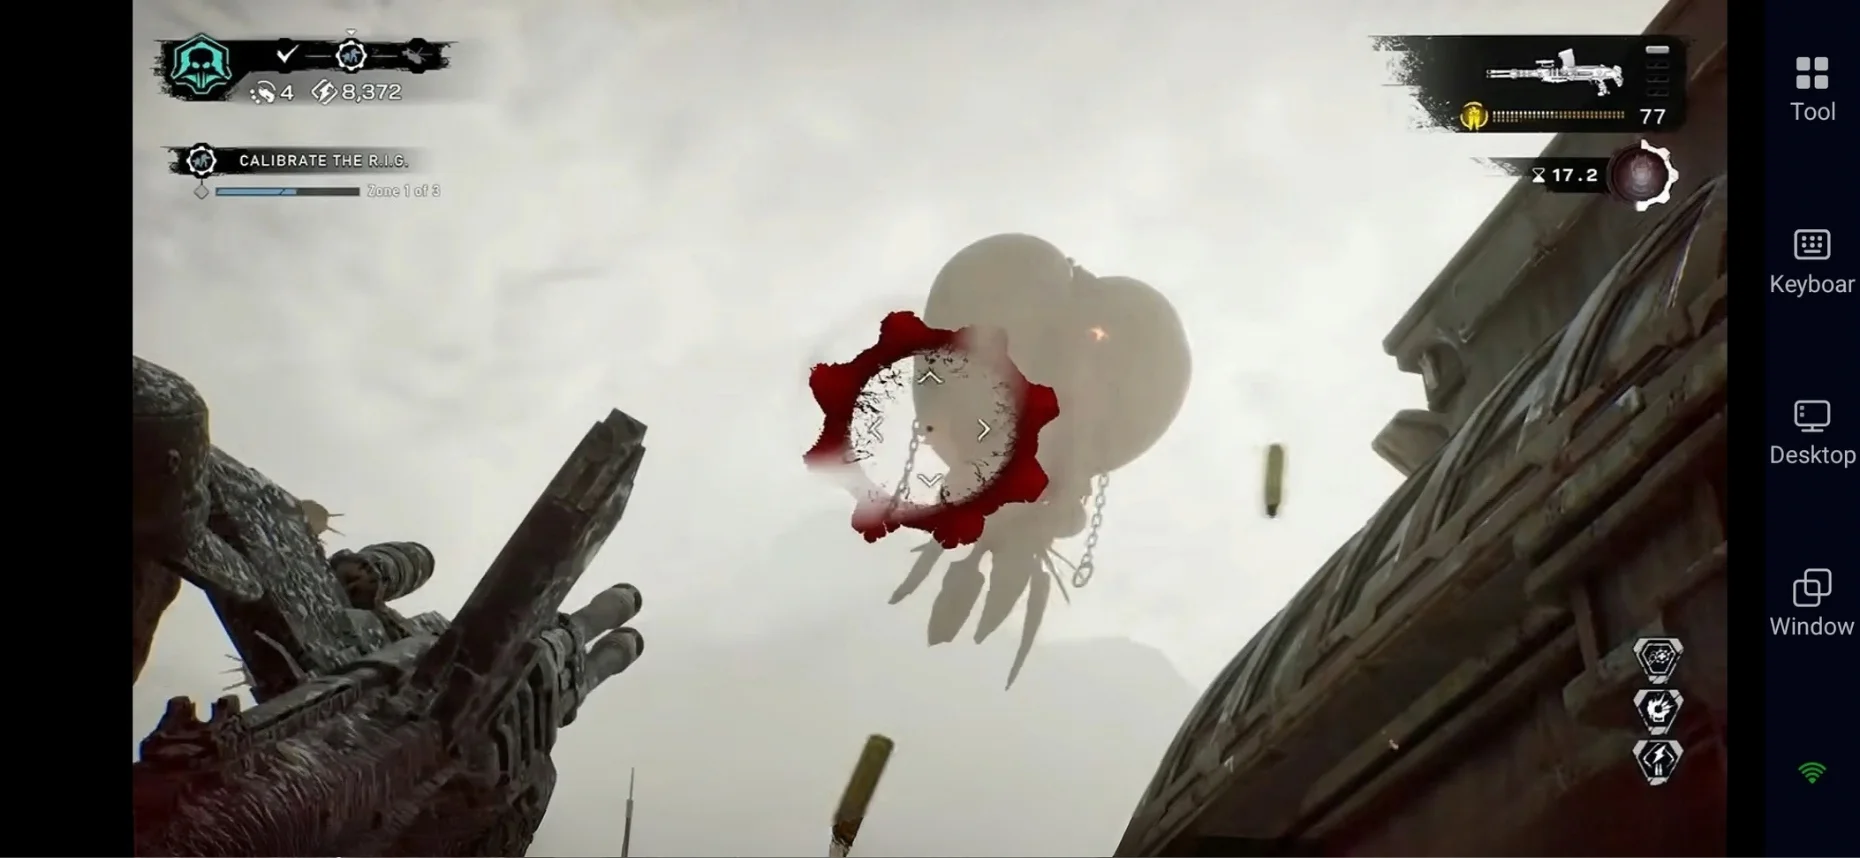
How to deal with the Spore Matron:
- Keep the Matron in sight.
- Destroy the pursuing spores.
- Keep moving while dealing with it.
- Don't let the spores surround you.
- Avoid focusing so much on other enemies that you lose track of it.
Tickers
Tickers are small explosive enemies that can become a serious problem when they get close. They are especially dangerous when you're already focused on a boss or heavy enemy.
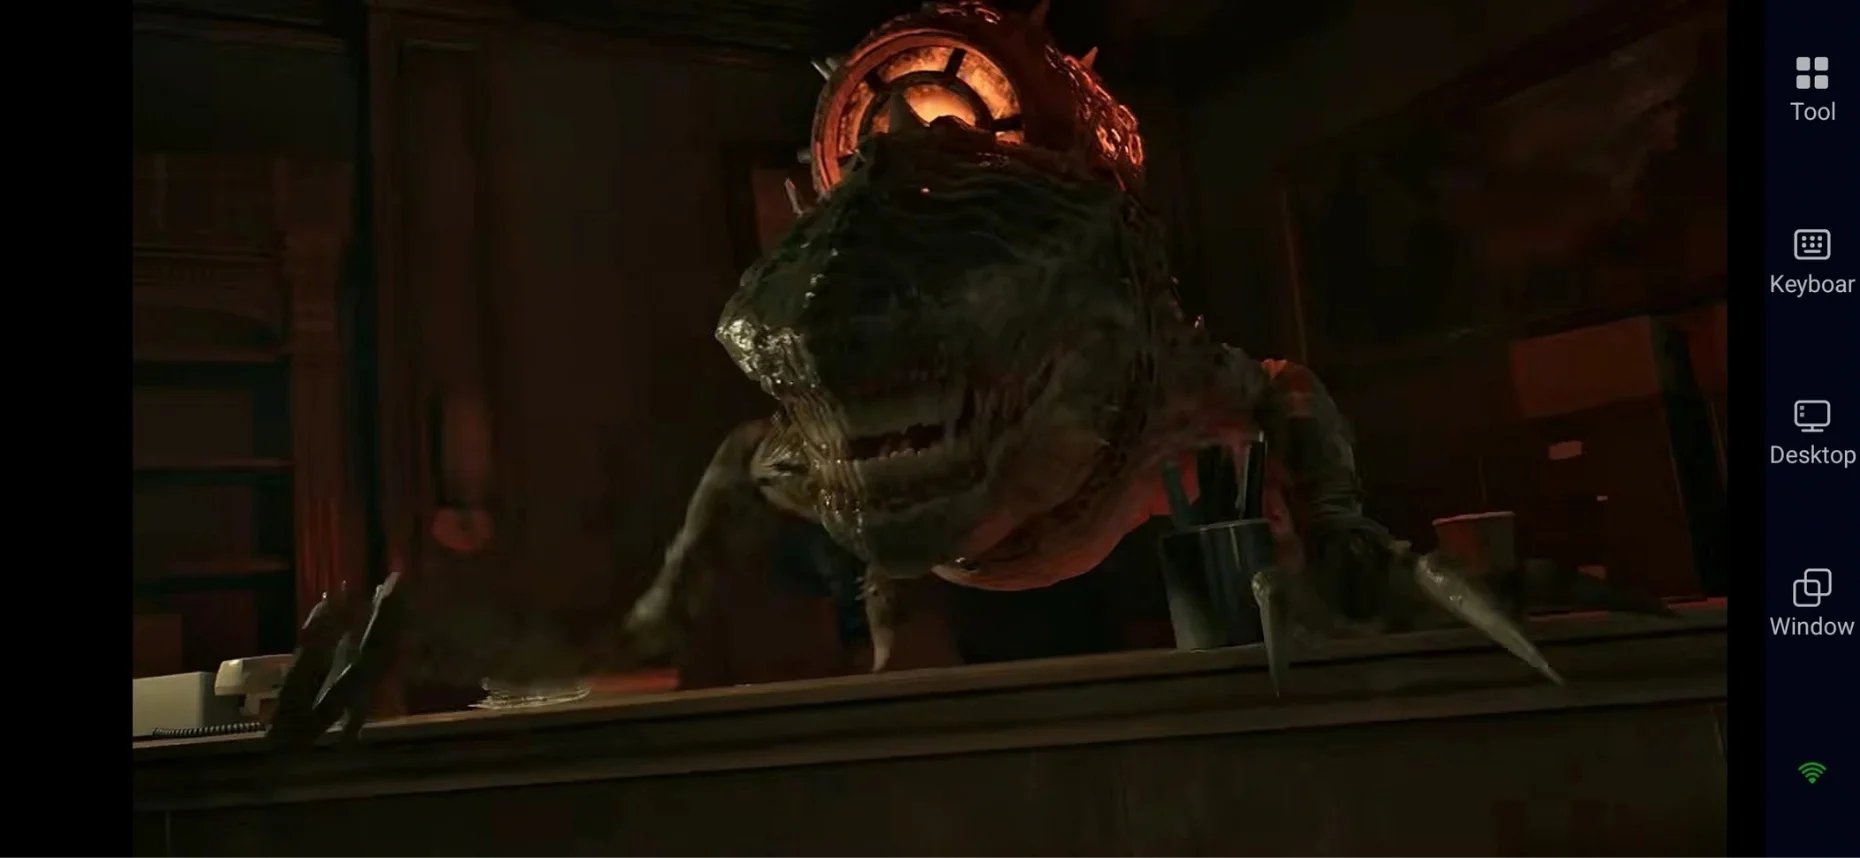
How to deal with Tickers:
- Kick them away when they get close.
- Destroy them before they reach your position.
- Listen for them during boss fights.
- Clear nearby Tickers before they block your escape route.
Understanding these Gears of War: E-Day enemy types makes the campaign much easier to manage. You don't need to treat every enemy the same. Regular enemies are usually handled with quick crowd control and accurate fire, heavy enemies require more patience and positioning, while special enemies need to be dealt with before their unique abilities make the fight harder.
Gears of War: E-Day Horde Siege Invasion Bosses
Horde Siege isn't limited to regular enemy waves and squad objectives. During a match, an Invasion Event can bring a massive Locust threat onto the shared battlefield, forcing all three squads to respond to the same enemy.
Horde Siege supports up to 12 players across three squads, with each squad normally working on its own objectives. When an Invasion Event begins, the situation changes quickly: the boss brings supporting Locust units, affects the wider battlefield, and requires squads to work together to bring it down.
Horde Siege Invasion Bosses
The confirmed Invasion Event bosses include:
- Corpser
- Brumak
Both bosses can appear as major shared threats during Horde Siege. The event isn't simply about dealing as much damage as possible. The boss can bring supporting enemies into the fight, while the Invasion Event can also introduce a temporary battlefield modifier that affects the match.
Corpser Invasion Boss
The Corpser turns an Invasion Event into a close-quarters survival challenge. Its large size and powerful attacks can make normally safe areas dangerous, while supporting Locust enemies add another layer of pressure.
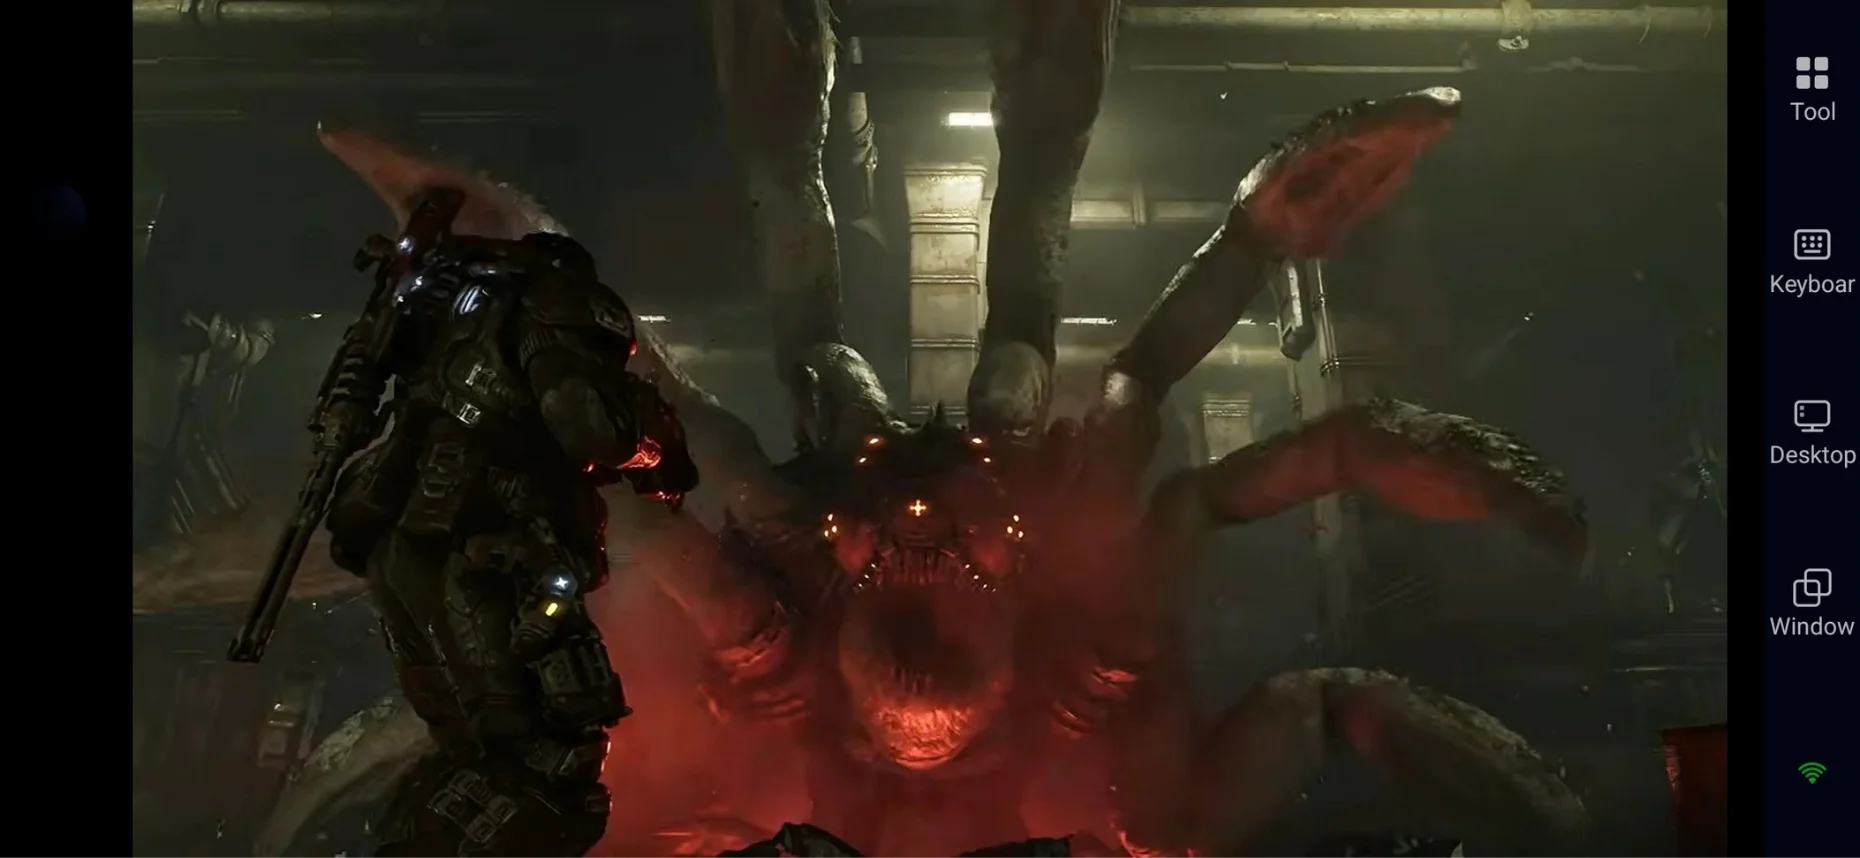
The biggest mistake is treating the Corpser as the only threat. Players still need to watch for surrounding enemies and maintain enough space to move when the Corpser attacks.
What to watch for:
- Powerful close-range attacks
- Area-denial attacks that make parts of the battlefield unsafe
- Supporting Locust enemies
- Sudden changes to safe movement routes
- Other squads becoming overwhelmed
The Corpser is much easier to manage when the three squads coordinate their attacks instead of fighting independently.
Brumak Invasion Boss
The Brumak is another major Invasion Event threat and brings a very different type of pressure to the battlefield. Its enormous size and destructive attacks can make open areas difficult to hold, forcing players to constantly reconsider their positioning.
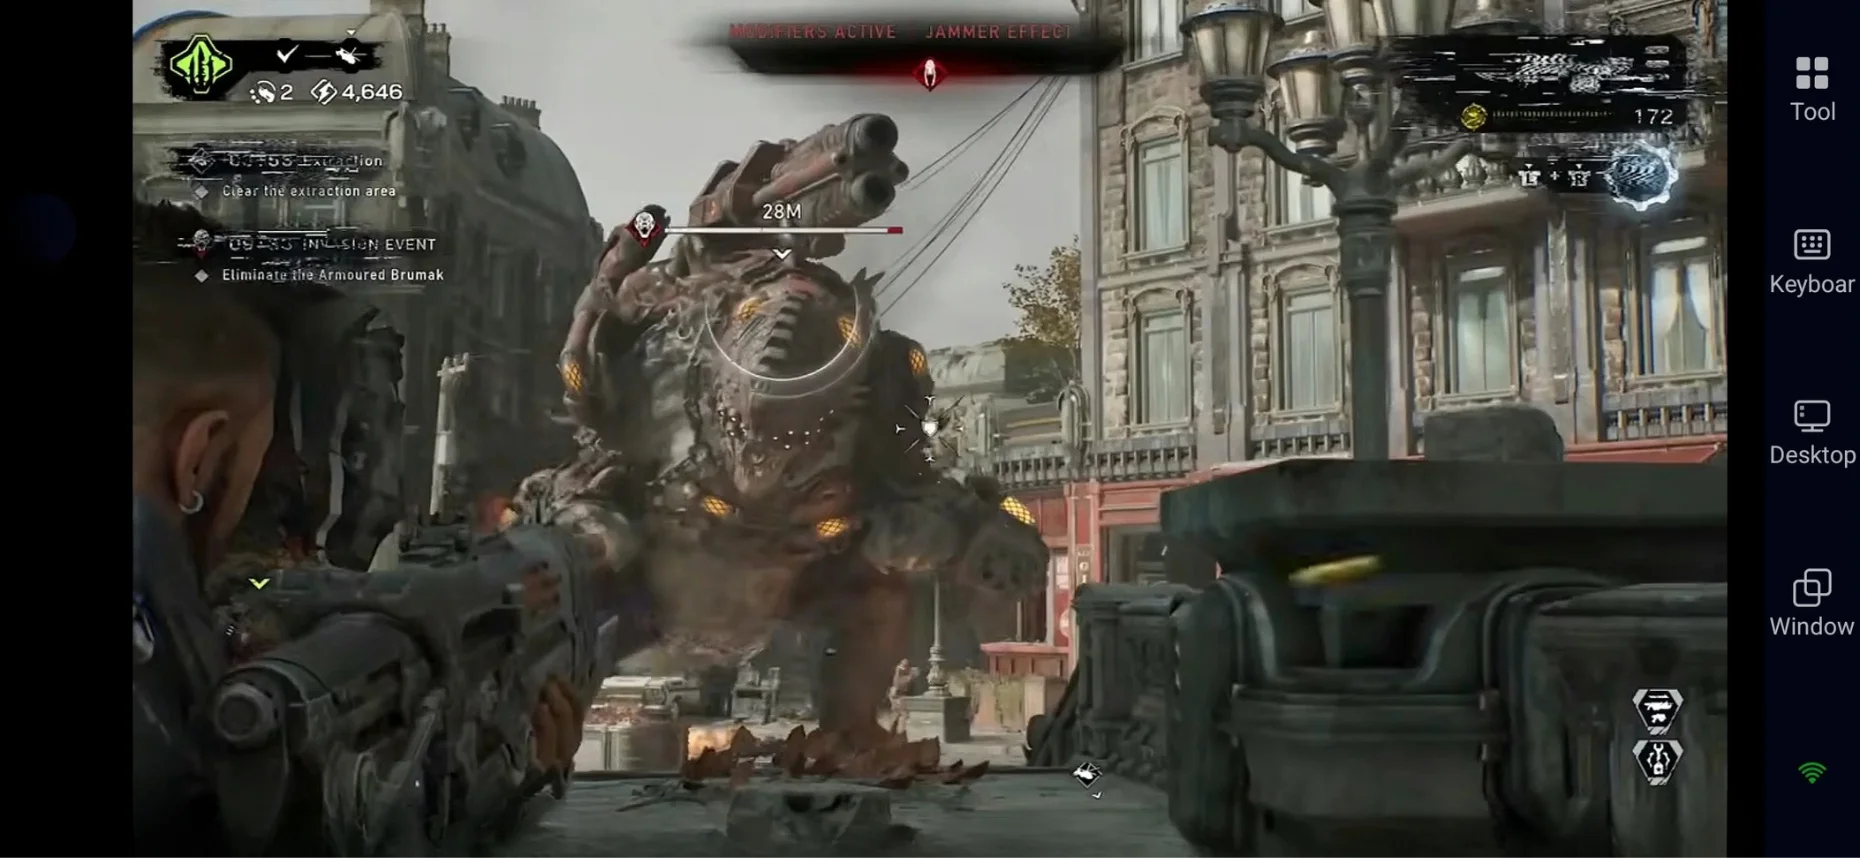
As with the Corpser, the Brumak doesn't fight alone. Supporting Locust forces can create additional pressure while players are trying to deal damage to the boss.
What to watch for:
- Powerful ranged attacks
- Close-range attacks
- Destruction of cover and safe positions
- Supporting Locust units
- Other squads needing assistance
The Brumak encounter rewards coordinated fire and good positioning. Avoid bunching the entire team together and be ready to move when the boss makes your current position unsafe.
Why Invasion Events Are Different
Invasion Events change the normal flow of Horde Siege. Instead of each squad concentrating primarily on its own mission, all three squads have a reason to work together against the shared threat.
The Coalition describes these events as major battlefield challenges that affect all squads, with supporting units and temporary modifiers adding further pressure. Any squad that joins the fight can also receive a portion of the rewards.
This makes Invasion Events less about simply killing a boss and more about coordinating 12 players, controlling the surrounding enemies, and keeping the battlefield manageable until the threat is defeated.
How to Handle Horde Siege Bosses
Horde Siege Invasion Events can quickly turn the battlefield into chaos. While the boss is the main threat, the surrounding Locust forces can be just as dangerous if they are allowed to overwhelm your squads.
The key is to avoid having everyone focus on the boss at the same time. Keep enough players dealing with the surrounding enemies to protect your squad's movement while the remaining players take advantage of safe damage opportunities against the boss.
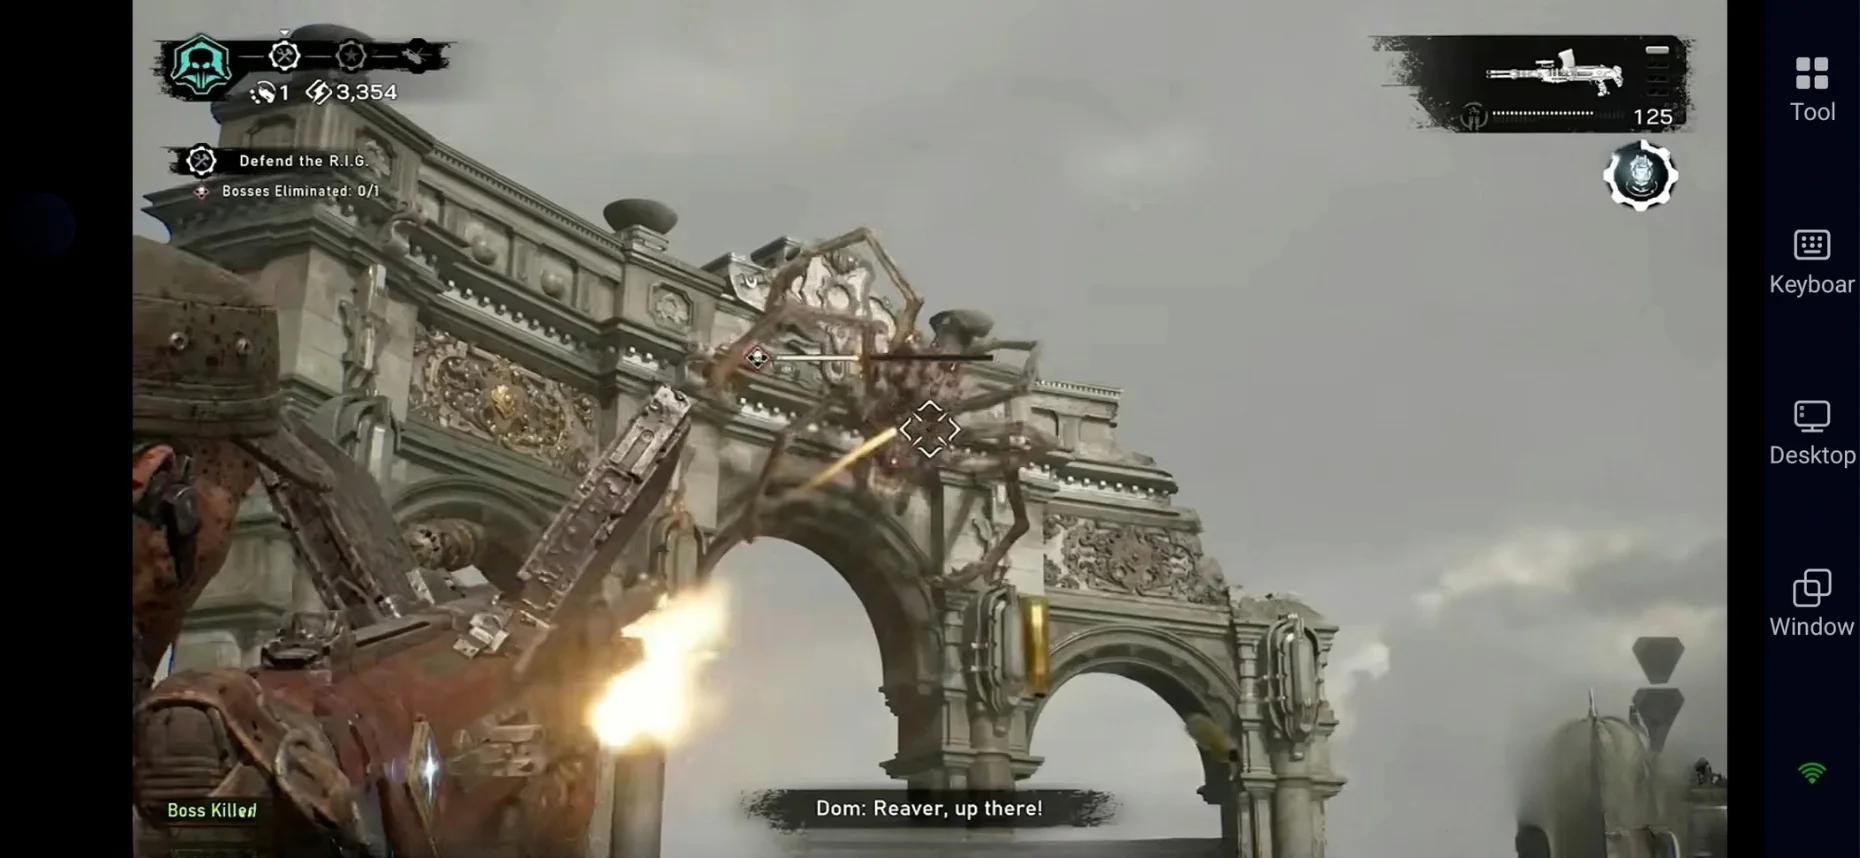
Use these strategies during Invasion Events:
Control the Surrounding Enemies
Don't ignore the smaller Locust units while attacking the boss. They can surround your squad, cut off escape routes, and make it much harder to avoid the boss's attacks.
Prioritize enemies that are actively threatening your position, especially those blocking your movement or attacking from your flanks.
Keep Escape Routes Open
Boss attacks can quickly make an area unsafe. Avoid fighting with your back completely trapped and always keep at least one route available for repositioning.
If the boss starts controlling your current position, move early instead of waiting until you're forced into a dangerous situation.
Coordinate Between Squads
Horde Siege is built around three squads working across the same battlefield. During an Invasion Event, communicate with the other squads instead of treating the encounter as three separate fights.
Call out when:
- Your squad is being overwhelmed.
- The boss is moving toward another squad.
- A clear damage opportunity appears.
- You need assistance with surrounding enemies.
- A squad member needs a revive.
Good communication can prevent one squad from being overwhelmed while the others continue focusing on the boss.
Focus the Boss During Damage Windows
Don't waste ammunition by constantly attacking the boss when it's difficult to damage effectively. Look for moments when its attacks leave it vulnerable and have your squad focus fire during those openings.
When the boss becomes difficult to attack, return your attention to positioning and surrounding enemies instead of standing in the open and trading damage.
Spread Out When Necessary
Staying too close together can make it easier for a boss attack or group of enemies to pressure several players at once.
Spread out enough to give yourselves room to dodge and reposition, but don't separate so far that squads cannot help each other when needed.
Revive Teammates Quickly
A downed player reduces your team's ability to control both the boss and the surrounding enemies. If the area is safe, revive teammates quickly before the enemy pressure becomes overwhelming.
However, don't rush into an unsafe area just to revive someone. Clear the immediate threat or wait for a better opening when necessary.
Help Overwhelmed Squads
You don't always need to stay focused on your original position. If another squad is being overwhelmed, helping them can prevent the entire Invasion Event from becoming harder to control.
A few players moving over to clear dangerous enemies can give the other squad enough breathing room to recover and return to the boss.
Keep Moving
The longer an Invasion Event lasts, the more dangerous it becomes to remain in one position. Keep moving between safe areas, especially when the boss starts attacking your current location.
Don't run around randomly, though. Move with a purpose and try to maintain a clear route to cover or another safe position.
The Key to Surviving Invasion Events
The biggest difference between a normal Horde Siege encounter and an Invasion Event is that the boss is only one part of the fight. You also have to manage the Locust waves, protect your squad, communicate with the other teams, and maintain enough space to survive the boss's attacks.
Don't treat the encounter as a simple damage race. Control the battlefield first, create safe damage windows, and work together across all three squads. Once the surrounding pressure is under control, the boss becomes much easier to manage.
Conclusion
And that’s pretty much everything you need to know before facing the Locust. From fast Wretches and tough Drones to Boomers, Seeders, and some of the game's biggest bosses, understanding what you’re up against can make every fight much easier to manage. Learn each enemy's attacks, use the right weapons, keep moving, and don't let smaller enemies catch you off guard. With this Gears of War: E-Day boss and special enemy guide, you’re ready to take on the invasion and handle whatever the game throws at you. And when you want a little extra practice, OSLink lets you access the PC version from your mobile device, so you can keep working on those difficult encounters even when you're away from your usual setup.
 Download