English
Boss battles are some of the biggest milestones in Beast of Reincarnation, testing everything you've learned about combat, timing, and skill build. Each major encounter introduces new attack patterns, elemental weaknesses, and mechanics that require different strategies to overcome, making preparation just as important as your reactions during the fight. Knowing what to expect before entering each battle can save you countless failed attempts and make your journey through the post-apocalyptic world much smoother.
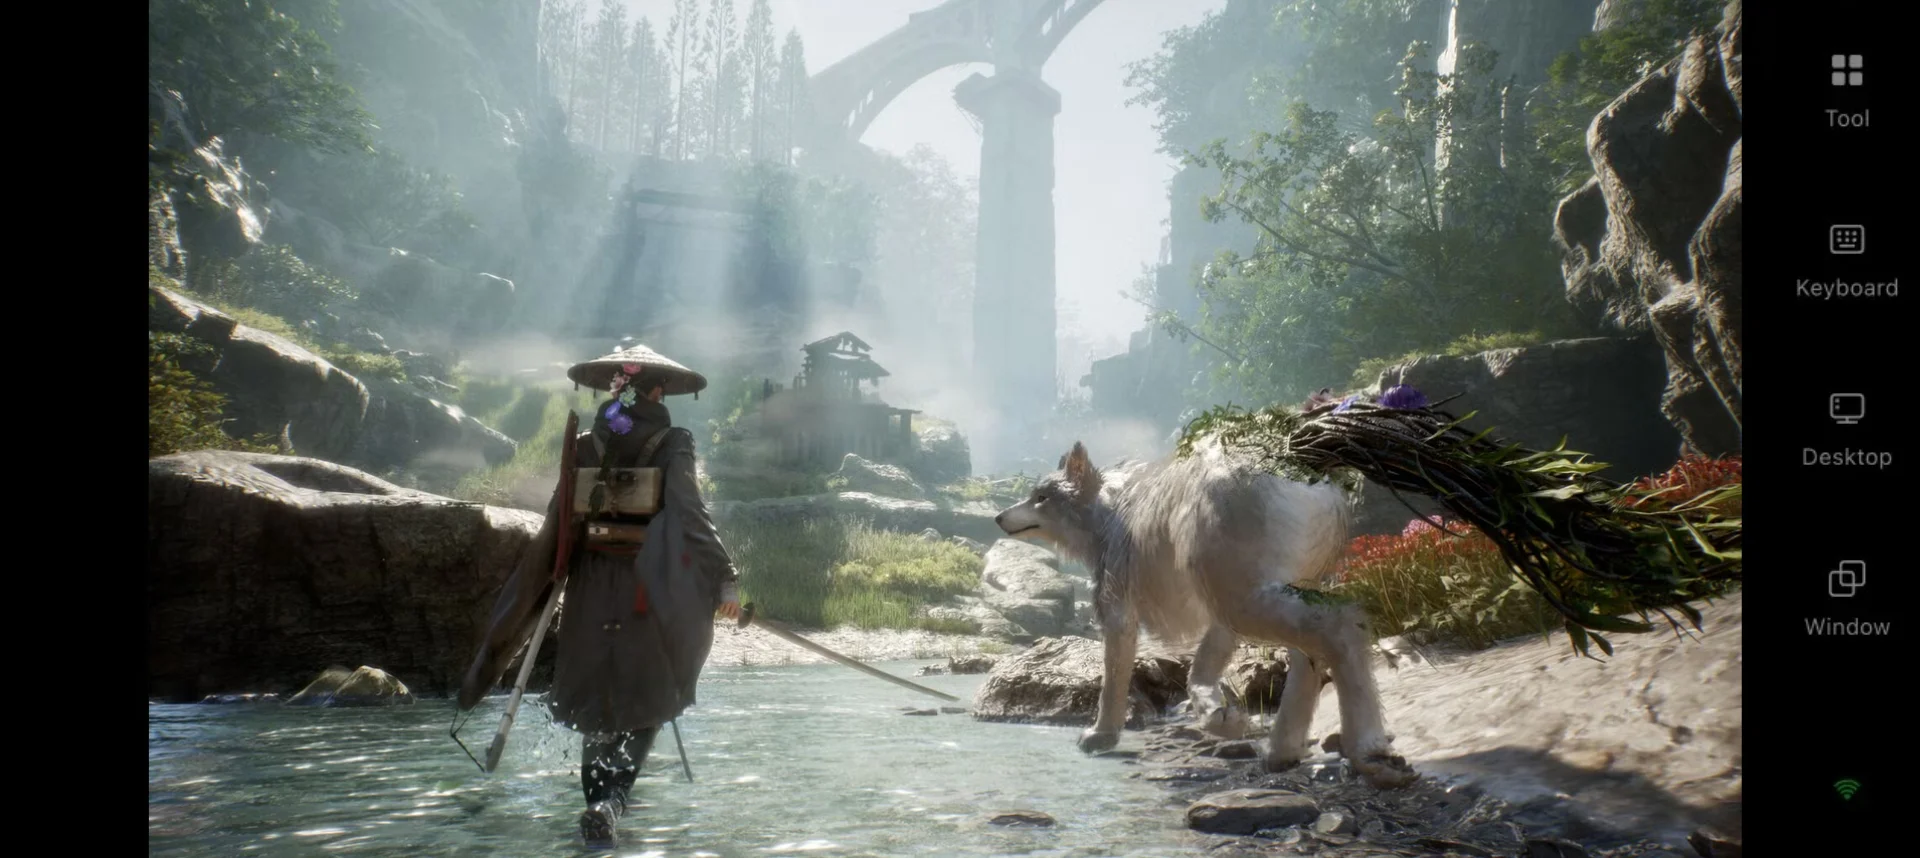
This Beast of Reincarnation all boss locations guide covers every major story boss, their locations, chapter appearances, elemental weaknesses, rewards, and practical strategies to help you prepare for each encounter. Whether you're tracking down your next challenge or getting ready for another attempt, OSLink lets you play Beast of Reincarnation on mobile by remotely accessing your PC, making it easy to continue your adventure and take on bosses wherever you are.
How Bosses Work in Beast of Reincarnation
Most bosses appear more than once, returning later with higher levels, new attacks, and tougher phases. Understanding their weaknesses and preparing before each battle will make these encounters much easier.
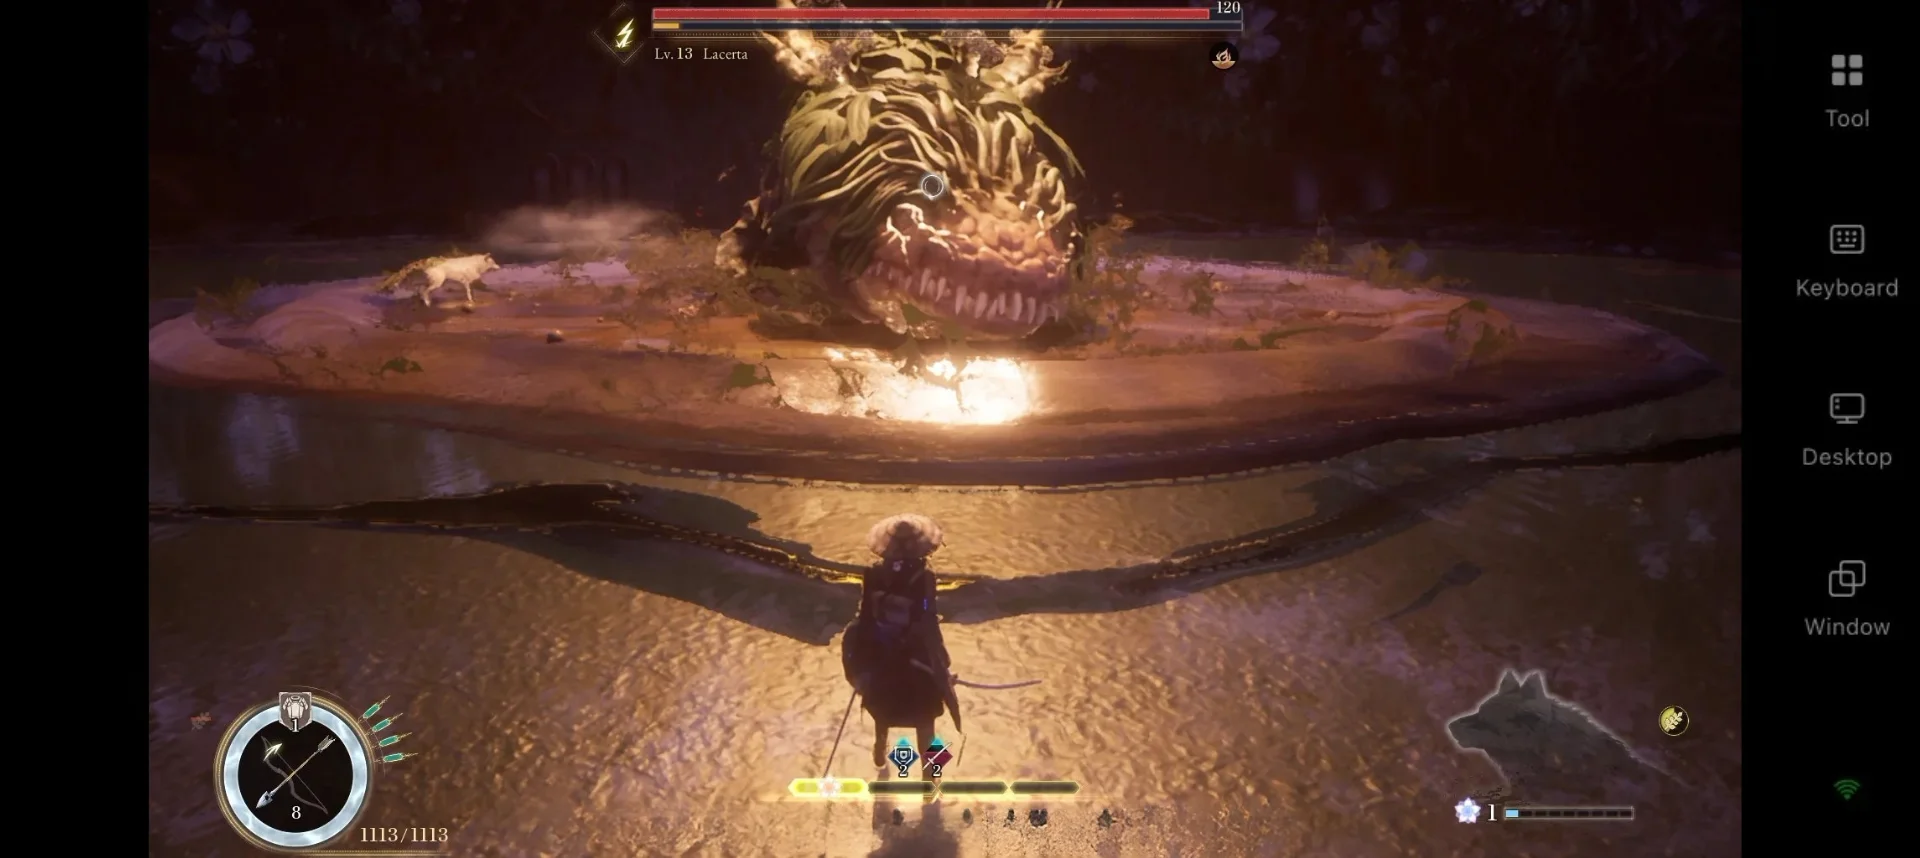
Before fighting a boss, remember these tips:
-
Most bosses have an elemental weakness you can exploit for faster staggers.
-
Many bosses return later with stronger attacks and more health.
-
Defeating bosses unlocks new skills and Blade Arts.
-
Parry normal attacks and dodge attacks with a red glint.
-
Use Koo's abilities to heal, deal damage, and bind enemies.
-
Upgrade your gear if you're having trouble defeating a boss.
-
Rest at a Campsite and stock up on healing items before challenging tougher bosses.
Beast of Reincarnation Boss List
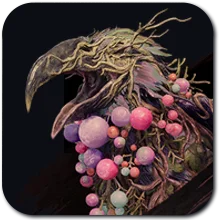
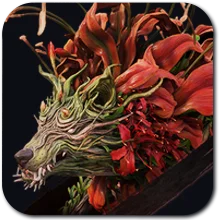
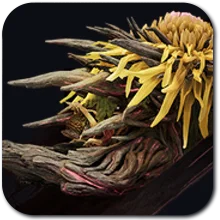
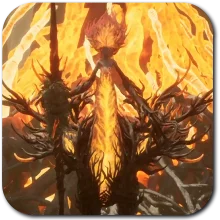
Throughout your adventure, you'll battle 11 powerful bosses, including several that appear multiple times during the story. Use the table below to find Beast of Reincarnation all boss locations, their chapter appearances, and elemental weaknesses.
|
Boss |
Weakness |
First Appearance |
Chapter |
|
Rangifer
|
Flame |
Level 9 |
Chapter 1 |
|
Nue Malefact
|
Poison |
Level 16 |
Chapter 1 |
|
Lacerta
|
Lightning |
Level 13 |
Chapter 2 |
|
Shidou & Nue
|
Poison |
Level 20 |
Chapter 3 |
|
Taurus
|
Acid |
Level 26 |
Chapter 4 |
|
Corvus
|
Lightning |
Level 38 |
Chapter 7 |
|
Kunai & Kirin
|
Poison |
Level 45 |
Chapter 8 |
|
Crimson Malefact
|
Water |
Level 45 |
Chapter 9 |
|
Ursa
|
Acid |
Level 46 |
Chapter 10 |
|
Erymanth
|
Explosive |
Level 47 |
Chapter 12 |
|
Beast of Reincarnation
|
None |
Final Battle |
Chapter 13 |
|
Optional: Door Golem
|
Bind, Acid |
Chapter 1 |
Optional Boss |



Chapter 1: Seedling – Ogouchi Buffer Zone
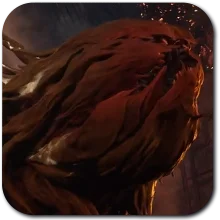
Although Rangifer is the first major Nushi, it's an excellent opportunity to master the game's core combat mechanics. Fighting at close range is generally safer than keeping your distance, as it encourages melee attacks that are easier to parry while reducing the number of rock throws and spike projectiles you have to deal with. Equipping Flame-based attacks and Koo's Flame abilities will also help build stagger more quickly, creating larger openings to deal damage.
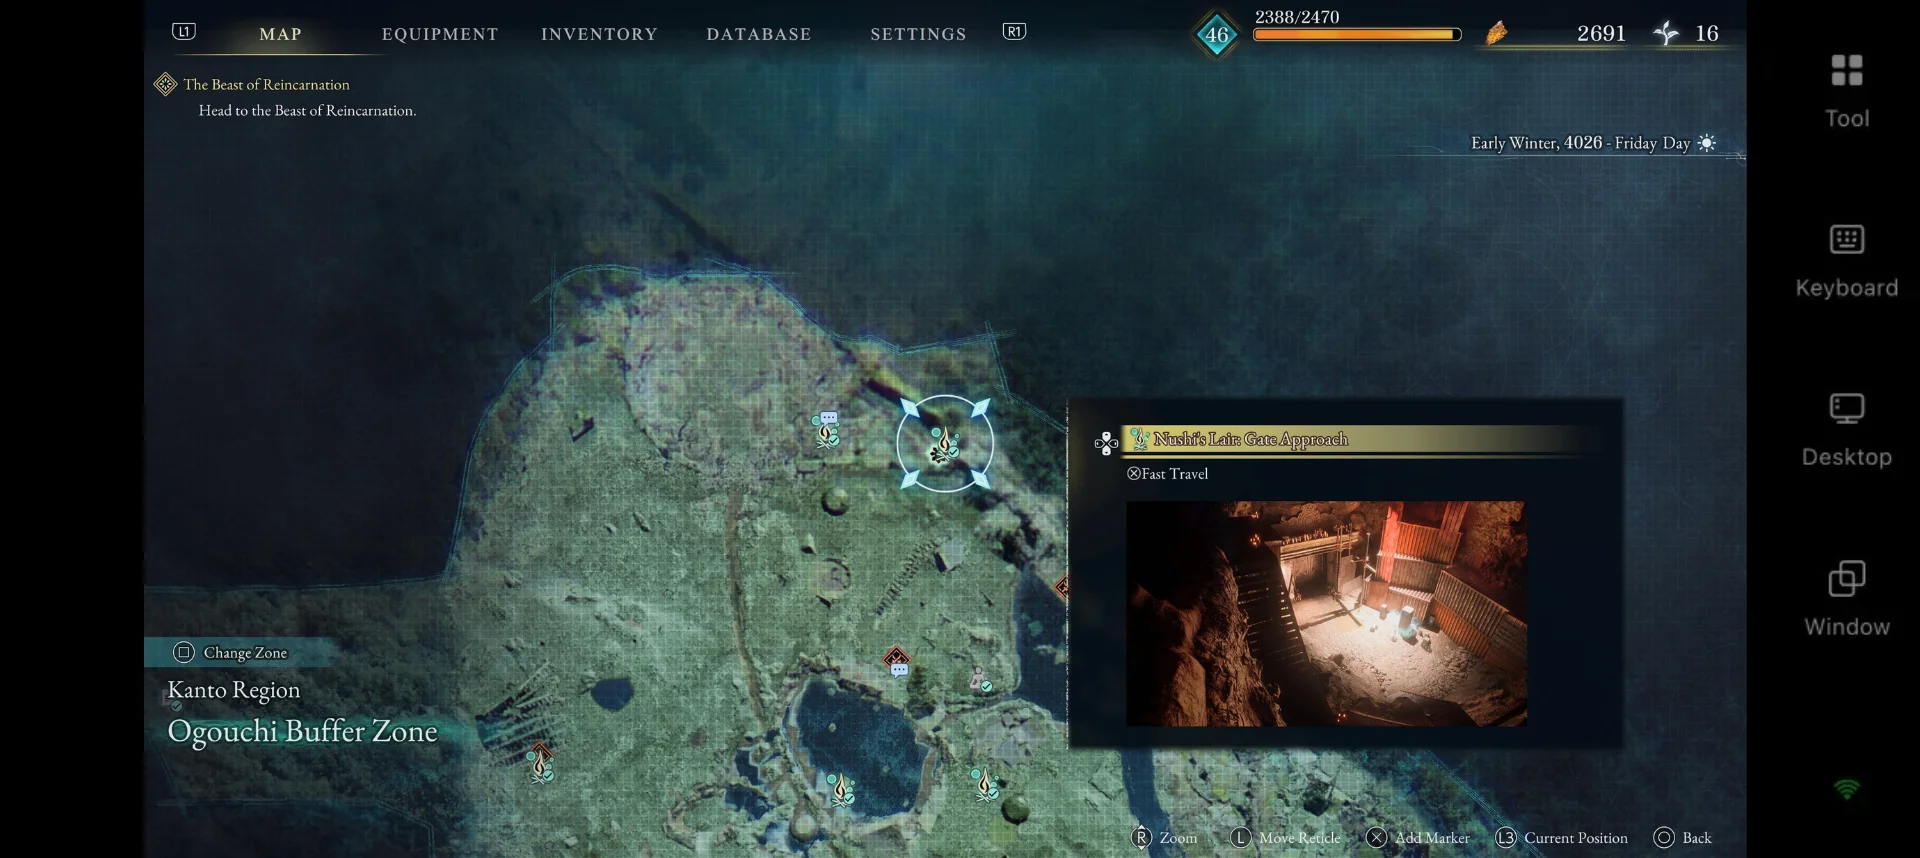
During the second encounter, Rangifer gains several new unblockable attacks and a more aggressive combo chain. Rather than trying to punish every attack, wait for the boss to finish its single antler swipe or hoof slam before counterattacking. If Rangifer begins recovering health later in the fight, interrupt it immediately to prevent the battle from dragging on.
|
Enemy |
Location |
Weakness |
|
Rangifer (Boss) – Lv. 9 |
Lake beneath the Cliff-Facing Tower Campsite |
Flame |
|
Nue Malefact (Boss) – Lv. 16 |
Story flashback after the first Rangifer fight |
Poison |
|
Rangifer (Boss) – Lv. 12 |
Beyond the locked gate in Subcity 03 |
Flame |
|
Heavy Golem (Elite) |
Cliffside Village raised platform |
— |
|
Heavy Golem (Elite) |
Disposal Site |
— |
|
Heavy Golem (Elite) |
Quarry near the elevator |
— |
|
Heavy Golem (Elite) |
Ruined Tower cliff area and summit |
— |
|
Heavy Golem (Elite) |
Northwest platform |
— |
|
Agile Golem (Elite) |
Subcity 01 final room |
— |
|
Grizzly Malefact (Elite) |
Cave after speaking with the Retired Gatekeeper (Yellow Key) |
— |
Chapter 2: Creeping Tendrils – Ancient Civilization Zone
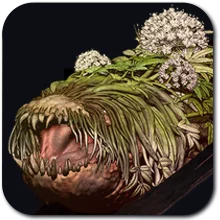
Lacerta is the first boss that introduces multiple phases and more frequent elemental attacks, making patience more important than aggression. Equipping Lightning-based attacks is the best way to exploit its weakness, helping you build stagger faster and create longer damage windows. Since the fight becomes more demanding as it progresses, avoid using all of your healing items too early and save some resources for the later phases.
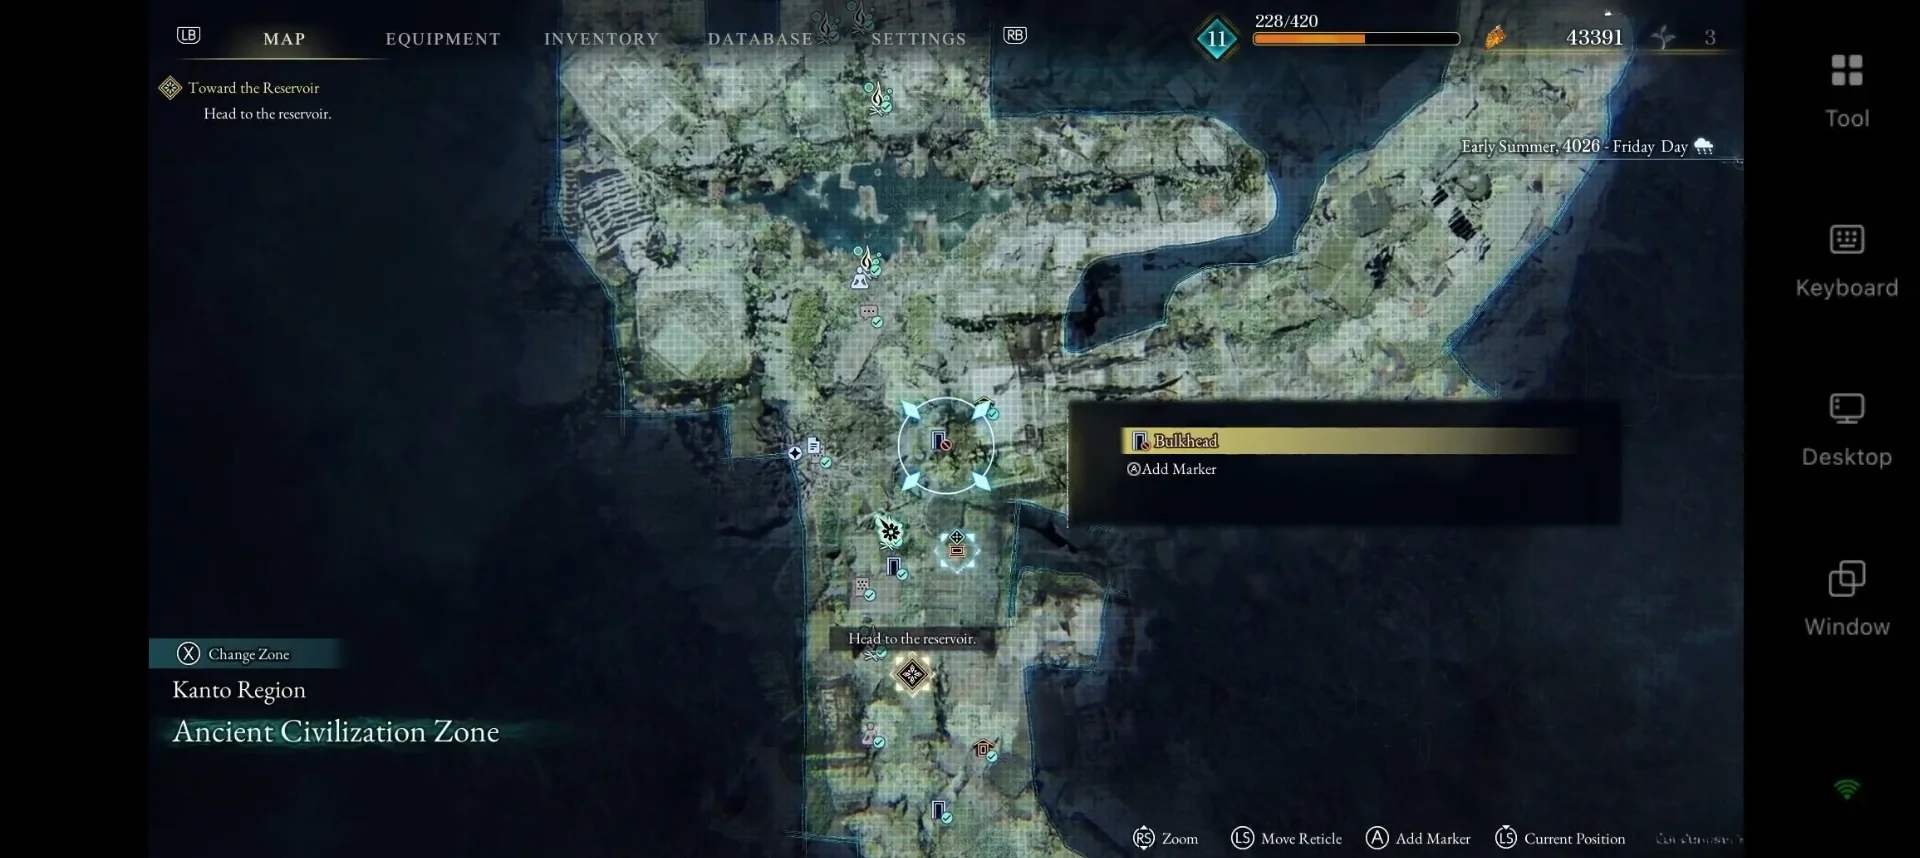
Before tackling the second Lacerta encounter, consider hunting the optional Elite enemies scattered throughout the Ancient Civilization Zone. They provide valuable upgrade materials that can improve your weapons and skills, giving you a noticeable advantage against the stronger rematch. Once you've learned Lacerta's attack rhythm, focus on counterattacking after its longer attack sequences instead of trying to punish every opening.
|
Enemy |
Location |
Weakness |
|
Lacerta (Boss) – Lv. 13 |
Reservoir arena after Reservoir: Interior Campsite |
Lightning |
|
Lacerta (Boss) – Lv. 16 |
Beyond Nushi’s Lair Entrance Campsite |
Lightning |
|
Lupine Malefact (Elite) |
Cliff near the giant gate |
— |
|
Heavy Golem (Elite) |
Main path area |
— |
|
Giant Golem (Elite) |
Tunnel Ruins |
— |
|
Agile Golem (Elite) |
Shopping Mall |
— |
|
Corvid Malefact (Elite) |
Upper ledges near final arena |
— |
Chapter 3: The Vessel – Great Wall Terraces
Chapter 3 gives you several chances to learn Nue Malefact's expanded moveset before the final battle against Shidou & Nue, so use these earlier encounters to practice its attack timing. Since every fight shares the same Poison weakness, opting for a good Poison build and choosing top-tier weapons that complement it is a strong approach. Koo's abilities are also excellent for building stagger and dealing consistent damage. While Nue has several unblockable attacks, its lightning strike leaves it stationary, giving experienced players an opportunity to chain perfect dodges before launching a counterattack.
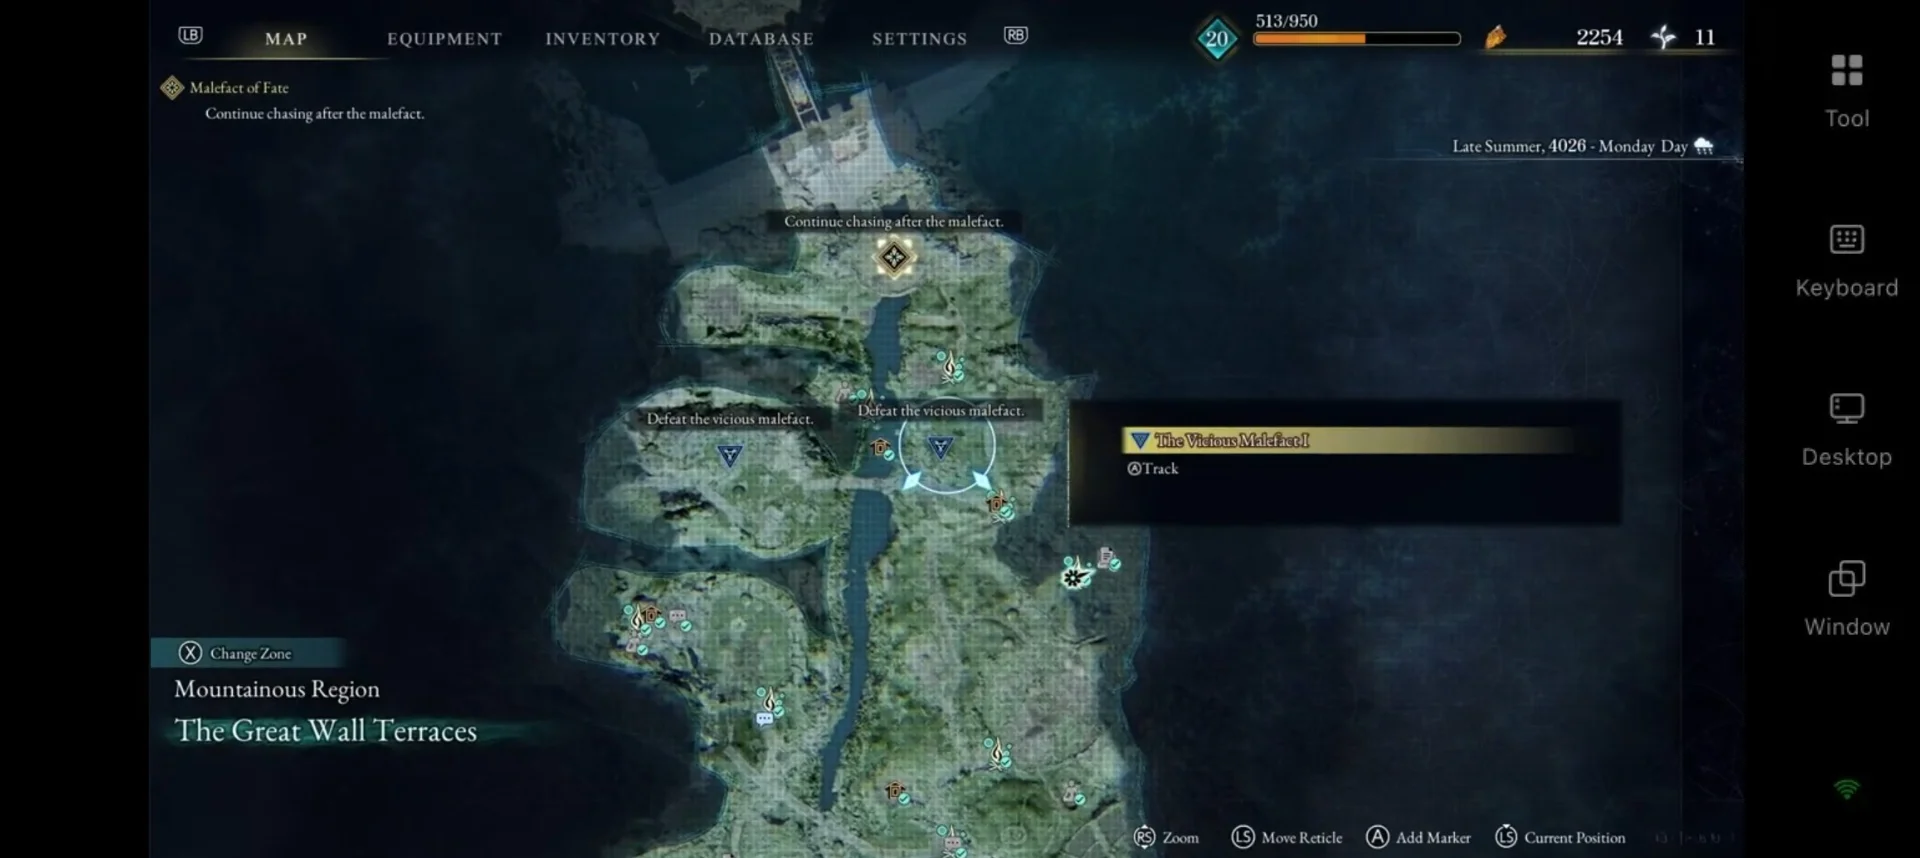
The final battle requires a different mindset than the earlier encounters. Avoid positioning yourself between Shidou and Nue, as both can quickly pressure you from different angles. Instead, focus on the enemy currently attacking while keeping the other in view, and make frequent use of Koo's Bind or Poison abilities to create safe openings and prevent Shidou from countering your attacks.
|
Enemy |
Location |
Weakness |
|
Nue Malefact (Boss) – Lv. 16 |
Mountain Plaza: Forefront Arena |
Poison |
|
Nue Malefact (Boss) – Lv. 16 |
Great Forest Clearing path |
Poison |
|
Nue Malefact (Boss) – Lv. 16 |
Titan Buddha area |
Poison |
|
Shidou & Nue (Boss) – Lv. 20 |
Final arena beyond the northern gate |
Poison |
|
Agile Golem (Elite) |
Bridge east of Mountain Village |
— |
|
Headless Golem (Elite) |
Maze of Sin |
— |
|
Headless Golem (Elite) |
Platforms |
— |
|
Headless Golem (Elite) |
Subcity of Flowers |
— |
|
Keymaster Golem (Elite) |
River path |
— |
|
Lupine Malefact (Elite) |
Ruined Road Square and clearing |
— |
Chapter 4: Stems – Pilgrim’s Zone
Taurus is one of the game's most mobile Nushi, rarely staying in one place long enough for extended melee combos. Although it's weak to Acid, other status effects like Shock, Flame, and Poison can also temporarily immobilize the boss, creating valuable opportunities to deal damage. Koo's Bind abilities are especially effective for extending these openings, so don't hesitate to use them whenever Taurus becomes vulnerable.
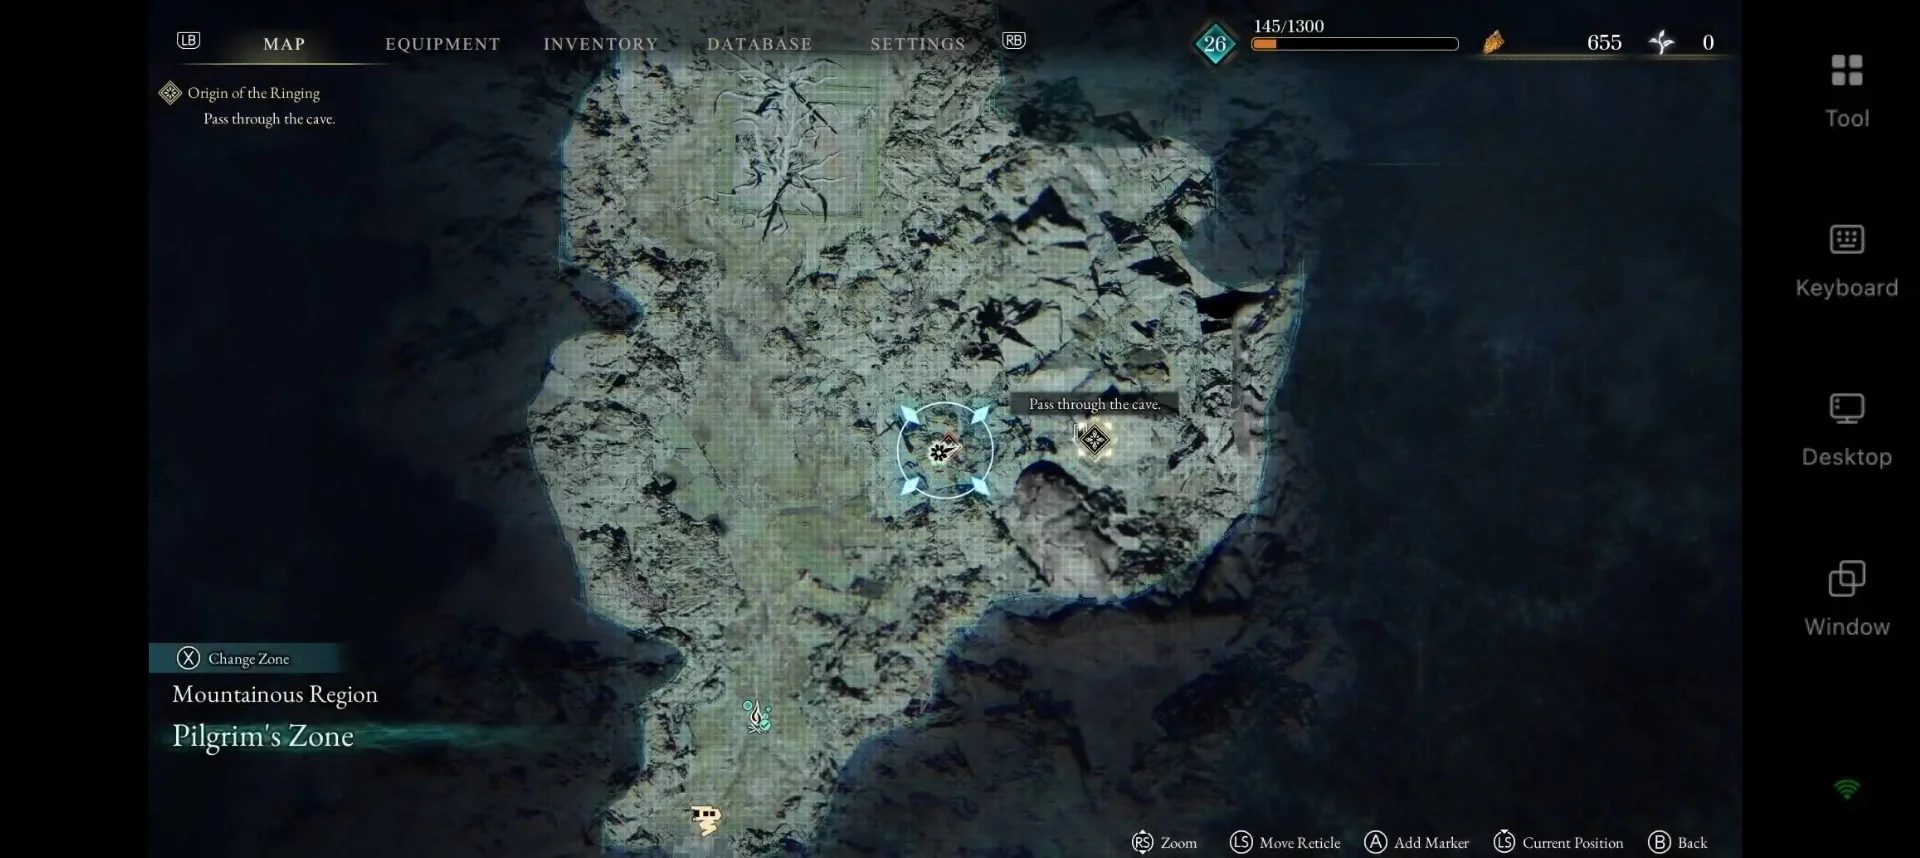
Many of Taurus's strongest attacks, including its charges and thorn-based abilities, are unblockable, making dodging more reliable than trying to parry everything. During the second encounter, clear the accompanying Golems as soon as possible so you can focus entirely on Taurus. Since the boss spends much of the fight moving around the arena, stay patient, capitalize on short damage windows, and avoid overcommitting to long attack strings.
|
Enemy |
Location |
Weakness |
|
Taurus (Boss) – Lv. 26 |
Pilgrim’s Zone |
Acid |
|
Taurus (Boss) – Lv. 29 |
Pilgrim’s Zone |
Acid |
Chapter 5: Matsukawa
Although Rangifer's Flame weakness and core moveset remain the same, this rematch is far less forgiving thanks to its higher damage and more aggressive attack patterns. Continue using Flame-based attacks and Koo's abilities to build stagger quickly, but avoid rushing in after every successful dodge or parry. Instead, wait for the boss to finish attacks like its single antler swipe or hoof slam before committing to a counterattack.
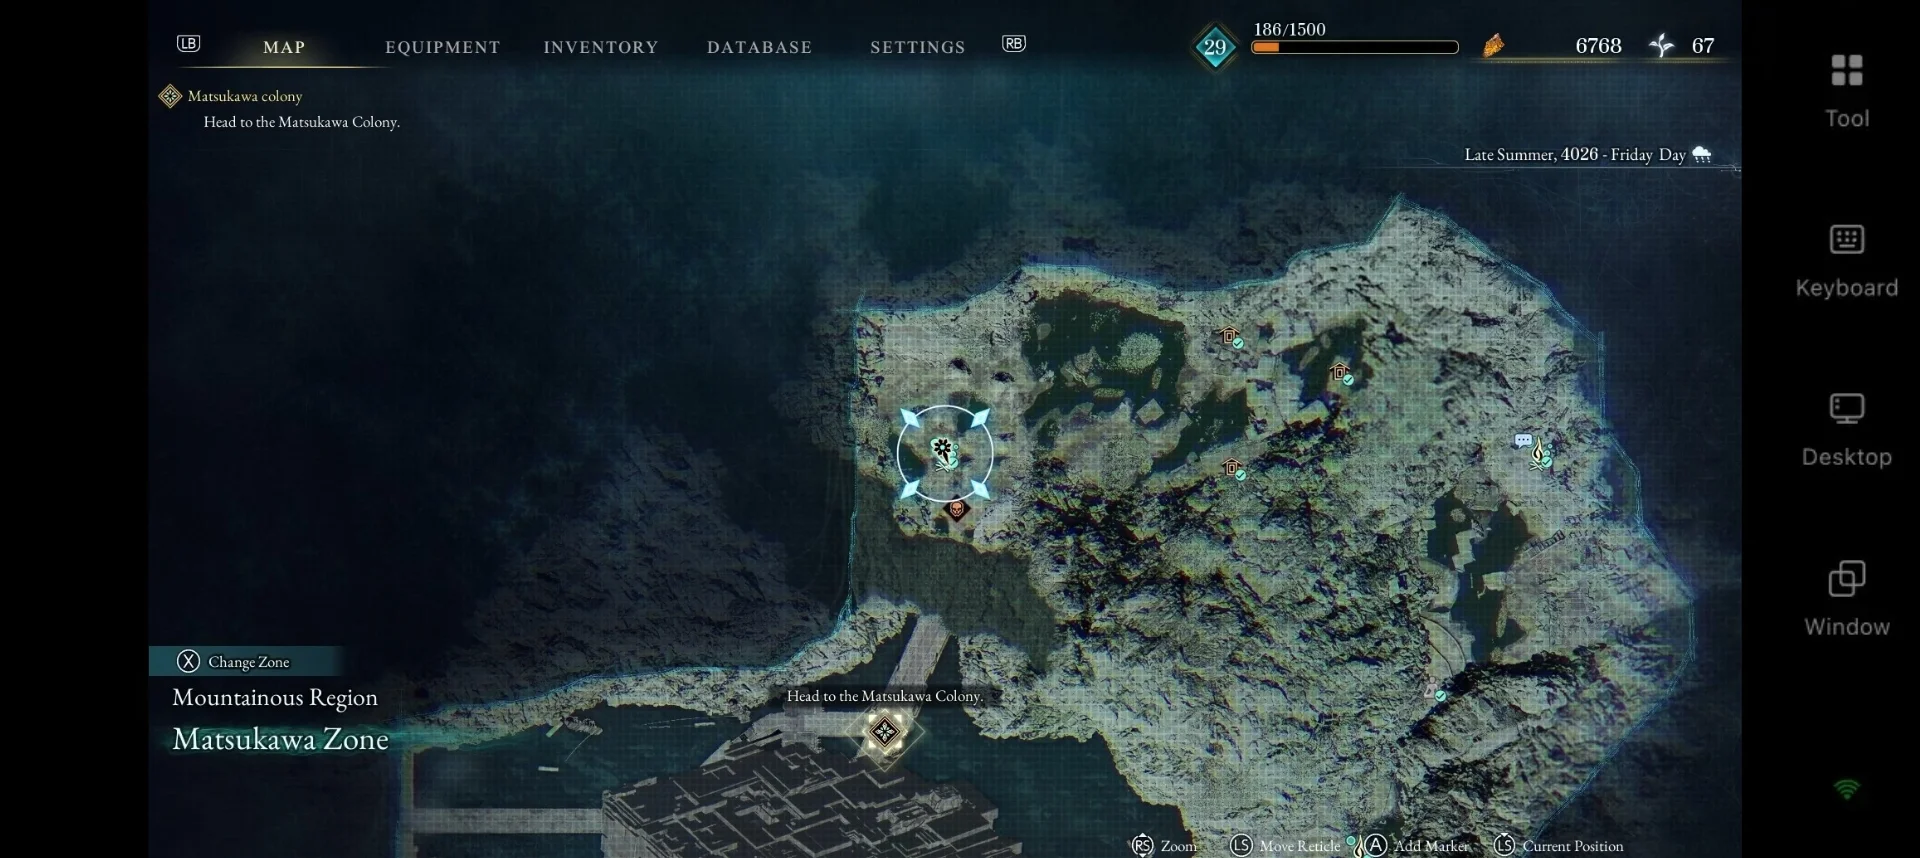
The upgraded Rangifer also makes greater use of unblockable attacks and longer combo strings, so focus on recognizing the red attack telegraphs rather than trying to parry everything. If the boss begins its healing phase, interrupt it immediately to prevent it from recovering health. Entering the fight with upgraded weapons and stronger Bloom Arts will make the rematch significantly easier than relying on basic attacks alone.
|
Enemy |
Location |
Weakness |
|
Rangifer (Boss) – Lv. 32 |
Matsukawa |
Flame |
Chapter 6: Fuji Frontier
Chapter 6 revisits Nue Malefact and Shidou & Nue with stronger attacks and more aggressive behavior, making this encounter a true test of everything you've learned in Chapter 3. Continue exploiting their shared Poison weakness with Poison-based weapons and Koo's abilities to build stagger quickly, and avoid letting the two bosses surround you by staying mobile and focusing on whichever enemy is actively attacking.
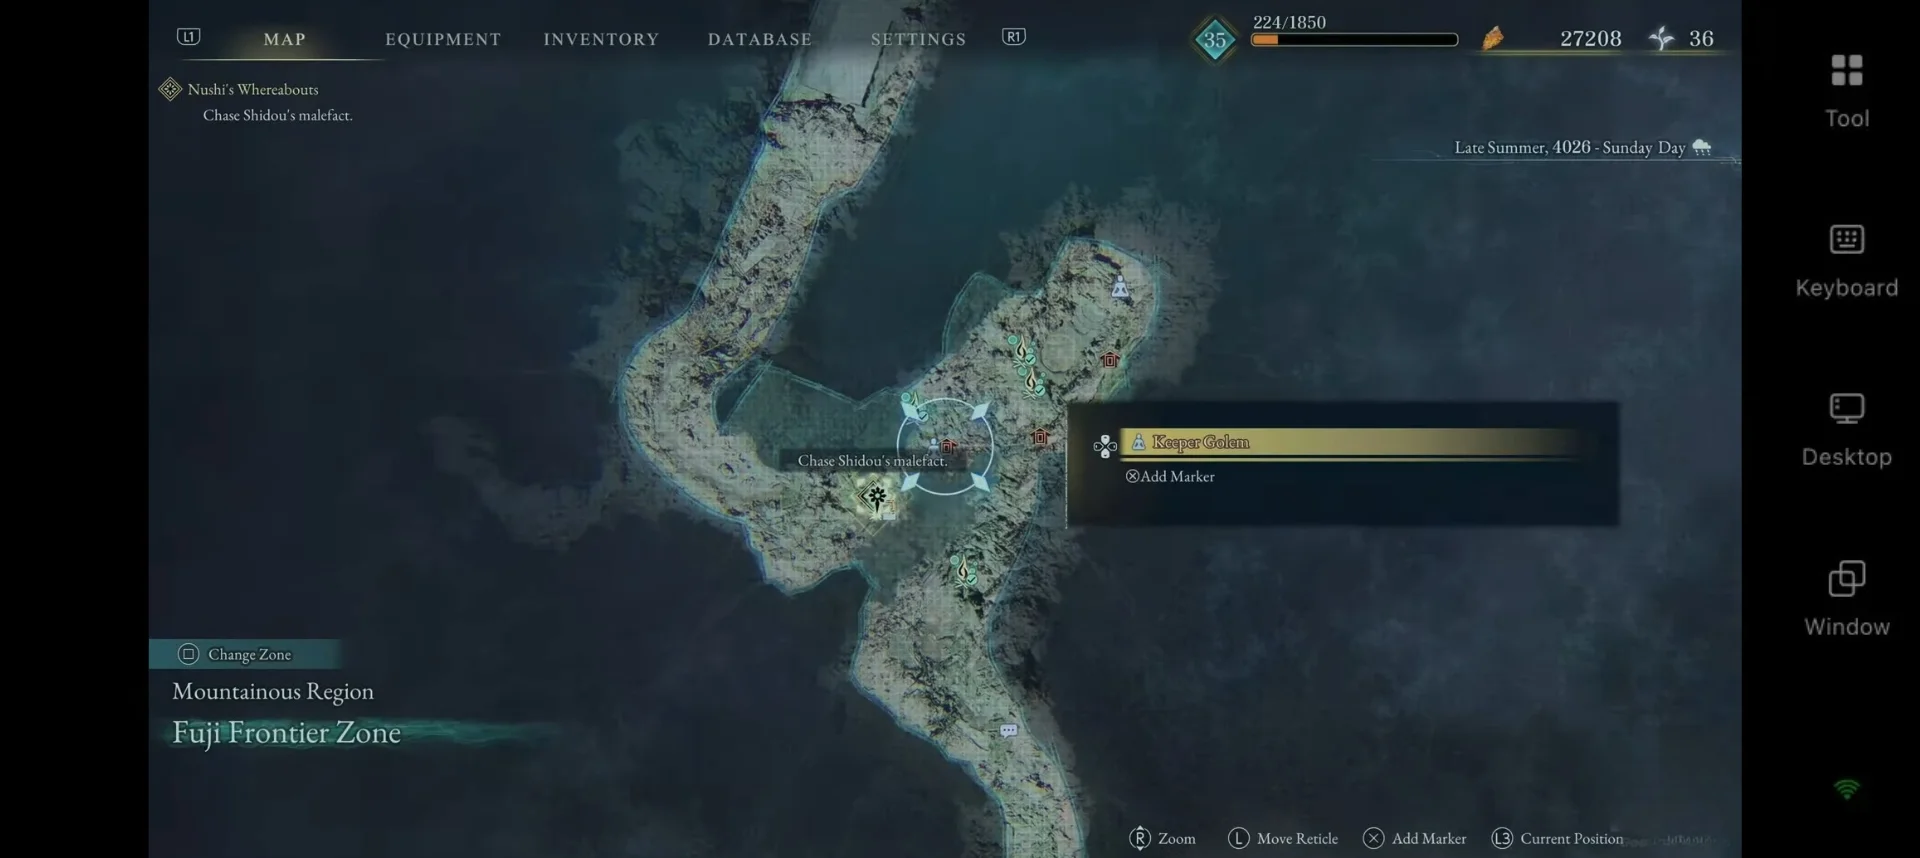
One of the biggest changes in this rematch is Shidou's ability to absorb health from Nue. Whenever he retreats to begin healing, immediately interrupt him with Emma or Koo to stagger both enemies and prevent the recovery. Koo's Bind and Poison abilities are especially valuable throughout the fight, as they can stop Shidou from countering and create safe opportunities to deal heavy damage.
|
Enemy |
Location |
Weakness |
|
Nue Malefact (Boss) – Lv. 32 |
Fuji Frontier |
Poison |
|
Shidou & Nue (Boss) – Lv. 35 |
Fuji Frontier |
Poison |
Chapter 7: Giant Tree
Corvus spends much of the fight airborne, making it difficult to pressure with melee attacks alone. Equip Lightning-based weapons to exploit its weakness and build stagger faster, and don't hesitate to switch to ranged weapons whenever Corvus takes flight. Koo's Sakura: Javelin is particularly effective, allowing you to deal Lightning damage from a distance while keeping pressure on the boss.
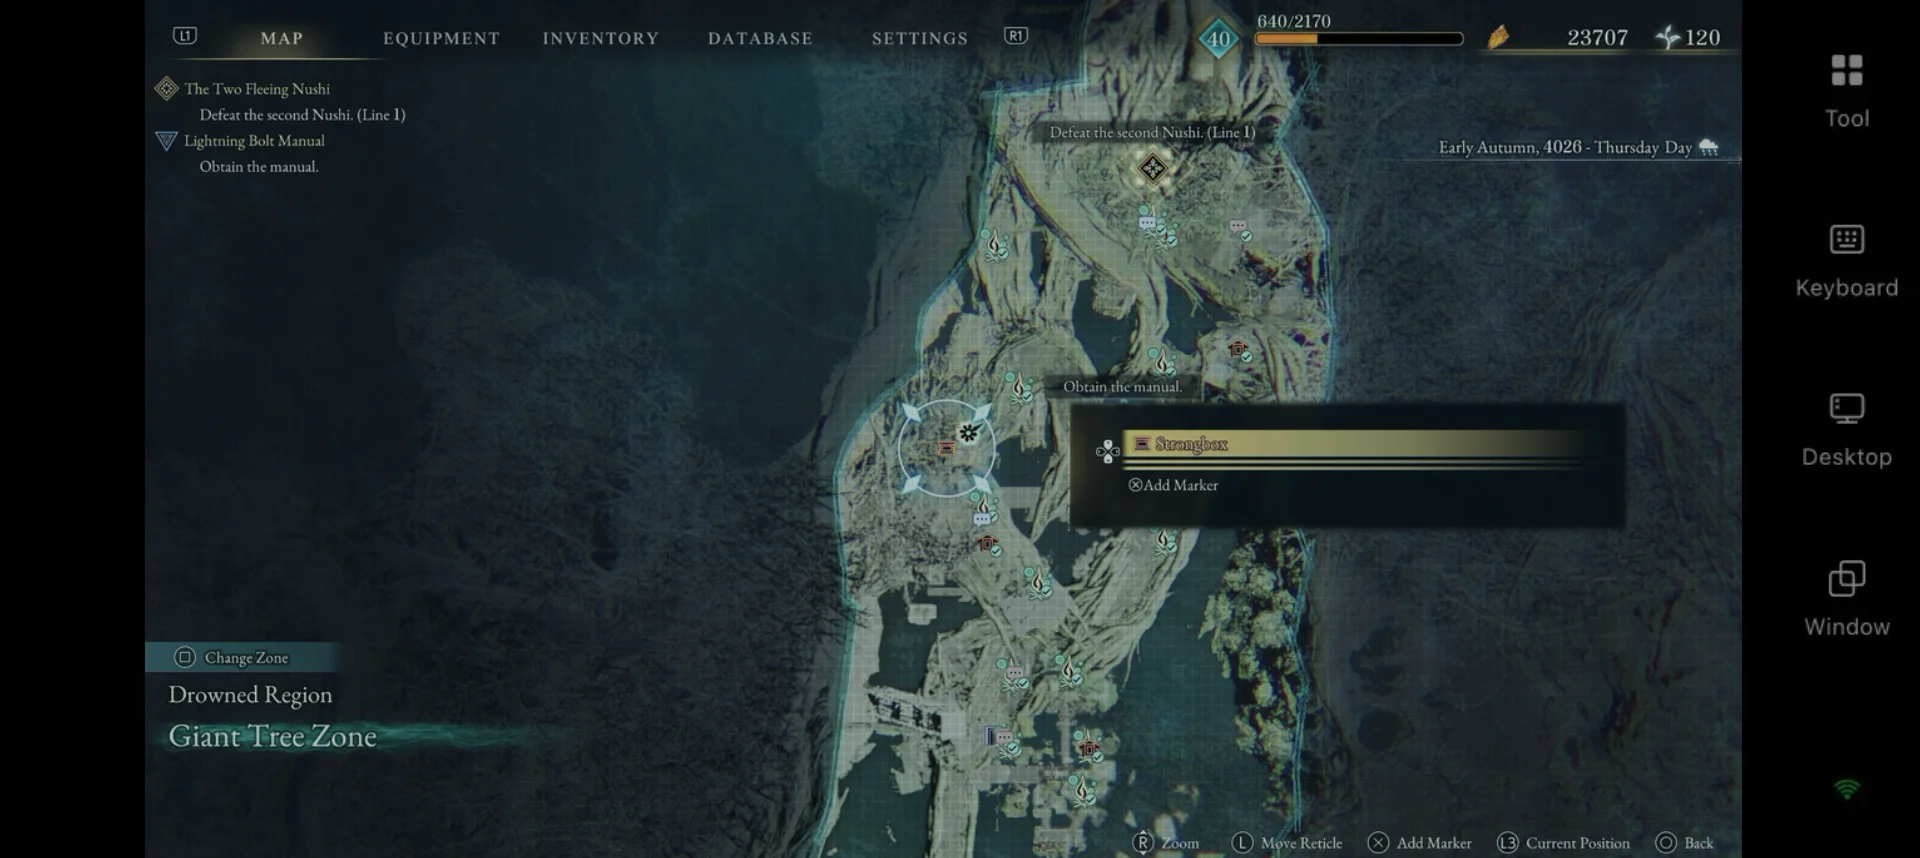
Many of Corvus's attacks leave pools of Acid on the ground that continue dealing damage over time, so staying mobile is just as important as avoiding the initial hit. Its talon combo and lunging peck are among the safest attacks to parry, making them excellent opportunities to build stagger before launching a counterattack. Rather than chasing Corvus around the arena, wait for it to commit to an attack, then capitalize on the recovery window.
|
Enemy |
Location |
Weakness |
|
Corvus (Boss) – Lv. 38 |
Giant Tree |
Lightning |
Chapter 8: Crater
While the returning Taurus follows many of the same patterns as before, the first encounter with Kunai & Kirin introduces a much more demanding dual-boss fight. Continue using Acid against Taurus, but switch to Poison-based attacks for Kunai & Kirin to build stagger more efficiently. If you find the first Kunai & Kirin battle overwhelming, don't worry too much—it's a scripted encounter, so the story will continue even if you're defeated.
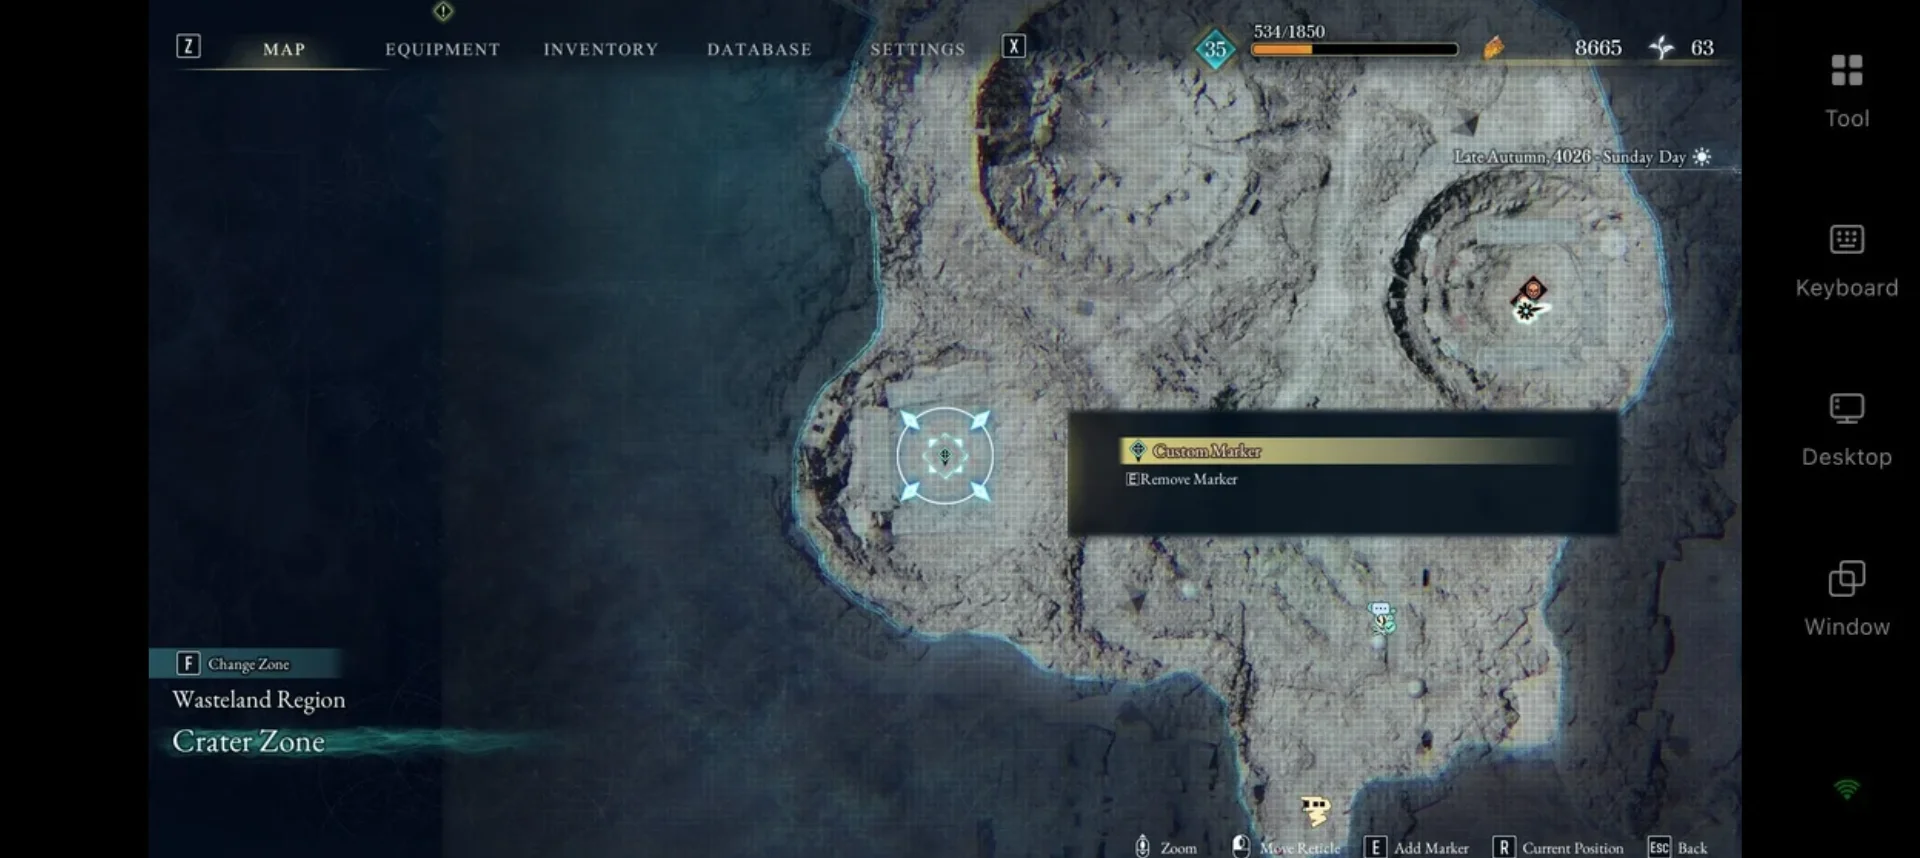
During the Kunai & Kirin fight, focus your attacks on a single target instead of splitting your damage between both bosses. Be cautious of their counterattacks by using a hit-and-run approach, and take advantage of Koo's abilities to build stagger before committing to longer combos. Kirin's pounce attack also creates one of the safest counterattack opportunities, so timing a successful parry can reward you with valuable free damage.
|
Enemy |
Location |
Weakness |
|
Taurus (Boss) – Lv. 44 |
Crater |
Acid |
|
Kunai & Kirin (Boss) – Lv. 45 |
Crater |
Poison |
Chapter 9: Inukami River
Crimson Malefact is one of the few boss fights where you'll have to rely entirely on Emma, as Koo's Bloom Arts are unavailable throughout the encounter. Equip Water-based attacks to exploit its weakness and focus on learning the timing of its recovery windows, as many of its strongest attacks leave the boss vulnerable for a short time after they finish. Avoid getting greedy with your combos and prioritize clean counterattacks over constant aggression.
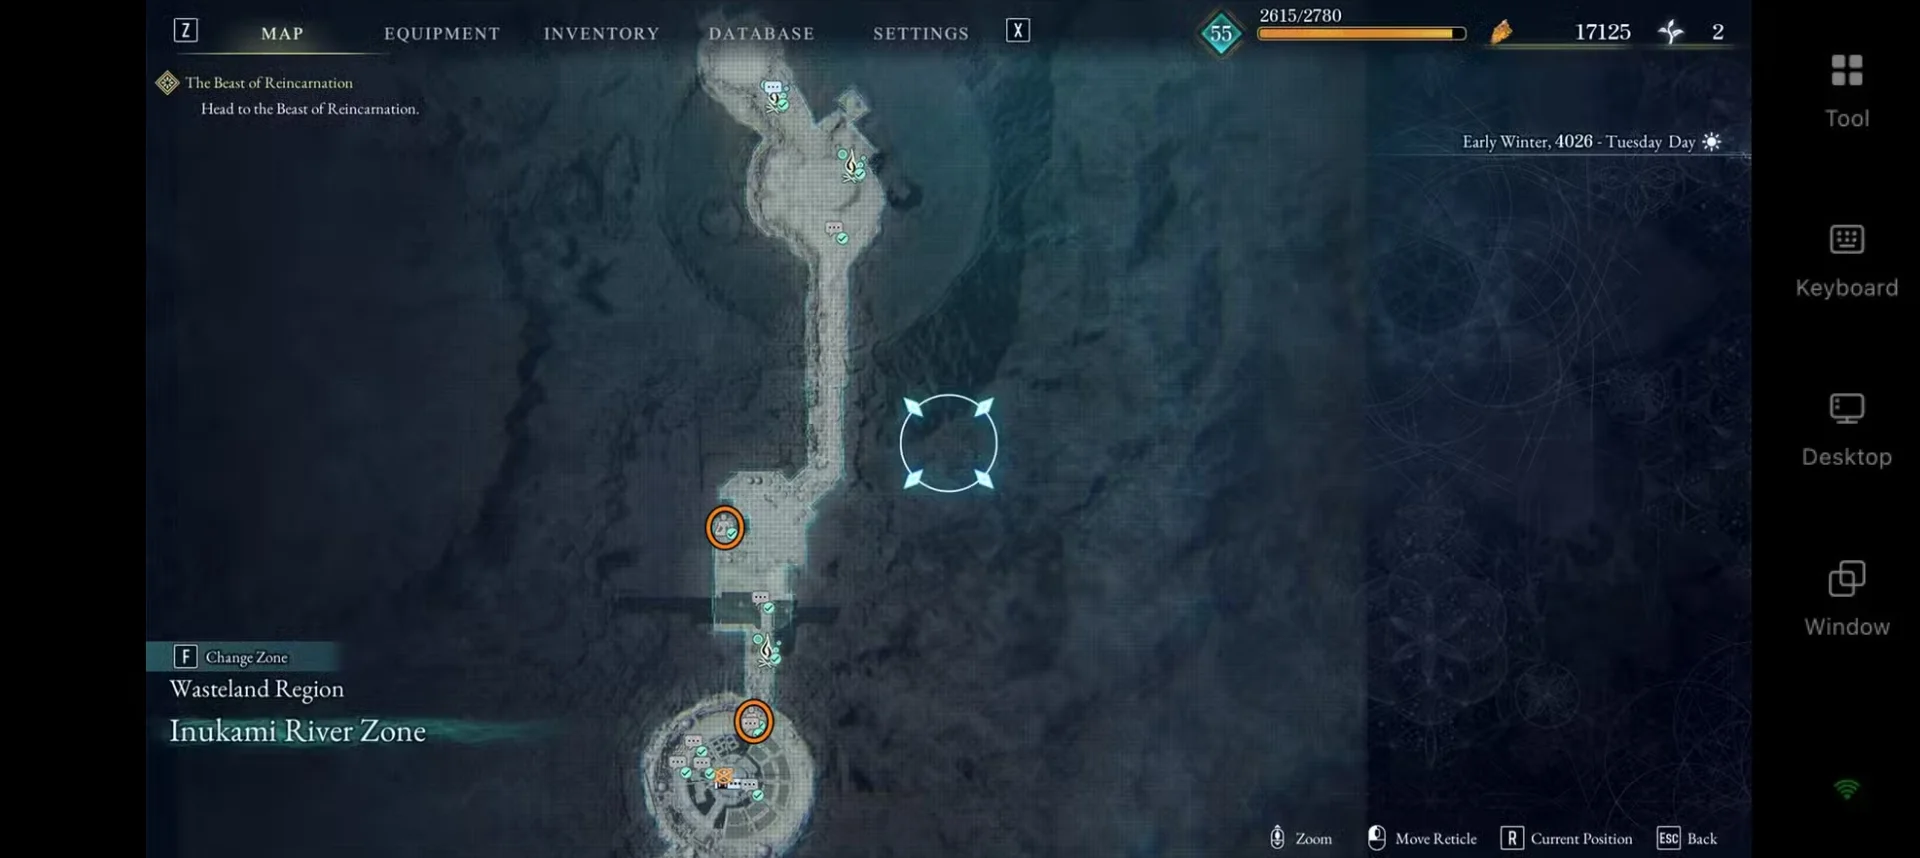
Several of Crimson Malefact's most dangerous attacks, including its somersault and spinning dive, cannot be parried, so watch for the red telegraphs and dodge instead of trying to block. During the second phase, the boss gains multiple area-of-effect attacks that track your position, making constant movement essential until the danger zones disappear. Staying mobile and capitalizing on its recovery windows will make this fight much more manageable.
|
Enemy |
Location |
Weakness |
|
Crimson Malefact (Boss) – Lv. 45 |
Inukami River |
Water |
Chapter 10: Starfall Tower
Ursa is a two-phase Nushi that fully restores its health after the first phase, so don't waste all of your healing items or strongest abilities early in the fight. Equip Acid-based attacks and use Restrain or other crowd-control effects whenever possible to weaken the boss and create safe damage windows. Melee weapons are particularly effective here, as Ursa's multi-swipe combo is one of the easiest attacks to parry and punish.
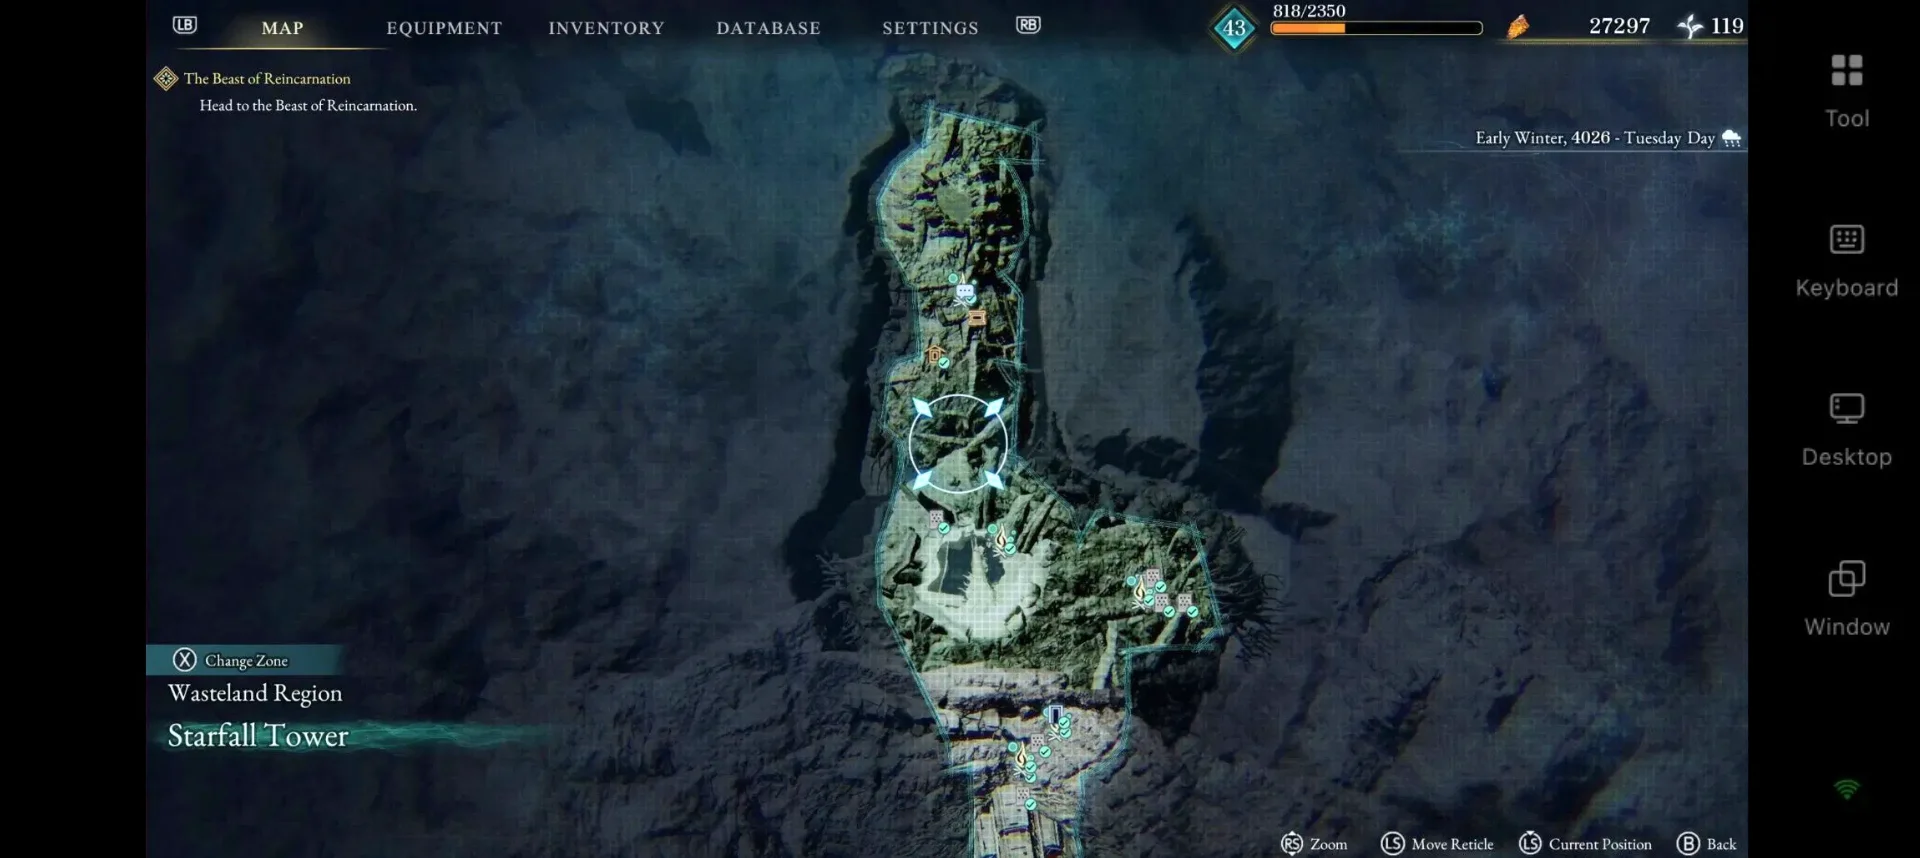
During the second phase, Ursa retains all of its previous attacks while adding more environmental hazards, making positioning much more important. Resist the temptation to stay on the offensive—instead, wait for Ursa to finish an attack, land a few hits during its recovery, then reposition before the next combo begins. This hit-and-run approach is far more reliable than trying to trade blows throughout the fight.
|
Enemy |
Location |
Weakness |
|
Ursa (Boss) – Lv. 46 |
Starfall Tower |
Acid |
Chapter 11: Mount Hiei
The Mount Hiei rematch tests how well you've mastered the Shidou & Nue encounter. Continue exploiting their shared Poison weakness with Poison-based weapons and Koo's abilities, but don't let the increased aggression tempt you into rushing the fight. Stay mobile and avoid positioning yourself between the two bosses, as they can quickly chain attacks from different directions and leave little room to recover.
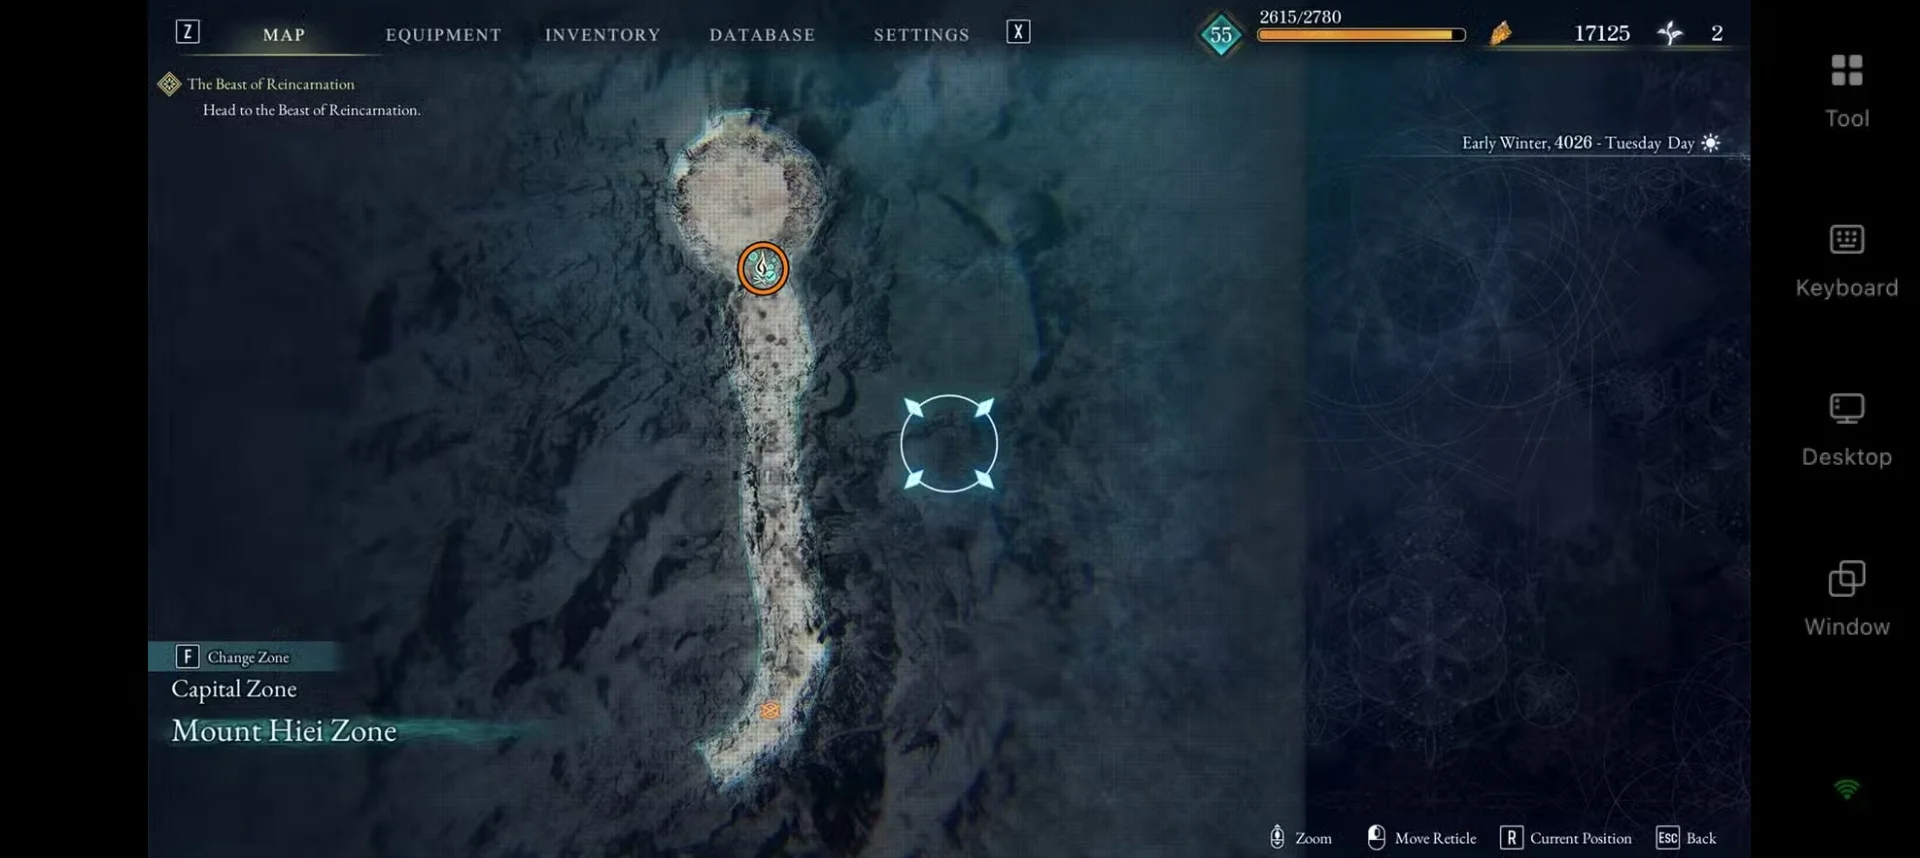
Koo's Bind and Poison abilities remain some of the strongest tools in this encounter, especially against Shidou, who loses his ability to counterattack while affected by certain status effects. Focus on whichever boss is actively pressuring you instead of trying to split your damage, and save your strongest attacks for stagger opportunities rather than forcing long combos into their defenses.
|
Enemy |
Location |
Weakness |
|
Shidou & Nue (Boss) – Lv. 48 |
Mount Hiei |
Poison |
Chapter 12: The Capital / Firmament
Chapter 12 features two of the toughest boss encounters before the finale, so entering with fully upgraded gear and Bloom Arts is highly recommended. Against Erymanth, equip Explosive-based attacks to exploit its weakness, then focus on dodging its powerful charge attacks before punishing the recovery. Most of its strongest attacks leave brief openings once they finish, making patience and well-timed counterattacks far more effective than constant aggression.
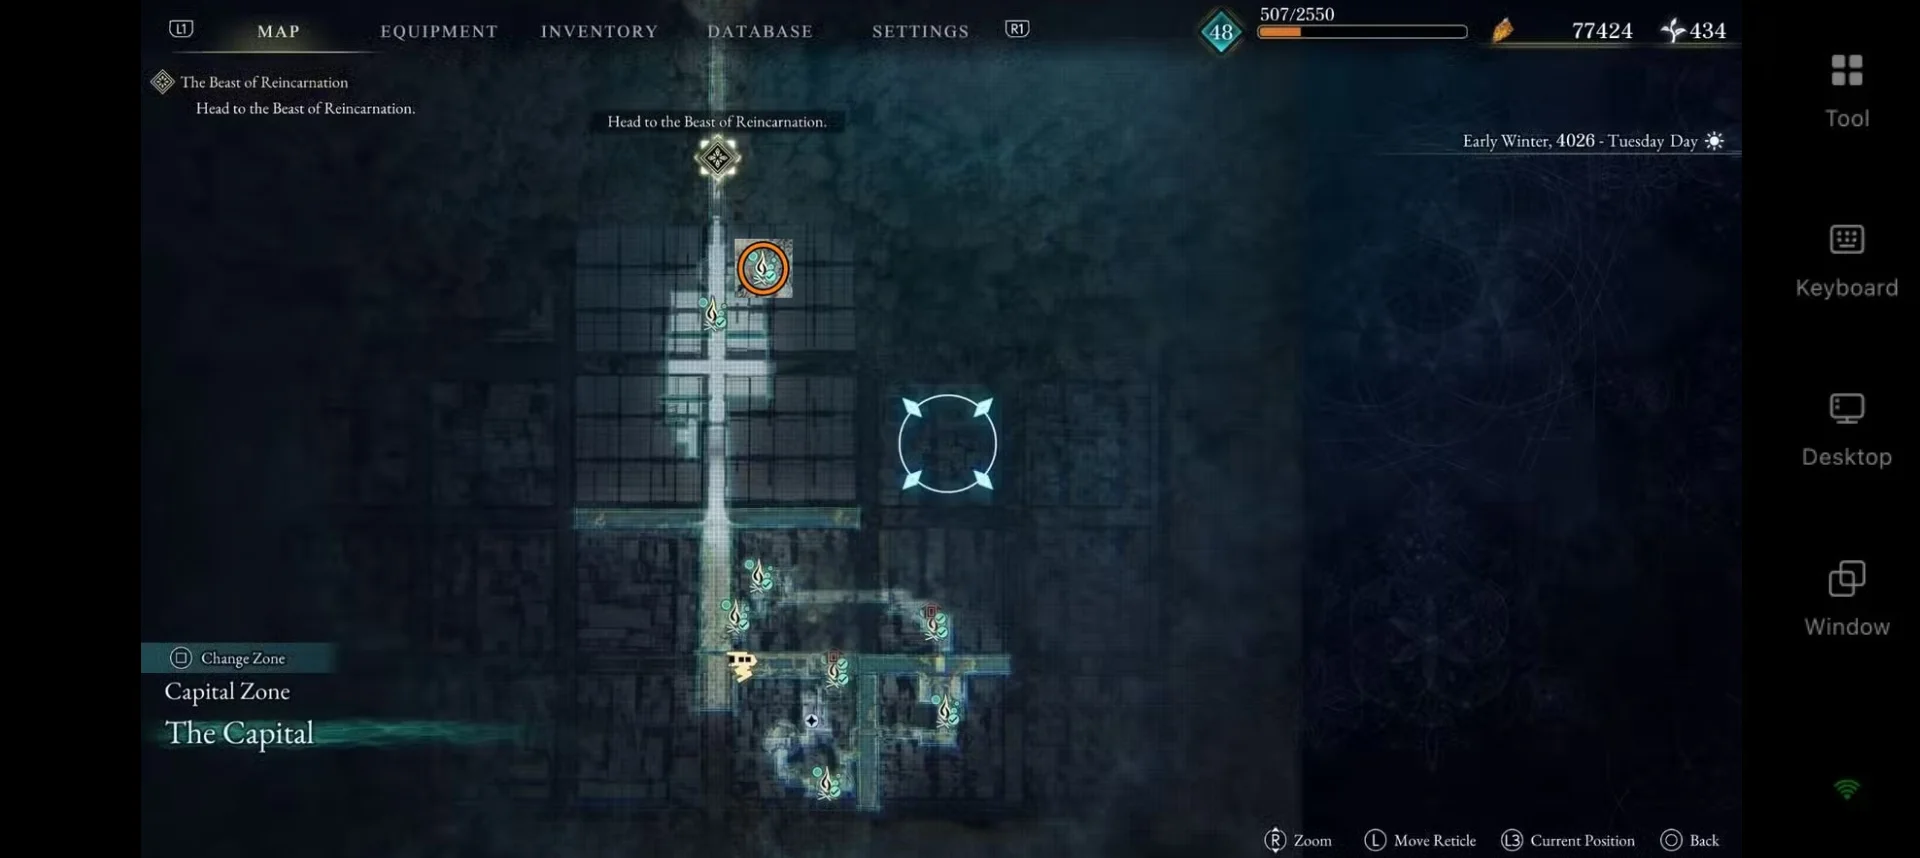
The Kunai & Kirin rematch builds on everything you learned during the first encounter. Continue focusing your attacks on a single target instead of splitting your damage, and be wary of their counterattacks before committing to longer combos. Kirin's pounce remains one of the safest opportunities to deal damage, while Koo's abilities are invaluable for building stagger and creating openings against both bosses.
|
Enemy |
Location |
Weakness |
|
Erymanth (Boss) – Lv. 47 |
The Capital / Firmament |
Explosive |
|
Kunai & Kirin (Boss) – Lv. 49 |
The Capital / Firmament |
Poison |


 Pre-set Keymaps for Easy Play

Chapter 13: Final Battle
Unlike every major Nushi before it, the Beast of Reincarnation has no elemental weakness, making this a true test of your combat fundamentals rather than your build. Stick with the weapons, Bloom Arts, and Koo abilities you're most comfortable using instead of changing your loadout purely for elemental damage. Success comes from recognizing attack patterns and making the most of every opening.
The boss's melee combo can chain into multiple strikes, all of which can be parried, but the finishing pounce must be dodged if the combo completes. Likewise, its lightning attacks cannot be parried, while its crescent-shaped projectiles can be deflected to maintain pressure. When the boss creates a poison cloud, use the opportunity to reposition or heal before re-engaging, and be ready to step back when it fires its powerful laser attack after the barrier is removed. Mastering when to parry and when to dodge is the key to winning this final battle.
|
Enemy |
Location |
Weakness |
|
Beast of Reincarnation (Final Boss) |
Final Battle Arena |
None |
Conclusion
Every boss in Beast of Reincarnation is designed to test a different aspect of your combat skills, and understanding their weaknesses and attack patterns is the key to overcoming each challenge. Keep this guide handy as you progress through the story, and if you're away from your PC, OSLink lets you play Beast of Reincarnation on mobile so you can continue exploring, prepare for upcoming battles, and keep your adventure moving forward wherever you are.
 Download