English
  Blog Game News Openclaw Install Guide and How to Manage Openclaw From Mobile(Android & iOS)
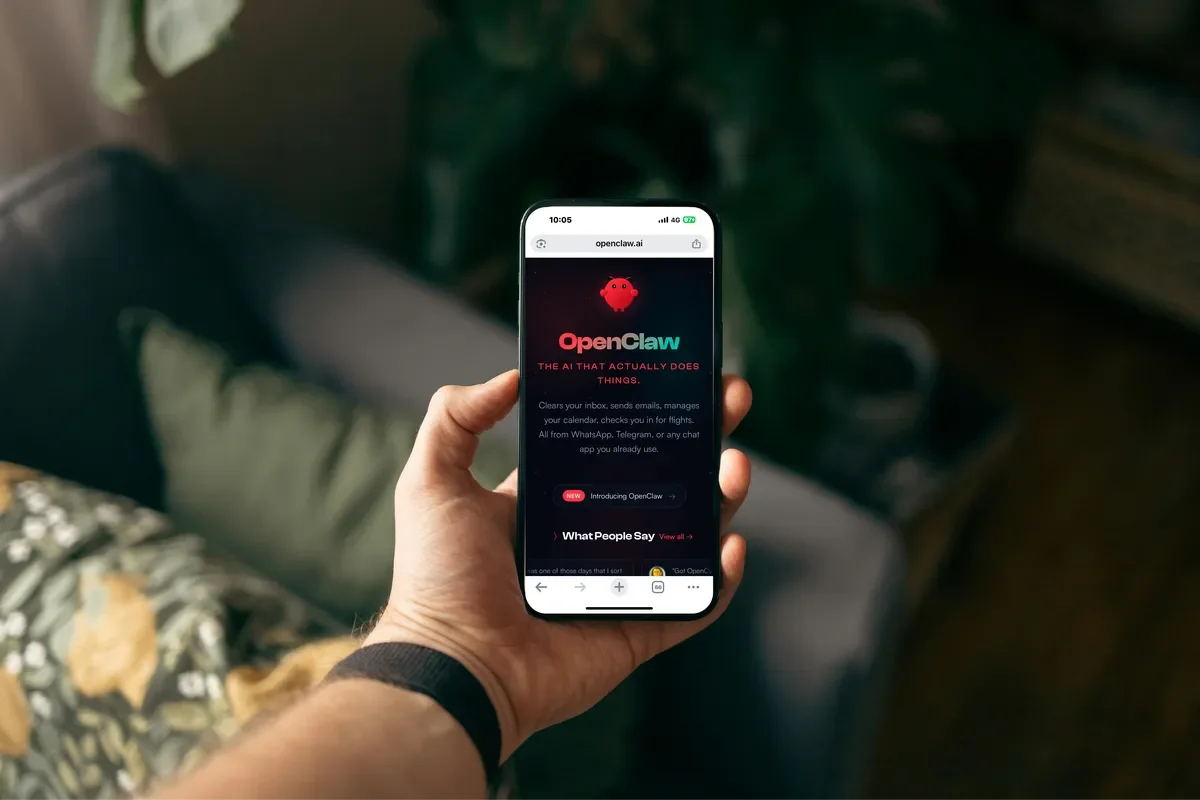
OpenClaw is a powerful AI automation tool that goes beyond simple chatbots, it can complete tasks, run workflows, and act like a personal assistant that actually does things for you. In this OpenClaw tutorial, you’ll learn how to run OpenClaw in a simple, practical way without needing advanced technical skills. The problem is, most Openclaw install guides assume you have a VPS, a spare computer running 24/7, and paid API access, which makes it hard for beginners to even get started.
Table of Contents
- Why Most People Don’t Use OpenClaw
- Run OpenClaw Without a VPS
- What You Need Before Starting
- OpenClaw on Android: Full Setup Guide
- What You’re Building
- Requirements
- Step 1: Install Termux
- Step 2: Prepare Termux
- Step 3: Install Linux (Ubuntu)
- Step 4: Update Ubuntu
- Step 5: Install Required Tools
- Step 6: Install Node.js
- Step 7: Install OpenClaw
- Step 8: Fix Android Network Issue
- Step 9: Run OpenClaw Setup
- Step 10: Start OpenClaw
- Step 11: Open the Dashboard
- Get Your Login Token
- Useful Commands
- Stability Tips
- Security Tips
- What You Can Do Next
- How to Use OpenClaw on iOS or Android
- OpenClaw on Mobile FAQ
- Conclusion
But what if you could run OpenClaw using a device you already own? In this guide, we’ll show you how to run OpenClaw on Android, and even how to control and set up multiple agents using free tools. Whether you’re using an old laptop or just your phone, this OpenClaw setup will help you get started without spending money, so you can learn, experiment, and upgrade only when you’re ready.
Why Most People Don’t Use OpenClaw
Most people don’t avoid OpenClaw because it’s bad, they avoid it because it feels hard to start.

- 💸 Too expensive – VPS + paid APIs
- 💻 Needs extra devices – not everyone has a spare PC
- ⚙️ Too technical – setup can feel overwhelming
That’s why many people give up before they even try, even though the tool itself is powerful.
Run OpenClaw Without a VPS
You don’t need an expensive virtual private server setup to get started with OpenClaw.
- 💻 Use an old laptop or unused PC
- 📱 Or run OpenClaw on Android (mobile setup)
- 🆓 Use Google Studio API (free tier) to start
This makes the setup simple, and uninstalling OpenClaw and setting it up again affordable and beginner-friendly, so anyone can try it without spending money.
What You Need Before Starting
You only need a few basic things to run OpenClaw on mobile:
- 📱 Android phone (old or current)
- 🌐 Internet connection
- 🔑 Google Studio API key (free)
That’s it, no VPS, no powerful PC, no extra cost to get started.
OpenClaw on Android: Full Setup Guide
You can run OpenClaw directly on your Android phone without needing a PC or VPS. This setup uses a Linux environment inside your phone and installs OpenClaw as a global tool.
What You’re Building
By the end of this guide, your phone will:
- Run OpenClaw locally
- Act as a 24/7 AI agent
- Be accessible through a web dashboard
- Work without any cloud server or PC
Requirements
Before starting, make sure you have:
- Android phone (Android 10 or higher recommended)
- Stable internet connection
- A Gemini API key (free) from Google AI Studio
- Termux installed from F-Droid (not Play Store)
👉 Get your API key here:
https://aistudio.google.com/api-keys
Step 1: Install Termux
- Go to F-Droid.org
- Install F-Droid
- Search for Termux
- Install and open it
⚠️ Important: The Play Store version is outdated and may cause errors.
Step 2: Prepare Termux
First, update everything:
🔹 Command to copy:
pkg update && pkg upgrade -y
Step 3: Install Linux (Ubuntu)
OpenClaw needs a proper Linux environment. We’ll install Ubuntu inside Termux.

👉 Install proot:
🔹 Command to copy:
pkg install proot-distro
👉 Install Ubuntu:
🔹 Command to copy:
proot-distro install ubuntu
👉 Enter Ubuntu:
🔹 Command to copy:
proot-distro login ubuntu
Step 4: Update Ubuntu
Once inside Ubuntu, update the system:
🔹 Command to copy:
apt update && apt upgrade -y
Step 5: Install Required Tools
Install curl and git (needed for downloading and installing tools):
🔹 Command to copy:
apt install -y curl git
Step 6: Install Node.js
OpenClaw runs on Node.js, so we need to install it.
👉 Add NodeSource repository:
🔹 Command to copy:
curl -fsSL https://deb.nodesource.com/setup_22.x | bash -
👉 Install Node.js:
🔹 Command to copy:
apt install -y nodejs
👉 Verify installation:
🔹 Command to copy:
node -v
npm -v
Step 7: Install OpenClaw
Now install OpenClaw globally using npm.
🔹 Command to copy:
npm install -g openclaw@latest
👉 After installation, verify:
🔹 Command to copy:
openclaw --version
💡 This step is important, if this works, OpenClaw is correctly installed.
Step 8: Fix Android Network Issue
On Android, OpenClaw may fail due to network interface issues. This fix ensures it runs properly.
👉 Create fix file:
🔹 Command to copy:
cat <<EOF > /root/hijack.js
const os = require('os');
os.networkInterfaces = () => ({});
EOF
👉 Enable it automatically:
🔹 Command to copy:
echo 'export NODE_OPTIONS="-r /root/hijack.js"' >> ~/.bashrc
👉 Apply changes:
🔹 Command to copy:
source ~/.bashrc
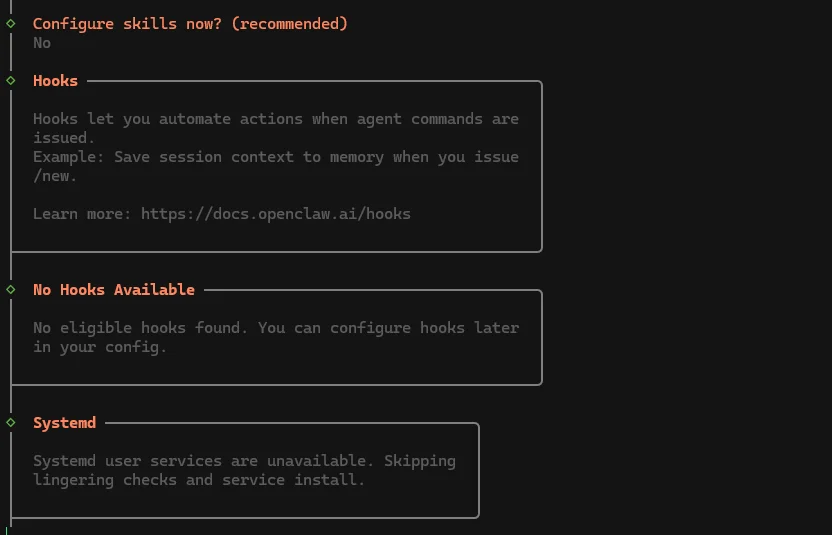
Step 9: Run OpenClaw Setup
Start the onboarding process:
🔹 Command to copy:
openclaw onboard
👉 When prompted for Gateway Bind, choose:
127.0.0.1 (Loopback)
💡 This keeps everything running locally on your phone.
Step 10: Start OpenClaw
Now launch the system:
🔹 Command to copy:
openclaw gateway --verbose
Step 11: Open the Dashboard
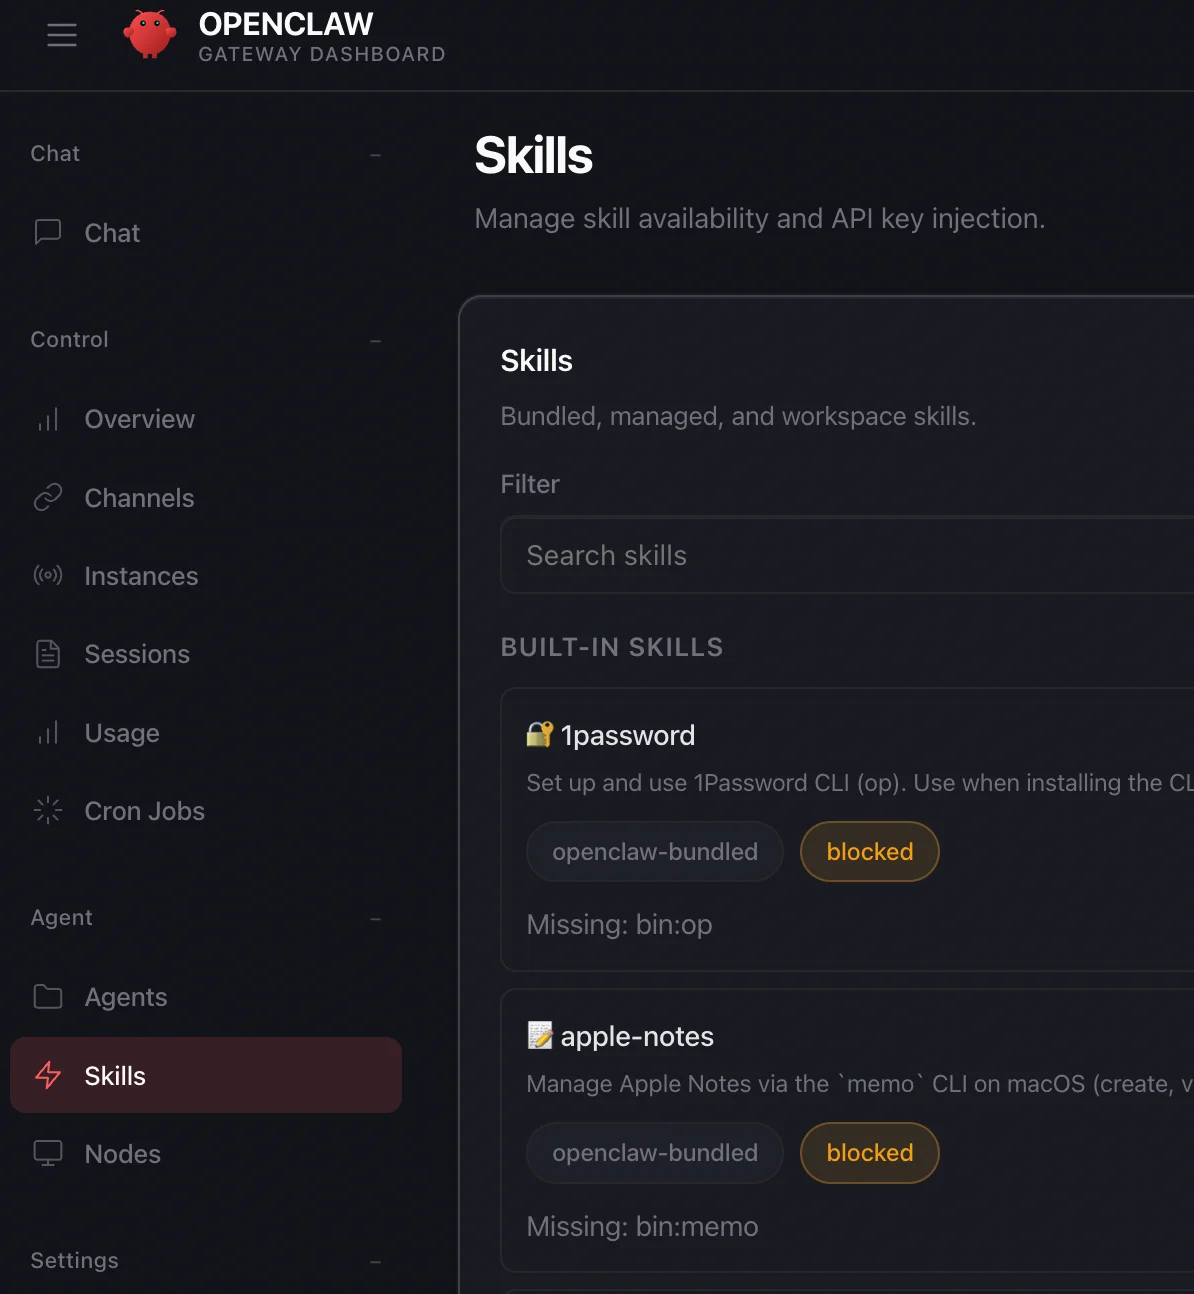
Open your browser and go to:
This is your OpenClaw control panel.
Get Your Login Token
Open a new Termux session and log into Ubuntu again:
🔹 Command to copy:
proot-distro login ubuntu
Then run:
🔹 Command to copy:
cat ~/.openclaw/openclaw.json
OR:
🔹 Command to copy:
openclaw config get gateway.auth.token
👉 Copy the token and paste it into the dashboard login screen.
Useful Commands
Inside OpenClaw:
- /status → Check if everything is running
- /think high → Enable deeper reasoning
- /reset → Restart your session
Stability Tips
To keep OpenClaw running smoothly:
👉 Prevent sleep:
🔹 Command to copy:
termux-wake-lock
👉 Also:
- Disable battery optimization for Termux
- Keep your phone plugged in
Security Tips
- Never share your API key
- Do not share your gateway token
- Use a separate Google account if possible
What You Can Do Next
Now that OpenClaw is running, you can:
- Automate tasks
- Build your own AI assistant
- Connect it to messaging apps
- Use your phone as a 24/7 automation system
How to Use OpenClaw on iOS or Android
Once OpenClaw is running, you can start using it as your personal AI assistant. At its core, OpenClaw works with tasks and commands. You give it instructions, and it can think, plan, and execute actions step by step.
Simple Example Use Case
You can use OpenClaw to:
- Monitor emails and summarize them
- Automate research tasks
- Act as a personal assistant that runs 24/7
- Handle repetitive digital work
Can You Really Run OpenClaw on iOS?
Short answer: yes you can run OpenClaw on an iOS laptop. But it's difficult if you are using an iOS mobile device as your main device. Instead you can set multiple android as your Openclaw server and control all of them as they were installed on your phone with OSLink.
With OSLink, you can:
- 📱 Control multiple phones from one main device
- 🔄 Switch between devices instantly
- 🧠 Manage all your OpenClaw agents in one place
- 🍏📱 Works on both iOS and Android
👉 This makes running multiple OpenClaw agents simple and practical.
1. Install OSLink on All Devices
Go to:
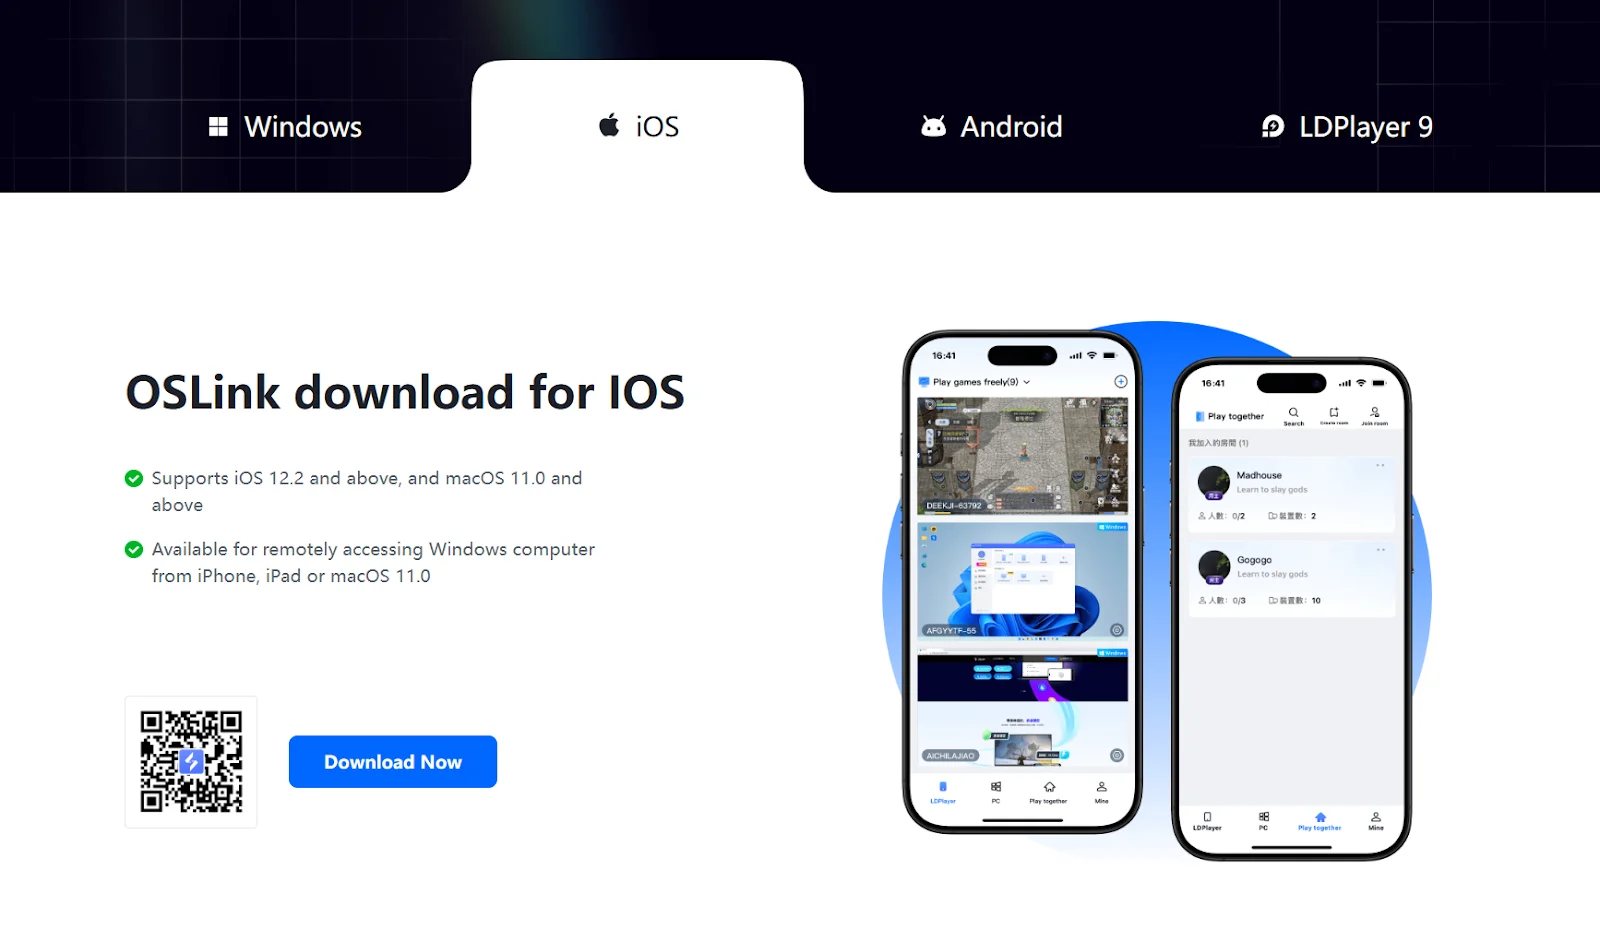
Install the app on:
- Your main phone
- All secondary devices running OpenClaw
2. Log Into All Devices
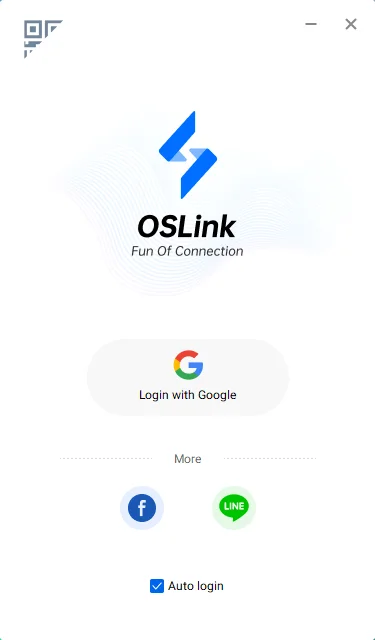
- Open OSLink on each device
- Log in using the same email address
👉 This connects all your devices together.
3. Access Your Devices
On your main phone:
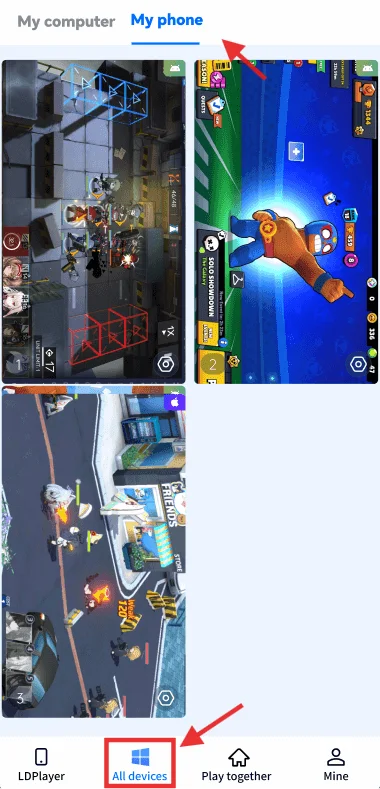
- Open OSLink
- Go to “All Devices”
- Then go to “My Phone”
👉 You will now see all connected devices.
4. Control Your Devices
- Tap on any device
- You can now control it like a normal phone
- Use touch to open Termux and interact with OpenClaw
👉 It feels like you’re holding that phone in your hand.
OpenClaw on Mobile FAQ
🔹 Can I run OpenClaw without a PC or VPS?
Yes. You can run OpenClaw directly on your Android phone using Termux, no PC or server needed.
🔹 Is OpenClaw free to use?
OpenClaw itself is free, but it requires an API key. You can start with a free Gemini API key from Google AI Studio, then upgrade later if needed.
🔹 Does this work on iOS?
OpenClaw cannot run directly on iOS.
However, you can still control your Android devices using tools like OSLink, which works on both iOS and Android.
🔹 Do I need coding experience?
No. This guide is designed for beginners, just follow the steps and copy the commands.
🔹 Why is Termux required?
Termux allows your phone to run a Linux environment, which is needed to install and run OpenClaw.
🔹 Can I run multiple OpenClaw agents?
Yes. You can run multiple agents on different devices and manage them using tools like OSLink.
🔹 Will this drain my phone battery?
Yes, running OpenClaw continuously uses power.
For best results, keep your device plugged in and disable battery optimization.
🔹 What can I actually do with OpenClaw?
You can automate tasks, run AI workflows, monitor data, and build your own personal AI assistant.
Conclusion
Running OpenClaw doesn’t have to be expensive or complicated, you can start right now using an old Android phone, a free API key, and a simple setup. As you grow, you can expand into multiple devices and build your own network of AI agents working for you 24/7. And when managing everything feels overwhelming, tools like OSLink make it easy to control all your devices from one place so that you can scale your setup without chaos.
 Download